はじめに
RustでGUIを持ったアプリを作ろうと思い、即時モードのGUIフレームワークであるeguiについて調べてみました。
eguiにおいては、ボタンやスライダーといったwidgetの使い方についてはサンプルコードにもあるのですが、画面に線を引いたり、四角形や円を描く方法について情報集めに少々苦労したので、そこで得たことをまとめて紹介いたします。
なお、本記事においては、eguiクレートの機能的な側面や、Rustの文法に関しては一切触れていません。まずは、手っ取り早くeguiで図形を描画してみたい、という方向けに記述しています。
Rust, egui のバージョンについて
本記事では
- Rust 1.64.0
- egui/eframe 0.19.0
を使用しています。
eguiはバージョンアップで容赦なく仕様を変えており、バージョン違いでコンパイルエラーが頻発しますので、eguiに関する記事を参照する際には、バージョンを十分確認したほうが良いです。
eguiの導入
Rustはインストールされている前提で、eguiを使ったアプリを作るところから始めます。
ここでは、egui_sample という名前でアプリを作ります。
cargo new egui_sample
このプロジェクト名のディレクトリ以下に、Cargo.toml というファイルが生成されています。
ファイル内に、[dependencies]という行があるので、そこに以下のように一行追加します。
これだけで、あとはコンパイルするだけでeguiをダウンロードして、ビルドまでが自動に行われます。
[dependencies]
eframe = "0.19.0"
また、srcフォルダ内にmain.rsがありますので、以下のように書き換えてください。
use eframe::{egui::*};

#[derive(Default)]
pub struct EguiSample {}

impl EguiSample {
    fn new(_cc: &eframe::CreationContext<'_>) -> Self {Self::default()}
}

impl eframe::App for EguiSample {
    fn save(&mut self, _storage: &mut dyn eframe::Storage) {}
    fn update(&mut self, _ctx: &Context, _frame: &mut eframe::Frame) {}
}

fn main() {
    let options = eframe::NativeOptions::default();
    eframe::run_native("egui_sample", options, Box::new(|cc| Box::new(EguiSample::new(cc))));
}
この後、コンソールで以下のようにタイプして、コンパイル&実行します。
cargo run --release
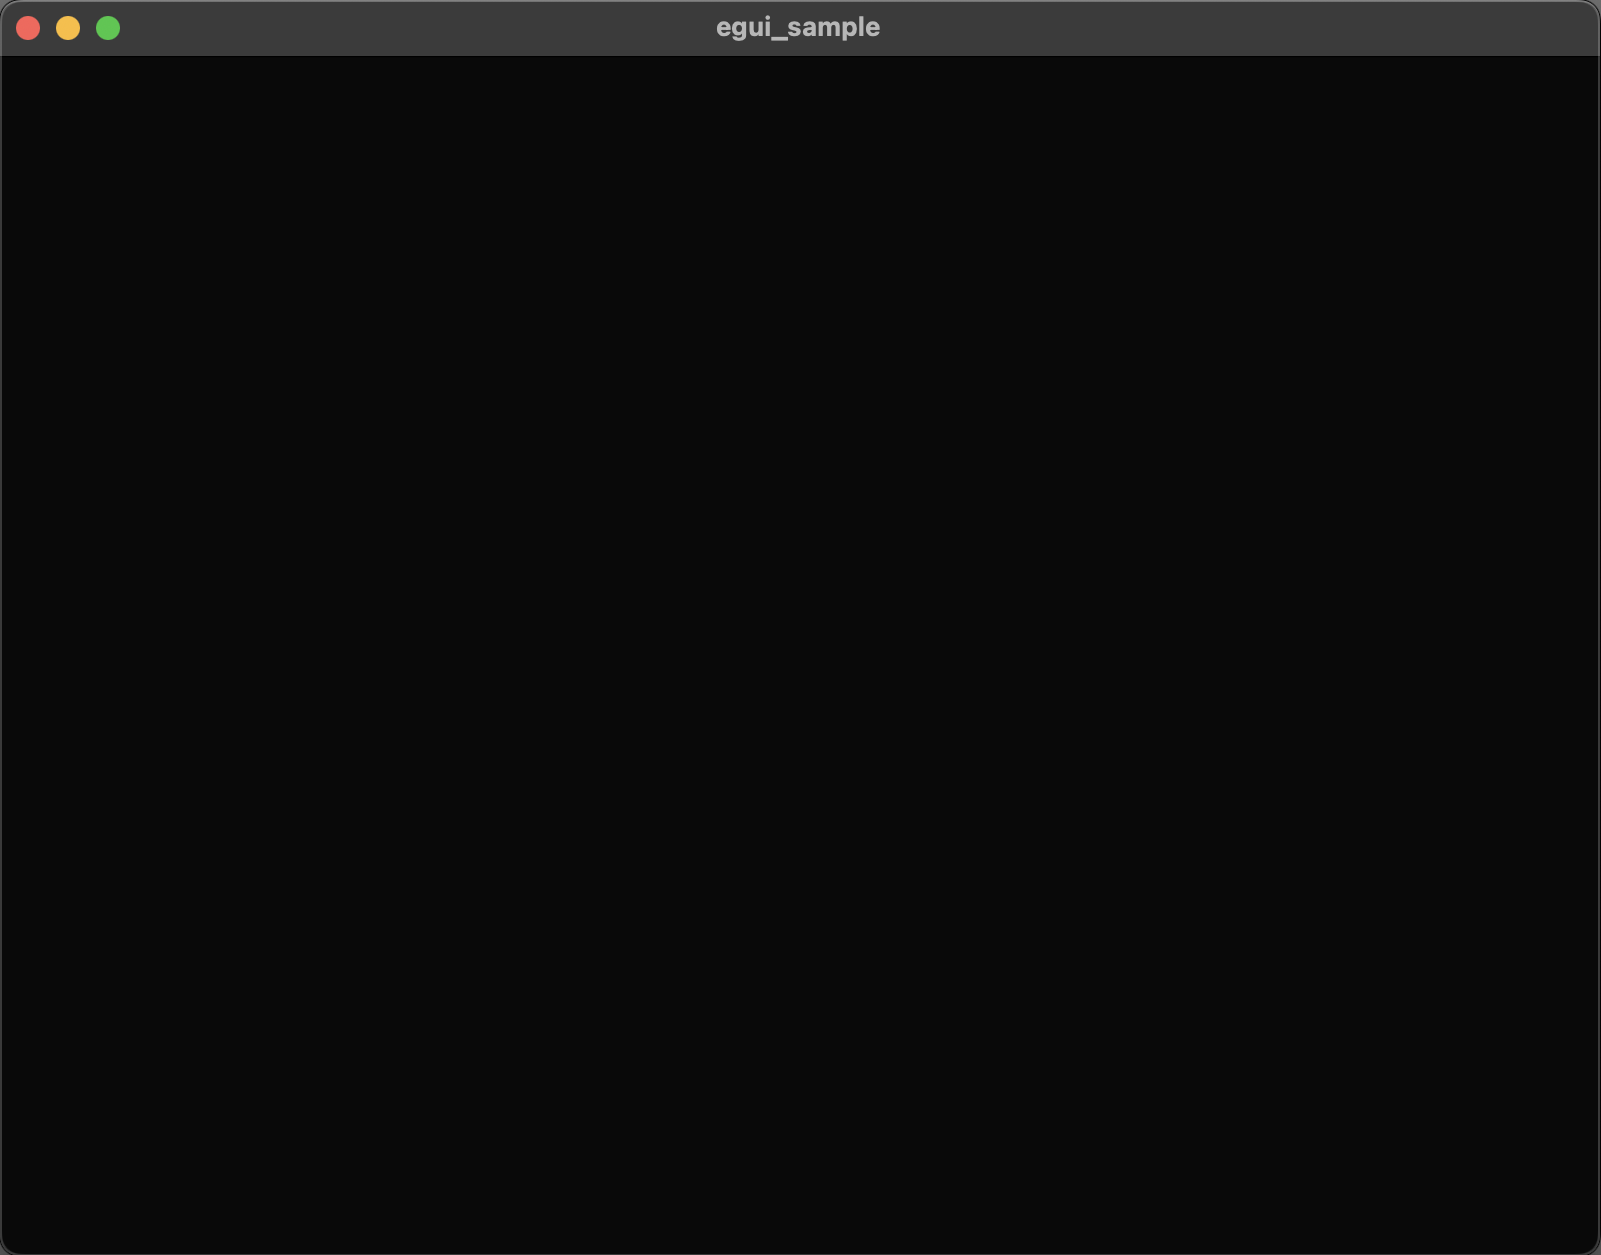
以下のようなウインドウが立ち上がります。(Macの場合)
これで、eguiの最小限のアプリを作ることが出来ました。
Main Windowの調整
今回はこのウィンドウの上にお絵描きをしていきます。
まずは、このウインドウの大きさを調整してみます。400×400pixelの大きさにしてみます。
main()関数を以下のように書き換えます。
fn main() {
    let options = eframe::NativeOptions {
        initial_window_size: Some((400.0, 400.0).into()),
        resizable: false,
        ..eframe::NativeOptions::default()
    };
    eframe::run_native("egui_sample", options, Box::new(|cc| Box::new(EguiSample::new(cc))));
}
実行してみると、先ほどよりウインドウが少し小さくなって、サイズも固定されたのがわかります。
以下のようにサイズの指定をしています。
- initial_window_size: Some((400.0, 400.0).into()) でウインドウの大きさを指定
- resizable: false でウインドウのサイズ可変可否
NativeOptions には、他にもパラメータがあるので、必要に応じて触って試してみてください。
線を引いてみる
では、このウインドウの中に線を引いてみます。
update()関数を以下のように差し替えます。
    fn update(&mut self, ctx: &Context, _frame: &mut eframe::Frame) {
        CentralPanel::default().show(ctx, |ui| {
            ui.painter().vline(
                200.0,                                        // x
                std::ops::RangeInclusive::new(100.0, 300.0),  // y
                Stroke {width:3.0, color:Color32::RED},       // width, color
            );
        });
    }
ソースから想像できるかと思いますが、以下の意味になります。
- painter().vline() で縦に線を書くことを意味する
- x座標が200で、y座標が100から300までに線を引く
- 線の太さが3.0、色は赤
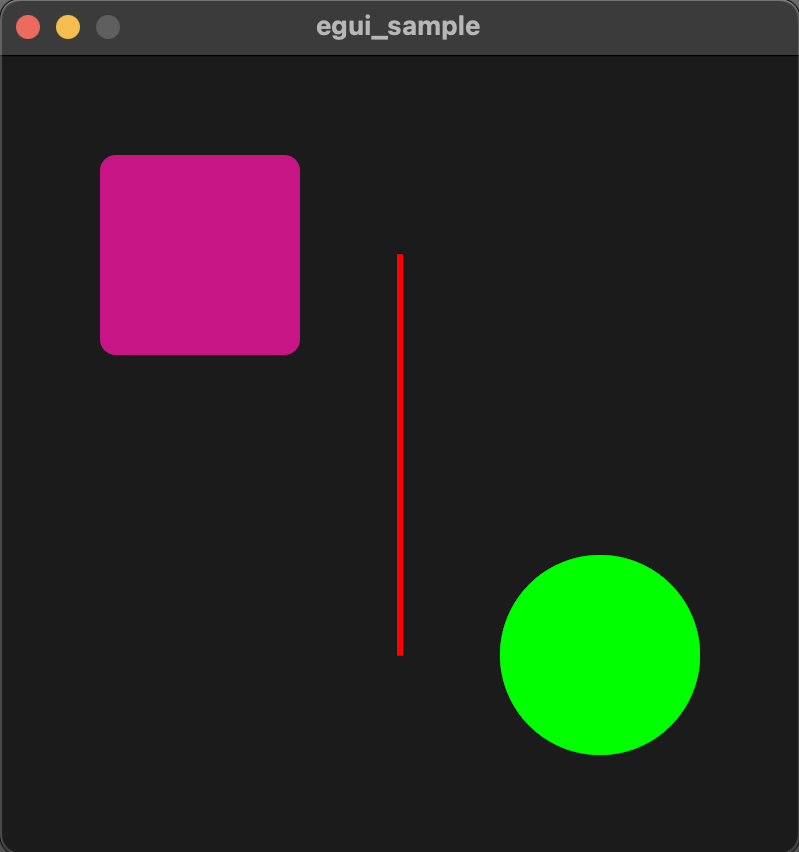
実行してみるとウインドウには以下のように赤い線が現れます。

四角形や円を描いてみる
では、同様に四角形や円を描いてみましょう。
update()関数を以下のように差し替えます。
    fn update(&mut self, ctx: &Context, _frame: &mut eframe::Frame) {
        CentralPanel::default().show(ctx, |ui| {
            ui.painter().vline(
                200.0,                                        // x
                std::ops::RangeInclusive::new(100.0, 300.0),  // y
                Stroke {width:3.0, color:Color32::RED},       // width, color
            );

            ui.painter().rect_filled(
                Rect { min: Pos2 {x:50.0, y:50.0},
                       max: Pos2 {x:150.0,y:150.0},},   // location
                8.0,                                    // curve
                Color32::from_rgb(199,21,133),          // color
            );

            ui.painter().circle_filled(
                Pos2 {x:300.0, y:300.0},  // location
                50.0,                     // radius
                Color32::GREEN,           // color
            );
        });
    }
これも簡単に説明します。
- painter().rect_filled() で四角形を描画
- min: Pos2 {x:50.0, y:50.0} は、四角形の左上の座標
- max: Pos2 {x:150.0,y:150.0} は、四角形の右下の座標
- 8.0 で、四角形の角の丸みを指定
- Color32::from_rgb(199,21,133) で、RGBで色を指定
- painter().circle_filled で円を描画
- Pos2 {x:300.0, y:300.0} は、円の中心座標
- 50.0 で、円の半径を指定
- Color32::GREEN で、緑を指定
実行してみるとウインドウは以下のようになりました。

文字の表示
eguiで好きなフォントで文字を書くには、new()内でフォントをロードする必要があります。
以下のようにフォントデータを準備します。
- srcフォルダと同じ階層に assetsフォルダを作成
- assetsフォルダ内にフォントデータをコピー。サンプルでは"newyork.ttf"と"courier.ttc"という二つのフォントデータをPC内のフォントデータからコピー
上記の準備後、impl EguiSample 内の new() を以下のように書き換えます。
    fn new(cc: &eframe::CreationContext<'_>) -> Self {
        let mut fonts = FontDefinitions::default();

        fonts.font_data.insert(
            "profont".to_owned(),
            FontData::from_static(include_bytes!("../assets/newyork.ttf")),
        );
        fonts.font_data.insert(
            "monofont".to_owned(),
            FontData::from_static(include_bytes!("../assets/courier.ttc")),
        );

        fonts
            .families
            .entry(FontFamily::Proportional)    //  search value of this key
            .or_default()                       //  if not found
            .insert(0, "profont".to_owned());
        fonts
            .families
            .entry(FontFamily::Monospace)
            .or_default()
            .insert(0, "monofont".to_owned());

        cc.egui_ctx.set_fonts(fonts);
        Self::default()
    }
eguiのフォントは、ProportionalとMonospace(等幅)の二つのFontFamilyがあるので、二つのフォントを各ファミリーのデフォルトとして登録しています。
では、これらのフォントを使って、文字を描画してみます。
update() 関数にさらにプログラムを追加します。
    fn update(&mut self, ctx: &Context, _frame: &mut eframe::Frame) {
        CentralPanel::default().show(ctx, |ui| {
            ui.painter().vline(
                200.0,                                        // x
                std::ops::RangeInclusive::new(100.0, 300.0),  // y
                Stroke {width:3.0, color:Color32::RED},       // width, color
            );

            ui.painter().rect_filled(
                Rect { min: Pos2 {x:50.0, y:50.0},
                       max: Pos2 {x:150.0,y:150.0},},   // location
                8.0,                                    // curve
                Color32::from_rgb(199,21,133),          // color
            );

            ui.painter().circle_filled(
                Pos2 {x:300.0, y:300.0},  // location
                50.0,                     // radius
                Color32::GREEN,           // color
            );

            ui.painter().text(
                Pos2 {x:100.0, y:300.0},
                Align2::CENTER_CENTER,
                "Hello,",
                FontId::new(36.0, FontFamily::Proportional),
                Color32::WHITE
            );
            ui.painter().text(
                Pos2 {x:300.0, y:100.0},
                Align2::CENTER_CENTER,
                "World!",
                FontId::new(24.0, FontFamily::Monospace),
                Color32::BLUE
            );
        });
    }
追加した部分について簡単に説明します。
- painter().text() で文字を描画
- Pos2 {x:100.0, y:300.0} で文字の中心座標を指定
- Align2::CENTER_CENTER は領域の上下、左右の中心に文字を置く
- "Hello" は描画する文字列
- FontId::new(36.0, FontFamily::Proportional) で、サイズとファミリーの指定
- Color32::WHITE で色の指定
となります。
今回はプロポーショナルフォントと、等幅フォントの二つを描画してみました。
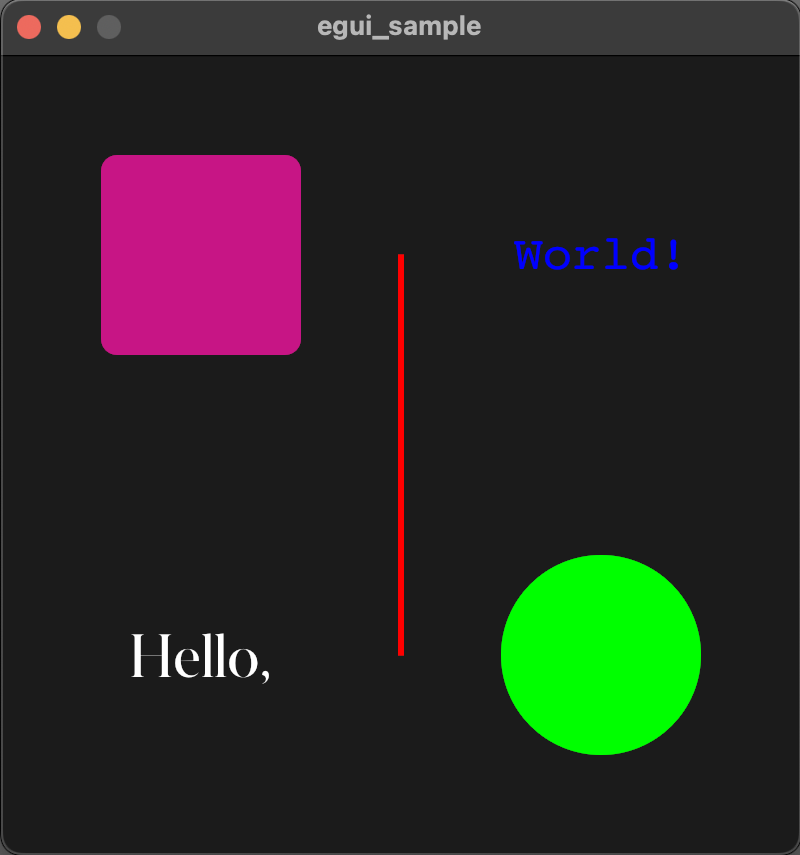
実行すると以下のような画面となります。

なお、eguiのPainterには、他にもいろいろな機能があるようですので、試してみてください。
終わりに
eguiで、線や四角形、文字を表示してみました。
今回は静的にグラフィックを表示しましたが、update()関数は周期的に呼ばれるため、これらの図形の再描画を繰り返すことで動的な表示もできるでしょう。
オブジェクトの移動や当たり判定などの機能を実装することで、簡単なゲームを作ることも出来そうです。
まだまだeguiの表面的な機能を触ってみただけですが、この記事がRustでGUIを始めるきっかけになればと思います。
