A-Frameでカーソルを作るよ!
A-Frame入門と導入
WebVR技術でWebサイトを三次元化する準備その1
を参考にしてください。
カーソルの作り方
(その1)
ソースコードです。
<!doctype html>
<html>
  <head>
    <title>My first VR site</title>
    <script src = "https://aframe.io/releases/0.7.0/aframe.js"></script>
  </head>
  <body>
<a-scene>
  <a-box position="0 5 -5" rotation="0 45 45" scale="2 2 2" color="#EF2D5E">
    <a-animation attribute="position" to="0 -4 -5" direction="alternate" dur="3000"
      repeat="indefinite"></a-animation>
  </a-box>

  <a-camera>
    <a-cursor></a-cursor>
  </a-camera>
</a-scene>
<script type="text/javascript" src="/script.js"></script>
  </body>
</html>
  var boxEl = document.querySelector('a-box');

  // カーソルがぶつかったら拡大
  boxEl.addEventListener('mouseenter', function () {
    boxEl.setAttribute('scale', {x: 5, y: 5, z: 5});
    console.log("mouseenter");
  });

  // カーソルが離れたら元にもどす
  boxEl.addEventListener('mouseleave', function () {
    boxEl.setAttribute('scale', {x: 2, y: 2, z: 2});
    console.log("mouseleave");
  });
javascriptを読み込むときは、bodyの閉じタグの
前にしましょう。そうしないと、エラーが出てしまいます。
  <a-camera>
    <a-cursor></a-cursor>
  </a-camera>
a-cursorタグは通常a-cameraの入れ子にします。
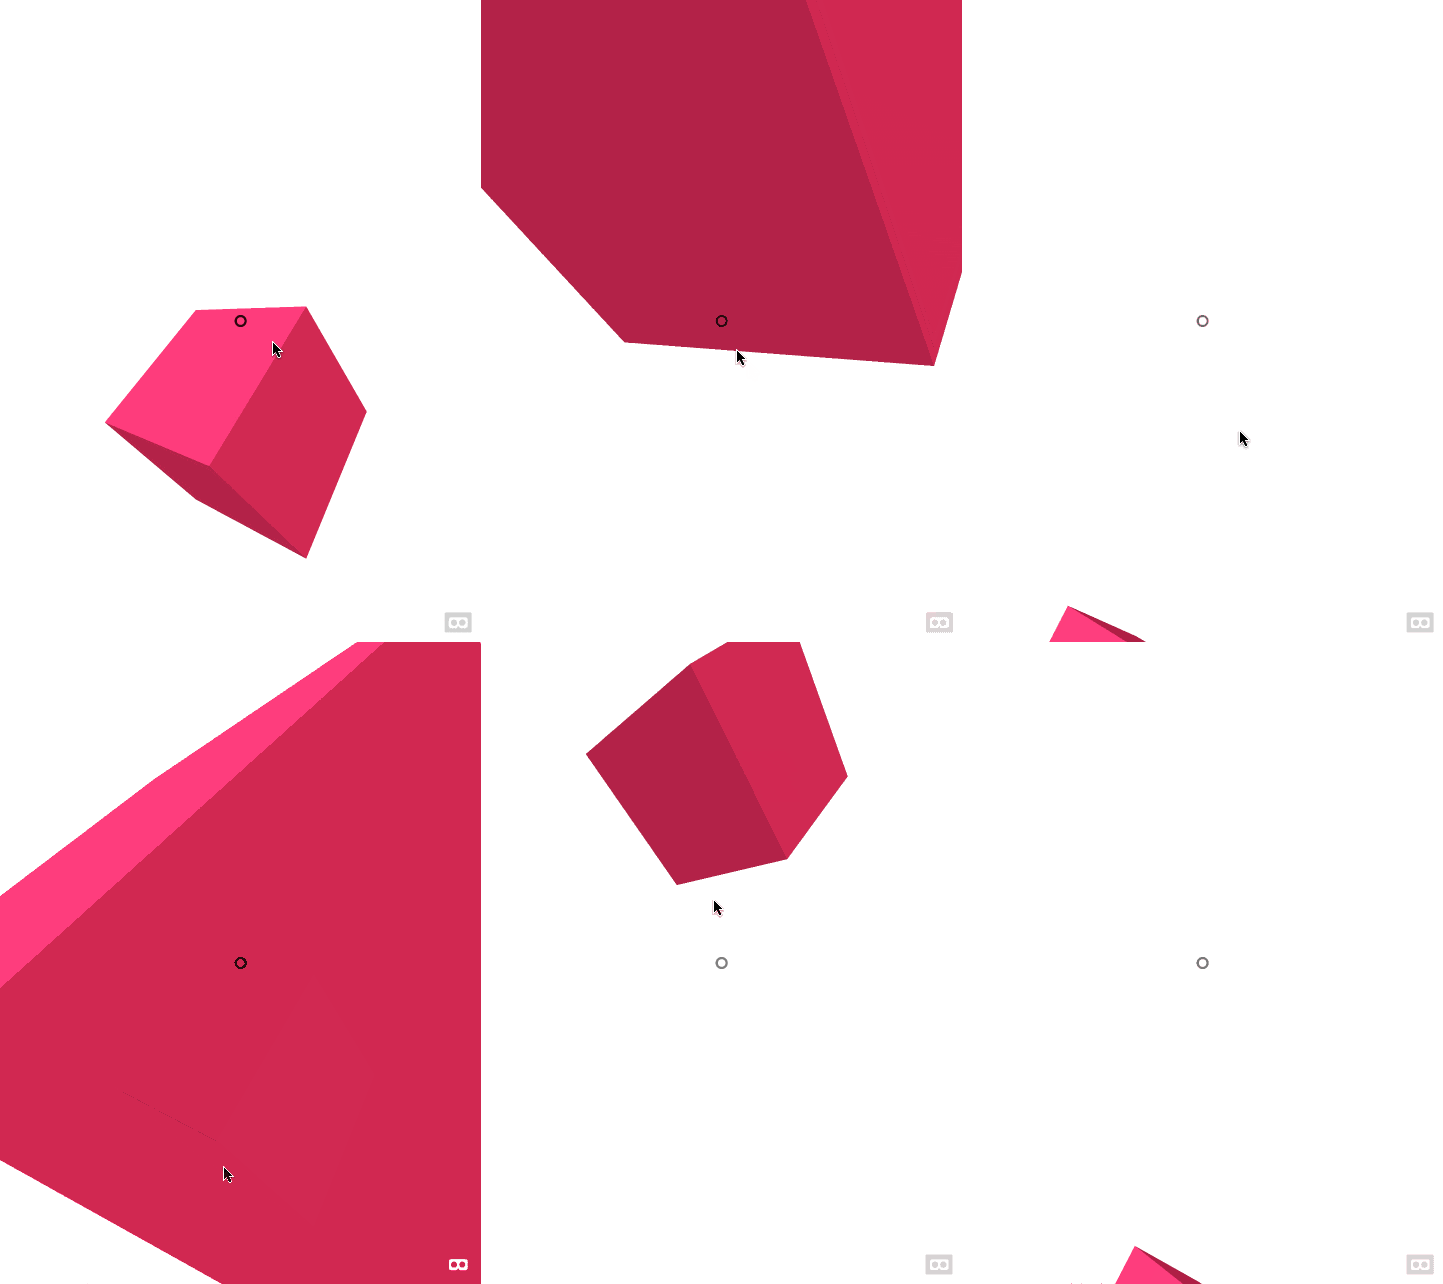
プレビュー

カーソルの作り方
(その2)
<!doctype html>
<html>
  <head>
    <title>My first VR site</title>
    <script src = "https://aframe.io/releases/0.7.0/aframe.js"></script>

  </head>
  <body>
<a-scene>
<a-entity camera look-controls wasd-controls>
<a-entity cursor="fuse: true;"
          position="0 0 -3"
          geometry="primitive: ring; radiusInner: 0.1; radiusOuter: 0.15;"
          material="color: #acacac; shader: flat; opacity: 0.6">
  <a-animation begin="click" easing="ease-in" attribute="scale" dur="150"
               fill="forwards" from="0.1 0.1 0.1" to="1 1 1"></a-animation>
  <a-animation begin="cursor-fusing" easing="ease-in" attribute="scale" dur="1500"
               fill="backwards" from="1 1 1" to="0.1 0.1 0.1"></a-animation>
</a-entity>
</a-entity>
  <a-box position="0 0 -5" rotation="0 45 45" scale="2 2 2" color="#EF2D5E">

  </a-box>
</a-scene>
<script type="text/javascript" src="/script.js"></script>
  </body>
</html>
          // Component to change to a sequential color on click.
AFRAME.registerComponent('cursor-listener', {
  init: function () {
    var lastIndex = -1;
    var COLORS = ['red', 'green', 'blue'];
    this.el.addEventListener('click', function (evt) {
      lastIndex = (lastIndex + 1) % COLORS.length;
      this.setAttribute('material', 'color', COLORS[lastIndex]);
      console.log('I was clicked at: ', evt.detail.intersection.point);
    });
  }
});
A-frameのドキュメントを参考にしました。
A-frameのドキュメントを真似しても、
<a-entity camera >
を
<a-entity camera look-controls wasd-controls>
にしないと、うまく動作しないので注意してください。
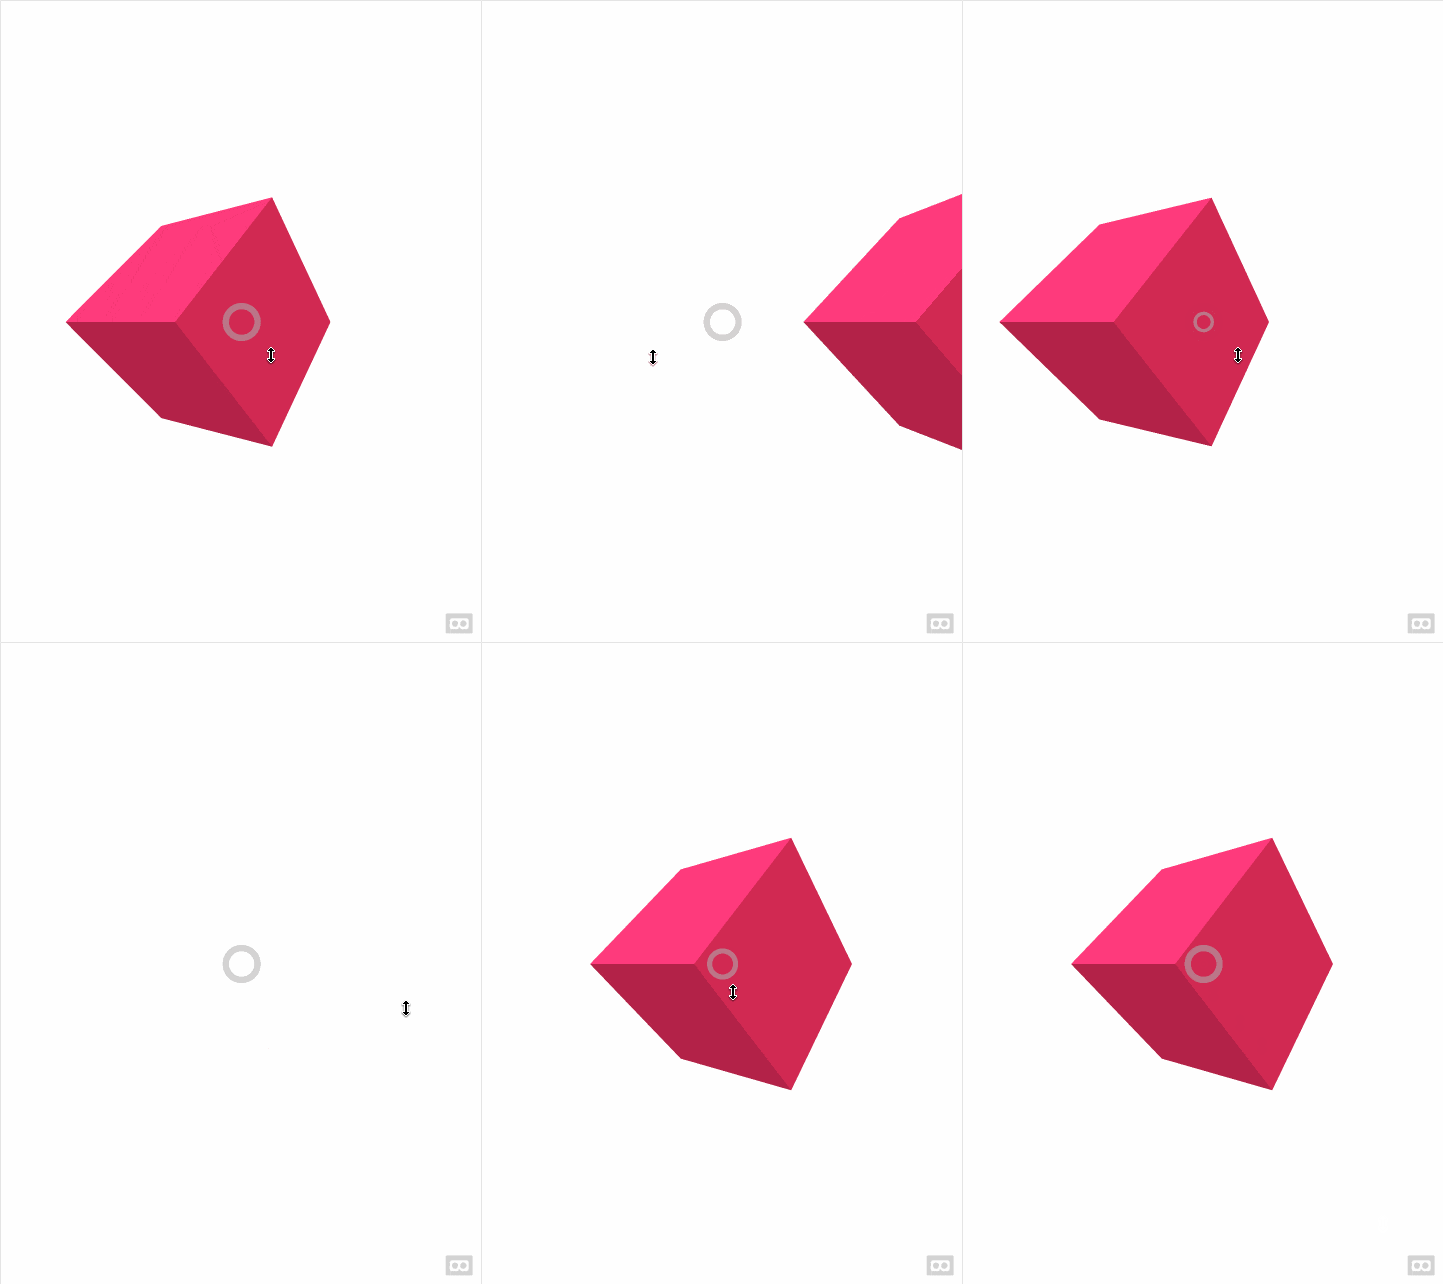
プレビュー

hoverした時に、カーソルの円が小さくなります。
WebVRでWebサイトを3次元で表現してみる!
も読んでみてください。
まとめ
A-frameではhtmlを数行、jsを数行書くだけで、カーソルを実装することができます。
次はVR上のリンクを実装していきたいと思います。
参考文献
https://aframe.io/docs/0.7.0/components/cursor.html#sidebar
[https://aframe.io/docs/0.7.0/primitives/a-cursor.html#sidebar]
(https://aframe.io/docs/0.7.0/primitives/a-cursor.html#sidebar)