環境
- Xcode10.2.1
- Swift5.0
やること
アプリからFacebookログインして、プロフィール情報を取得します。
今回取得する情報は、ユーザー名、ユーザーアイコン、メールアドレスです。
事前情報
取得できる情報
- フルネーム
- 苗字
- 名前
- プロフィール画像
- メールアドレス
- 友達リスト
etc...
Facebook側に申請すれば取得できる情報・操作
- 友達リスト
- 利用者がアプリからFacebookグループにコンテンツを公開するのを許可
- 利用者の年齢層
- 誕生日
- 利用者が主催するか出欠確認の回答をしたイベントに読み取り専用アクセスできる許可をアプリに付与
- 性別
- 出身地
- 利用者が「いいね!」したすべてのFacebookページとOpen Graphオブジェクトのリストにアクセス
- 写真にアクセス
※詳細は以下を参照
https://developers.facebook.com/docs/facebook-login/permissions#reference-default
実装するまでに必要な情報・準備
- バンドルID(Facebookに登録するために必要(実際に何に使われているのかは未確認)
ソース:https://developers.facebook.com/docs/facebook-login/ios - Facebookのダッシュボードにアプリの登録が必要(アプリ側に登録するアプリID取得のため)(この記事ではその手順も記載しています。)
- プライバシーポリシーのURL
- developerサイトに登録するアプリアイコン(1024 x 1024)
Facebook Developersでアプリ登録から実装までの手順
①Facebook Developersにログイン
https://developers.facebook.com/ からFacebookログイン。
(Facebookアカウントのない人は作成が必要です。)

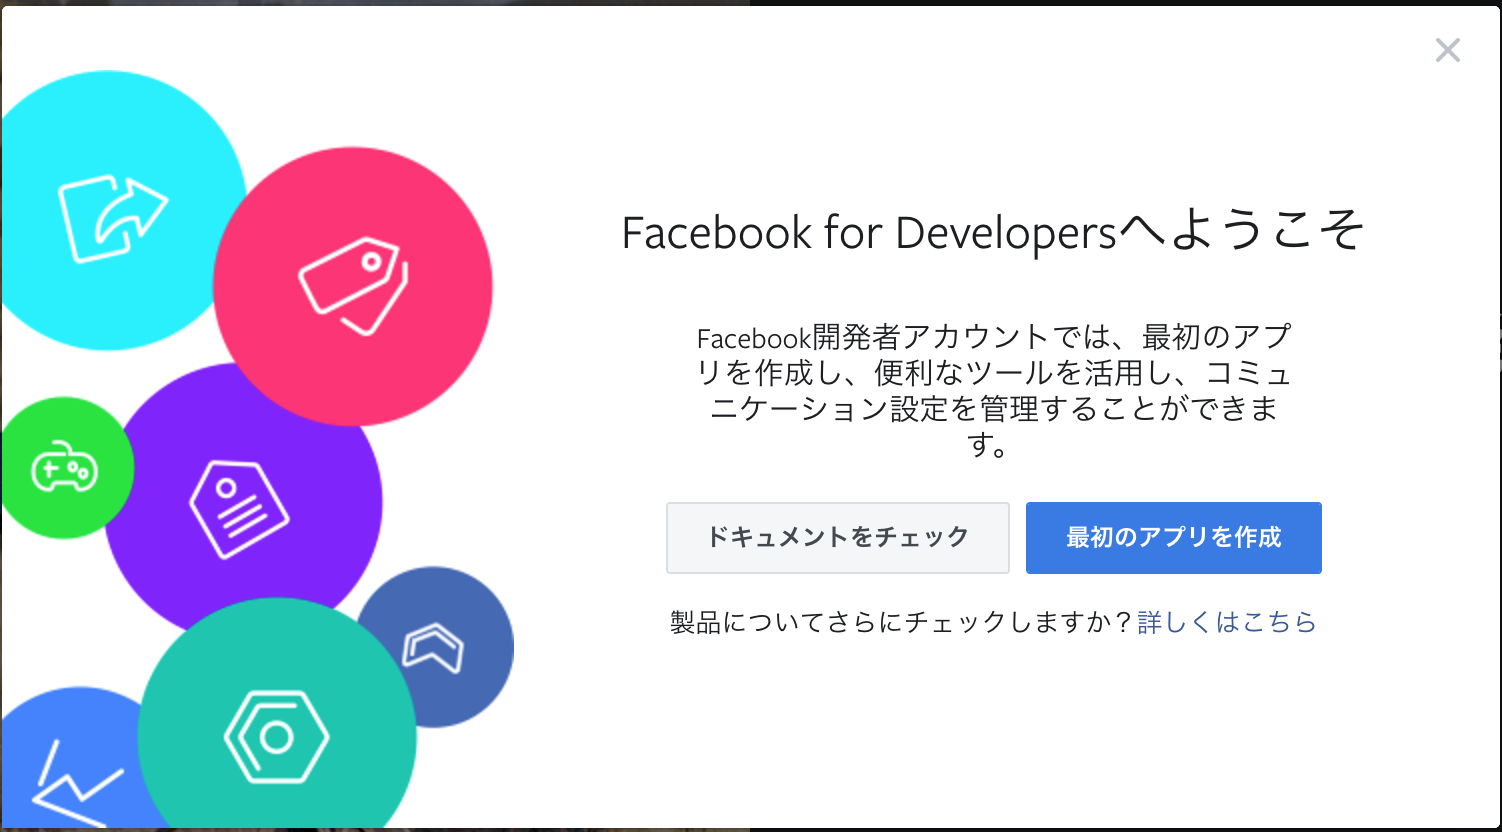
ログインすると、Facebook Developersの画面に遷移します。

画面左上にある、スタートガイドを選択してください。


「次へ」ボタンを押した後、手順に沿って以下の中からいちばんよく当てはまるものを選択します。

②アプリ登録
アカウント登録が完了したら、アプリの登録を行います。

なんと、初回登録画面からは、アプリ名しか入力しません!

登録が成功すると、以下のキャプチャのようにアプリIDが発行されます。

③ログイン設定
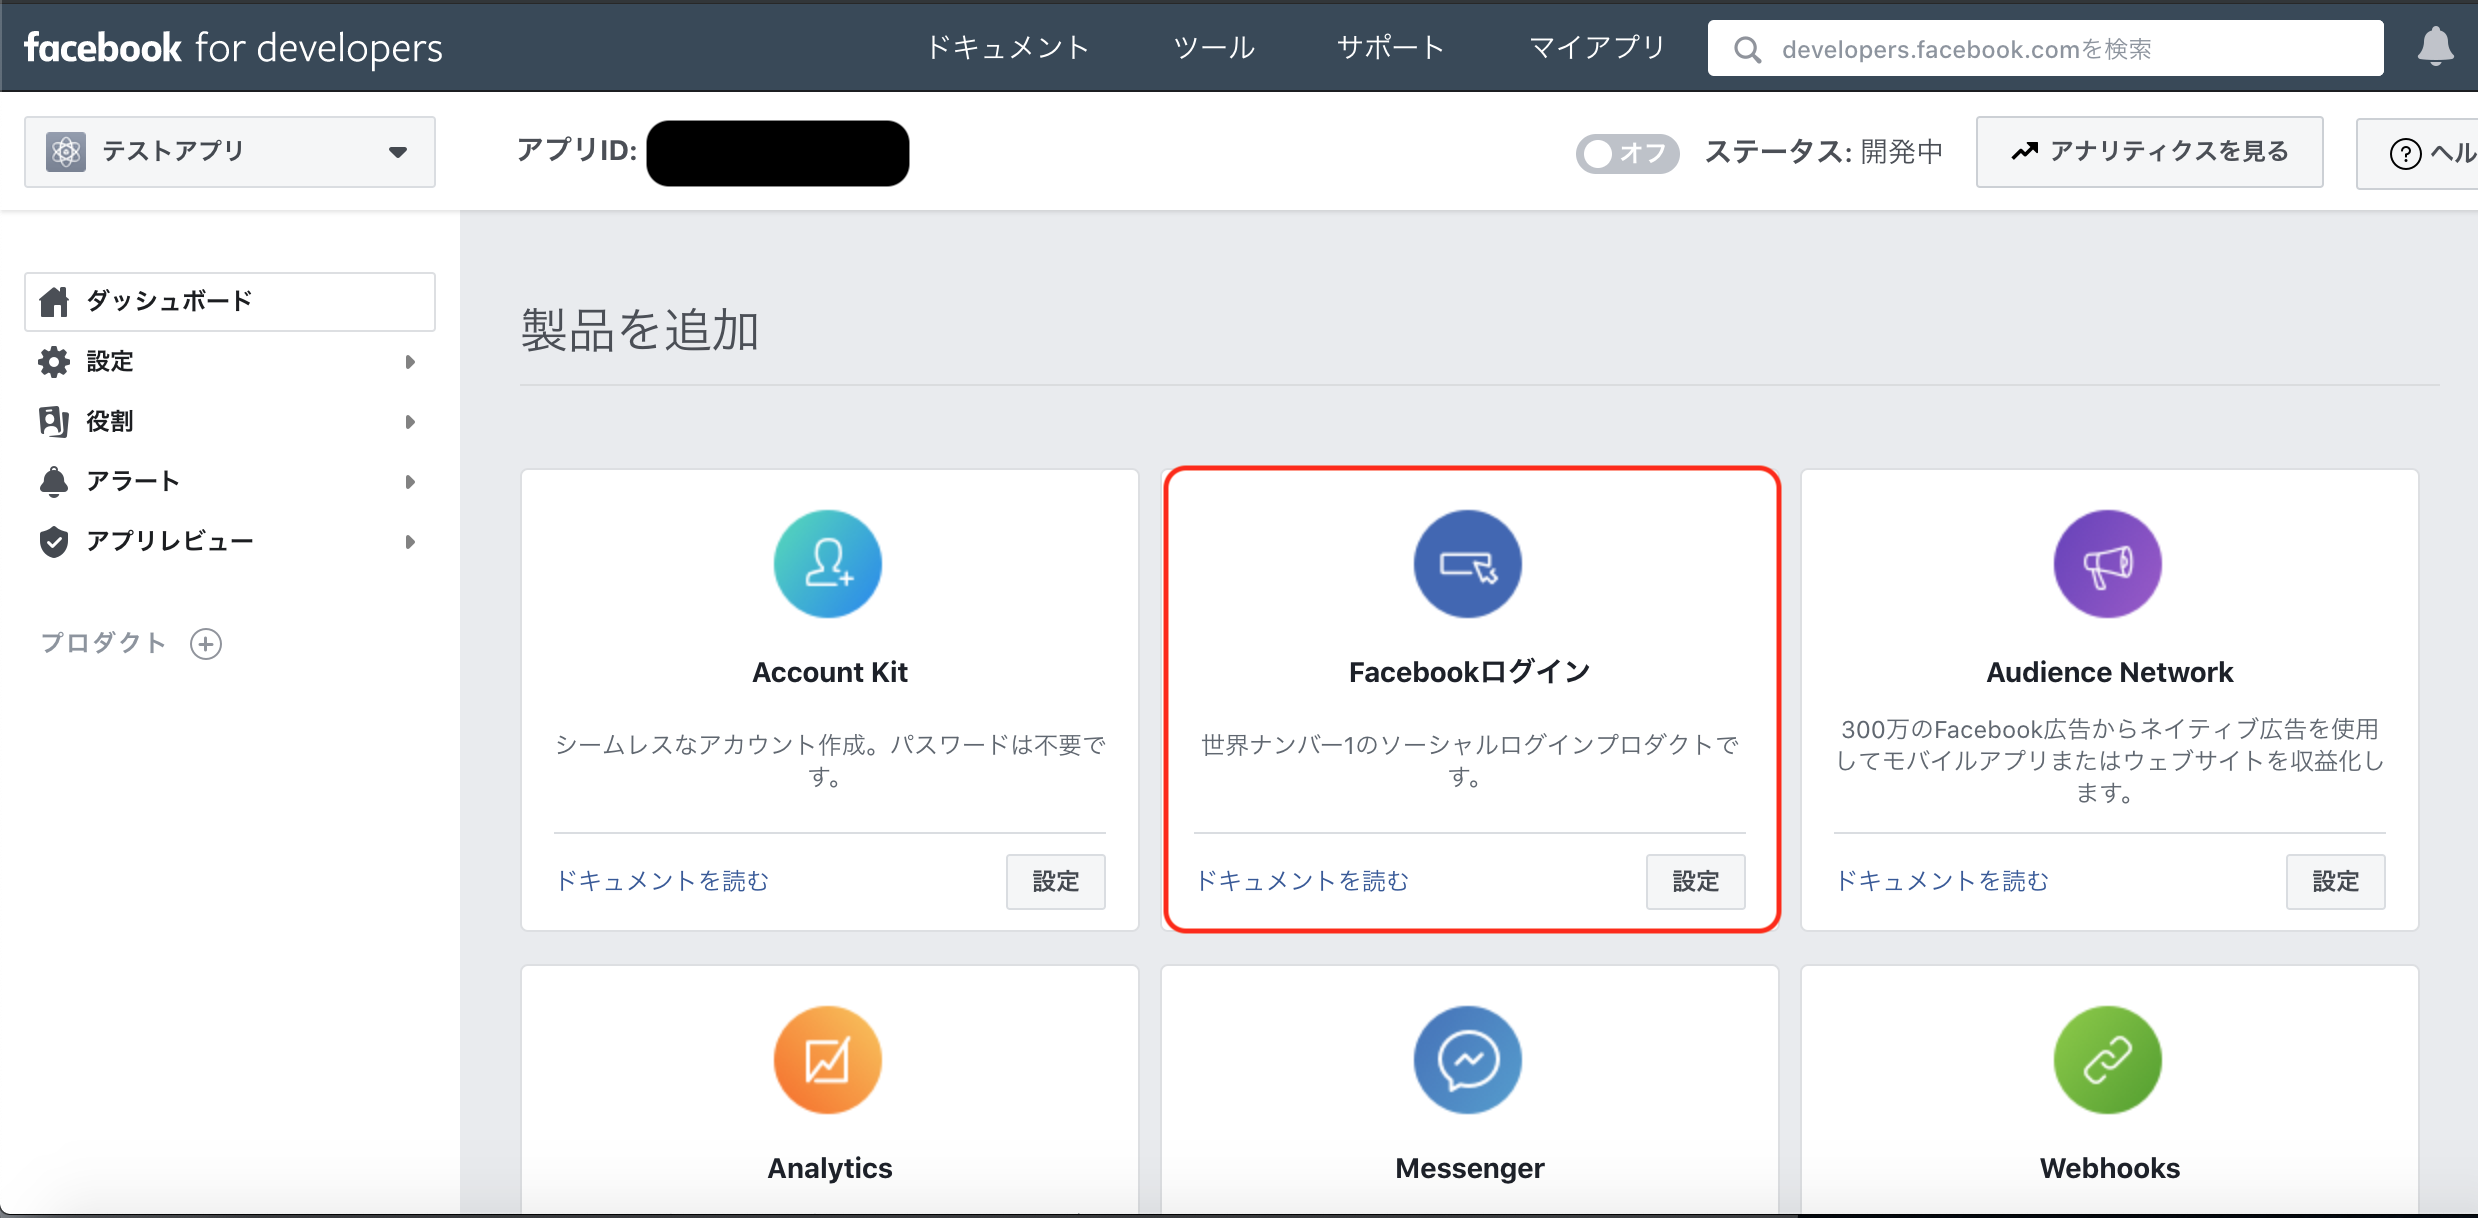
続いて、プロダクトのログイン設定を行います。
画面左側のプロダクトを選択します。

今回は、iOSアプリでログインをするので、一番左側の「iOS」を選択します。

④Xcodeでビルド設定
手順に従って、Facebookログインを使用する設定を行います。
pod 'FBSDKLoginKit'
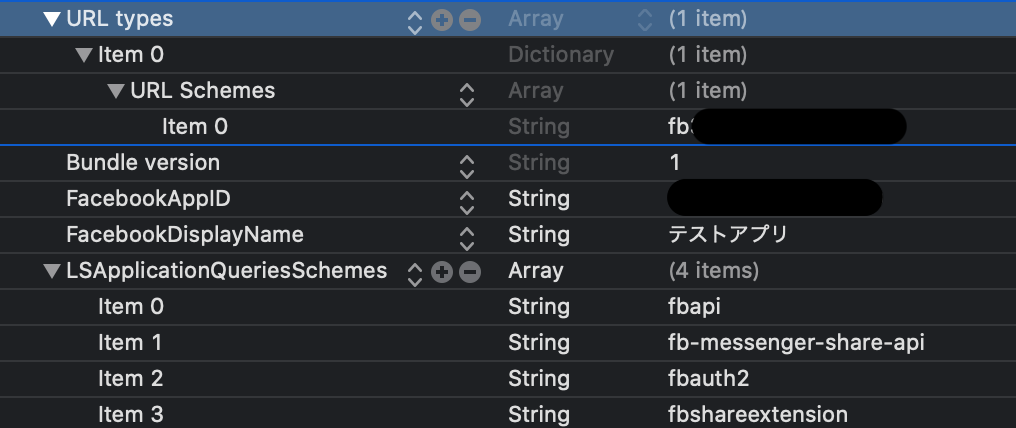
info.plistに以下の内容を追加します。
    <key>CFBundleURLTypes</key>
    <array>
        <dict>
            <key>CFBundleURLSchemes</key>
            <array> <string>fb1234567890</string></array>
        </dict>
    </array>
    <key>FacebookAppID</key>
    <string>1234567890</string>
    <key>FacebookDisplayName</key>
    <string>テストアプリ</string>
続いて、手順に従って以下も追記します。
    <key>LSApplicationQueriesSchemes</key>
    <array> <string>fbapi</string>
        <string>fb-messenger-share-api</string>
        <string>fbauth2</string>
        <string>fbshareextension</string>
    </array>
テキスト編集を終えてリストで見ると、plistはこんな感じになってます。
フラグ-ObjCを[Other Linker Flags]に追加します。

⑤実装
ビルド設定が終わったら、実装をします。
AppDelegateに以下のコードを追加します。
import UIKit
import FBSDKCoreKit

@UIApplicationMain
class AppDelegate: UIResponder, UIApplicationDelegate {

    var window: UIWindow?

    func application(_ application: UIApplication,didFinishLaunchingWithOptions launchOptions: [UIApplication.LaunchOptionsKey: Any]?) -> Bool {
        return ApplicationDelegate.shared.application(application, didFinishLaunchingWithOptions: launchOptions)
    }

    func application(_ application: UIApplication,open url: URL,sourceApplication: String?,annotation: Any) -> Bool {
        return ApplicationDelegate.shared.application(application, open: url, sourceApplication: sourceApplication, annotation: annotation)
    }

    func applicationDidBecomeActive(_ application: UIApplication) {
        AppEvents.activateApp()
    }

}
実装内容は以下のような感じになりました。
import UIKit
import FBSDKLoginKit

class ViewController: UIViewController, LoginButtonDelegate {

    // ユーザープロフィール
    var userProfile : NSDictionary = [:]

    override func viewDidLoad() {
        super.viewDidLoad()

        // Facebookログイン用ボタンがSDKに用意されている
        let facebookLoginButton = FBLoginButton()
        // アクセス許可
        facebookLoginButton.permissions = ["public_profile", "email"]
        facebookLoginButton.center = self.view.center
        facebookLoginButton.delegate = self
        self.view.addSubview(facebookLoginButton)

        // ログイン済みかチェック
        checkloginFacebook()
    }

    /// ログインコールバック
    func loginButton(_ loginButton: FBLoginButton, didCompleteWith result: LoginManagerLoginResult?, error: Error?) {
        // エラーチェック
        if error == nil {
            // ログインがユーザーにキャンセルされたかどうか
            if result!.isCancelled {
                print("Login Cancel")

            } else {
                // ユーザープロフィールを保存
                self.saveUserData()
            }
        } else {
            print("Login Error")
        }
    }

    /// ログアウトコールバック
    func loginButtonDidLogOut(_ loginButton: FBLoginButton) {
        print("Logout")
    }

    /// ログイン済みかチェック
    func checkloginFacebook() {
        if let _ = AccessToken.current {
            print("Logged in")

        } else {
            print("Not Logged in")
        }
    }

    // 参考:SwiftでFacebookログインと情報取得の覚書
    // https://qiita.com/noranoko/items/e1406cdd957f439db066
    /// ユーザー情報を取得
    func saveUserData() {

        let graphRequest : GraphRequest =
            GraphRequest(graphPath: "me",
                         parameters: ["fields": "id, name, first_name, last_name, picture.type(large), email"])

        graphRequest.start(completionHandler: { (connection, result, error) -> Void in
            if ((error) != nil) {
                print("Error: \(String(describing: error))")
            } else {
                // プロフィール情報をディクショナリに入れる
                self.userProfile = (result as! NSDictionary)

                // 名前
                let name: String = self.userProfile.object(forKey: "name") as? String ?? ""
                // メールアドレス
                let mailAddress: String = self.userProfile.object(forKey: "email") as? String ?? ""
                // アイコン画像
                let picture: NSDictionary = self.userProfile.object(forKey: "picture") as! NSDictionary
                let data: NSDictionary = picture.object(forKey: "data") as! NSDictionary
                let pictureUrl: String = data.object(forKey: "url") as! String

                // UserDefaultsに保存
                UserDefaults.standard.set(name, forKey: Const.UserDefaults.kUserNameKey)
                UserDefaults.standard.set(mailAddress, forKey: Const.UserDefaults.kMailAddressKey)
                UserDefaults.standard.set(pictureUrl, forKey: Const.UserDefaults.kPictureKey)

                // 画面遷移
                self.transitionSecondView()
            }
        })
    }

    /// 画面遷移
    func transitionSecondView() {
        self.performSegue(withIdentifier: "segue", sender: nil)
    }
}
プロフィール情報は、UserDefaultsに保存しています。
UserDefaultsのキーはConstに定義しています。
struct Const {
    struct UserDefaults {
        /// ユーザー名
        static let kUserNameKey: String =  "UserNameKey"
        /// メールアドレス
        static let kMailAddressKey: String = "MailAddressKey"
        /// アイコン画像
        static let kPictureKey: String =  "PictureKey"
    }
}
※ソースコードはツッコミどころばかりだと思うので、あまり参考にしないでください(とりあえず動くレベルです。)
import  UIKit

final class SecondViewController: UIViewController {

    /// アイコン画像
    @IBOutlet weak var userImageView: UIImageView! {
        didSet {
            if let pictureUrl = UserDefaults.standard.object(forKey: Const.UserDefaults.kPictureKey) {
                do {
                    let pictureUrlString = pictureUrl as! String
                    if let url = URL(string: pictureUrlString) {
                        let data = try Data(contentsOf: url)
                        let image = UIImage(data: data)
                        self.userImageView.image = image
                    }
                } catch let err {
                    print("Error : \(err.localizedDescription)")
                }
            }
        }
    }

    /// ユーザー名
    @IBOutlet weak var nameLabel: UILabel! {
        didSet {
            self.nameLabel.text = (UserDefaults.standard.object(forKey: Const.UserDefaults.kUserNameKey)) as? String
        }
    }

    /// メールアドレス
    @IBOutlet weak var mailAddressLabel: UILabel! {
        didSet {
            self.mailAddressLabel.text = (UserDefaults.standard.object(forKey: Const.UserDefaults.kMailAddressKey)) as? String
        }
    }
}
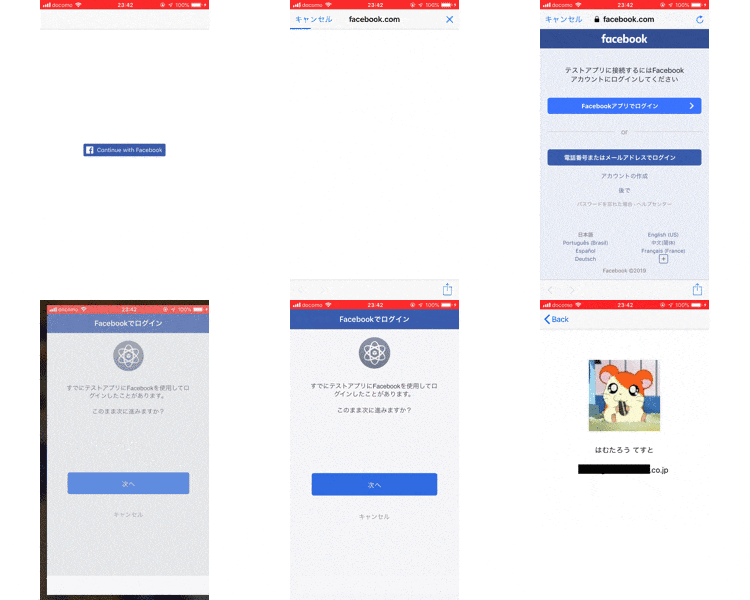
ログインしてプロフィール情報(トークン)を取得したら画面遷移して表示するといった流れです。
ここまで実装が完了したら、早速アプリを起動してみます。
⑥ログインしてみる
アプリを起動してみます。
起動すると、Facebookのログイン画面が起動されるので、ユーザー情報を入力してログインします。
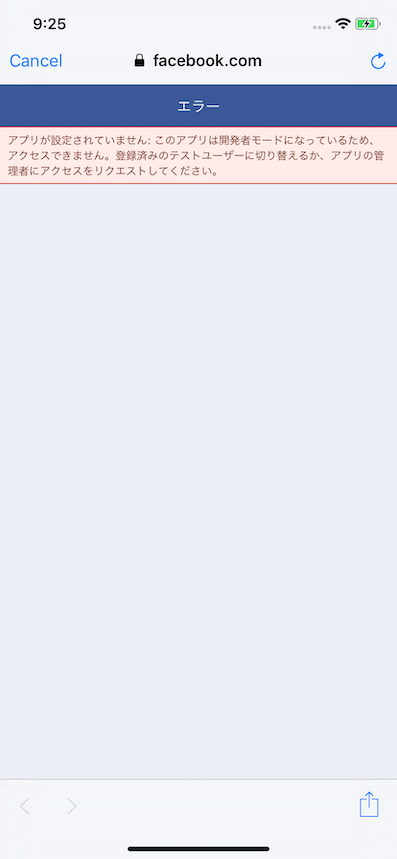
しかし、「このアプリは開発者モードになっているため、アクセスできません。」と表示されてしまいます。
そこで、Facebookの設定で、開発者モードをライブモードに変更します。
⑦ライブモード設定に変更する
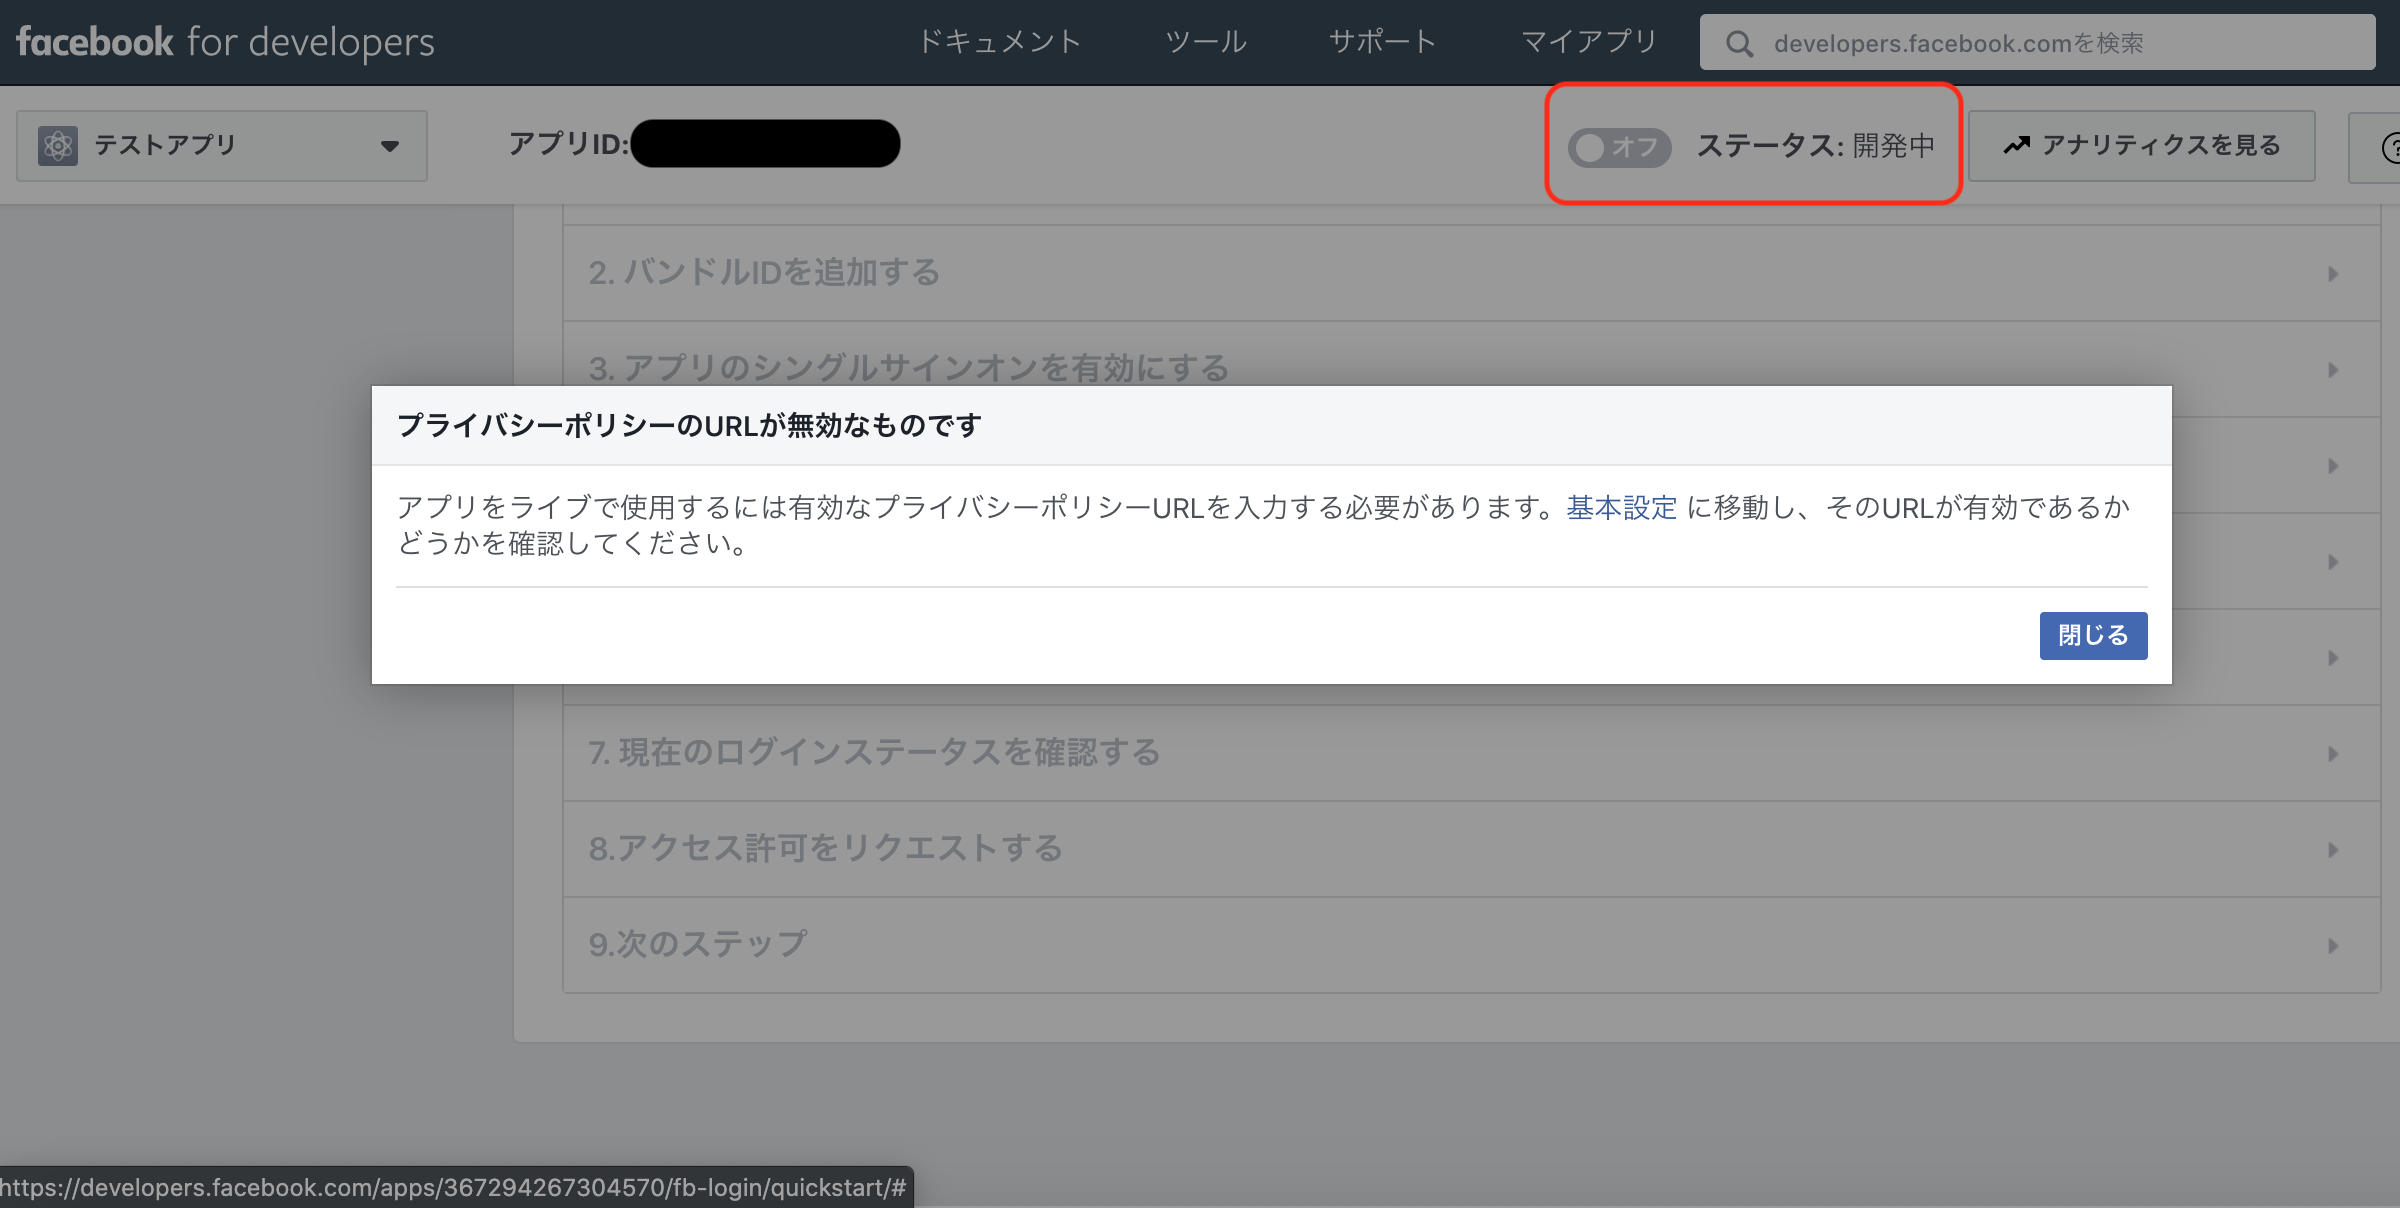
プライバシーポリシーのURLを設定していないと、以下のようなエラーが表示されます。
Facebookログインするには、プライバシーポリシーのURLの設定をするしかありません。
※今回は、仮でhttps://www.google.com/ を設定しました。
設定が完了したら、もう一度開発者モードを変更してみましょう。
カテゴリを選択して「承認」ボタンを押下します。
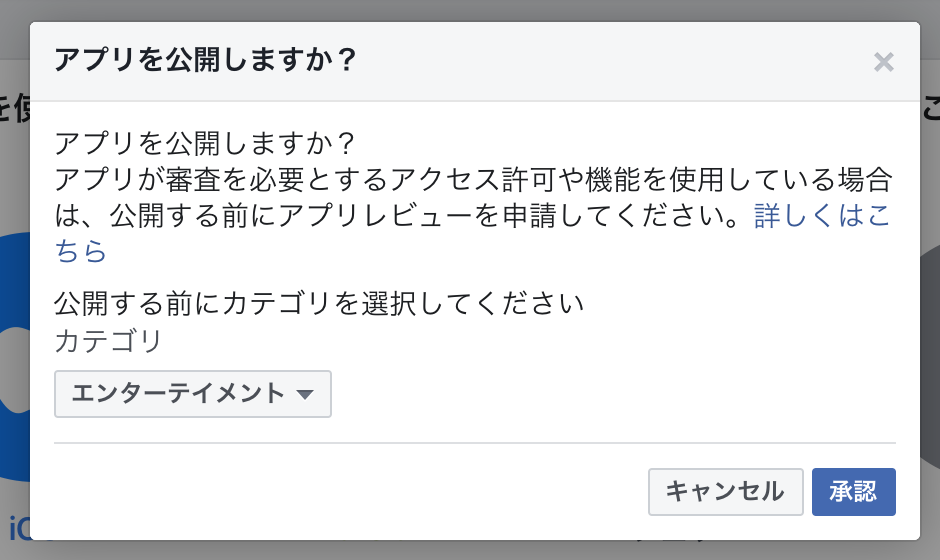

ステータスが、「ライブ」になると、ログインができるようになります。
アプリ上で、一度でもFacebookにログインすると、

Facebookログインの左側のチェックマークが緑色になります。
まとめ
以上が、Facebookのログインの大まかな手順になります。
Cognitoなど別のサービスが関わってくると、実装内容やSDKの使用の有無も変わってきますので、注意が必要です。
FacebookSDK自体は比較的使いやすい印象でした♪
ご指摘事項などありましたら、コメントいただけると幸いです。
