環境
Xcode 9.0
iOS 11.0.1
Swift version 4.0
FacebookSDKs-iOS-4.27.0
まずはじめにやっていただきたい
Facebookデベロッパーになっていない方はなりましょう。
https://developers.facebook.com/
アプリを追加してAppIDとアプリ名を控えておいてください。
FacebookSDKをダウンロード
https://developers.facebook.com/docs/ios/downloads
「FacebookSDKs-iOS-x.x.x.zip」をわかりやすく"~/Documents/"に解凍して名前を「FacebookSDK」にしてみる。
ということで解凍したフォルダ"~/Documents/FacebookSDK/"を見てみると中に「FBSDKほにゃらら.framework」とかたくさん入ってます。
これで下準備はOK
テストプロジェクトを作りたい
Xcodeで新規の「Single View App」のiOSプロジェクトを作りましょう。
私の方では「FacebookLoginTest」という名前で進めて行きます。
FacebookSDKを読み込みたい
プロジェクトの「General」内にある「Linked Frameworks and Libraries」に、先ほどダウンロードして解凍したFacebookSDK内の
「FBSDKLoginKit.framework」
「FBSDKCoreKit.framework」
を追加しましょう。

次にプロジェクトの「Build Settings」内にある「Framework Search Paths」に
"~/Documents/FacebookSDK"を追加しましょう。

info.plistを編集していただきたい
次に「info.plist」のコードを開いて下記をdict内に追加しましょう。
<key>CFBundleURLTypes</key>
<array>
  <dict>
  <key>CFBundleURLSchemes</key>
  <array>
    <string>fbさっき控えたアプリID</string>
  </array>
  </dict>
</array>
<key>FacebookAppID</key>
<string>さっき控えたアプリID</string>
<key>FacebookDisplayName</key>
<string>さっき控えたアプリ名</string>
<key>LSApplicationQueriesSchemes</key>
<array>
  <string>fbapi</string>
  <string>fb-messenger-api</string>
  <string>fbauth2</string>
  <string>fbshareextension</string>
</array>
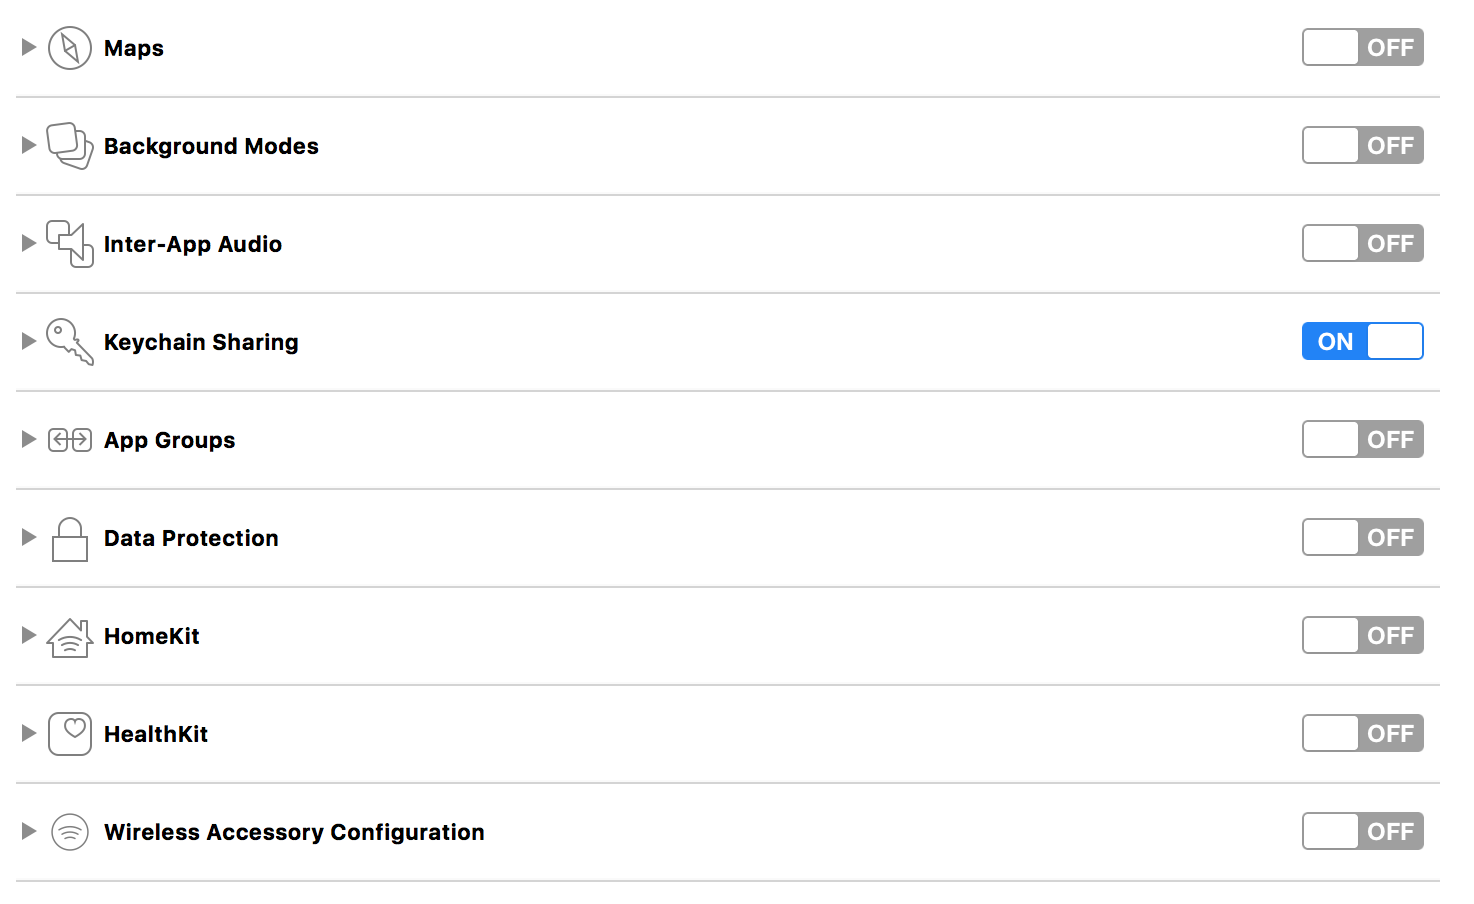
キーチェーンシェアリングをONにしたい
プロジェクトの「capabilities」内にある「Keychain Sharing」をONにしましょう。
FacebookSDKはキーチェーンにアクセスするらしいので。

いよいよコーディングをしたい
AppDelegate.swift
FacebookSDKをまずimport
import FBSDKCoreKit
AppDelegate.swift内のメソッドを全てコメントアウトしちゃいましょう。
そして以下をAppDelegate.swift内にコピペしましょう。
func application(_ application: UIApplication,didFinishLaunchingWithOptions launchOptions: [UIApplicationLaunchOptionsKey: Any]?) -> Bool {
        return FBSDKApplicationDelegate.sharedInstance().application(application, didFinishLaunchingWithOptions: launchOptions)
}

func application(_ application: UIApplication,open url: URL,sourceApplication: String?,annotation: Any) -> Bool {
        return FBSDKApplicationDelegate.sharedInstance().application(application, open: url, sourceApplication: sourceApplication, annotation: annotation)
}

func applicationDidBecomeActive(_ application: UIApplication) {
        FBSDKAppEvents.activateApp()
}
おまじないみたいなものです。
ViewController.swift
FacebookSDKをまずimport
こっちはログイン系のframework「FBSDKLoginKit」もimport
import FBSDKCoreKit
import FBSDKLoginKit
「Facebookでログイン」用のDelegate「FBSDKLoginButtonDelegate」を継承
class ViewController: UIViewController,FBSDKLoginButtonDelegate {
// ログインのコールバック
func loginButton(_ loginButton: FBSDKLoginButton!, didCompleteWith result: FBSDKLoginManagerLoginResult!, error: Error!) {
}

// ログアウトのコールバック
func loginButtonDidLogOut(_ loginButton: FBSDKLoginButton!) {
}
Facebookログイン用ボタンがSDKに用意されているので、そちらを使用してみます。
let fbLoginBtn = FBSDKLoginButton()
fbLoginBtn.readPermissions = ["public_profile", "email"]
fbLoginBtn.center = self.view.center
fbLoginBtn.delegate = self
self.view.addSubview(fbLoginBtn)
これで画面のど真ん中にボタンが追加されます。
fbLoginBtn.readPermissions = ["public_profile", "email"]
配列の中には使用したいFacebookの情報の名前を入れるみたいです。
["public_profile", "email","user_friends"]
ってやったら友達リストの情報ゲットできるらしいです。(試してません)
すでにログインしている時はログインすっ飛ばして次の画面に行きたいですよね。
そんな時は
FBSDKAccessToken.current()
がnilかどうかで判定しましょう。
これらを組み合わせて、
- 起動
- すでにログインしているかチェック (ログイン済みなら5へ)
- していなければログインボタン表示
- ログインボタンでログインする
- モーダル表示でTOP画面を表示する
をやっていきます。
import UIKit
import FBSDKCoreKit
import FBSDKLoginKit
class ViewController: UIViewController,FBSDKLoginButtonDelegate {

    override func viewDidLoad() {
        super.viewDidLoad()
    }

    override func viewDidAppear(_ animated: Bool) {
//        ログイン済みかチェック
        if let _ = FBSDKAccessToken.current() {
//            画面遷移
            performSegue(withIdentifier: "modalTop", sender: self)
        }else{
//            FBログインボタン設置
            let fbLoginBtn = FBSDKLoginButton()
            fbLoginBtn.readPermissions = ["public_profile", "email"]
            fbLoginBtn.center = self.view.center
            fbLoginBtn.delegate = self
            self.view.addSubview(fbLoginBtn)
        }
    }

    override func didReceiveMemoryWarning() {
        super.didReceiveMemoryWarning()
    }

//    ログインコールバック
    func loginButton(_ loginButton: FBSDKLoginButton!, didCompleteWith result: FBSDKLoginManagerLoginResult!, error: Error!) {
//        エラーチェック
        if error == nil {
//            キャンセルしたかどうか
            if result.isCancelled {
                print("キャンセル")
            }else{
//                画面遷移
                performSegue(withIdentifier: "modalTop", sender: self)
            }
        }else{
            print("エラー")
        }
    }

//    ログアウトコールバック
    func loginButtonDidLogOut(_ loginButton: FBSDKLoginButton!) {

    }

}
performSegue(withIdentifier: "modalTop", sender: self)
これがTOP画面に遷移するセグエです。
とりあえずこれでFacebookでログインは実装できました。
終わりに
初めての投稿でしたが、こうやって書きながらアプリを作ってると覚えますね!
他の「○○でログイン」も調べてみたいと思います!
ご意見ご感想はコメントまでお願いします。