AWS AmplifyとはWebフロントエンド、モバイルアプリの開発を行うことが出来るプラットフォームです。 サーバーレスなバックエンドの構築をするためのCLIやバックエンドと接続するためのクライアントライブラリを持っています。
中でもAWS Amplify Hostingは流行りのフロントエンドアプリを公開するには手軽で良いツールです。
Vercelとかだともっと簡単に公開できますが、やはり公開するならAWSでというときには便利ですね。
CI機能もあり、サーバーのスケールアウト(複数台数に増加)もできるというAmplify HostingはAWSならではの便利機能が詰まったホスティングサービスと言えます。
自分でNuxt3のアプリケーション作ったら、ぜひ載せてみましょう。
私も色々見ながらやったけどメチャクチャ失敗して、最後にはAWS Loftまで行ってソリューションアーキテクトの世話になってようやく習得しましたのでその内容を公開します。
参考: https://docs.amplify.aws/guides/hosting/nuxt/q/platform/js/#getting-started
※ここにはyarnを使ったインストール方法が出ているが、今回はnpmでのビルド方法にしてみた(お好みで)
Nuxt アプリ作成
- 自分のPCで以下を実行
- node.jsがインストールされている前提
- nuxt-appは好きなアプリ名に
> npx nuxi init nuxt-app
Need to install the following packages:
  nuxi@3.0.0-rc.12
Ok to proceed? (y) y
Nuxi 3.0.0-rc.12
✨ Nuxt project is created with v3 template. Next steps:
 › cd nuxt-app
 › Install dependencies with npm install or yarn install or pnpm install --shamefully-hoist
 › Start development server with npm run dev or yarn dev or pnpm run dev
Github(BitbucketなどでもOK)レポジトリ化
- githubにアカウント作成
- 新規リポジトリ作成
- 作成時に表示された手順(git init〜git push)で自分のPC内のアプリケーションをPush
※画面などは省略
AWS Amplifyで諸々設定
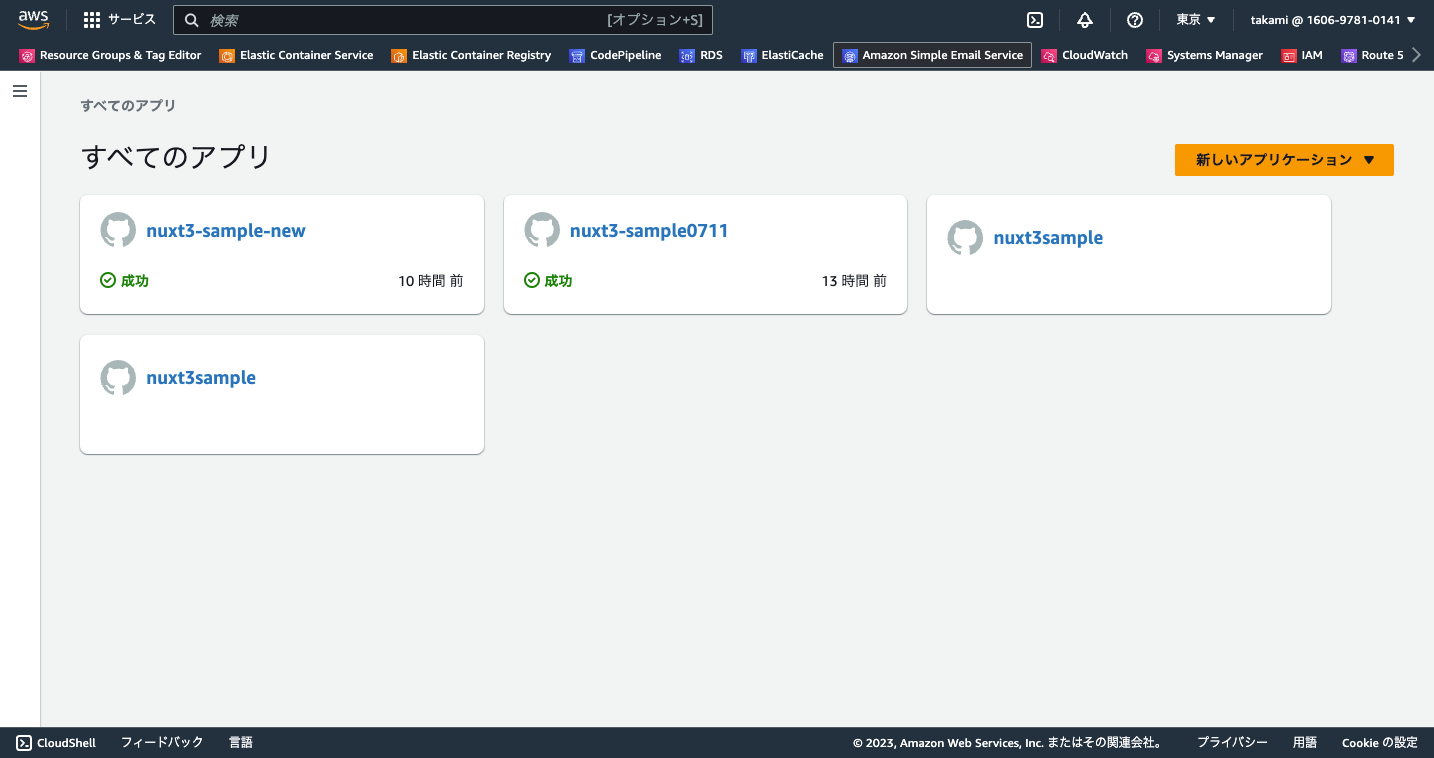
新しいアプリケーションを作成
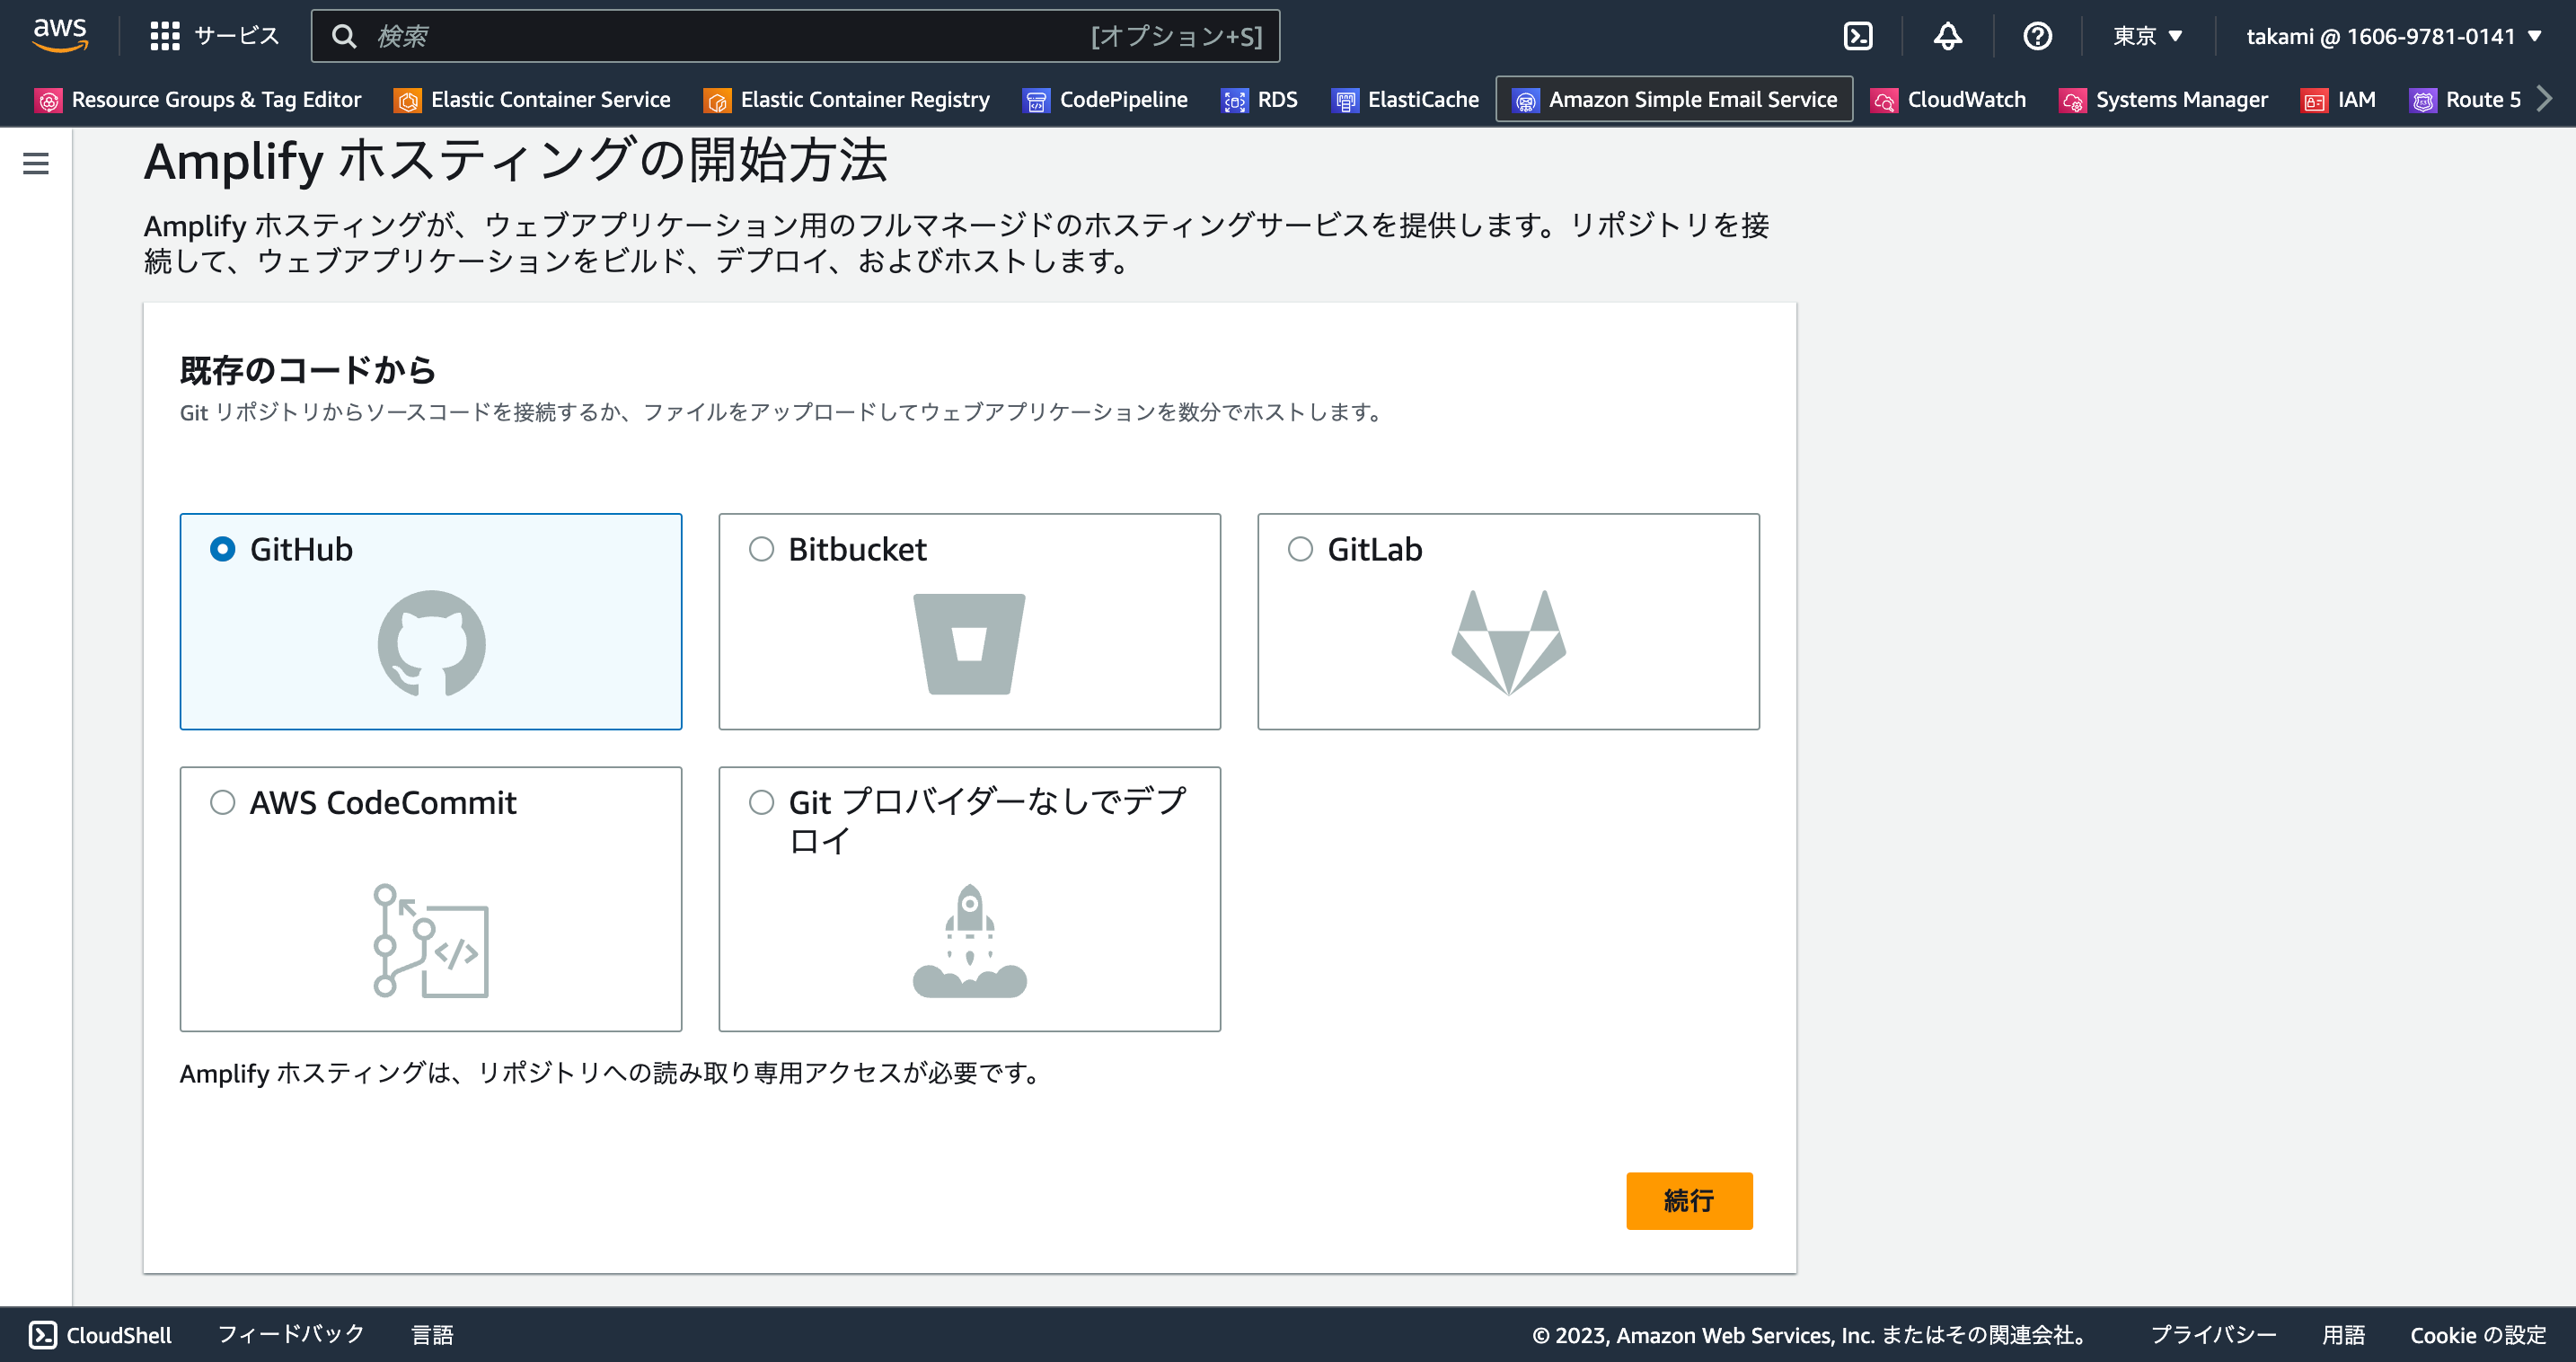
※「ウェブアプリケーションをホスト」を選択
Github(自分のソースホストしているツール)を選択
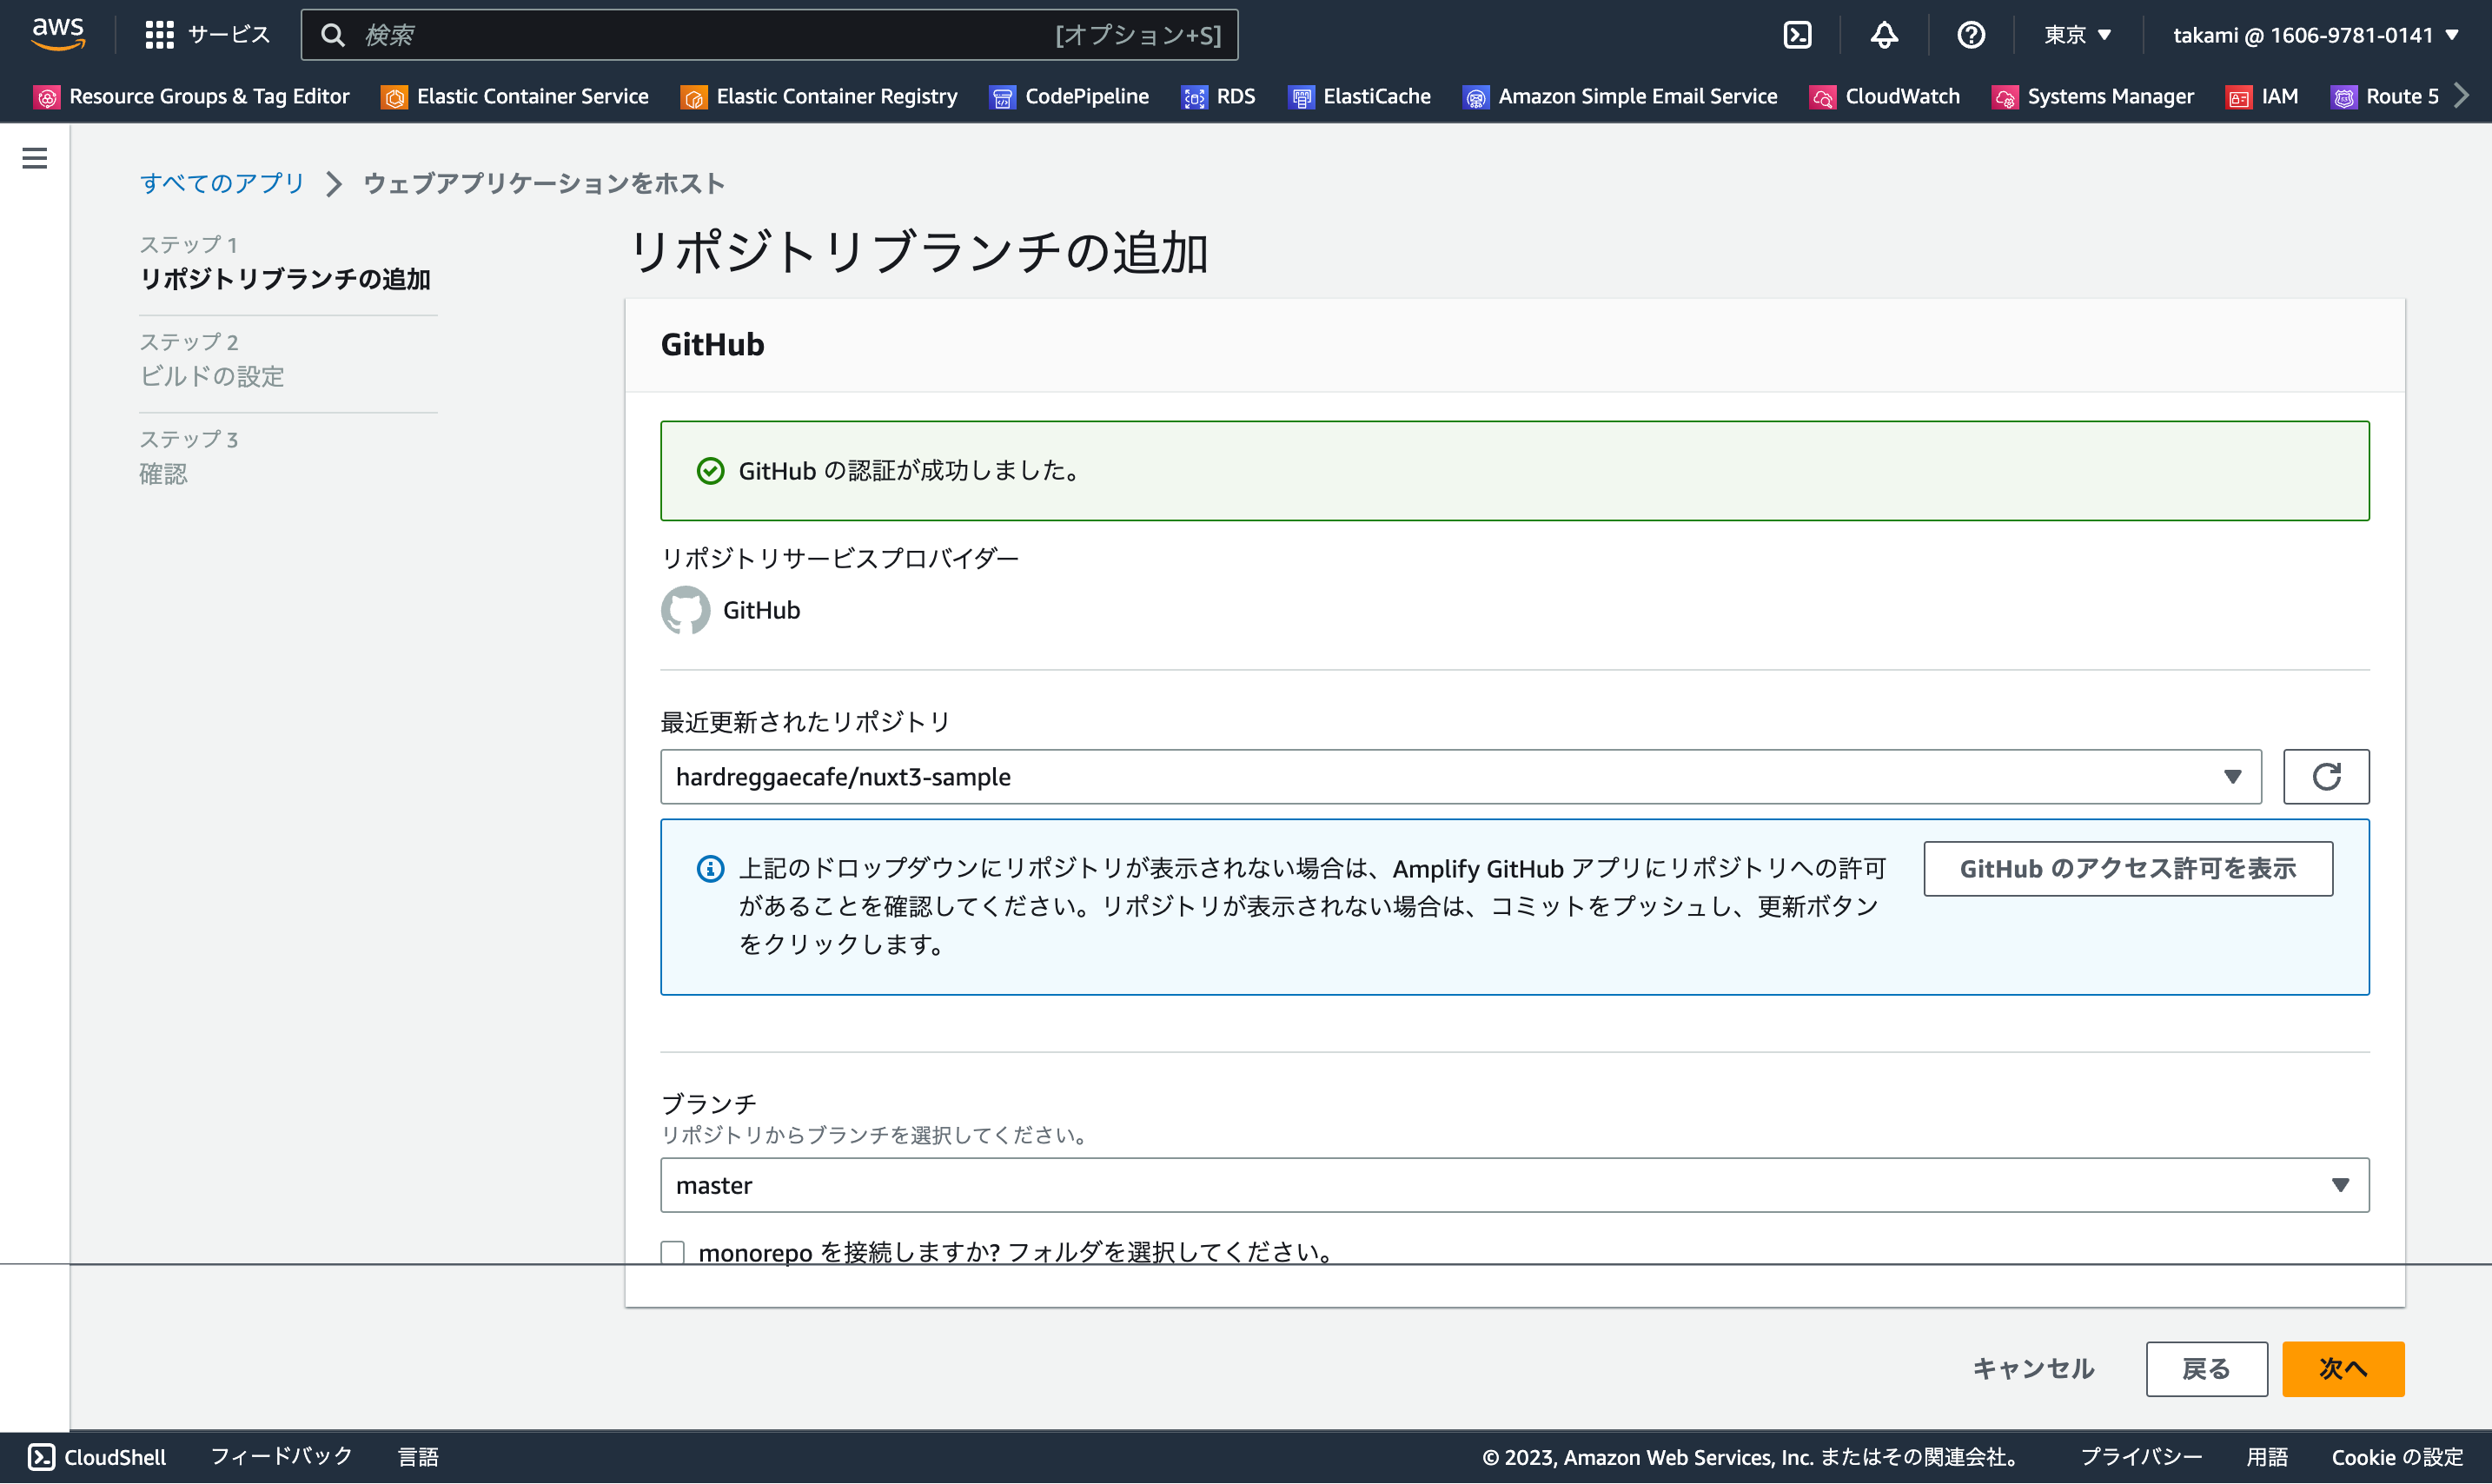
Github認証を行った後に連携するリポジトリとブランチを選択
ビルドコマンドの編集と環境変数の追加を行う

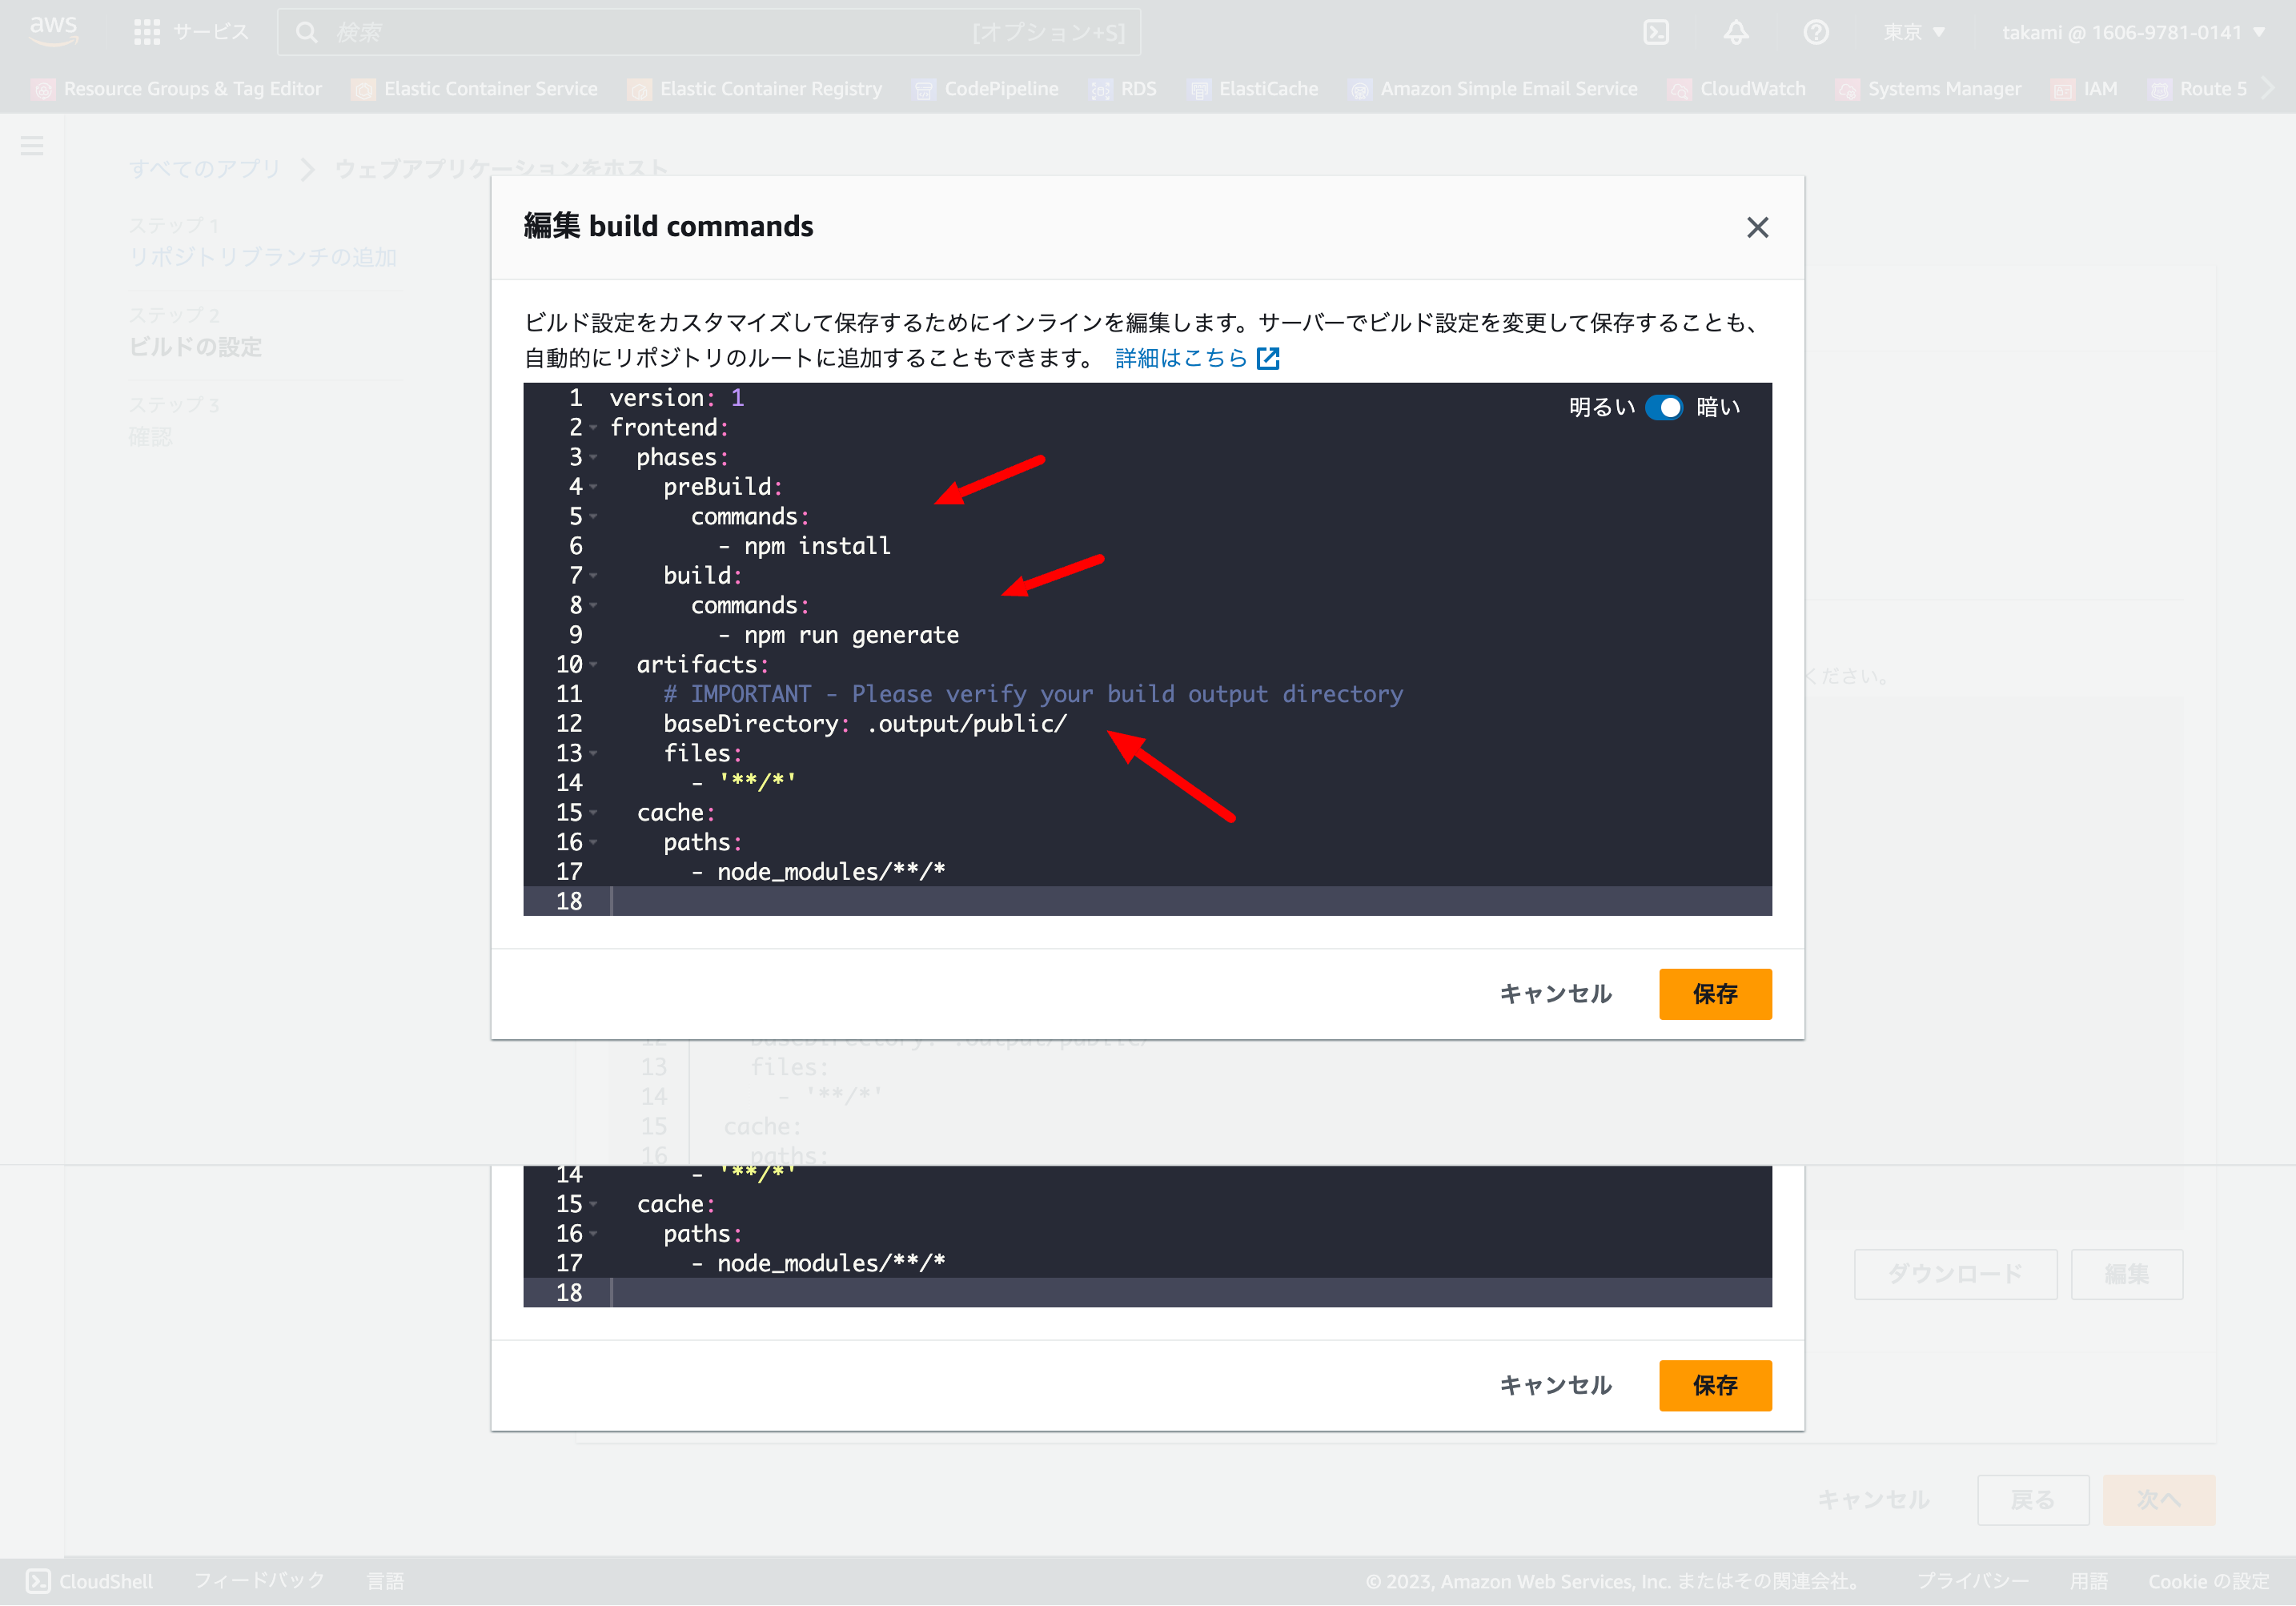
ビルドコマンドの編集を行う
- prebuildは
npm install - build commandsは
npm run generateに変更※ - baseDirectoryは
.output/public/に変更※
※実行コマンドの違い
// ビルド
$ npm run build
$ npx nuxt build

// 開発サーバー起動(自分のローカルでテストする場合)
$ npm run dev
$ npx nuxt dev

// SSG(今回サーバーに上げる際に使ったコマンド)
$ npm run generate
$ npx nuxt generate

// ビルド後のプレビュー
$ npm run preview
$ npx nuxt preview
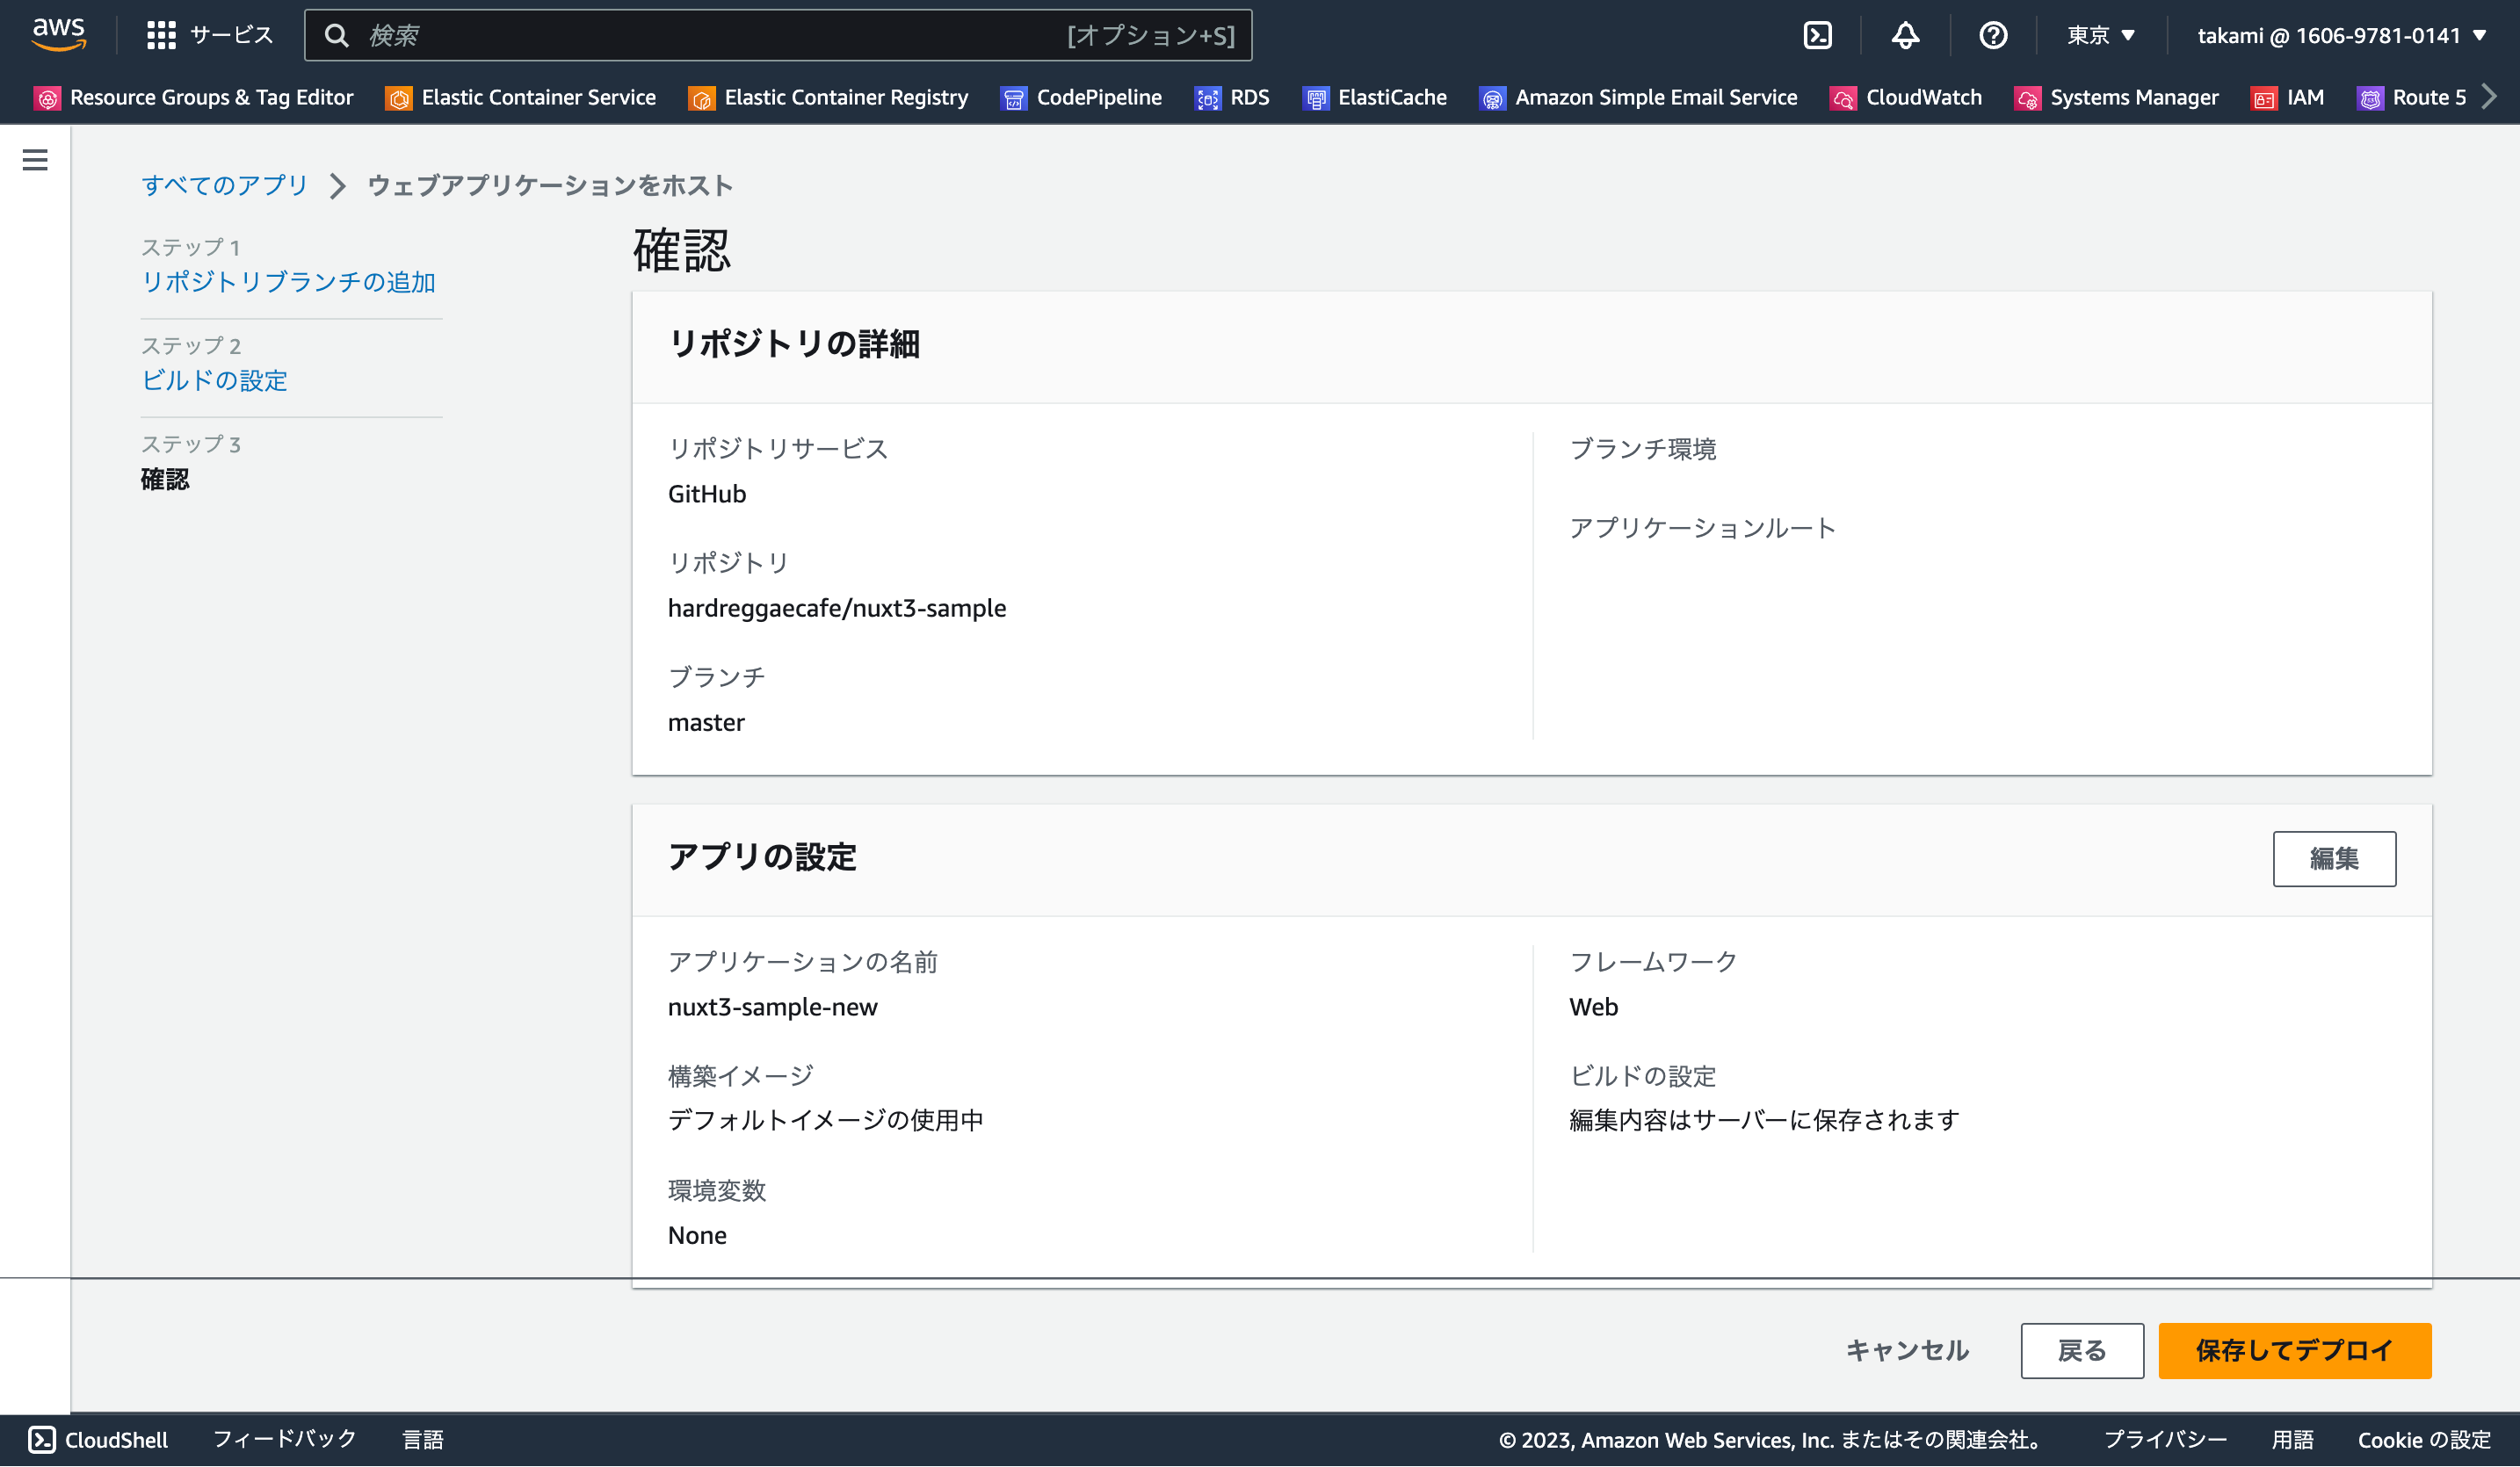
設定を最終確認して「保存してデプロイ」
デプロイ中
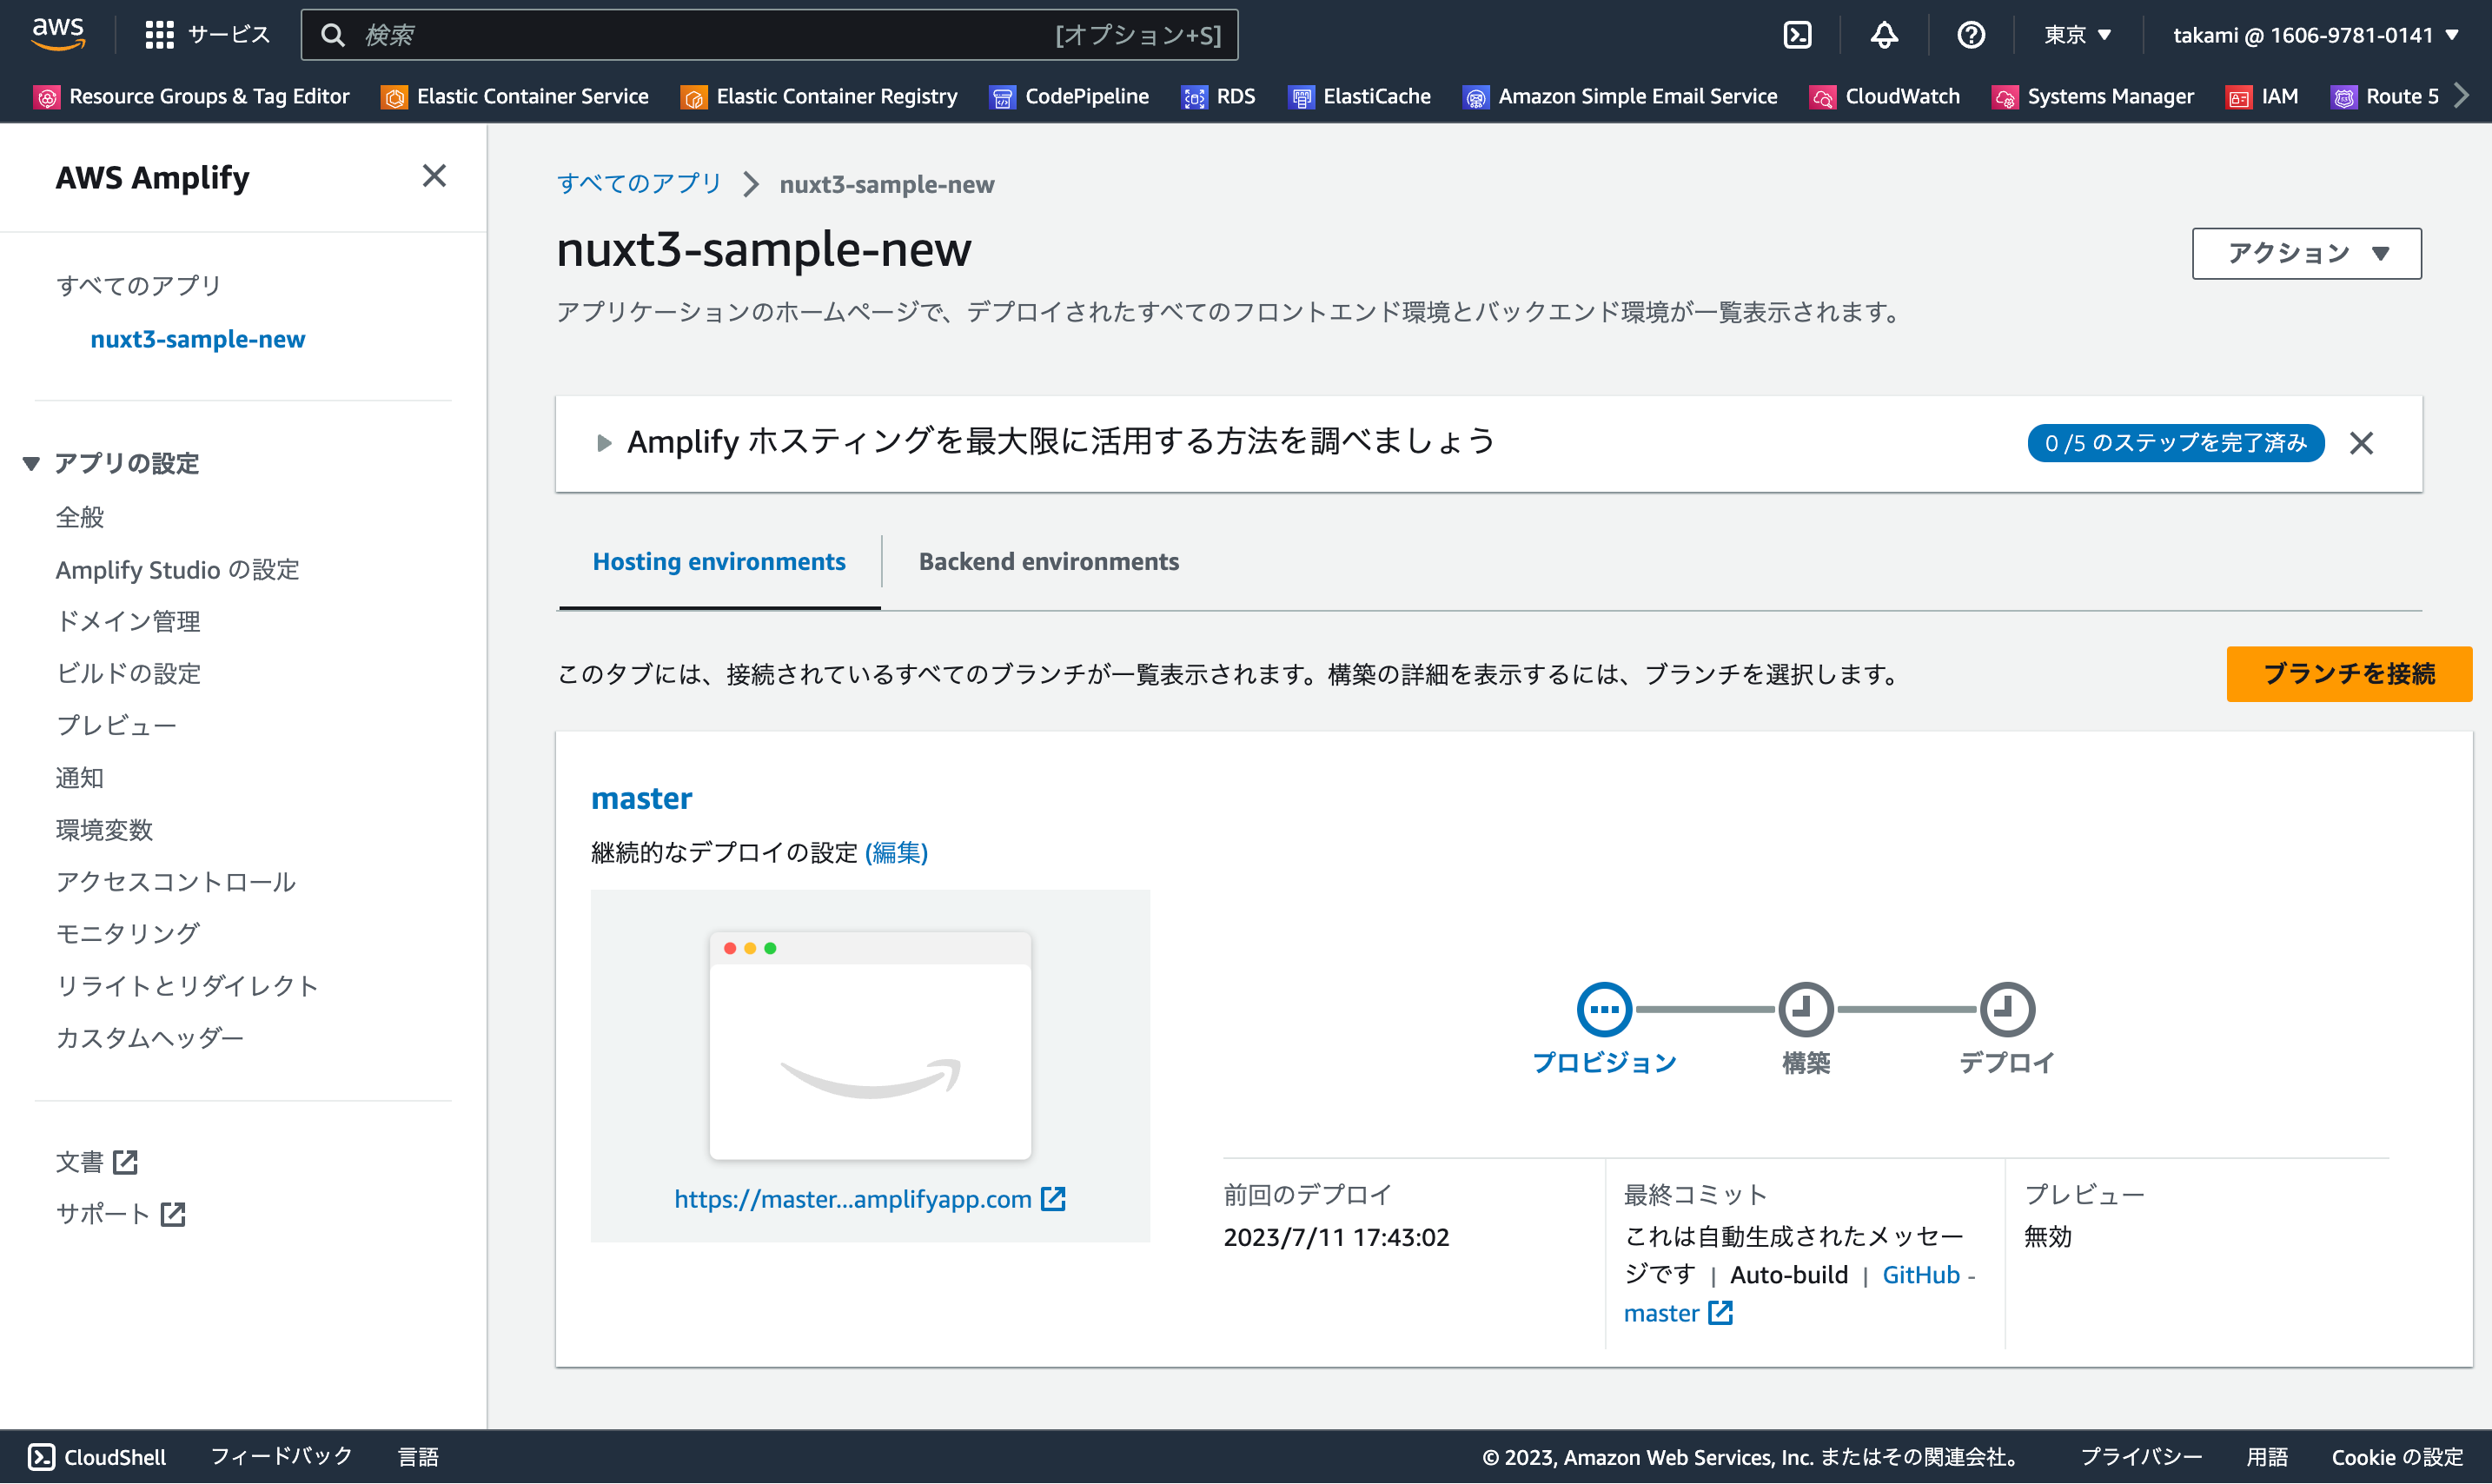
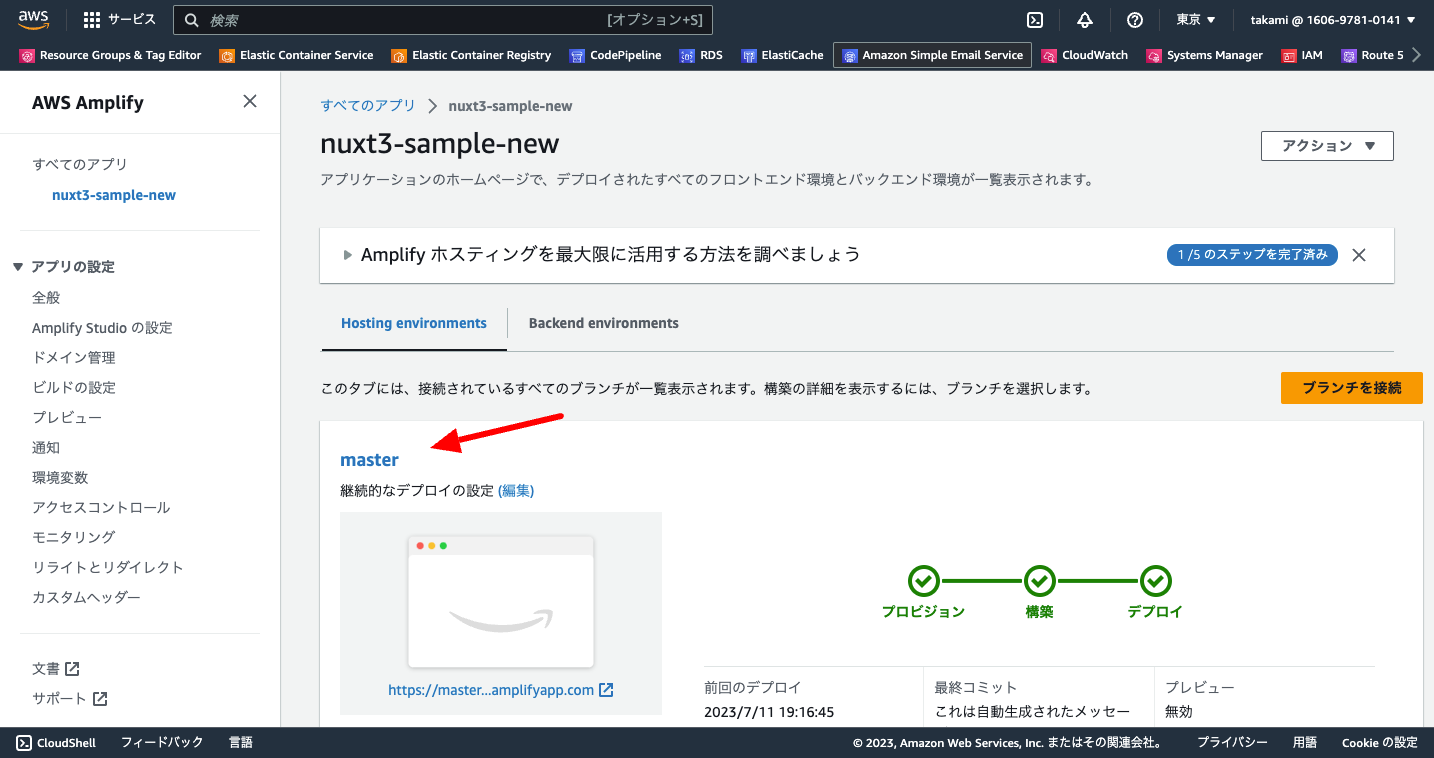
完了したら詳細画面の「ドメイン」のURLで表示確認を行う
↓↓↓↓↓↓↓↓↓↓↓↓↓↓↓↓↓↓
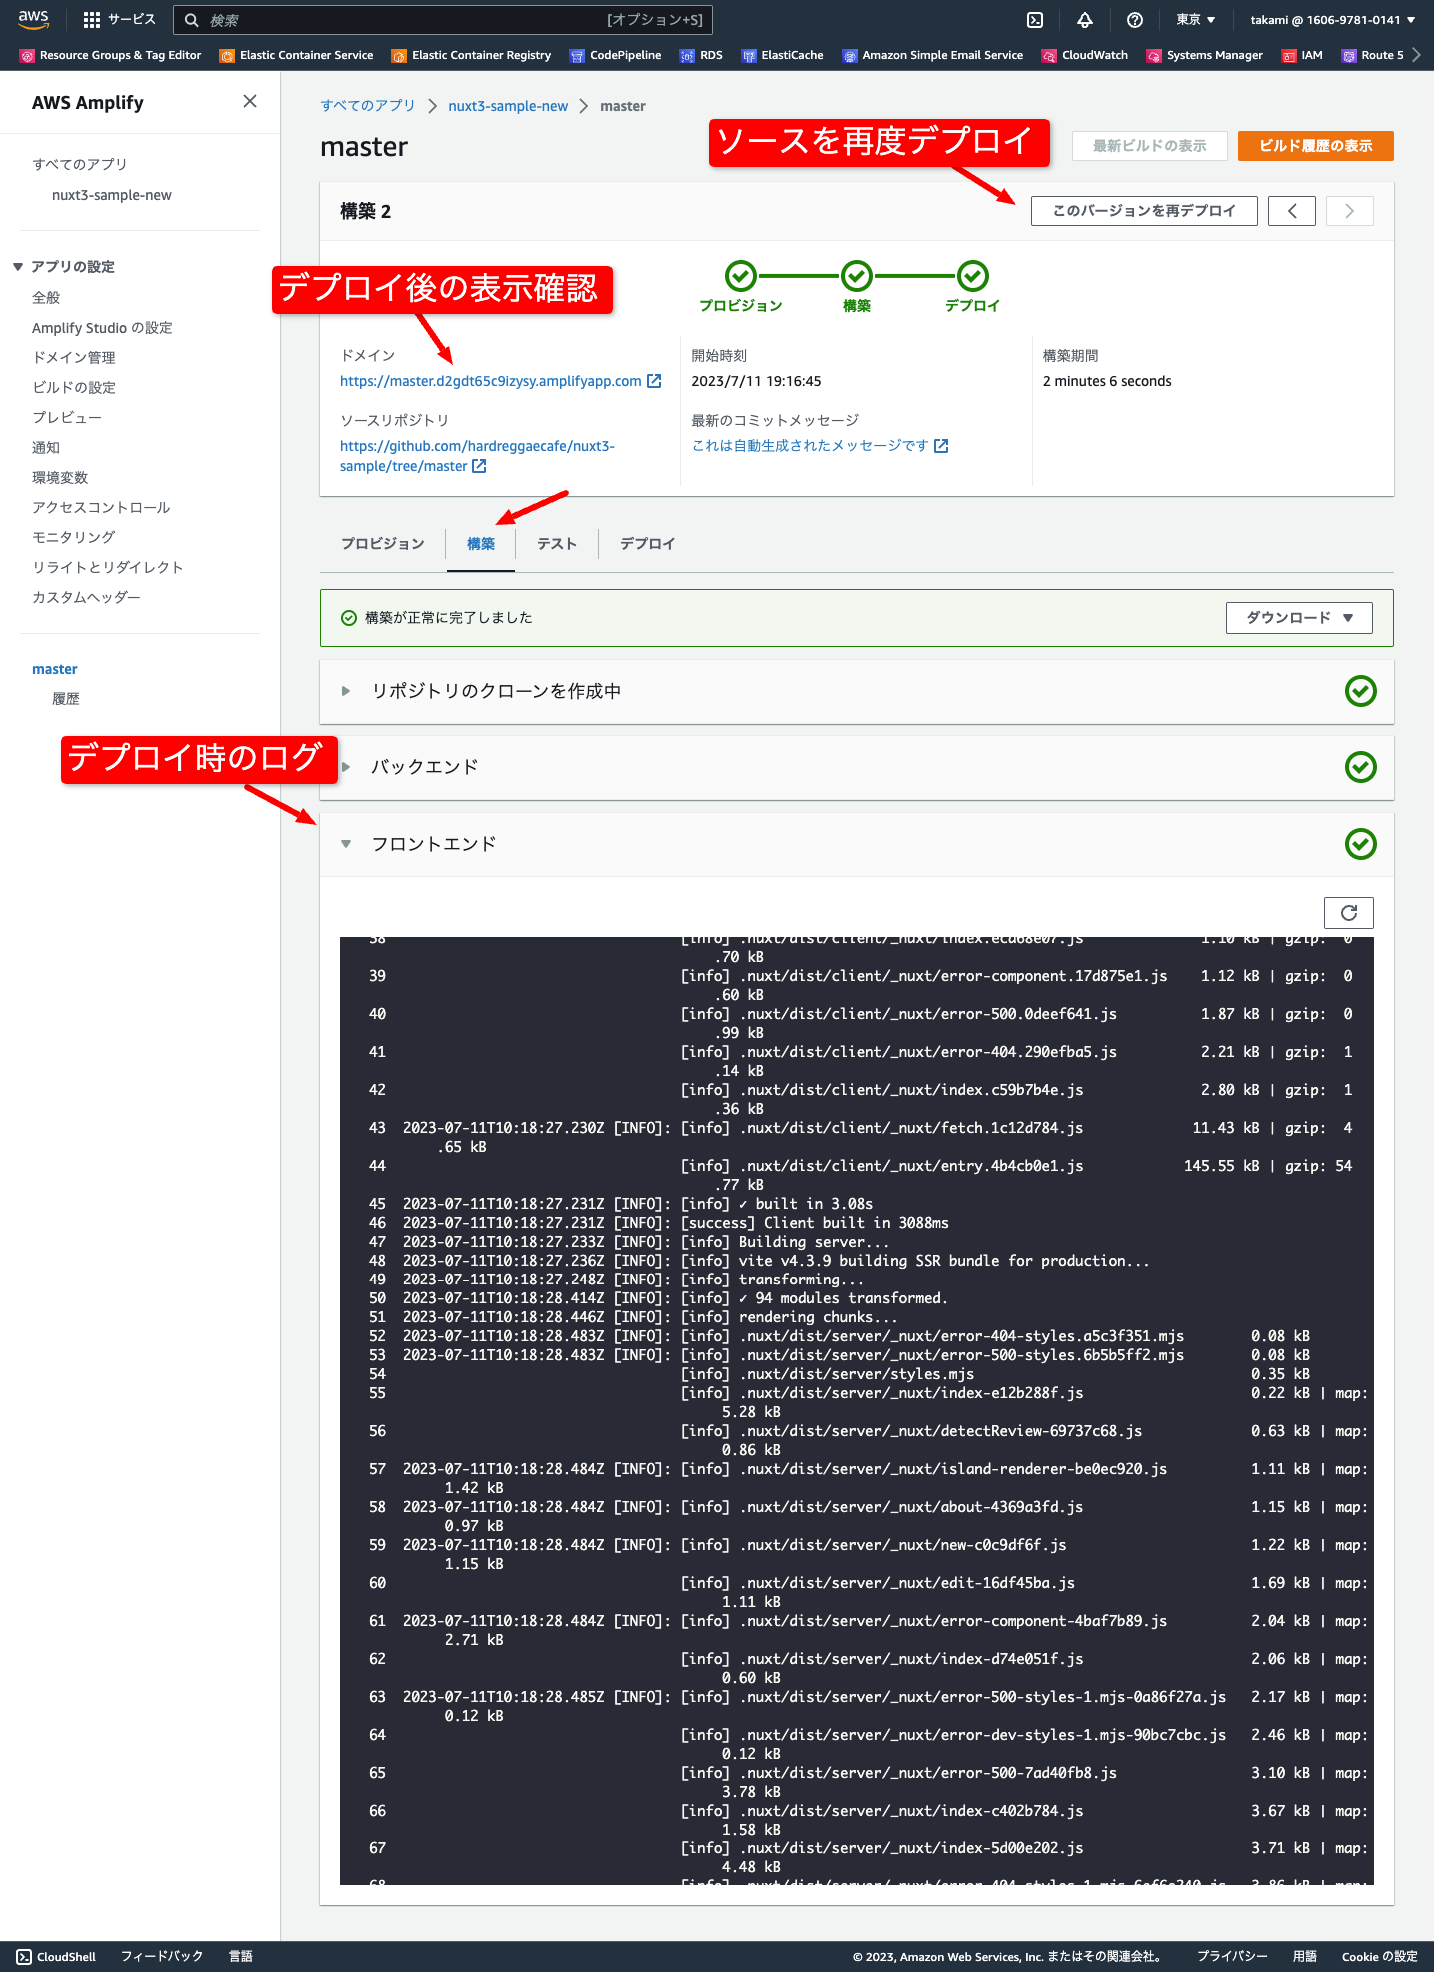
- ちなみにこの画面は重要でいろいろ機能あり
- ソースの再デプロイはボタン一つで可能
- デプロイに問題があった場合のログの確認は「構築」→「フロントエンド」で可能に
↓↓↓↓↓↓↓↓↓↓↓↓↓↓↓↓↓↓
【参考】Amplify CLIを使ったやり方
Amplify CLIのインストール
npmでこちらをインストール
$ npm install -g @aws-amplify/cli
初期化
$ amplify init
Note: It is recommended to run this command from the root of your app directory
? Enter a name for the project nuxt3sample
The following configuration will be applied:

Project information
| Name: nuxt3sample
| Environment: dev
| Default editor: Visual Studio Code
| App type: javascript
| Javascript framework: none
| Source Directory Path: src
| Distribution Directory Path: dist
| Build Command: npm run-script build
| Start Command: npm run-script start

? Initialize the project with the above configuration? Yes
Using default provider  awscloudformation
? Select the authentication method you want to use: AWS access keys
? accessKeyId:  ********************
? secretAccessKey:  ****************************************
? region:  ap-northeast-1
Adding backend environment dev to AWS Amplify app: d2tjvwvhjtdru4

Deployment completed.
Deployed root stack nuxt3sample [ ====================================
	amplify-nuxt3sample-dev-161747 AWS::CloudFormation::Stack     CREATE_
	UnauthRole                     AWS::IAM::Role                 CREATE_
	DeploymentBucket               AWS::S3::Bucket                CREATE_
	AuthRole                       AWS::IAM::Role                 CREATE_

✔ Help improve Amplify CLI by sharing non sensitive configurations on failures (y/N) · no

Deployment state saved successfully.
✔ Initialized provider successfully.
✅ Initialized your environment successfully.

Your project has been successfully initialized and connected to the cloud!

Some next steps:
"amplify status" will show you what you've added already and if it's locally configured or deployed
"amplify add <category>" will allow you to add features like user login or a backend API
"amplify push" will build all your local backend resources and provision it in the cloud
"amplify console" to open the Amplify Console and view your project status
"amplify publish" will build all your local backend and frontend resources (if you have hosting category added) and provision it in the cloud

Pro tip:
Try "amplify add api" to create a backend API and then "amplify push" to deploy everything
amplify configureで設定を施す
$ amplify configure hosting
? Configure settings such as custom domains, redirects, and password protection
using the Amplify Console. Continue? No
ホスティングの追加してpublish
$ amplify add hosting
$ amplify publish
さいごに
ということで色々習得するのに手間取ったけどなんとかAWSでVue3/Nuxt3アプリを公開できました。
AWS LoftのASK エキスパートの皆さんありがとうございました。