GoogleSite使っている方いますか?個人的にはそこまで親近感を感じてはいないのですが、ちょっとした社内ポータル作るのにいいという話もあったりとか。
今回社内で管理部門に色々情報を書いてもらって、システムチームで入り口ページを作ってみました。で、以下のような情報を各部門に入れてもらってます。
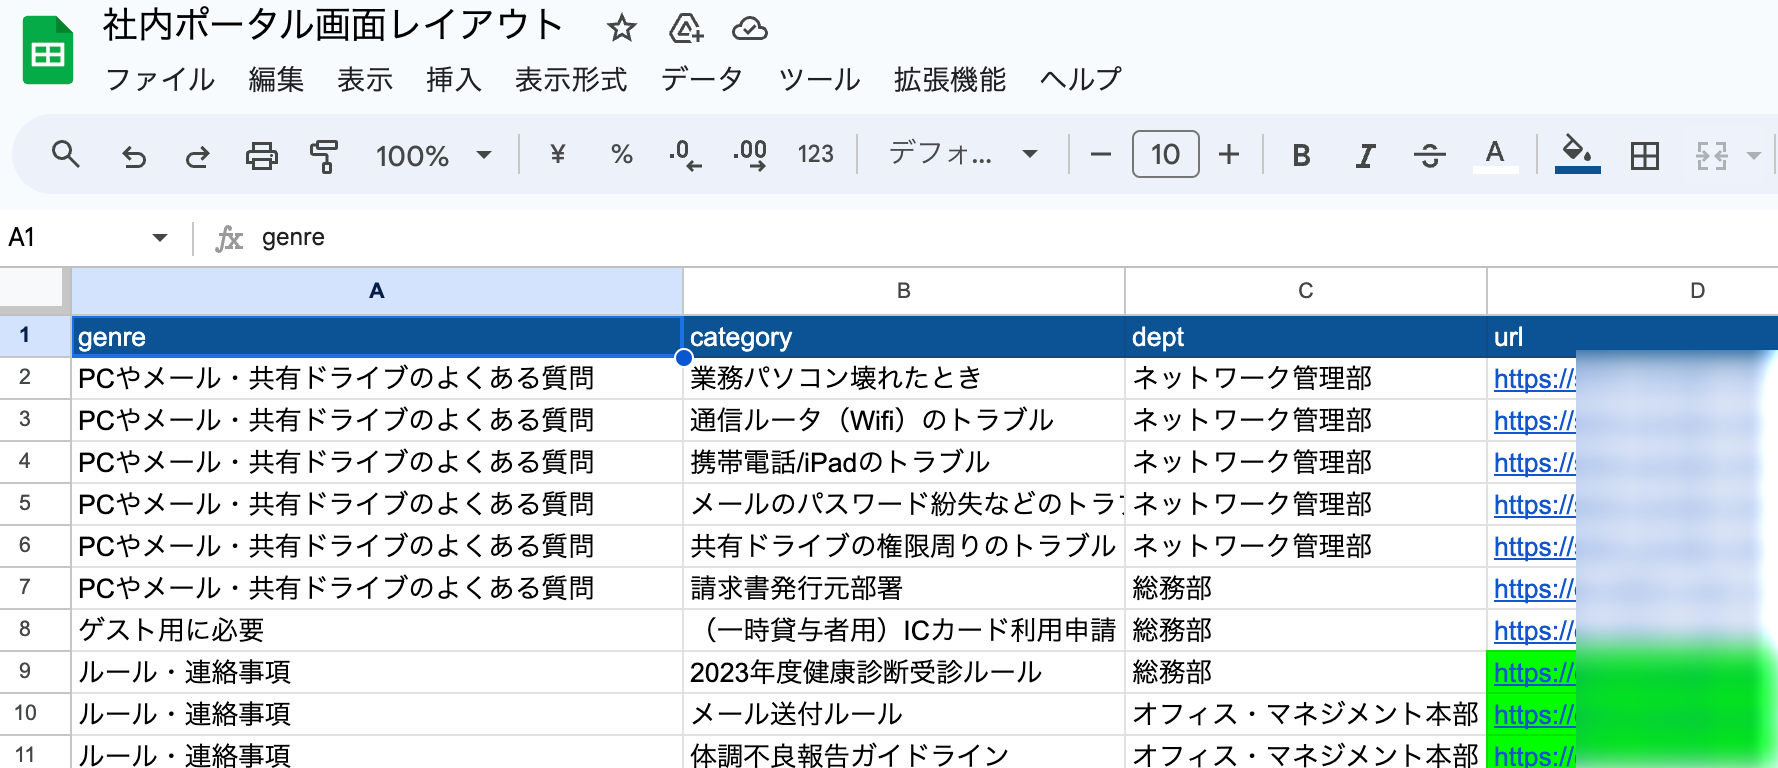
これをそのままポータルのメニュー(アコーディオン)として出せれば見やすいかなと思って今更感のあるjQueryとSpreadSheetのGASを使ってAPIを作ってみたのでそのやり方をご説明します。
こちらが完成イメージです。

では、早速はじめます。
GoogleSpreadSheetをAPIにする
上記のSpreadSheetをAPIにするため、1行目にカラム名を付けてみます。
その上で、SpreadSheetのID(https://docs.google.com/spreadsheets/d/(この部分)/edit#gid=0)と該当のシート名を取ってきます。
それをSpreadSheetのGASを開いて以下のソースとともに記載します。
spreadsheet_api.js
const id = '(GoogleSpreadSheetのID)'
const name = '(シートの名前)'

function getData() {
  var sheet = SpreadsheetApp.openById(id).getSheetByName(name);
  var rows = sheet.getDataRange().getValues();
  var keys = rows.splice(0, 1)[0];
  return rows.map(function(row) {
    var obj = {}
    row.map(function(item, index) {
      obj[keys[index]] = item;
    });
    return obj;
  });
}

function doGet(request) {
  var data = getData();
  return ContentService.createTextOutput(JSON.stringify(data, null, 2))
  .setMimeType(ContentService.MimeType.JAVASCRIPT);
}
これで

の新しいデプロイを押します。

上記画面のようにすると
https://script.google.com/macros/s/(APIのID)/exec
のようにAPIのURLが発行されます。
これをブラウザのシークレットウィンドウとかで開いてみて表示されるのを確認してみてください。
ここまでがAPIの作成になります。
GoogleSiteの設定
GoogleSiteのアコーディオン入れたいところに以下のスクリプトを埋め込みます。

スクリプト(=HTML)は以下のとおりです。
source.html
<script src="https://ajax.googleapis.com/ajax/libs/jquery/1.12.4/jquery.min.js"></script>
<div id="categorylist"><p id='loading'>Loading</p></div>

<script>
window.onload = function(){
	getJsonp_GAS();
}

function getJsonp_GAS() {
	$.ajax({
		type: 'GET',
		url: 'https://script.google.com/macros/s/(APIのID)/exec',
		success: function(json){
			var lastGenre;
            var dataJS = JSON.parse(json)
			$.each(dataJS, function(index, element) {
				if (lastGenre != element.genre){
					$('div#categorylist').append("<p class='nav-open'>"+element.genre+"</p><nav><ul></ul></nav>");
					$('ul:last').append("<li><a href='"+element.url+"'>"+element.category+"("+element.dept+")</a></li>");
				} else {
					$('ul:last').append("<li><a href='"+element.url+"'>"+element.category+"("+element.dept+")</a></li>");
				}
				lastGenre = element.genre;
			});

			$("#loading").remove();

			//クリックで動く
			$(".nav-open").click(function(){
				console.log ("click open");
				$(this).toggleClass('active');
				$(this).next('nav').slideToggle();
			});
			return true;
		},
               error: function(XMLHttpRequest, textStatus, errorThrown){ document.getElementById('data').innerHTML = "<h3>error</h3>";
			  console.log("XMLHttpRequest : " + XMLHttpRequest.status);
			  console.log("textStatus     : " + textStatus);
			  console.log("errorThrown    : " + errorThrown.message);
               }
	});
}
</script>
<style>
nav{ display: none; }
.nav-open{
	padding: 15px;
	margin: 3px;
	color: #fff;
	font-size: 20px;
	background: #2073c8;
	position: relative;
}
.nav-open::before{
	content: "+";
	position: absolute;
	right: 20px;
}
.nav-open.active::before{
	content: "-";
}

#categorylist a {
    display: block;
    padding: 5px;
    text-decoration: none;
    color: #222222;
}

li {
	list-style: none;
	padding: 3px;
	background: #fff;
}

li a:hover {
	color: #ffffff;
	background: #2073c8;
}
</style>
ここまで入れたら公開ボタンを押して公開、ページを見てみましょう。
うまくアコーディオンが表示されているはずです。
ぜひご活用ください。