はじめに
ロリポップなどのレンタルサーバにvueなどのものを手動でデプロイするのってめんどくさいですよね。
今回は「テスト->ビルド->デプロイ」の一連の流れをGitHub Actionsで自動にやってくれるように設定します。
前提
- Vueのプロジェクトを作成しておりGitHubで管理している
- 今回レンサバの例としてつかうのはロリポップ
workflowの作成
vueのプロジェクトのリポジトリの「Actions」タブを開くと以下のようなページになります。

「Continuous integration workflows」の中にある「Node.js」を選択し、「set up this workflow」を押します。
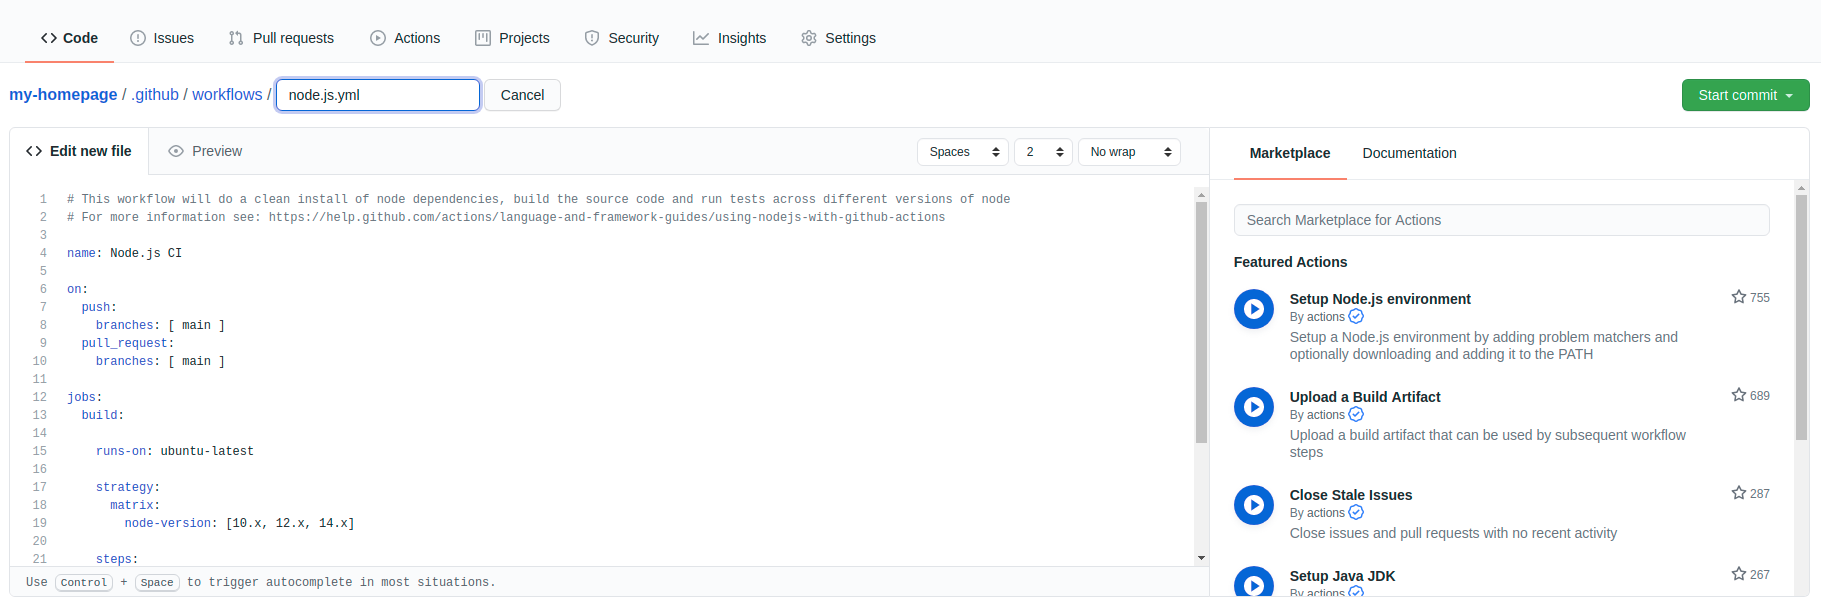
このようなページになったら、好きなファイル名をつけ「Start commit」を押して保存しましょう。
workflowの編集
ワークフローの編集をしていきます。
FTPの接続情報などは、ファイルに書いてしまうと良くないので「GitHub Secrets」にあとで書いていきます。
# This workflow will do a clean install of node dependencies, build the source code and run tests across different versions of node
# For more information see: https://help.github.com/actions/language-and-framework-guides/using-nodejs-with-github-actions

name: Node.js CI

on:
  push:
    branches: [ main ]
-  pull_request:
-   branches: [ main ]

jobs:
  build:

    runs-on: ubuntu-latest

    strategy:
      matrix:
-        node-version: [10.x, 12.x, 14.x]
+        node-version: [12.x]

    steps:
    - uses: actions/checkout@v2
    - name: Use Node.js ${{ matrix.node-version }}
      uses: actions/setup-node@v1
      with:
        node-version: ${{ matrix.node-version }}
-    - run: npm ci
-    - run: npm run build --if-present
-    - run: npm test
+    - name: npm install        # パッケージをインストール
+      run: npm install
+    - name: test
+      run: npm run test:unit   # unitテストを実行
+    - name: build              # ビルド
+      run: npm run build --if-present
+
+    - name: List output files
+      run: ls                           # ファイルリストを表示
+
+    - name: FTP-Deploy-Action
+      uses: SamKirkland/FTP-Deploy-Action@2.0.0   # FTPを使ってサーバーにDeployするアクションを実行
+      env:
+        FTP_SERVER: ${{ secrets.FTP_SERVER }}     # FTPサーバーのURLを設定
+        FTP_USERNAME: ${{ secrets.FTP_USERNAME }} # FTPのユーザー名を設定
+        FTP_PASSWORD: ${{ secrets.FTP_PASSWORD }} # FTPのパスワードを設定
+        LOCAL_DIR: dist                           # どのディレクトリのデータをアップロードするか
+        REMOTE_DIR: /      # ロリポップ!FTPサーバのどのディレクトリにアップロードするか
+        ARGS: --delete
これで、mainブランチにpushされた際に自分のロリポップのFTPサーバのルートにvueのビルドした成果物が上げられるようになります。
FTP接続情報の設定
「GitHub Secrets」にFTPの接続情報を設定します。
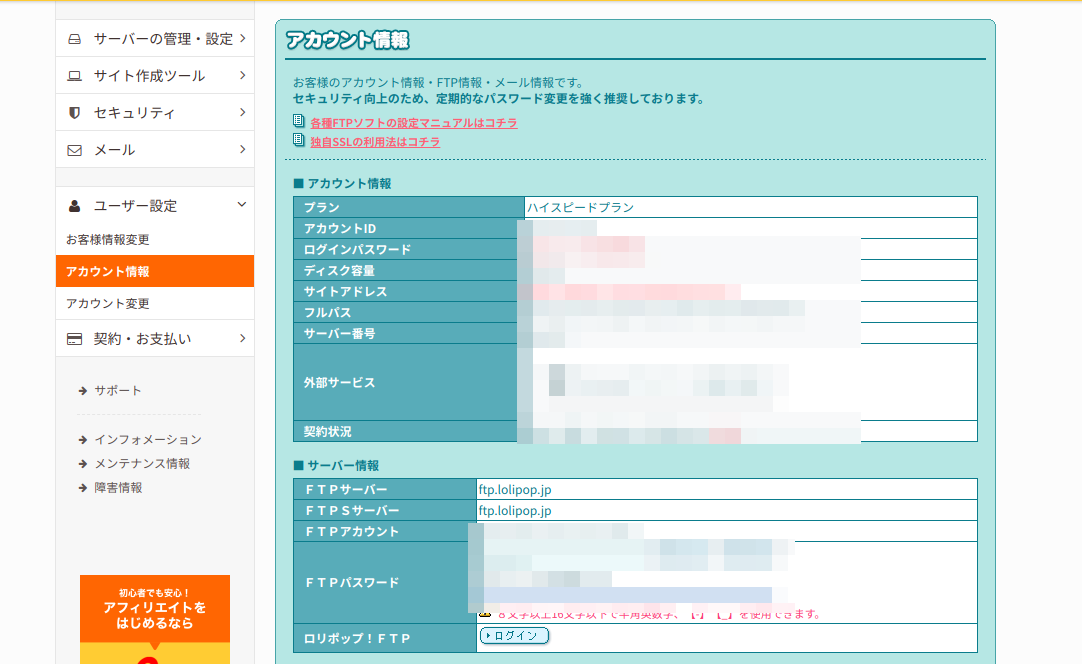
まず、「ロリポップ!」にログインして「ユーザー設定ー>アカウント情報」を開いてください。
「サーバー情報」にある「FTPサーバー」、「FTPアカウント」、「FTPパスワード」をメモってください。
メモったら、先程のリポジトリに戻って、リポジトリの「Settings」を開きます。
その中の「Secrets」を選択し、「New Repository secrets」を押して以下のものを作成します。
- FTP_SERVER(先程メモったFTPサーバーをかく)
- FTP_USERNAME(先程メモったFTPアカウントをかく)
- FTP_PASSWORD(先程メモったFTPパスワードをかく)
これで、設定はすべて終了です。
このあとからmainブランチにPushされた場合、自動で「テスト・ビルド・デプロイ」が行われるようになっています。
結果や状態を見たい場合は、「Actions」を開くと以下のように表示されると思います。
このようにチェックマークがついていればすべてのjobが正常に終わっています。
