目的
S3 repository pluginは、AWS S3をリポジトリとして、スナップショットおよびリストアを実行することができます。本投稿では、EC2上の Elasticsearchのindex情報をスナップショットする方法について解説します。(2020年1月の段階の情報でありますが)index Lifecycle Managementによって、indexのライフサイクルはKibanaのGUI経由で実施することができますが、スナップショットのGUI操作は対応しておらず、未だcurator(pythonベースのindex操作用ツール)を利用する必要があるそうです。 Elasticsearchの標準APIを用いてスナップショットを取ることもできますが、操作に慣れていないと実装の閾値は高いように感じます。したがって、今回は、curatorを持ちいてS3へのスナップショットを実現することとします。
手順
STEP1. pipコマンド Elasticsearch-Curatorをインストール
[curator installation] (https://www.elastic.co/guide/en/elasticsearch/client/curator/current/installation.html)に記載の通り、curatorをもっとも簡単にインストールは、pipコマンドを利用したインストールです。```pip```がない場合は以下コマンドでインストールします。
curl -O https://bootstrap.pypa.io/get-pip.py
python get-pip.py
echo export PATH='~/.local/bin:$PATH' >> ~/.bash_profile
source ~/.bash_profile
pip install elasticsearch-curator --ignore-installed
注意:以下、エラーメッセージがでた場合はaws cliをアップデートする必要があります。
ERROR: awscli 1.16.102 has requirement botocore==1.12.92, but you'll have botocore 1.15.11 which is incompatible.
ERROR: awscli 1.16.102 has requirement s3transfer<0.3.0,>=0.2.0, but you'll have s3transfer 0.3.3 which is incompatible.
その場合は以下コマンドで、aws cliをアップデートする必要があります。
pip install awscli --upgrade
STEP2. curatorの各種設定を行う
curatorの実行ログを***/var/log/curator/***に書き込むように設定する。
mkdir -p /var/log/curator
touch /var/log/curator/curator.log
ll /var/log/curator/
total 0
-rw-r--r-- 1 root root 0 Jan 20 07:07 curator.log
curatorはconfiguration fileとAction file(共にymlファイル形式)で実行内容を指定することができます。
The configuration file contains client connection and settings for logging. The default location of the configuration file is ~/.curator/curator.yml, but another location can be specified using the --config flag on the command-line.
わたしの場合は、/root/.curatorにconfig file(urator.yml)を作成し、/root/.actionにaction file(aindex_backup_ation.yml)を作成して、curatorコマンド実行時に--configオプションで指定することとしました。
 mkdir -p /root/.curator/
 mkdir -p /root/.action/
curator.ymlの中身は以下の通りです。
# Remember, leave a key empty if there is no value.  None will be a string,
# not a Python "NoneType"
client:
  hosts:
    - localhost
  port: 9200
  url_prefix:
  use_ssl: False
  certificate:
  client_cert:
  client_key:
  ssl_no_validate: False
  timeout: 30
  master_only: True

logging:
  loglevel: INFO
  logfile: /var/log/curator/curator.log
  logformat: default
  blacklist: ['elasticsearch', 'urllib3']
index_backup_ation.ymlの中身は以下の通りです(単純な動作確認を行いたかったため、filter条件はnoneと設定しました)。
actions:
  1:
    action: snapshot
    description: >-
    options:
      repository: elasticsearch-repo01
      name: 'snapshot-%Y.%m.%d'
      include_global_state: True
      wait_for_completion: True
      max_wait: 3600
      wait_interval: 10
    filters:
    - filtertype: none
STEP3. S3 repository pluginのインストール
Elasticsearchのクラスタを構成している全ノードに以下コマンドで、s3プラグインをインストールして、プラグインを有効にするために、 Elasticsearchを再起動します。
usr/share/elasticsearch/bin/elasticsearch-plugin install repository-s3
systemctl restart elasticsearch.service
STEP4. ElasticsearchにS3用のリポジトリを作成します。
KibanaのUI経由で、リポジトリ(elasticsearch-repo01)を作成します。
GET /_snapshot/elasticsearch-repo01
{
  "elasticsearch-repo01" : {
    "type" : "s3",
    "settings" : {
      "bucket" : "elastic-test-bucket",
      "storage_class" : "standard"
    }
  }
}
STEP5. Amazon S3にバケットを作成する。
elastic-test-bucketを作成して、以下のポリシを適用しました。
{
    "Version": "2012-10-17",
    "Id": "Policy1579086116255",
    "Statement": [
        {
            "Sid": "Stmt1579086112517",
            "Effect": "Allow",
            "Principal": "*",
            "Action": "s3:*",
            "Resource": "arn:aws:s3:::elastic-test-bucket"
        }
    ]
}
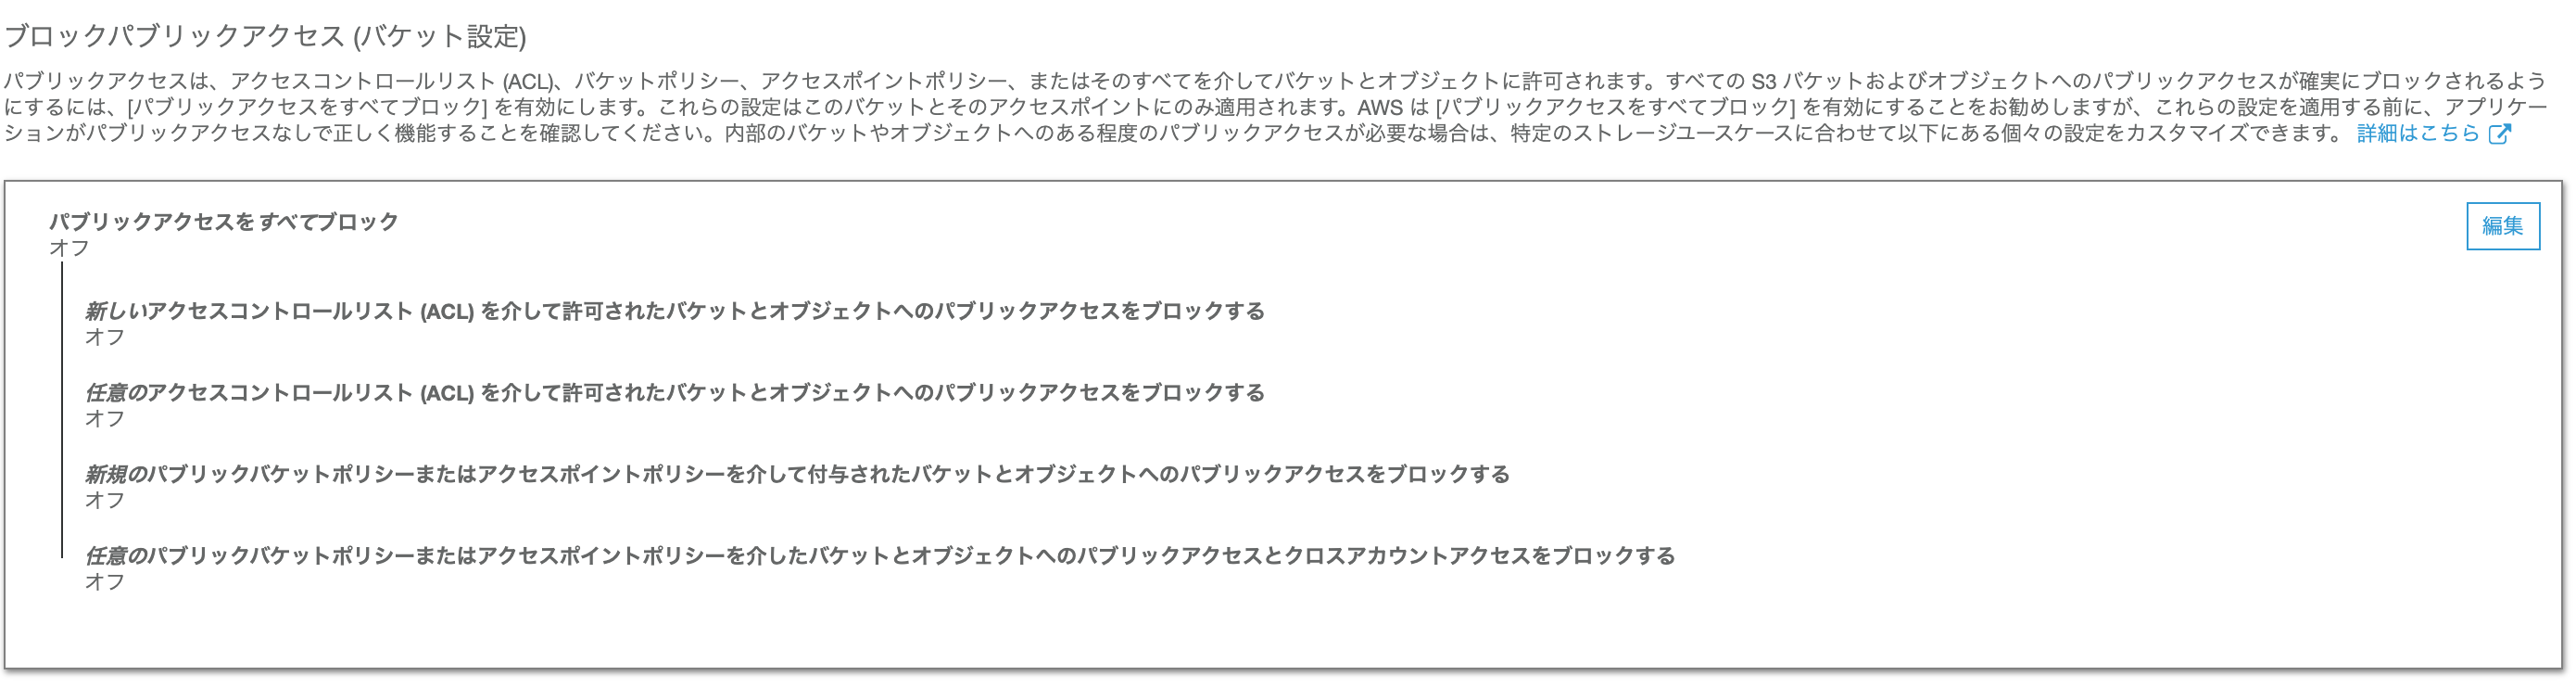
また、パブリックアクセスの設定は以下のように設定しました(今回は機能確認のためセキュリティ事項は全く考慮しておりません)。
STEP6. IAMポリシーを作成して、IAMロールに割り当てる。
IAM -> ポリシ -> ポリシーの作成で、以下の通り、新規ポリシを作成します。
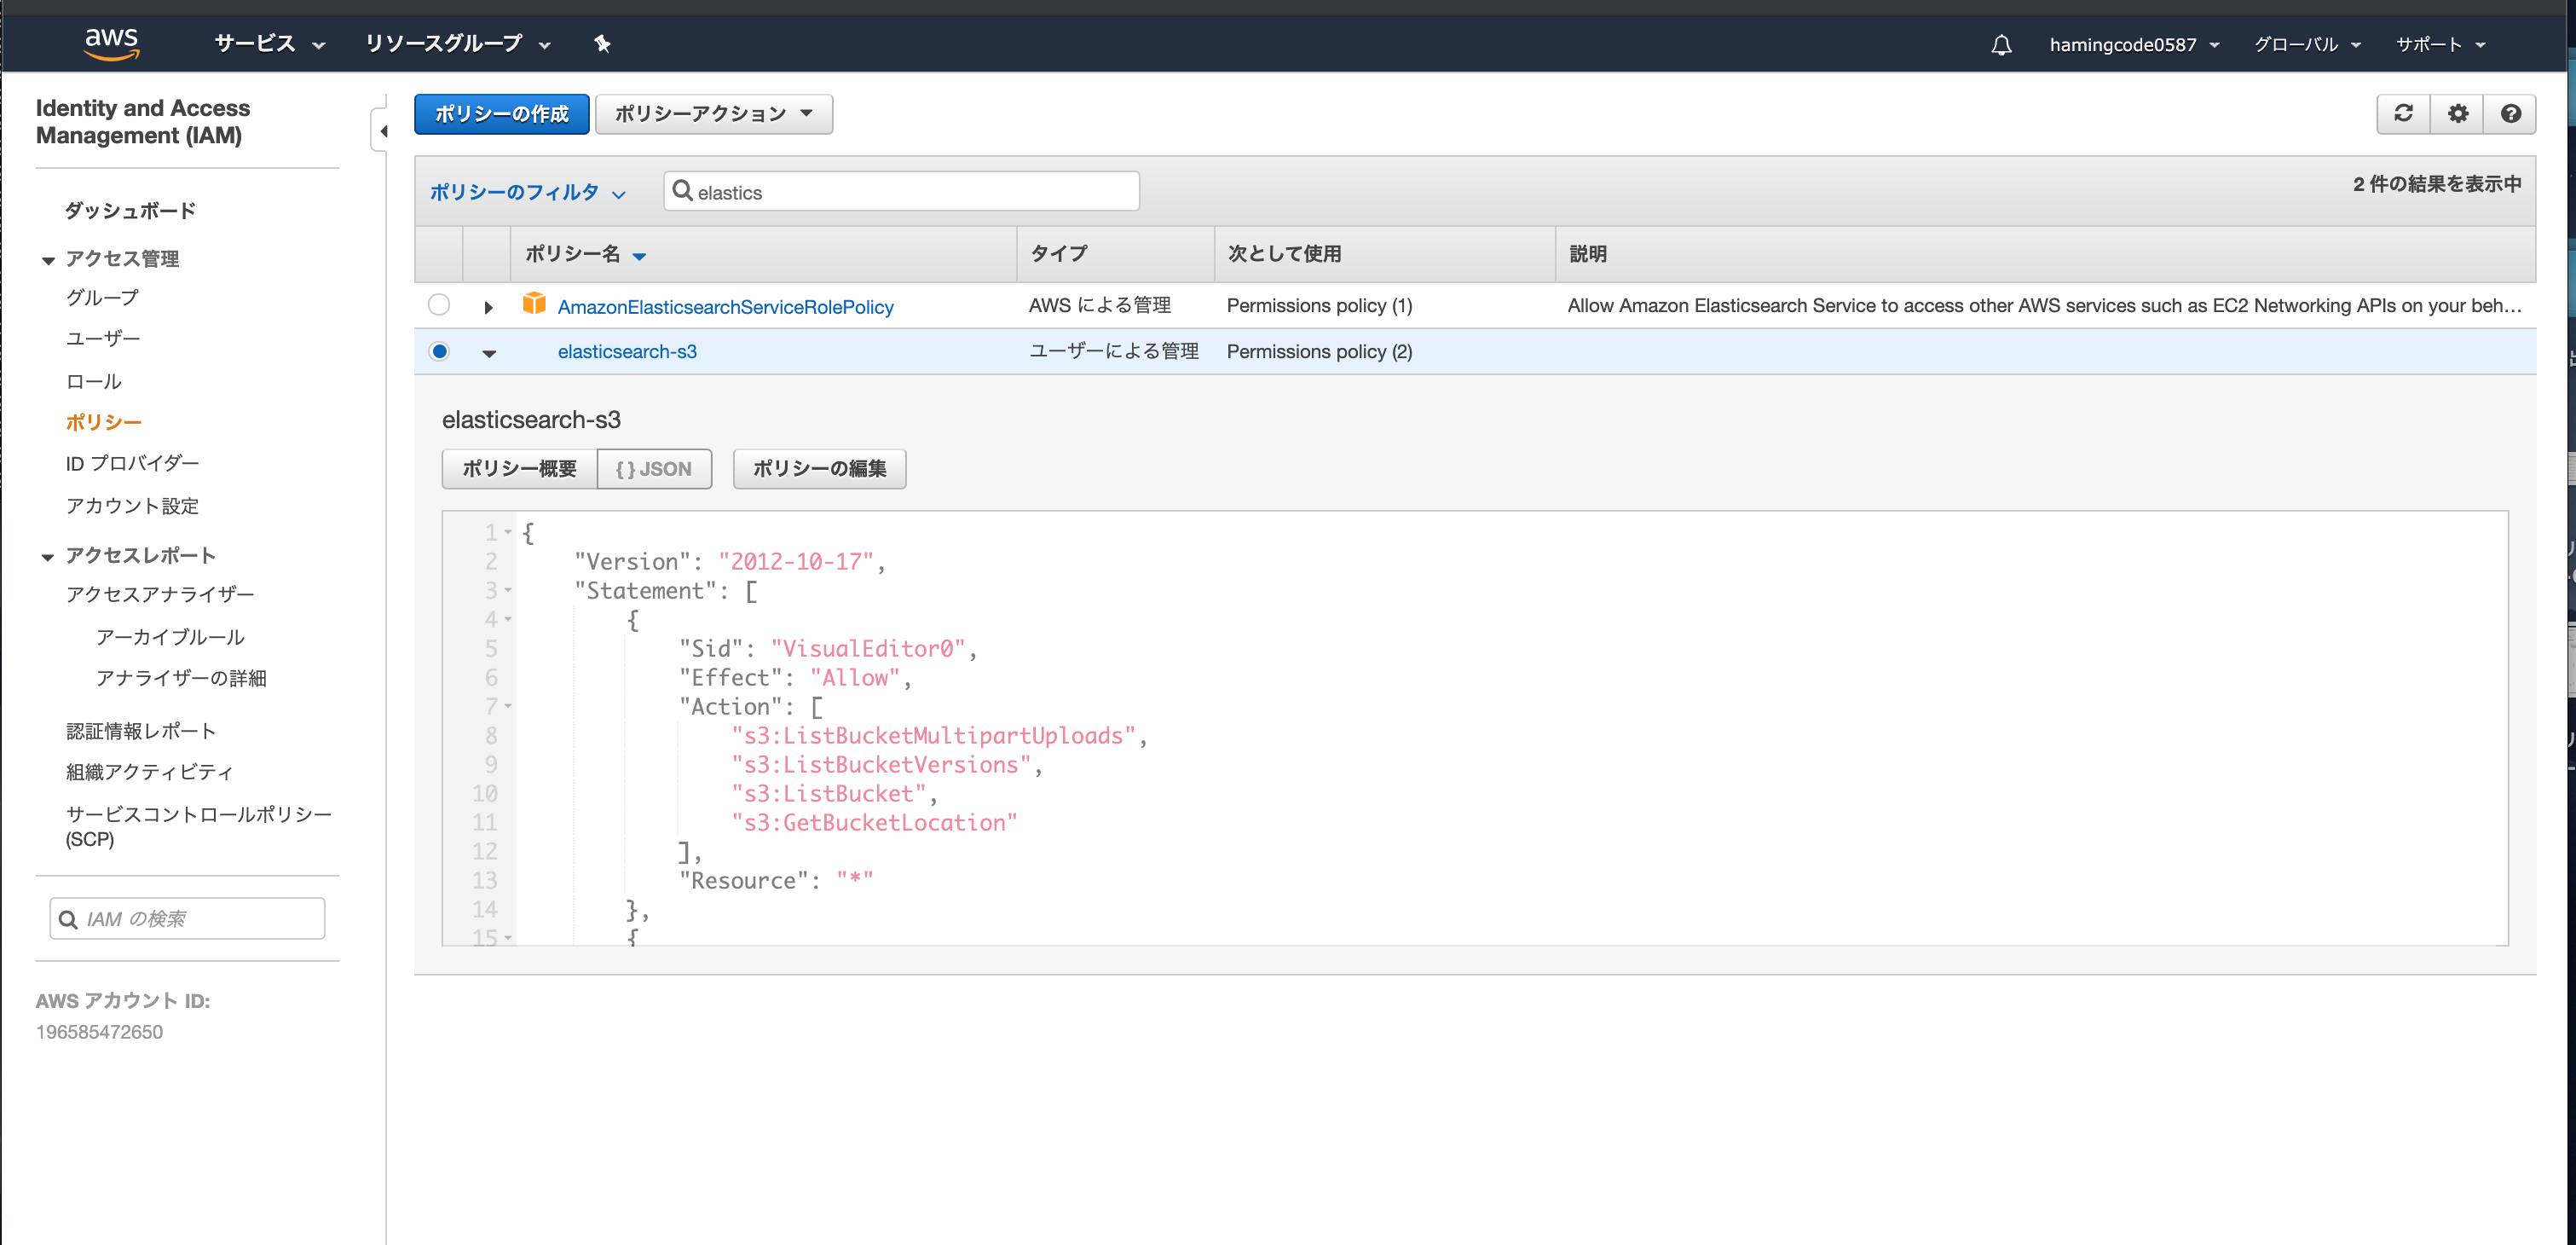
{
  "Statement": [
    {
      "Action": [
        "s3:ListBucket",
        "s3:GetBucketLocation",
        "s3:ListBucketMultipartUploads",
        "s3:ListBucketVersions"
      ],
      "Effect": "Allow",
      "Resource": [
        "arn:aws:s3:::Bucket_A"
      ]
    },
    {
      "Action": [
        "s3:GetObject",
        "s3:PutObject",
        "s3:DeleteObject",
        "s3:AbortMultipartUpload",
        "s3:ListMultipartUploadParts"
      ],
      "Effect": "Allow",
      "Resource": [
        "arn:aws:s3:::Bucket_A/*"
      ]
    }
  ],
  "Version": "2012-10-17"
}
IAMポリシをIAMロールに割り当てます。
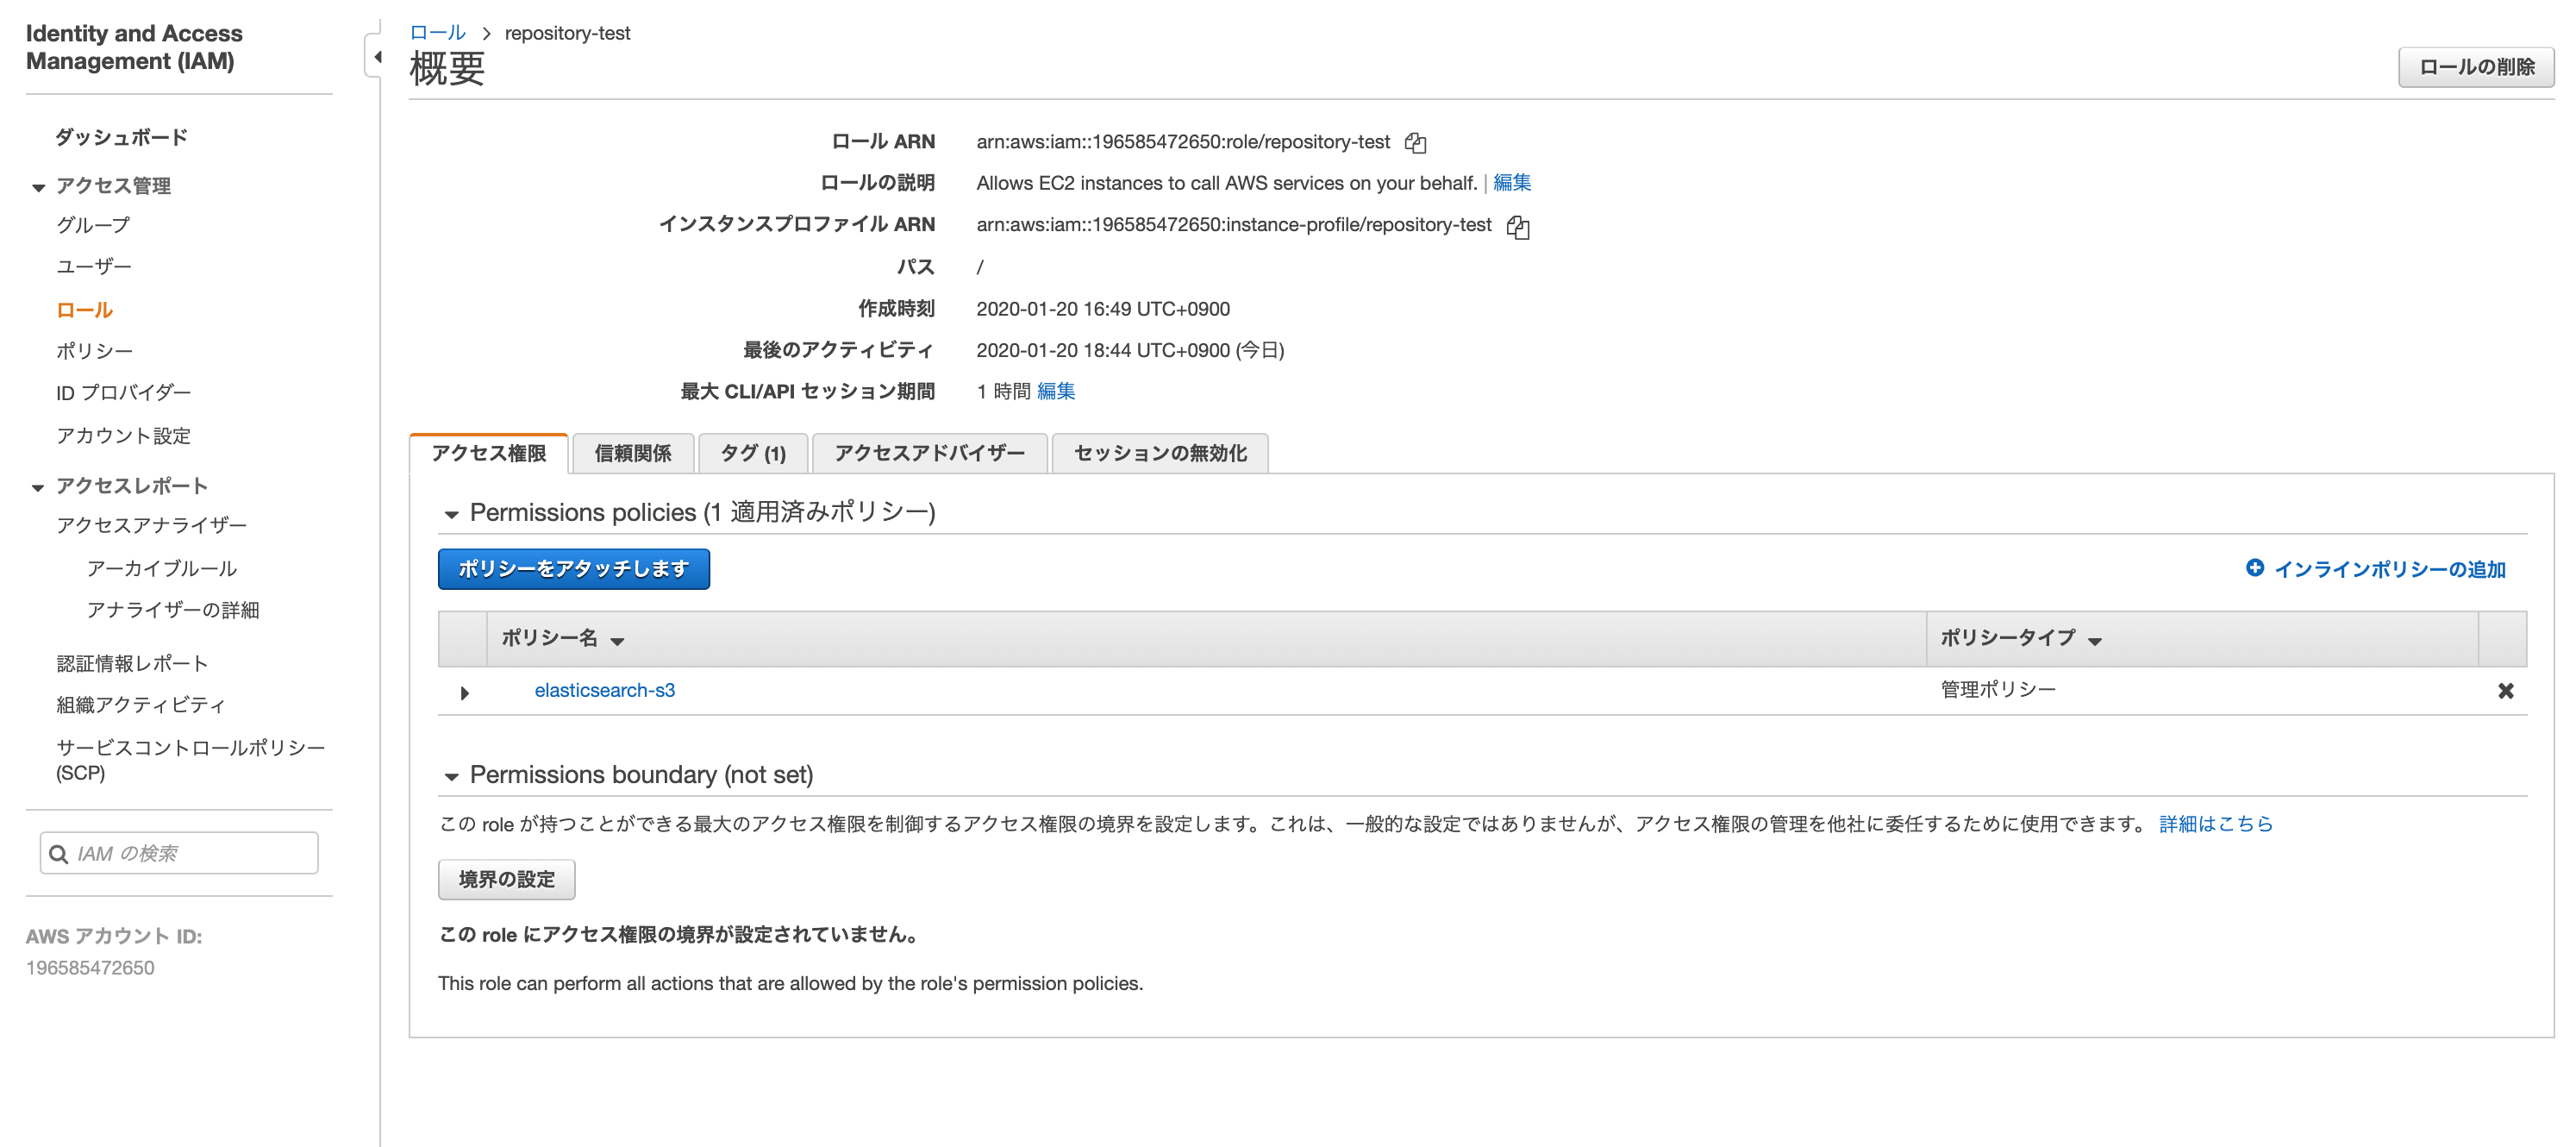
ElasticsearchをインストールしたEC2へIAMロールを割り当てます。

STEP6. curatorコマンドを実行して、スナップショットをS3へ取得する。
--configコマンドで作成したconfig fileとaction fileを指定して、スナップショットを取得する。
curator --config /root/.curator/curator.yml /root/.action/index_backup_ation.yml
STEP7. 実行確認(from 実行ログ)
curatorの実行ログを確認して、動作上問題がなかったかを確認する。job conpletedと表示された通り、curatorの実行が問題なく実行し終えたことがわかる。
tail -n 100  /var/log/curator/curator.log
2020-01-20 08:22:44,074 INFO      Preparing Action ID: 1, "snapshot"
2020-01-20 08:22:44,074 INFO      Creating client object and testing connection
2020-01-20 08:22:44,076 INFO      Instantiating client object
2020-01-20 08:22:44,077 INFO      Testing client connectivity
2020-01-20 08:22:44,080 INFO      Successfully created Elasticsearch client object with provided settings
2020-01-20 08:22:44,081 INFO      Connecting only to local master node...
2020-01-20 08:22:44,085 INFO      Trying Action ID: 1, "snapshot":
2020-01-20 08:22:44,656 INFO      Creating snapshot "snapshot-2020.01.20" from indices: [u'customer', u'.kibana_1', u'.kibana_task_manager_1', u'kibana_sample_data_ecommerce', u'kibana_sample_data_flights', u'.apm-agent-configuration', u'kibana_sample_data_logs']
2020-01-20 08:22:44,754 INFO      Snapshot snapshot-2020.01.20 still in progress.
2020-01-20 08:22:55,023 INFO      Snapshot snapshot-2020.01.20 successfully completed.
2020-01-20 08:22:55,085 INFO      Snapshot snapshot-2020.01.20 successfully completed.
2020-01-20 08:22:55,085 INFO      Action ID: 1, "snapshot" completed.
2020-01-20 08:22:55,085 INFO      Job completed.
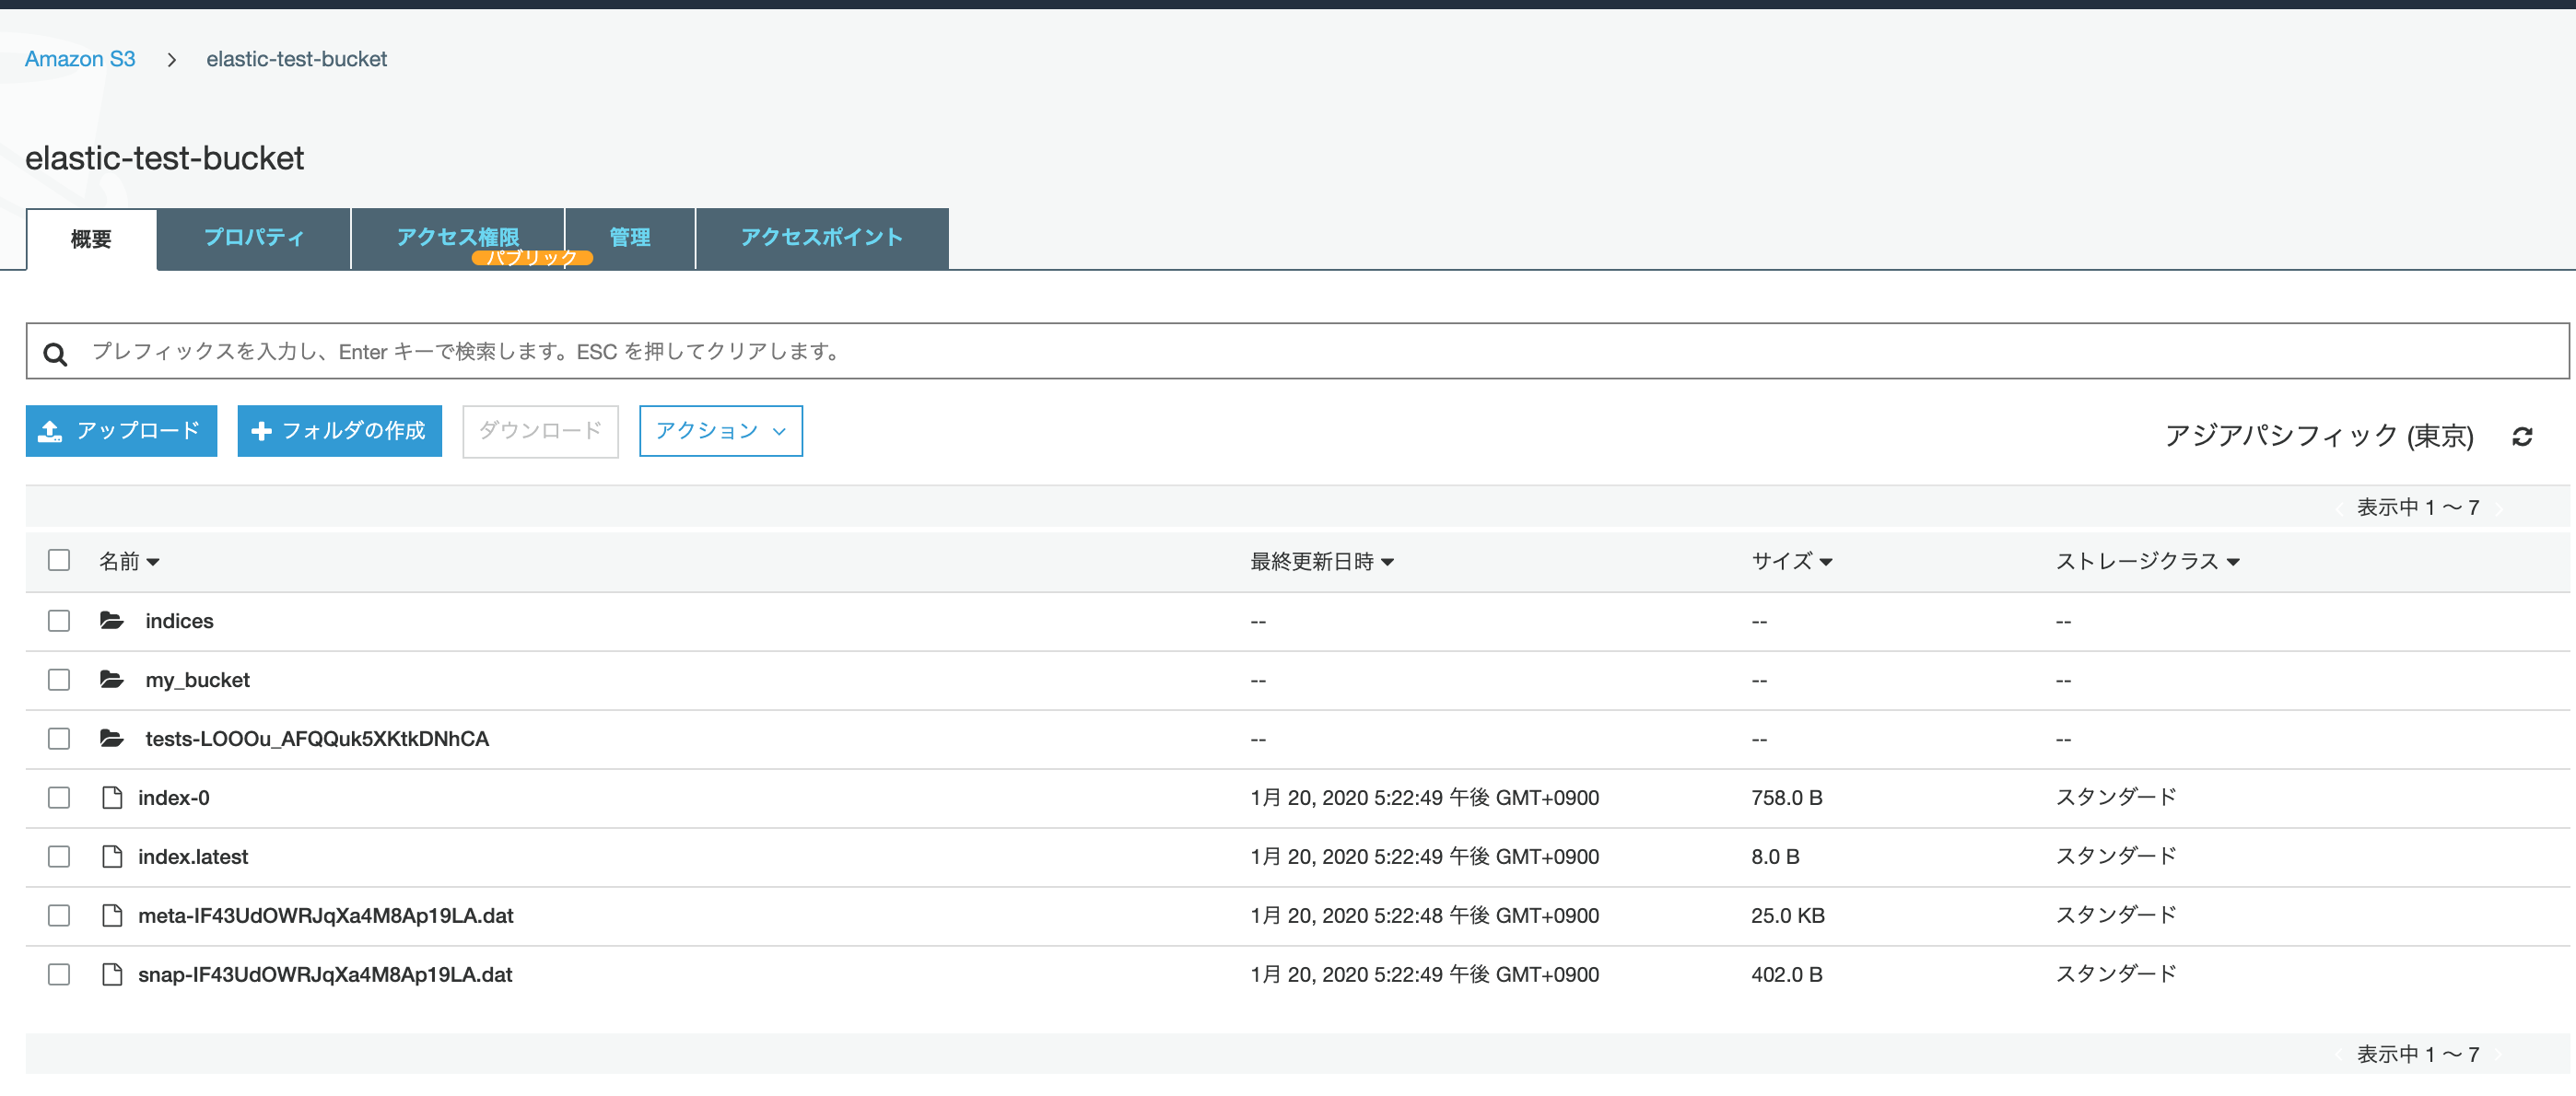
STEP8. 実行確認(from S3 bucket)
AWS S3にも問題なく、index情報が格納されていることが確認されました。