はじめに
前回と前々回の記事のサーバ再構築計画の続きです。
Amazon Linux2(RHEL7ベース)にApache2.4、PHP5.4、MySQL5.7をインストールしていきます。
前提
- インスタンスはAmazon Linux2を使用
- SSHでインスタンスに接続できるところまで実施済み
- ユーザーは'root'で作業する。
Apache2.4の導入
Apacheのインストール
# yum -y install httpd
Apacheの起動
# service httpd start
Redirecting to /bin/systemctl start httpd.service
アクセスしてみる
ブラウザから
http://IPアドレス
にアクセス確認します。
セキュリティグループでhttpの80番をあけておく必要があります。
以下のページが表示されればOKです。
Apacheの自動起動設定
「enabled」になればOKです。
# chkconfig httpd on
# systemctl list-unit-files -t service | grep httpd
httpd.service                                 enabled
PHP5.4の導入
PHPとMYSQL接続モジュールのインストール
# yum -y install php php-mysql
PHPのバージョン確認
# php -v
PHP 5.4.16 (cli) (built: Jun 19 2018 19:05:33)
Copyright (c) 1997-2013 The PHP Group
Zend Engine v2.4.0, Copyright (c) 1998-2013 Zend Technologies
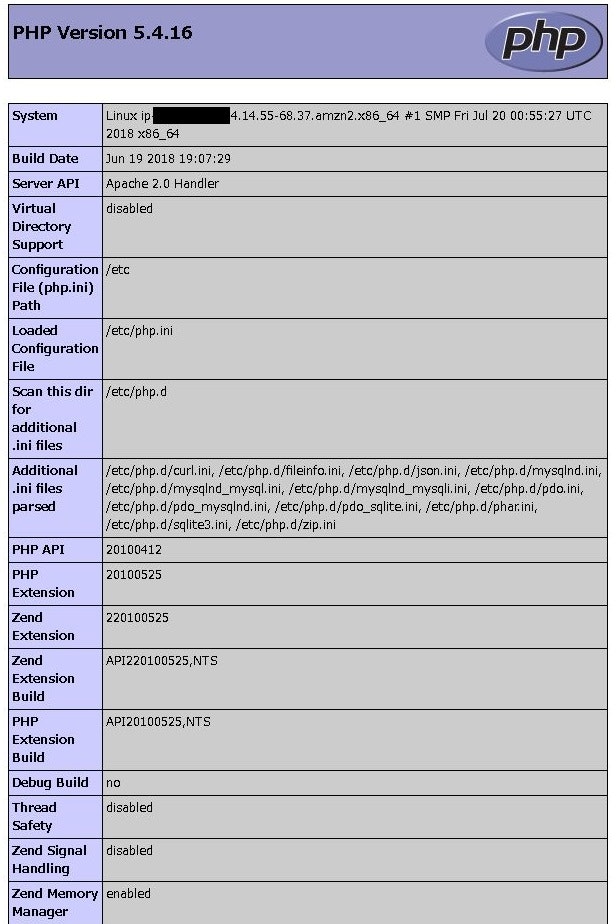
PHPの動作確認
テスト用のファイルを作成します。
# vi /var/www/html/index.php
で以下を書いて保存します。
<?php
phpinfo();
?>
ブラウザから
http://IPアドレス/phpinfo.php
にアクセス確認します。
以下のページが表示されればOKです。
「Additional .ini files parsed」にMySQL関連の記載があることも確認しましょう。
MySQL5.7の導入
Amazon Linux2ではyumでmysqlをインストールしようとするとmariaDBをインストールしようとします。
# yum install mysql
Loaded plugins: extras_suggestions, langpacks, priorities, update-motd
Resolving Dependencies
--> Running transaction check
---> Package mariadb.x86_64 1:5.5.56-2.amzn2 will be installed
--> Finished Dependency Resolution
Dependencies Resolved

================================================================================
 Package        Arch          Version                   Repository         Size
================================================================================
Installing:
 mariadb        x86_64        1:5.5.56-2.amzn2          amzn2-core        8.9 M

Transaction Summary
================================================================================
Install  1 Package

Total download size: 8.9 M
Installed size: 49 M
Is this ok [y/N]:
今回はあくまでサーバ移行がメインなのでMariaDBではなくMySQLにします。
バージョンは最新で8.0というものが出ていますが互換性を考慮して5.7にします。
MySQLリポジトリのインストール
# yum -y install http://dev.mysql.com/get/mysql57-community-release-el7-11.noarch.rpm
MySQLのインストール
# yum -y install mysql mysql-community-server
インストールに失敗する場合
MariaDBと競合しているエラーが出てインストールできない場合はMariaDBのライブラリを削除してから試してみてください。
# yum remove mariadb-libs
# yum clean all
MySQLのバージョン確認
# mysqld --version
mysqld  Ver 5.7.23 for Linux on x86_64 (MySQL Community Server (GPL))
MySQLの起動
# service mysqld start
Redirecting to /bin/systemctl start mysqld.service
MySQLの自動起動設定
「enabled」になればOKです。
# systemctl enable mysqld.service
# systemctl is-enabled mysqld.service
enabled
MySQLのログイン
MySQL5.7ではインストール時にパスワードがランダムに指定されます。
ログから確認します。
# more /var/log/mysqld.log | grep password
[Note] A temporary password is generated for root@localhost: abcd1234!"#$
上記の「abcd1234!"#$」はランダムな文字列になっています。
# mysql -u root -p
Enter password:  /ここで確認したパスワードを入力

Welcome to the MySQL monitor.  Commands end with ; or \g.
Your MySQL connection id is 9
Server version: 5.7.23

Copyright (c) 2000, 2018, Oracle and/or its affiliates. All rights reserved.

Oracle is a registered trademark of Oracle Corporation and/or its
affiliates. Other names may be trademarks of their respective
owners.

Type 'help;' or '\h' for help. Type '\c' to clear the current input statement.

mysql>
MySQLのパスワード変更
初期パスワードを変更しないとコマンドは通りません
mysql> show databases;
ERROR 1820 (HY000): You must reset your password using ALTER USER statement before executing this statement.
なので変更する必要がありますが、簡単なパスワードを設定しようとすると怒られます。
mysql> set password for root@localhost=password('hogehoge');
ERROR 1819 (HY000): Your password does not satisfy the current policy requirements
なのでまずは複雑なパスワードにします。
mysql> set password for root@localhost=password('Hogehoge1234@');
パスワードポリシーは以下のようになっています。
mysql> show variables like 'validate_password%';
+--------------------------------------+--------+
| Variable_name                        | Value  |
+--------------------------------------+--------+
| validate_password_check_user_name    | OFF    |
| validate_password_dictionary_file    |        |
| validate_password_length             | 8      |
| validate_password_mixed_case_count   | 1      |
| validate_password_number_count       | 1      |
| validate_password_policy             | MEDIUM |
| validate_password_special_char_count | 1      |
+--------------------------------------+--------+
パスワード制限を緩くしたければ変更しましょう。
以下は4文字以上なんでもOKにした場合です。
mysql> set global validate_password_length=4;
mysql> set global validate_password_policy=LOW;
mysql> show variables like 'validate_password%';
+--------------------------------------+-------+
| Variable_name                        | Value |
+--------------------------------------+-------+
| validate_password_check_user_name    | OFF   |
| validate_password_dictionary_file    |       |
| validate_password_length             | 4     |
| validate_password_mixed_case_count   | 1     |
| validate_password_number_count       | 1     |
| validate_password_policy             | LOW   |
| validate_password_special_char_count | 1     |
+--------------------------------------+-------+
これで簡単なパスワードに変更することができます。
MySQLの文字コードをUTF-8にする
デフォルトは以下の設定になっています。
mysql> show variables like "chara%";
+--------------------------+----------------------------+
| Variable_name            | Value                      |
+--------------------------+----------------------------+
| character_set_client     | utf8                       |
| character_set_connection | utf8                       |
| character_set_database   | latin1                     |
| character_set_filesystem | binary                     |
| character_set_results    | utf8                       |
| character_set_server     | latin1                     |
| character_set_system     | utf8                       |
| character_sets_dir       | /usr/share/mysql/charsets/ |
+--------------------------+----------------------------+
mysqlの設定ファイルをviで開きます。
# vi /etc/my.cnf
「mysqld」セクションに追記します
[mysqld]
character-set-server=utf8
MySQLを再起動します。
# service mysqld restart
Redirecting to /bin/systemctl restart mysqld.service
もう1度MySQLに接続すると「latin1」が「utf8」に変わっています。
mysql> show variables like "chara%";
+--------------------------+----------------------------+
| Variable_name            | Value                      |
+--------------------------+----------------------------+
| character_set_client     | utf8                       |
| character_set_connection | utf8                       |
| character_set_database   | utf8                       |
| character_set_filesystem | binary                     |
| character_set_results    | utf8                       |
| character_set_server     | utf8                       |
| character_set_system     | utf8                       |
| character_sets_dir       | /usr/share/mysql/charsets/ |
+--------------------------+----------------------------+
さいごに
ということで、Amazon Linux2へのApache2.4、PHP5.4、MySQL5.7のインストールと基本的な初期セットアップでした。
次は旧サーバにあるMySQLのDBを新サーバに移行していきたいと思います。