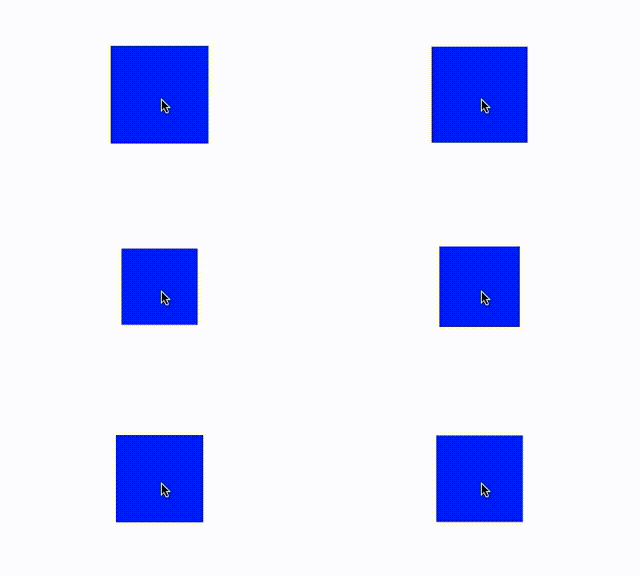
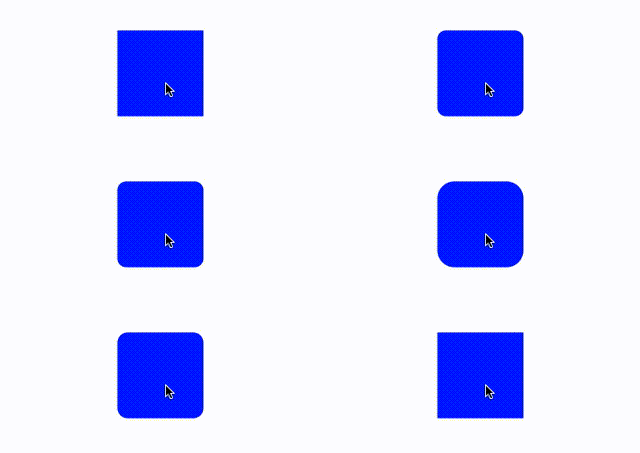
アニメーション処理はiOSアプリを開発する醍醐味の1つであると私は思っています
なので、本記事ではiOSアプリ開発をする上で押さえておきたいアニメーションの基礎の部分をお伝えできればと思います
UIKitアニメーション
UIView.animateメソッド
iOS開発をする人にはお馴染みのUIViewのクラスメソッドである
open class func animate(withDuration duration: TimeInterval, delay: TimeInterval, options: UIViewAnimationOptions = [], animations: @escaping () -> Swift.Void, completion: ((Bool) -> Swift.Void)? = nil)
を使うことで簡単にアニメーションを実現することができます
durationはアニメーション時間
delayは開始までの遅延時間
optionsではアニメーション中に使用するタイミング曲線の種類やアニメーションの逆再生などを指定できます
animationsクロージャの中でアニメーションしたいUIViewクラスのプロパティの値を変更します
completionクロージャはアニメーションが完了したタイミングで呼ばれるクロージャです
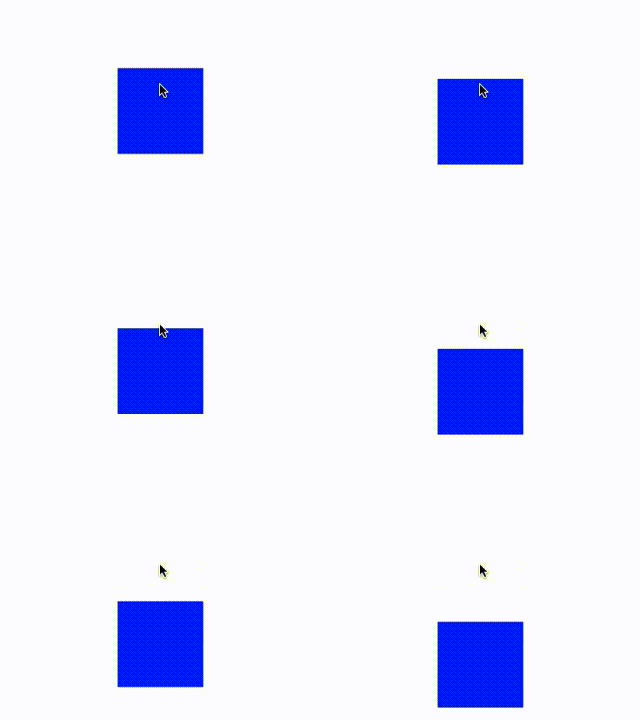
青いViewを1.0秒で下方向に100ポイント移動させる
self.blueView.center = self.view.center
UIView.animate(withDuration: 1.0, delay: 0.0, options: .autoreverse, animations: {
    self.blueView.center.y += 100.0
}, completion: nil)
oprionsにautoreverseを追加することでアニメーションの逆再生が行われます
UIView.animate(withDuration: 1.0, delay: 0.0, options: [.curveEaseIn, .autoreverse], animations: {
    self.blueView.center.y += 100.0
}, completion: nil)
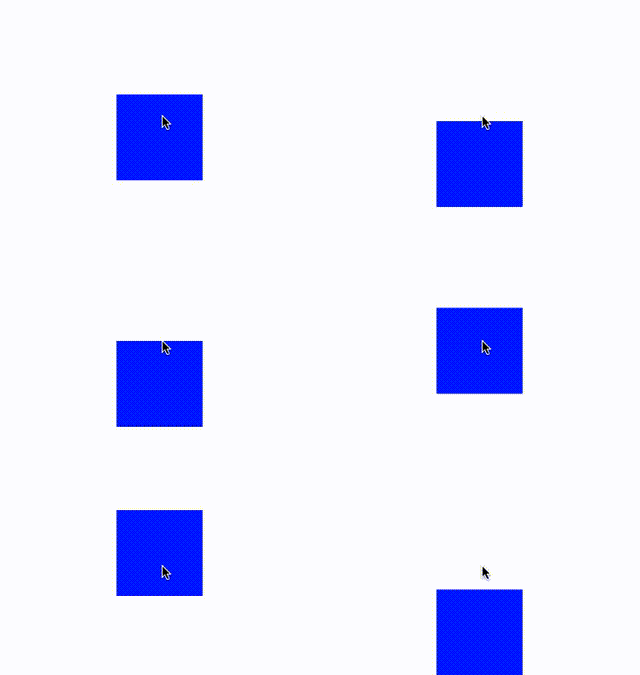
.autoreverseでアニメーションを逆再生しても、アニメーションが終わるとViewの位置はanimationsクロージャで変更した値になってしまうので、アニメーション完了のcompletionクロージャにViewの変更値を逆再生と同じ位置にしてあげることで自然になります
UIView.animate(withDuration: 1.0, delay: 0.0, options: [.curveEaseIn, .autoreverse], animations: {
    self.blueView.center.y += 100.0
}) { _ in
    self.blueView.center.y -= 100.0
}
UIViewのalpha値を変更するアニメーションを使うと、ふわっとViewが出現するので本当に簡単に良い感じのアニメーションが実現できます
blueView.alpha = 0.0
UIView.animate(withDuration: 2.0, delay: 1.0, options: [.curveEaseIn], animations: {
    self.blueView.alpha = 1.0
}, completion: nil)
optionsにrepeatを指定してあげるとアニメーションを永遠に繰り返します
チュートリアル等で「ここをスワイプすると〇〇できるよ!」みたいなことする時に指アイコンのアニメーションで使ったりします
UIView.animate(withDuration: 1.0, delay: 0.0, options: [.repeat], animations: {
    iconFingerImageView.frame.origin.x -= 50.0
}, completion: nil)
UIView.animationメソッドで、ばねの跳ね返りみたいなアニメーションをしたければ
@available(iOS 7.0, *)
open class func animate(withDuration duration: TimeInterval, delay: TimeInterval, usingSpringWithDamping dampingRatio: CGFloat, initialSpringVelocity velocity: CGFloat, options: UIViewAnimationOptions = [], animations: @escaping () -> Swift.Void, completion: ((Bool) -> Swift.Void)? = nil)
を使うと実現できます
dampingRatioは振幅の大きさを指定します。1.0が最大で、この値が小さいほど振幅が大きくなります。1.0の時は、ばね効果が得られません
velocityはアニメーションの初速を変更できます
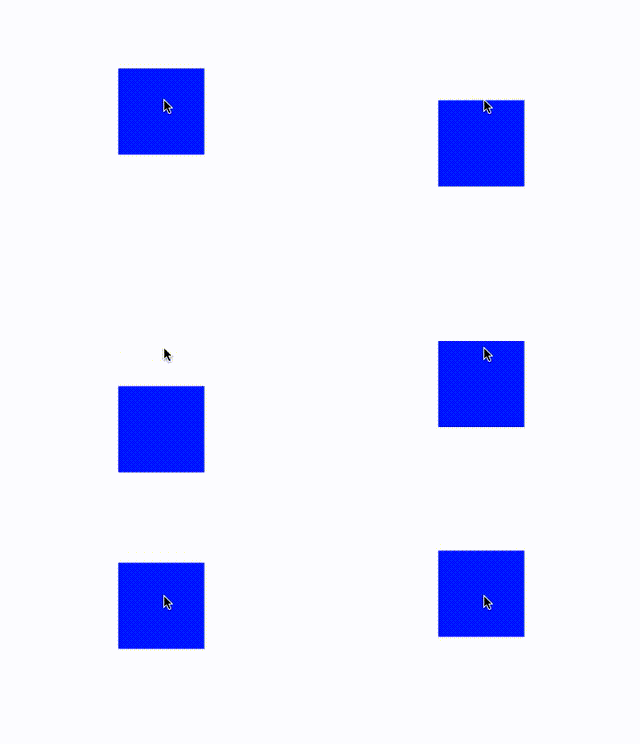
UIView.animate(withDuration: 1.0, delay: 0.0, usingSpringWithDamping: 0.1, initialSpringVelocity: 0.0, options: .autoreverse, animations: {
    self.blueView.center.y += 100.0
    self.blueView.bounds.size.height += 30.0
    self.blueView.bounds.size.width += 30.0
}) { _ in
    self.blueView.center.y -= 100.0
    self.blueView.bounds.size.height -= 30.0
    self.blueView.bounds.size.width -= 30.0
}
UIView.transitionで遷移メソッド
こちらもUIViewのクラスメソッドである
open class func transition(with view: UIView, duration: TimeInterval, options: UIViewAnimationOptions = [], animations: (() -> Swift.Void)?, completion: ((Bool) -> Swift.Void)? = nil)
を使うことで簡単に遷移アニメーションを実現できます
引数のview:に遷移アニメーションの視覚効果の対象となるViewを指定します
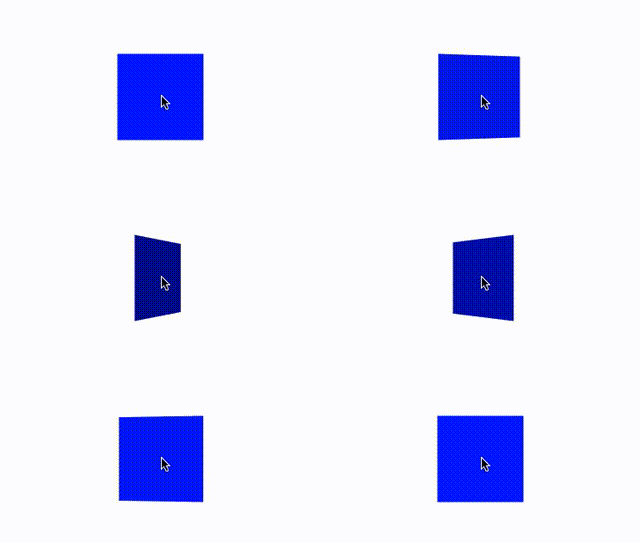
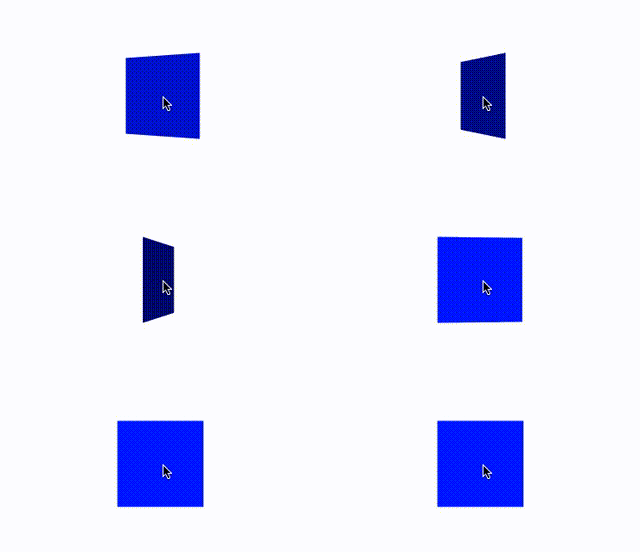
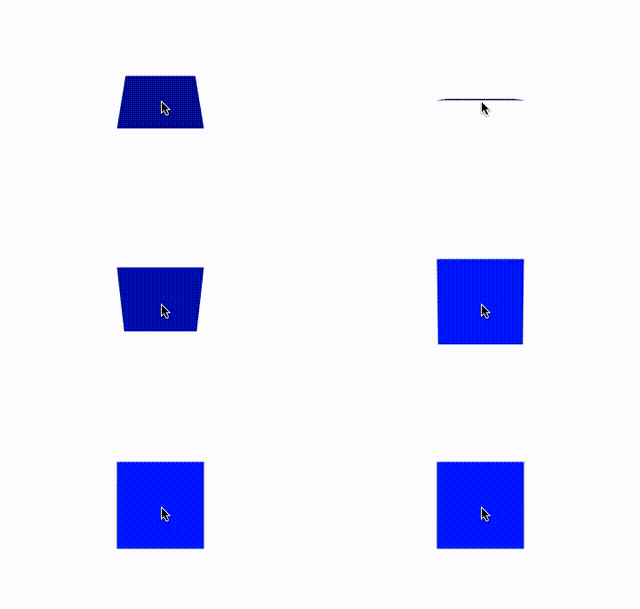
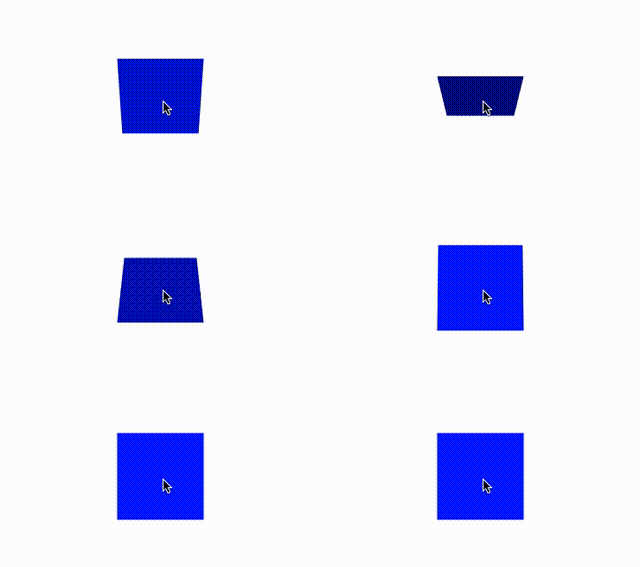
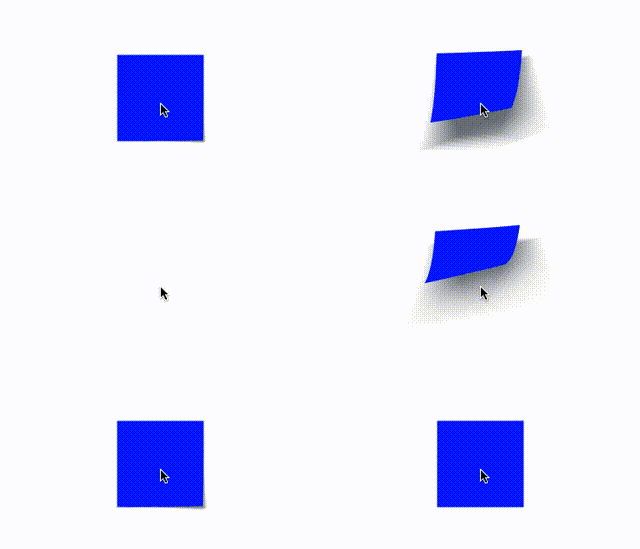
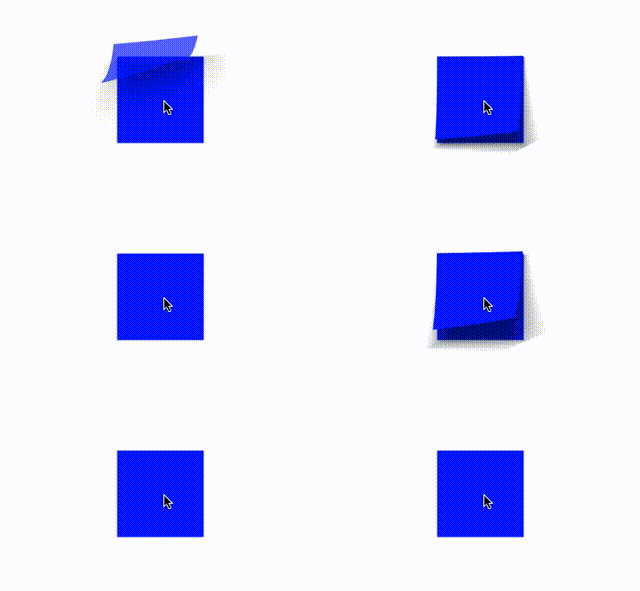
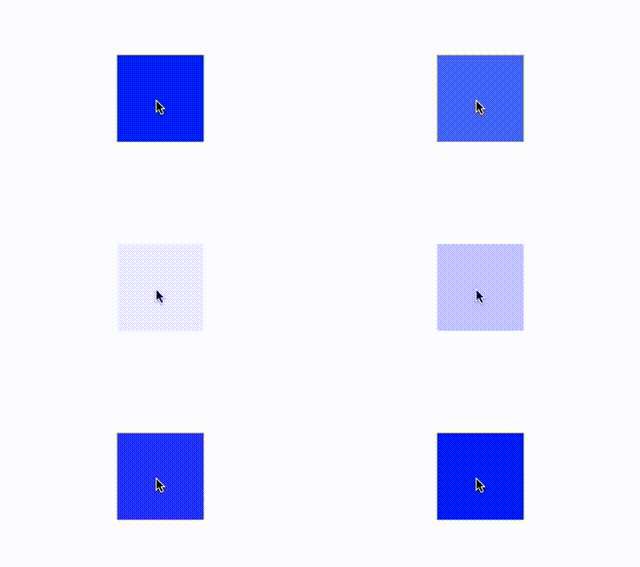
options:には、先ほどのUIView.animateで使っていたもの以外にもtransitionFlipFromLeft,transitionFlipFromRight,transitionCurlUp,transitionCurlDown,transitionCrossDissolve,transitionFlipFromTop,transitionFlipFromBottomといった視覚効果を得られるOptionが使えます
UIViewAnimationOptions.transitionFlipFromLeft
UIView.transition(with: blueView, duration: 1.0, options: [.transitionFlipFromLeft], animations: nil, completion: nil)
UIViewAnimationOptions.transitionFlipFromRight
UIView.transition(with: blueView, duration: 1.0, options: [.transitionFlipFromRight], animations: nil, completion: nil)
UIViewAnimationOptions.transitionFlipFromTop
UIView.transition(with: blueView, duration: 1.0, options: [.transitionFlipFromTop], animations: nil, completion: nil)
UIViewAnimationOptions.transitionFlipFromBottom
UIView.transition(with: blueView, duration: 1.0, options: [.transitionFlipFromBottom], animations: nil, completion: nil)
UIViewAnimationOptions.transitionCurlUp
UIView.transition(with: blueView, duration: 1.0, options: [.transitionCurlUp, .autoreverse], animations: {
    self.blueView.isHidden = true
}) { _ in
    self.blueView.isHidden = false
}
UIViewAnimationOptions.transitionCurlDown
UIView.transition(with: blueView, duration: 1.0, options: [.transitionCurlDown, .autoreverse], animations: nil, completion: nil)
UIViewAnimationOptions.transitionCrossDissolve
UIView.transition(with: blueView, duration: 1.0, options: [.transitionCrossDissolve, .autoreverse], animations: {
    self.blueView.isHidden = true
}) { _ in
    self.blueView.isHidden = false
}
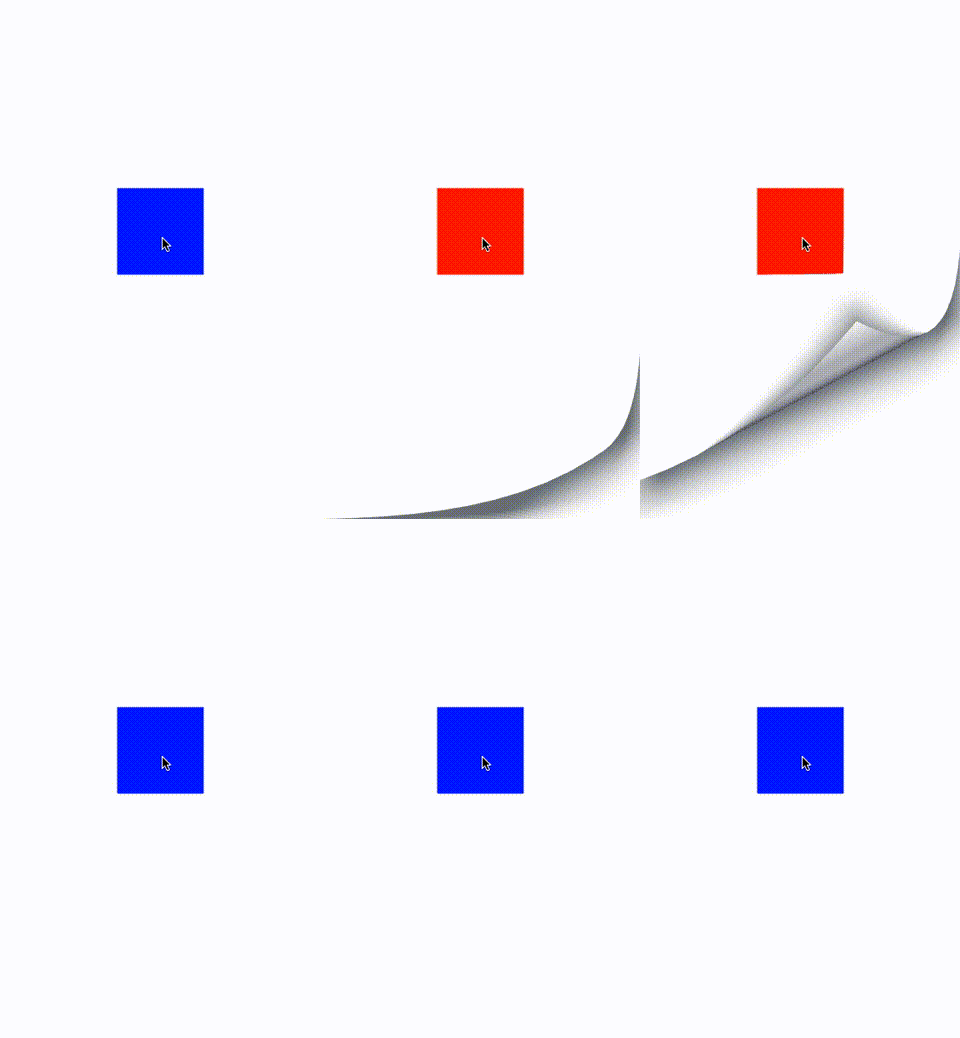
また、遷移アニメーションのメソッドは、もう1つ
open class func transition(from fromView: UIView, to toView: UIView, duration: TimeInterval, options: UIViewAnimationOptions = [], completion: ((Bool) -> Swift.Void)? = nil)
というものもあります
fromViewに指定したViewのSuperViewが遷移アニメーション対象になり、アニメーションでfromViewがremoveFromSuperViewされtoViewがfromViewのSuperViewにaddSubViewされる挙動になります
let redView = UIView(frame: blueView.frame)
redView.backgroundColor = .red
UIView.transition(from: blueView, to: redView, duration: 1.0, options: [.transitionCurlDown, .autoreverse]) { _ in
    self.view.addSubview(self.blueView)
    redView.removeFromSuperview()
}
UIView.animateKeyframesメソッド
キーフレームアニメーションをしたい場合は
open class func animateKeyframes(withDuration duration: TimeInterval, delay: TimeInterval, options: UIViewKeyframeAnimationOptions = [], animations: @escaping () -> Swift.Void, completion: ((Bool) -> Swift.Void)? = nil)
と
open class func addKeyframe(withRelativeStartTime frameStartTime: Double, relativeDuration frameDuration: Double, animations: @escaping () -> Swift.Void)
を使います
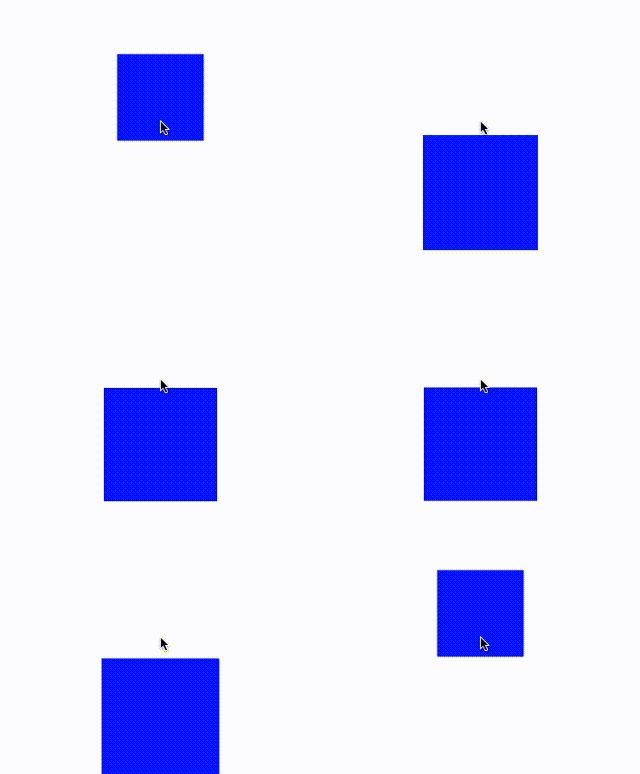
あるアニメーションの処理が終わったら次のアニメーションというように連鎖アニメーションをしたい場合、今までに紹介したアニメーション方法だと、アニメーション終了時のcompletionクロージャの中で再度アニメーションの処理をネストして書くなどしなければならず可読性の悪いコードになってしまいますがUIView.animateKeyframesを使うと下記のように書くことができます
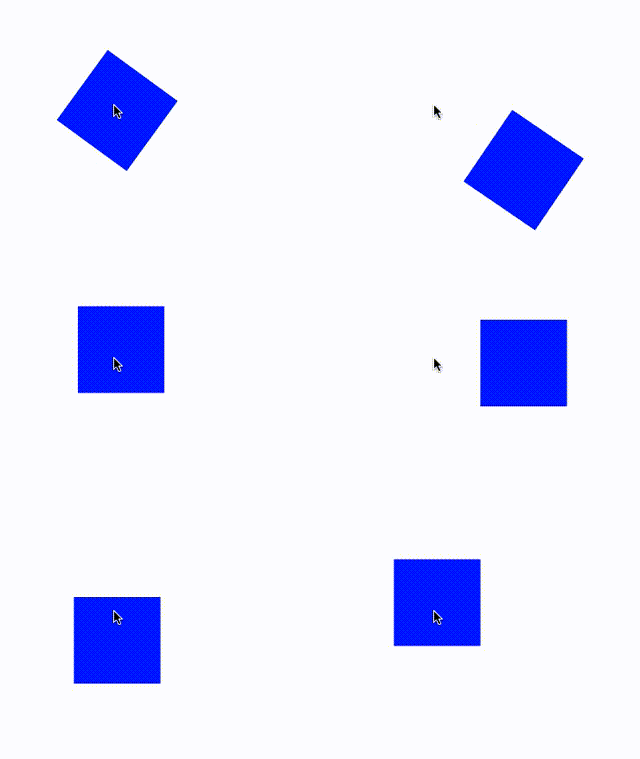
UIView.animateKeyframes(withDuration: 2.0, delay: 0.0, options: [.autoreverse], animations: {

    UIView.addKeyframe(withRelativeStartTime: 0.0, relativeDuration: 0.25, animations: {
        self.blueView.center.y += 100.0
    })

    UIView.addKeyframe(withRelativeStartTime: 0.0, relativeDuration: 0.1, animations: {
        self.blueView.transform = CGAffineTransform(rotationAngle: CGFloat(M_PI_2))
    })

    UIView.addKeyframe(withRelativeStartTime: 0.25, relativeDuration: 0.25, animations: {
        self.blueView.center.x += 100.0
    })

    UIView.addKeyframe(withRelativeStartTime: 0.25, relativeDuration: 0.1, animations: {
        self.blueView.transform = CGAffineTransform(rotationAngle: CGFloat(M_PI))
    })

    UIView.addKeyframe(withRelativeStartTime: 0.5, relativeDuration: 0.25, animations: {
        self.blueView.center.y -= 100.0
    })

    UIView.addKeyframe(withRelativeStartTime: 0.5, relativeDuration: 0.1, animations: {
        self.blueView.transform = CGAffineTransform(rotationAngle: CGFloat(M_PI + M_PI_2))
    })

    UIView.addKeyframe(withRelativeStartTime: 0.75, relativeDuration: 0.25, animations: {
        self.blueView.center.x -= 100.0
    })

    UIView.addKeyframe(withRelativeStartTime: 0.75, relativeDuration: 0.1, animations: {
        self.blueView.transform = CGAffineTransform(rotationAngle: CGFloat(M_PI * 2.0))
    })

}, completion: nil)
UIView.animateKeyframesメソッドのanimationsクロージャにUIView.addKeyframeを追加していくことで可能です
UIView.animateKeyframesのwithDuration:に指定した値がキーフレームアニメーション全体の時間になります
UIView.addKeyframeメソッドのwithRelativeStartTime:では、全体のアニメーション時間の中のどこからアニメーションを開始するかを0.0〜1.0の間で指定します
relativeDuration:でアニメーション時間を指定します
なので、下記のコードでは
UIView.addKeyframe(withRelativeStartTime: 0.25, relativeDuration: 0.25, animations: {
    self.blueView.center.x += 100.0
})
2.0(全体アニメーション時間) * 0.25(withRelativeStartTime) = (アニメーション開始から)0.5秒後、0.25秒でViewのCenterPositionのx座標を100point移動するという意味です
また、サンプルコードでは移動だけでなく、
UIView.addKeyframe(withRelativeStartTime: 0.25, relativeDuration: 0.1, animations: {
    self.blueView.transform = CGAffineTransform(rotationAngle: CGFloat(M_PI))
})
2.0(全体アニメーション時間) * 0.25(withRelativeStartTime) = (アニメーション開始から)0.5秒後、0.1秒でViewを90度回転させるというコードも書いてあるのが分かる通り、全体のアニメーション時間内の任意のタイミング、時間にアニメーションすることができます
Core Animation
複雑なアニメーションやUIKitでサポートされてないアニメーションをしたい場合はCore Animationを使ってレイヤーに変更を与えることでアニメーションができるようになります
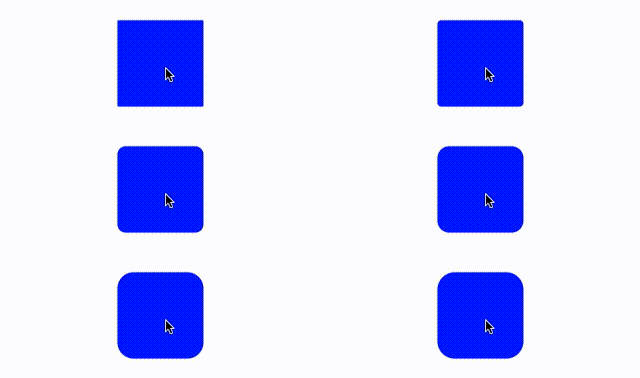
例えば、UIView.animateメソッドのanimations:クロージャでUIViewのレイヤーのプロパティを変更して、アニメーションできるものもありますが、CALayerのcornerRadiusのアニメーションの場合、下記の通り、UIKitのアニメーションではうまいこと動いてくれません
//cornerradiusはUIKitのアニメーション非対応
//2秒でcornerRadiusが20になるようにアニメーションしたいけどパッと切り替わったようになってしまう
UIView.animate(withDuration: 2.0, animations: { in
    self.blueView.layer.cornerRadius = 20.0
}, completion: nil)
この現象を解決したい場合にCore Animationを使います
CABasicAnimation
ここではCore AnimationのCABasicAnimationというクラスを使います
let animation = CABasicAnimation(keyPath: "cornerRadius")
animation.duration = 2.0
animation.fromValue = 0.0
animation.toValue = 20.0
animation.autoreverses = false
animation.isRemovedOnCompletion = false
animation.fillMode = kCAFillModeForwards
blueView.layer.add(animation, forKey: nil)
CABasicAnimationのイニシャライザの引数であるkeyPath:にアニメーション対象のレイヤーのプロパティを文字列で指定します
(正確にいうとCABasicAnimationの親クラスであるCAPropertyAnimationクラスのイニシャライザです)
今回はcornerRadiusですが、x軸の移動の場合はposition.xと指定します
あとはCABasicAnimationクラスのプロパティに値を設定していきます
(親クラスであるCAPropertyAnimation,CAAnimationのプロパティやデリゲート含め)
durationはアニメーション時間
autoreversesは逆再生の可否
fromValueはイニシャライザで指定したアニメーション対象のプロパティのアニメーション前の値をセットします
指定しない場合は現状の値がそのまま使われます
toValueはイニシャライザで指定したアニメーション対象のプロパティのアニメーション後の値をセットします
isRemovedOnCompletionとfillModeについてですが、Core Animationの場合、UIKitのアニメーションと逆で、アニメーション後はアニメーションした位置や値に留まるのではなく、アニメーション前の値に戻ります
なのでアニメーション後に、その位置、値に留めておきたい場合、isRemovedOnCompletionをfalse、fillModeにkCAFillModeForwardsを指定する必要があります
このあたりの解説は @inamiy さんの Core Animation 中級編にとても分かりやすく説明されています
作成したアニメーションオブジェクトをアニメーション対象のViewのレイヤーにaddすることでアニメーションが実行されます
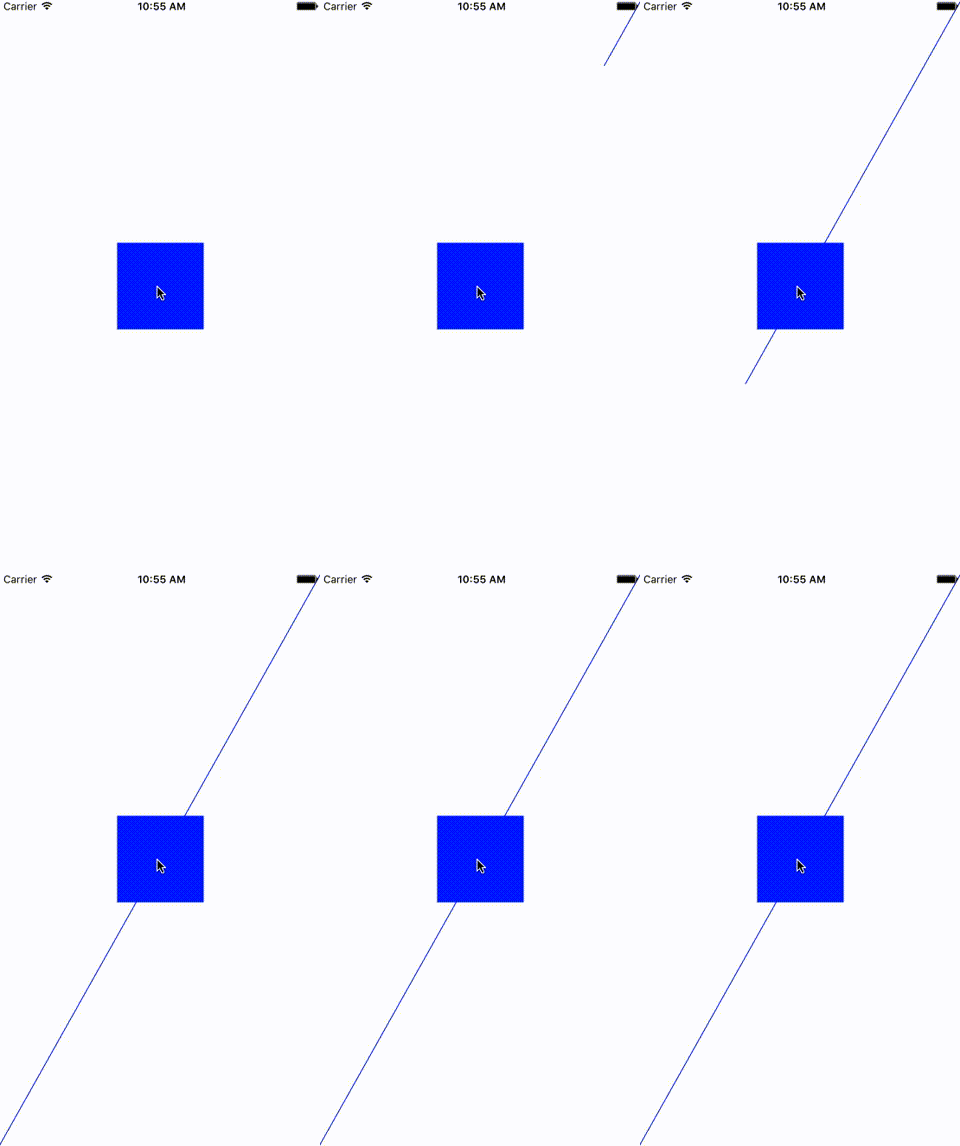
また、UIBezierPathの描画アニメーションの際にもCore Animationを使います
UIBezierPathやCAShapeLayerには触れずなので恐縮ですが、下記の通り実現できます
let path = UIBezierPath()
path.move(to: CGPoint(x: view.frame.maxX, y: view.frame.minY))
path.addLine(to: CGPoint(x: view.frame.minX, y: view.frame.maxY))
path.lineWidth = 1.0
let lineLayer = CAShapeLayer()
lineLayer.strokeColor = UIColor.blue.cgColor
lineLayer.lineWidth = 1.0
lineLayer.path = path.cgPath

let animation = CABasicAnimation(keyPath: "strokeEnd")
animation.duration = 1.0
animation.timingFunction = CAMediaTimingFunction(name: kCAMediaTimingFunctionEaseIn)
animation.fromValue = 0.0
animation.toValue = 1.0
animation.fillMode = kCAFillModeForwards
animation.isRemovedOnCompletion = false

view.layer.addSublayer(lineLayer)
lineLayer.add(animation, forKey: nil)
また、timingFunctionプロパティにタイミング曲線の種類を指定できます
他に、UIKitのアニメーションでもrotationのアニメーションはview.layer.transformの変更で可能ですが、Core Animationを使って下記のようにやるのが個人的には好きです
@IBAction func tappedRightBarButtonItem(_ sender: Any) {

    guard let item = sender as? UIBarButtonItem, let target = item.value(forKey: "view") as? UIView else {
        return
    }

    let rotateAnimation = CABasicAnimation(keyPath: "transform.rotation")
    rotateAnimation.toValue = M_PI_4
    rotateAnimation.duration = 1.0
    rotateAnimation.isRemovedOnCompletion = false
    rotateAnimation.fillMode = kCAFillModeForwards
    target.layer.add(rotateAnimation, forKey: nil)

}
Core Animationの遅延実行
遅延実行をしたい場合はbeginTimeプロパティを使います
下記は0.5秒遅れてアニメーションが実行されます
let animation = CABasicAnimation(keyPath: "cornerRadius")
animation.beginTime = CACurrentMediaTime() + 0.5
Core Animationの停止
アニメーションの停止を行いたい場合はspeedプロパティに0を指定してあげることで可能です
デフォルトは1で、仮にこの値を2.0などにした場合、2倍速のアニメーションになります、すなわちアニメーション時間durationに1.0を指定して、speedを2.0にした場合、アイメーションは0.5秒で終わる挙動になります。
なので、speedが0の場合は動かないということです
let animation = CABasicAnimation(keyPath: "cornerRadius")
//アニメーションが開始されない
animation.speed = 0.0
let animation = CABasicAnimation(keyPath: "cornerRadius")
animation.duration = 1.0
//2倍速になるのでアニメーションが0.5秒で完了する
animation.speed = 2.0
Core Animationの開始・終了の検知
開始・終了を検知したい場合は、CAAnimationDelegateプロトコルに準拠することで可能です
開始を検知したい場合はoptional public func animationDidStart(_ anim: CAAnimation)
終了を検知したい場合はoptional public func animationDidStop(_ anim: CAAnimation, finished flag: Bool)
下記はアニメーション終了時にViewを黒くして、登録されたアニメーションを削除しています
//アニメーション側
let animation = CABasicAnimation(keyPath: "cornerRadius")
animation.duration = 2.0
animation.autoreverses = false
animation.fromValue = 0.0
animation.toValue = 20.0
animation.isRemovedOnCompletion = false
animation.fillMode = kCAFillModeForwards
animation.delegate = self
animation.setValue(blueView.layer, forKey: "blueView.layer")
blueView.layer.add(animation, forKey: "cornerRadius")
extension ViewController: CAAnimationDelegate {

    func animationDidStart(_ anim: CAAnimation) {
        //開始時
    }

    func animationDidStop(_ anim: CAAnimation, finished flag: Bool) {

        if flag, let layer = anim.value(forKey: "blueView.layer") as? CALayer {
            layer.backgroundColor = UIColor.black.cgColor
            layer.removeAnimation(forKey: "cornerRadius")
        }

    }

}
ここでは、まず、アニメーション登録時にデリゲートをセットします
animation.delegate = self
また、アニメーションに対してアニメーション対象のレイヤーオブジェクトを"blueView.layer"という文字列で登録します
animation.setValue(blueView.layer, forKey: "blueView.layer")
そしてアニメーションの名前も登録しておきます
blueView.layer.add(animation, forKey: "cornerRadius")
デリゲートに準拠した側では、"blueView.layer"キーから該当のレイヤーを取得して色を変えたり、レイヤーのアニメーションを削除しています
CAAnimationGroup
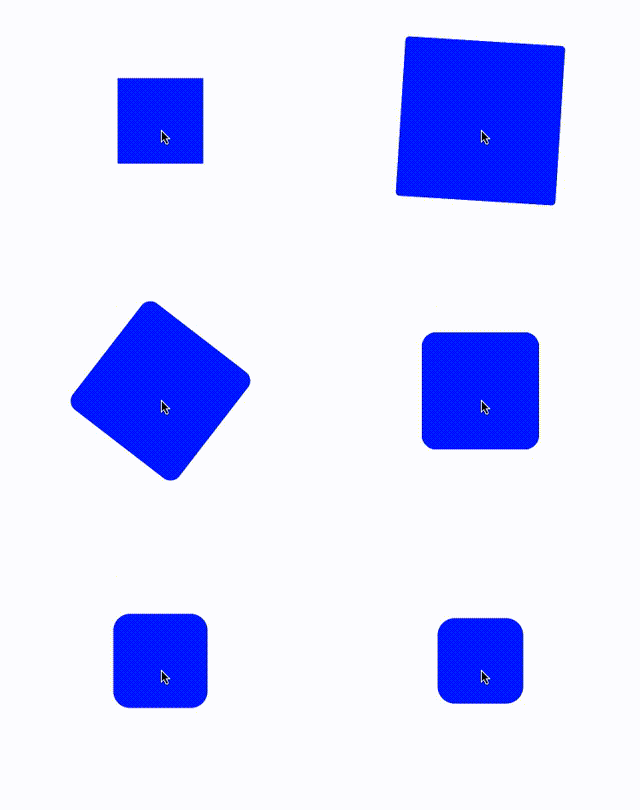
1つのLayerに対して複数のアニメーション処理を適用したい場合はCAAnimationGroupクラスを使います
CAAnimationGroupクラスのopen var animations: [CAAnimation]?に各々のCAAnimation(CABasicAnimationなど)クラスを登録することができます
CAAnimationGroupクラスのインスタンスでdurationなどを設定すると、animationsに指定した各々のCAAnimationクラスで設定した値よりも優先されます
全体に共通の設定はCAAnimationGroupのプロパティに設定すると、各々のAnimationクラスでは書かなくて良くなります
let animationGroup = CAAnimationGroup()
animationGroup.duration = 1.0
animationGroup.fillMode = kCAFillModeForwards
animationGroup.isRemovedOnCompletion = false

let animation1 = CABasicAnimation(keyPath: "transform.scale")
animation1.fromValue = 2.0
animation1.toValue = 1.0

let animation2 = CABasicAnimation(keyPath: "cornerRadius")
animation2.fromValue = 0.0
animation2.toValue = 20.0

let animation3 = CABasicAnimation(keyPath: "transform.rotation")
animation3.fromValue = 0.0
animation3.toValue = M_PI * 2.0
animation3.speed = 2.0

animationGroup.animations = [animation1, animation2, animation3]
blueView.layer.add(animationGroup, forKey: nil)
グループの中のあるアニメーション処理だけ時間を早くしたい場合には、そのAnimationオブジェクトのspeedプロパティの値を変えてあげることで実現できます
CASpringAnimation
Core AnimationでもiOS9からCASpringAnimationを使えば、ばねの跳ね返りアニメーションをすることができます
UIKitよりも詳細な設定が可能です
let animation = CASpringAnimation(keyPath: "transform.scale")
animation.duration = 2.0
animation.fromValue = 1.25
animation.toValue = 1.0
animation.mass = 1.0
animation.initialVelocity = 30.0
animation.damping = 3.0
animation.stiffness = 120.0
blueView.layer.add(animation, forKey: nil)
UIKitで使っていた
open class func animate(withDuration duration: TimeInterval, delay: TimeInterval, usingSpringWithDamping dampingRatio: CGFloat, initialSpringVelocity velocity: CGFloat, options: UIViewAnimationOptions = [], animations: @escaping () -> Swift.Void, completion: ((Bool) -> Swift.Void)? = nil)
メソッドの設定だけでなく、
mass 質量
と
stiffness 硬さ
を指定できるようになっています
CAKeyframeAnimation
Core Animationでキーフレームアニメーションをしたい場合はCAKeyframeAnimationを使います
UIKitのキーフレームアニメーションはUIView.animateKeyframesのanimations:クロージャの中でアニメーションしたい分のUIView.addKeyframeを追加していましたが、CAKeyframeAnimationではkeyTimesやvaluesに、タイミングや値を配列で書けるのでUIKitより冗長でなくなります
let animation = CAKeyframeAnimation(keyPath: "cornerRadius")
animation.duration = 2.0
animation.keyTimes = [0.0, 0.25, 0.5, 0.75]
animation.values = [20.0, 3.0, 20.0, 10.0]
blueView.layer.add(anim, forKey: nil)
CATransaction
CoreAnimationの終了の検知はCAAnimationDelegateプロトコルに準拠することで可能ですが、CATransactionのsetCompletionBlockを使うと実装者がCAAnimationDelegateに準拠せずに終了の検知ができます
CATransaction.begin()
CATransaction.setCompletionBlock {
    self.blueView.backgroundColor = UIColor.red
}
let animation = CABasicAnimation(keyPath: "cornerRadius")
animation.duration = 1.0
animation.fromValue = 0.0
animation.toValue = 20.0
blueView.layer.add(animation, forKey: nil)
CATransaction.commit()
CATransaction.begin()とCATransaction.commit()の間にアニメーションの処理を書きますが、完了を検知するsetCompletionBlockはアニメーションが開始されるblueView.layer.add(animation, forKey: nil)よりも前の行に書いておく必要があります
インタラクティブアニメーション
ユーザーの操作に連動してアニメーションさせたい場合はUIViewPropertyAnimatorをつかうことで実現できます。
UIViewPropertyAnimatorを使いこなそう で詳しく説明しています。
最後に
この記事では基礎的な部分だけでしたが、アイデアや組み合わせ次第で本当に素敵なものになりますよね
しかし、過剰なアニメーションは嫌われるし、複雑すぎるアニメーション処理は、その後のメンテナンス性の低下や冪等性を保つのが大変になる可能性があるので用法用量お守りください
アニメーションはViewに魂を与えます
色々試行錯誤してみて自分だけの良い感じのアニメーションを生み出してみてはいかがでしょうか
この記事がその助けになれれば幸いです
