調べるとやり方を説明するサイトはいくつか出てくるのですが、
自分用に簡潔なやり方を残しておきます。
Ubuntu Desktopでも同様のやり方で共有できました。
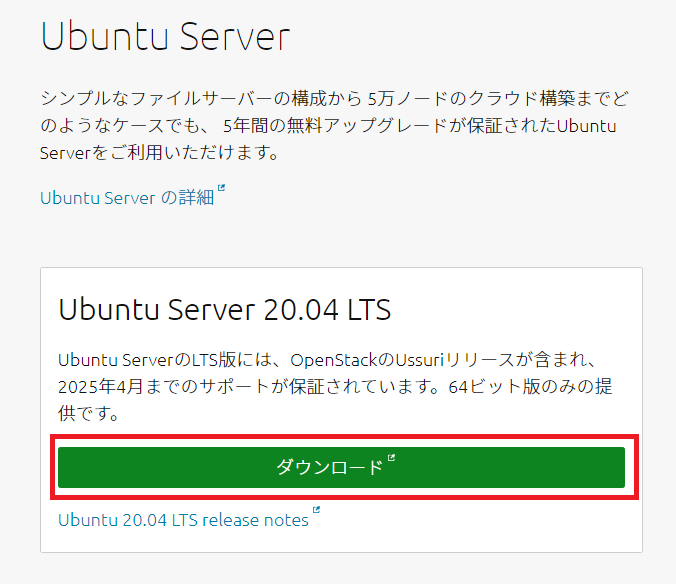
1.Ubuntu Serverのイメージをダウンロード
jp.ubuntu.comのダウンロードページからイメージをダウンロードする
2.VMWareにインストールする
調べるとすぐに出てくると思うのでここでは割愛します
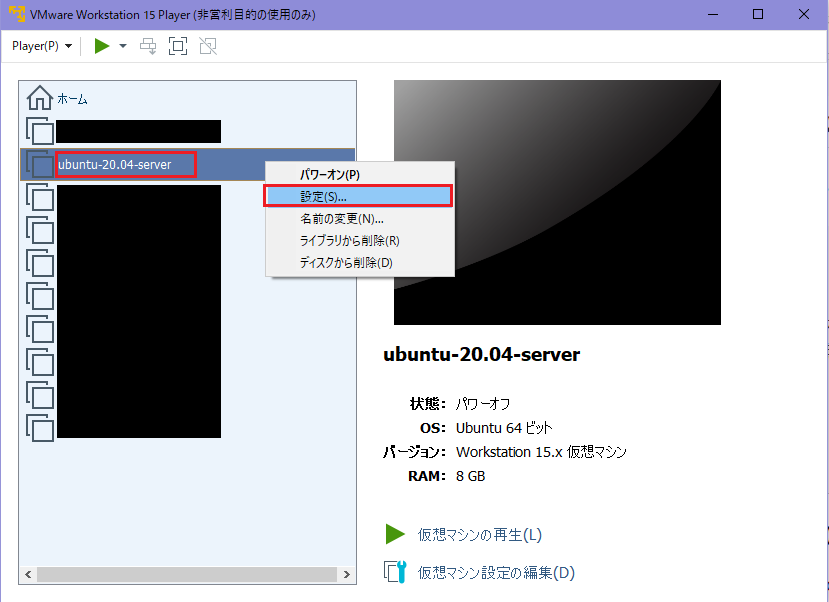
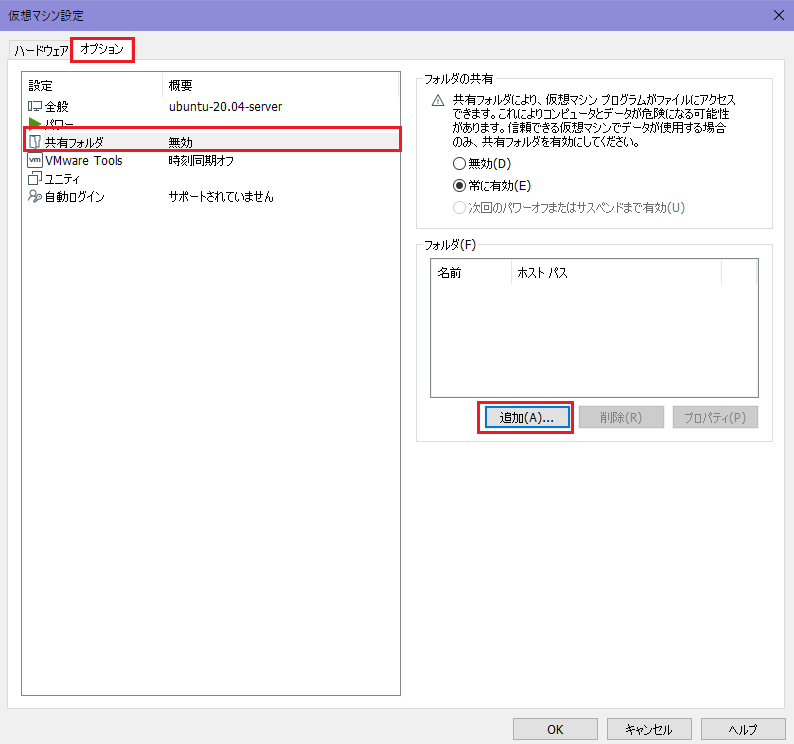
3.VMWareの設定で共有フォルダを指定する
Ubuntuを起動していない状態で下記のとおり設定します。
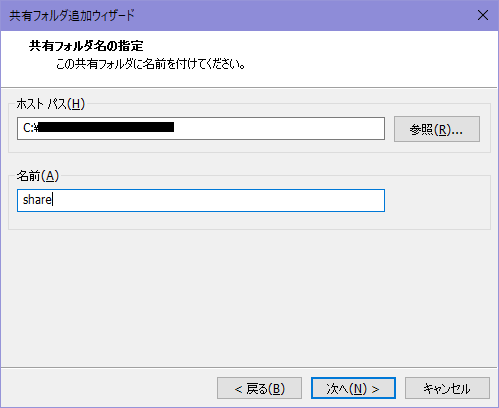
ここで共有したいホストのディレクトリと、マウントされたときのディレクトリ名を決め、次へを押します。
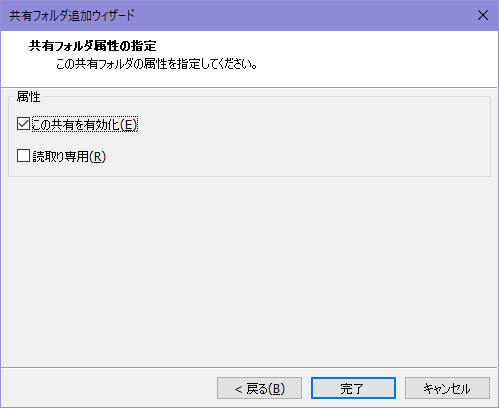
デフォルト設定のまま完了します。
この部分はお好みですが、私は常に有効で進めます。
設定が完了したらOKを押して設定を閉じます。
4.必要なツールをインストール
unzip
$ apt install unzip
5.vmware-tools-patches をインストールする
Ubuntu-Serverを起動し、適当なディレクトリで下記コマンドでツールをインストールします。
$ git clone https://github.com/rasa/vmware-tools-patches.git
$ cd vmware-tools-patches
$ ./download-tools.sh latest
$ ./untar-and-patch.sh
$ ./compile.sh
ここまで完了したらUbuntuを再起動します。
※Ubuntu Desktopの場合、再起動後にマウントが完了しているはずです。
6.マウント
sudo mount -t fuse.vmhgfs-fuse .host:/ /mnt/hgfs -o allow_other
下記ディレクトリに共有フォルダがマウントされ、使用することができます。
cd /mnt/hgfs
7.マウントの自動化
6.の手順だと再起動するたび設定が初期化されるので、
起動時にマウントしてしまいたい場合は設定してください。
こちらを最終行に追加
.host:/ /mnt/hgfs fuse.vmhgfs-fuse allow_other 0 0
