やったこと
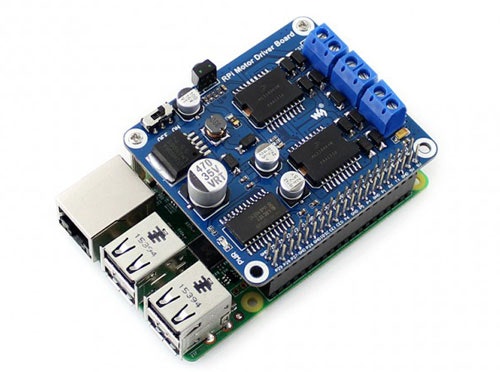
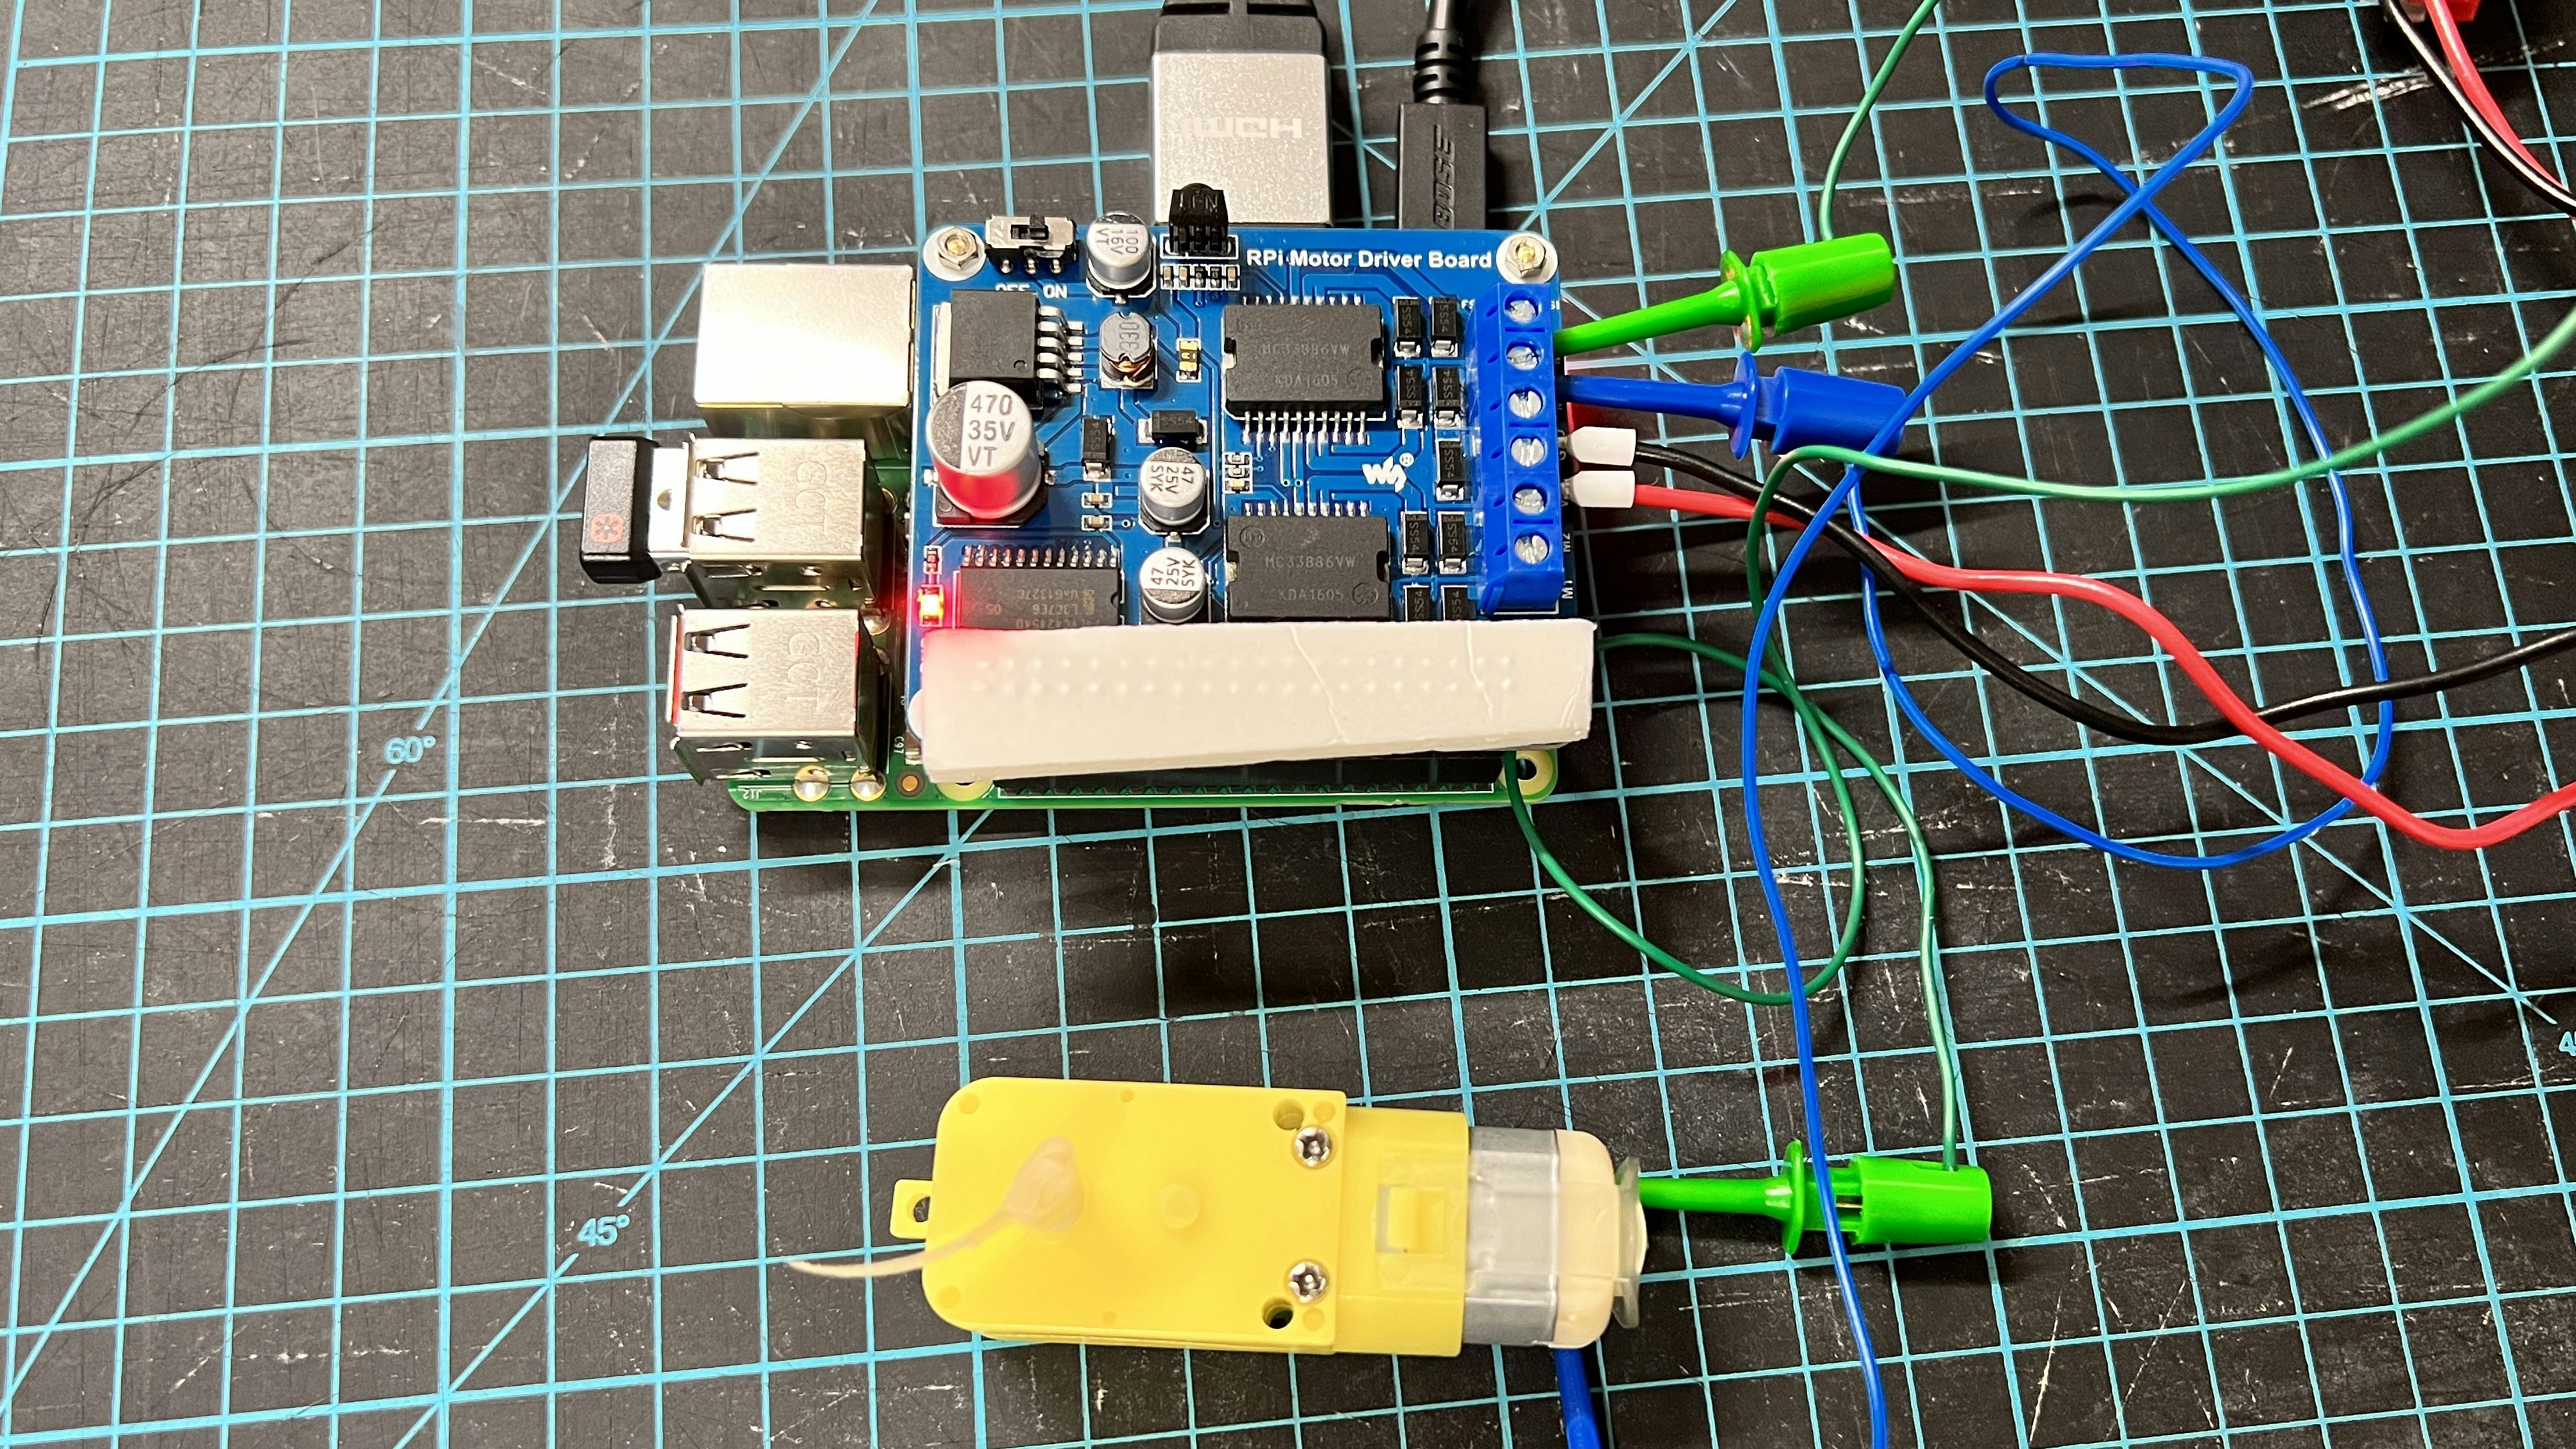
RaspberryPi用MC33886を使ってDCモータの回転数を制御した。
構成
- Raspberry Pi
- MC33886


設定と動作
- 基本はwiki通りに進めると動く。
RPi Motor Driver Board - ChangeDutyCycle関数を用いることで、PWMの波形を出力している途中でもデューティ比を変更することができます
DC_sample_cord.py
from tkinter import E

import RPi.GPIO as GPIO
from time import sleep
import time


PWMA1 = 6
PWMA2 = 13
PWMB1 = 20
PWMB2 = 21
D1 = 12
D2 = 26

class DC_motor_drive():
    def __init__(self):
        #GPIOのポート番号を使用
        GPIO.setmode(GPIO.BCM)
        #モーターで使うGPIOをセットアップ
        GPIO.setup(PWMA1,GPIO.OUT)
        GPIO.setup(PWMA2,GPIO.OUT)
        GPIO.setup(PWMB1,GPIO.OUT)
        GPIO.setup(PWMB2,GPIO.OUT)
        GPIO.setup(D1,GPIO.OUT)
        GPIO.setup(D2,GPIO.OUT)
        #PWMの設定
        self.motor1 = GPIO.PWM(D1,100)
        self.motor2 = GPIO.PWM(D2,100)
        self.motor1.start(0)
        self.motor2.start(0)

    def sample_process(self,speedA,speedB):
        print('start sample_process')
        self.motor1.ChangeDutyCycle(speedA)
        self.motor2.ChangeDutyCycle(speedB)
        print('speedA:{},speedB:{}'.format(speedA,speedB))
        GPIO.output(PWMA1,1)
        GPIO.output(PWMA2,0)
        GPIO.output(PWMB1,1)
        GPIO.output(PWMB2,0)

        # モーターを2秒動かす
        time.sleep(2)

    def move_process(self,speedA,speedB):
        print('start move_process')
        self.motor1.ChangeDutyCycle(speedA)
        self.motor2.ChangeDutyCycle(speedB)
        print('speedA:{},speedB:{}'.format(speedA,speedB))
        # モーターを動かす。
        GPIO.output(PWMA1,1)
        GPIO.output(PWMA2,0)
        GPIO.output(PWMB1,1)
        GPIO.output(PWMB2,0)

    def stop_process(self):
        # モーターを停止。
        GPIO.output(PWMA1,0)
        GPIO.output(PWMA2,0)
        GPIO.output(PWMB1,0)
        GPIO.output(PWMB2,0)

    def cleanup(self):
        GPIO.cleanup()
        print('Process End')
        time.sleep(1)

def drive_main():
    motor_drive= DC_motor_drive()
    #()内には0~100のスピードを指定
    speedA=50
    speedB=50
    try:
        print('--- start program ---')
        while True:
            motor_drive.sample_process(speedA,speedB)
            print('speed UP:{}'.format(speedA))
            if speedA < 100:
                speedA+=10
            else:
                speedA=speedA-80
                print('speed reset'.format(speedA))
    except KeyboardInterrupt:
            print("intrrupted Ctrl-C")
            pass
    finally:
        GPIO.cleanup()
        print('--- stop program ---')
        motor_drive.cleanup
        time.sleep(1)

if __name__ == '__main__':
    drive_main()
以上