概要
Amazon Bedrock AgentCore というサービスが2025年7月に発表されました。
今回はこのサービスを用いて、「GitHub Issue 起票エージェント」を作成していきます。
とりあえずBedrock AgentCore を使ってみたい!という方にハンズオンとして利用いただけたら嬉しいです。
やりたいこと
「AgentCore を用いて、ローカルで書いたコードをAWS上にデプロイし、実行する」
手順
- 環境構築
- ローカルでの動作確認
- AgentCoreを用いたAWS環境へのデプロイ
- AWS環境へデプロイしたエージェントを呼び出す
1. 環境構築
まずは開発環境を整えます。今回は仮想環境を作成し、その中で作業を進めます。
python -m venv .venv
次に、必要なライブラリをインストールしましょう。
今回はパッケージマネージャーとして、 pip を使用します。
pip install bedrock-agentcore strands-agents PyGithub
-
bedrock-agentcore:AWSへのデプロイ・管理用ツール -
strands-agents:エージェント開発用のSDK -
PyGithub:GitHub上の操作をPythonから行うためのツール
最後に、ローカルからBedrockを呼び出すため、AWS CLIで認証を通しておきます。
aws configure
regionには利用可能なモデルの多い、us-east-1を選択します。その他のKeyやoutput formatにはご自信の情報を設定してください。下記コマンドで設定が確認できれば準備完了です!
aws sts get-caller-identity
2. ローカルでの動作確認
続いて、ローカルでエージェントを呼び出すプログラムを作成し、実行してみます。
AWS環境にデプロイする前の稼働確認です。
検証用コード (test_local.py)
GitHubトークンを一時的に変数にセットし、エージェントが「ツール(関数)」を認識して実行できるかをテストします。Githubのトークン及びリポジトリ名は適切な値に書き換えて利用してください。
from strands import Agent, tool
from github import Github
@tool
def create_github_issue(repo_name: str, title: str, body: str = ""):
token = "YOUR_GITHUB_TOKEN" # テスト用
g = Github(token)
repo = g.get_repo(repo_name)
issue = repo.create_issue(title=title, body=body)
return f"成功: {issue.html_url}"
agent = Agent(
model="us.anthropic.claude-3-5-sonnet-20241022-v2:0",
tools=[create_github_issue],
system_prompt="あなたはGitHubの専門家です。指示を受けたら必ず 'create_github_issue' ツールを実行してください。手動の手順を説明するのではなく、ツールを動かすことがあなたの仕事です。"
)
if __name__ == "__main__":
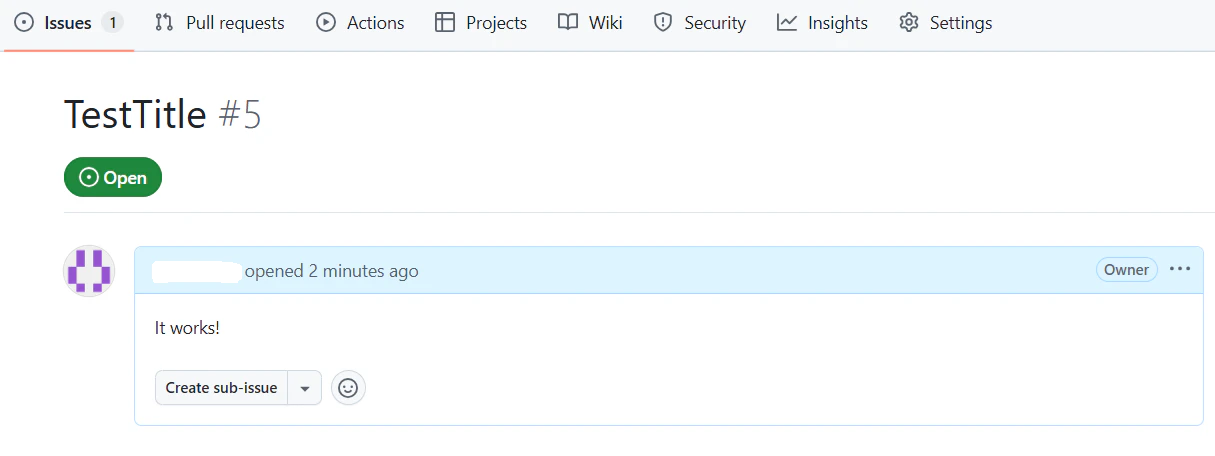
prompt = "username/repository に、タイトル 'TestTitle'、本文 'It works!' でIssueを作成して。"
print(f"User: {prompt}")
response = agent(prompt)
print(f"Agent: {response}")
実行すると無事にIssueが作成されました。
これにてローカルでの稼働確認は完了です。
3. AgentCoreを用いたデプロイ
次に、コードをAWS環境へデプロイします。
デプロイ用コード (issueCreateAgent.py)
AWS環境上で動かす都合上、Githubトークンの値をSecretsManagerから取得するなどの処理を加えて、デプロイ用コードを作成します。SecretsManagerに予めGithubトークンを登録し、secret_nameには適切な値を設定してください。
import json
import boto3
from botocore.exceptions import ClientError
from strands import Agent, tool
from github import Github
from bedrock_agentcore.runtime import BedrockAgentCoreApp

# AgentCoreランタイム用のAPIサーバーを初期化
app = BedrockAgentCoreApp()

def get_github_token():
    """
    AWS Secrets ManagerからGitHubのアクセストークンを取得します。
    """
    secret_name = "your/secret/name"
    region_name = "us-east-1"

    session = boto3.session.Session()
    client = session.client(service_name='secretsmanager', region_name=region_name)

    try:
        response = client.get_secret_value(SecretId=secret_name)
    except ClientError as e:
        print(f"Secret取得エラー: {e}")
        return None

    secret = response['SecretString']

    try:
        # JSON形式(キー/値ペア)で保存されている場合を想定
        secret_dict = json.loads(secret)
        return secret_dict.get("github_token", secret).strip()
    except json.JSONDecodeError:
        # プレーンテキストで保存されている場合
        return secret.strip()

@tool
def create_github_issue(repo_name: str, title: str, body: str = ""):
    """
    GitHubのリポジトリに新しいIssueを作成します。

    Args:
        repo_name (str): 'オーナー名/リポジトリ名' の形式 (例: 'octocat/hello-world')
        title (str): Issueのタイトル
        body (str): Issueの詳細説明(任意)
    """
    token = get_github_token()
    if not token:
        return "エラー: GitHubトークンの取得に失敗しました。IAM権限等を確認してください。"

    try:
        g = Github(token)
        repo = g.get_repo(repo_name)
        issue = repo.create_issue(title=title, body=body)
        return f"Issue作成に成功しました! URL: {issue.html_url}"
    except Exception as e:
        return f"GitHub操作中にエラーが発生しました: {str(e)}"

@app.entrypoint
async def invoke_agent(payload, context):
    """
    AgentCoreのエントリーポイント。受信したプロンプトをエージェントに渡します。
    """
    prompt = payload.get("prompt")

    # エージェントの構築
    agent = Agent(
        model="us.anthropic.claude-4-5-sonnet-20250224-v1:0",
        tools=[create_github_issue],
        system_prompt=(
            "あなたはGitHub管理のプロフェッショナルです。提供されたツール『create_github_issue』を実行する権限を持っています。"
            "ユーザーからの依頼に対し、手順を解説するのではなく、必ずツールを呼び出してIssueの実作成を行ってください。"
            "ツールの実行結果(URL)をユーザーに報告するまでがあなたの役割です。"
        )
    )

    # 応答をストリーミング形式で返却
    async for event in agent.stream_async(prompt):
        yield event

if __name__ == "__main__":
    app.run()
コードが書けたら、次に requirements.txt を作成し、以下を記載しておきます。
strands-agents
bedrock-agentcore
PyGithub
デプロイ実行
最後にagentcoreコマンドでデプロイをします。
まずはagentcore configureで agentcore.yaml を作成します。
agentcore configure --entrypoint issueCreateAgent.py
agentcore configureを実行するとウィザードが出てきますが、今回は全てデフォルト値を設定します。
最後にdeployします。
agentcore deploy
完了するとARN等の情報が出力されるので、メモしておきましょう。
マネコンからもエージェントが作成されたことを確認できます。
エージェントがSecretsManagerを呼び出すため、エージェントが利用しているIAMロールにSecretsManagerのReadを許可するポリシーを設定しておきましょう。
4. デプロイしたエージェントを呼び出す
最後にエージェントを呼び出します!
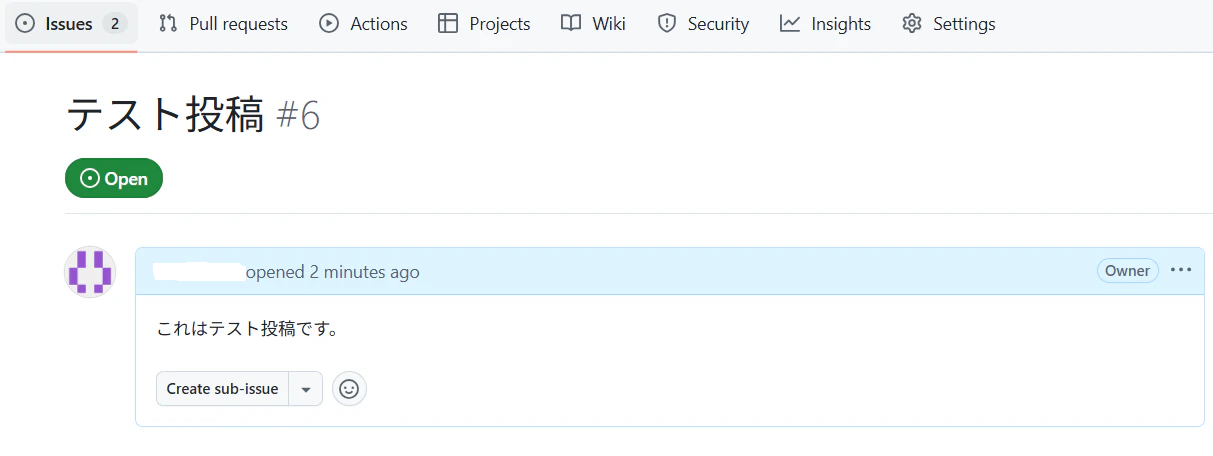
agentcore invoke '{"prompt": "username/repositoryにテスト投稿して"}'
実行すると無事にIssueが作成されました!
まとめ
- デプロイの簡略化:これまでは、LambdaやIAMロール、ECR、Bedrockエージェント等を手動で紐付けてエージェントを作成する必要がありました。しかし、AgentCoreを利用すると configure と deploy コマンドだけで、これらのインフラ構築をバックグラウンドで自動完結してくれます。
- IDEによる自由度:コンソール画面から設定してエージェントを作成するのに比べ、IDEでコードを書き、テストしたものをAWS環境に昇格させることができ、デバッグも行いやすくなりました。