前回REST APIを使って投稿を取得しました。
ただこの方法では取得系(GET系)のAPIしか動かせません。
投稿したり、更新したり、削除する場合は権限の問題が出てくるので今回はこれに対応してみます。
更新も削除もエンドポイントやメソッド、パラメーターがかわるだけで基本一緒なので、今回はPostを作成するAPIを例に試します。
基本的に上記の動作はWordPressの管理画面ですることが多いと思いますが・・・
Postを作成
公式を見ると以下のように書かれている。
POST /wp/v2/posts
| 引数 | 説明 |
|---|---|
| date | The date the object was published, in the site's timezone. |
| date_gmt | The date the object was published, as GMT. |
| slug | An alphanumeric identifier for the object unique to its type. |
| status | A named status for the object. 次のいずれか: publish, future, draft, pending, private |
| password | A password to protect access to the content and excerpt. |
| title | The title for the object. |
| content | The content for the object. |
| author | The ID for the author of the object. |
| excerpt | The excerpt for the object. |
| featured_media | The ID of the featured media for the object. |
| comment_status | Whether or not comments are open on the object. 次のいずれか: open, closed |
| ping_status | Whether or not the object can be pinged. 次のいずれか: open, closed |
| format | The format for the object. 次のいずれか: standard, aside, chat, gallery, link, image, quote, status, video, audio |
| meta | Meta fields. |
| sticky | Whether or not the object should be treated as sticky. |
| template | The theme file to use to display the object. |
| categories | The terms assigned to the object in the category taxonomy. |
| tags | The terms assigned to the object in the post_tag taxonomy. |
とりあえずやってみる
これだけだと、どの項目が必須なのかわかりませんが、管理画面から投稿するのと一緒なので、タイトルさえあれば登録できるでしょう。
というわけで、/wp/v2/posts に POSTしてみます。(※Postmanで試してます)
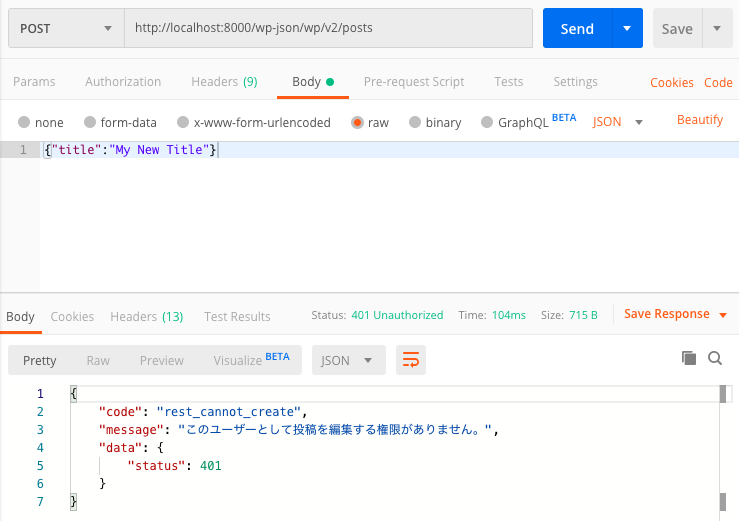
401のエラーが返ってきて権限がないとのこと。
誰でも勝手に投稿できちゃうといけないですもんね。
しっかりエラーは作り込まれていますね!
認証をする
http://ja.wp-api.org/guide/authentication/ を確認すると
WordPressのREST APIの認証方法は3つ
- クッキー認証
- OAuth 認証
- アプリケーションパスワードまたはベーシック認証
とのこと。
REST APIって言っててクッキーってのは微妙かな・・・
OAuthは「現状 UI は無いのですが、将来的に導入されます。」って書かれてて発展途上感がある・・・
というわけでアプリケーションパスワードでいきましょう。
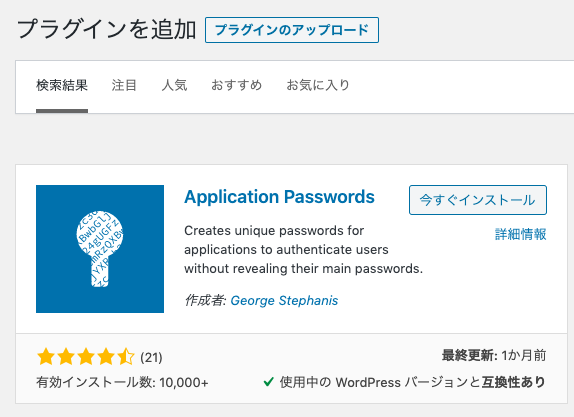
Application Passwordsプラグイン導入
アプリケーションパスワードを使うためにプラグインを導入します。
管理画面>プラグイン>新規追加 でApplication Passwordsをインストールして有効化しましょう。
アプリケーションパスワード生成
プラグインを有効にするとユーザーの詳細画面でApplication Passwordsが生成できるようになります。
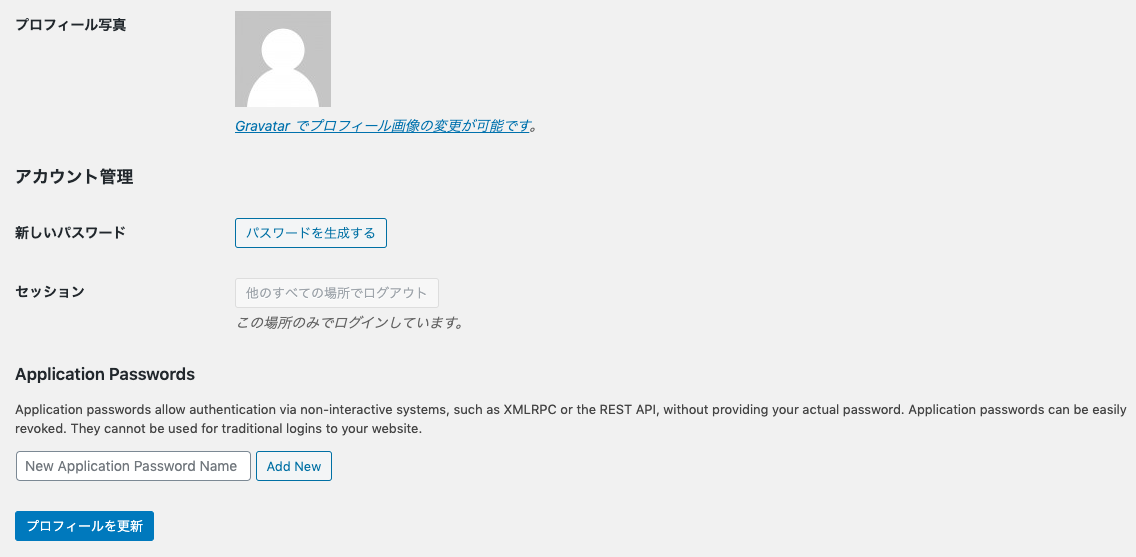
New Application Password Nameに適当に名前をいれて「Add New」ボタンを押します。
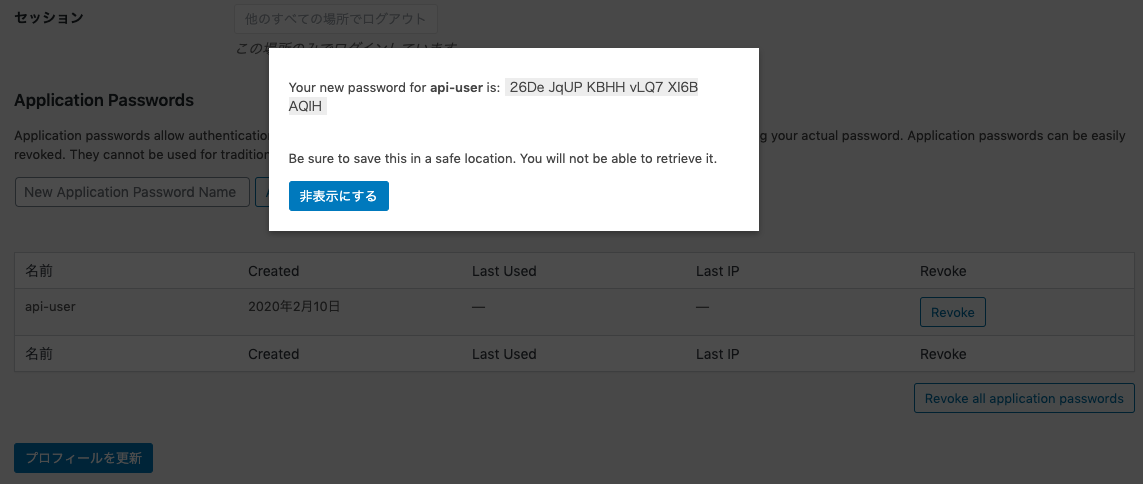
すると以下のようにレイヤーが表示され、そこにパスワードが書かれています。
これは一度しか見れないので、どこかに控えておきましょう。忘れてしまっても再度生成すればいいです。
APIを叩く
では、このパスワードを使って先程のAPIを叩いてみます。
名前は先程つけた名前ではなくユーザー名でないといけません。
認証方法はBasic認証と一緒なので、リクエストヘッダーにAuthorization: Basic xxxを追加してあげます。
xxxの部分はユーザー名とパスワードを:で区切ってbase64でエンコードした文字列になります。
コマンドで作るなら、
$ echo -n "<ユーザ名>:<パスワード>" | base64
になります。
今回はPostmanで試すので、Postmanにはユーザ名とパスワードいれるとこの文字列作ってくれる機能があるのでそれを使ってます。
ちなみにパラメーターはjsonで送るので
リクエストヘッダーにはContent-Type: application/json も入れてあげましょう。
これでAPIを叩くと以下のような200のステータスコードでレスポンスが返ってきます。
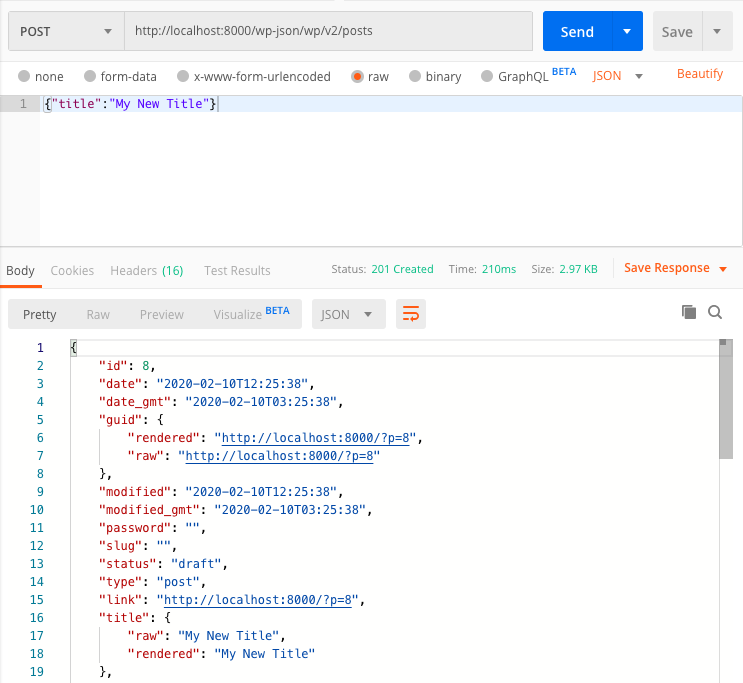
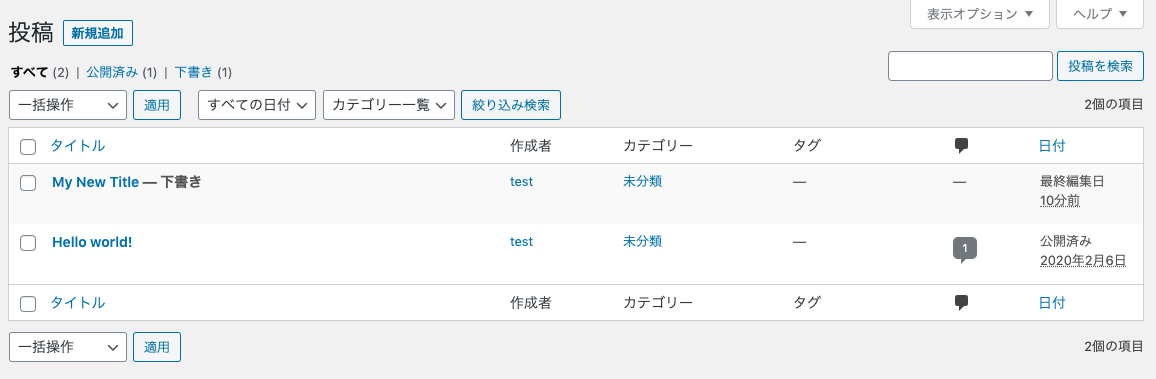
管理画面を確認すると下書きで投稿した内容が反映されていることがわかります。
まとめ
POST や DELETE メソッドのAPIは権限が必要で、アプリケーションパスワードを使っての対応をしてみました。
ここを抑えておけば、後はAPIのリファレンス見るだけでなんでもできそうな気がします。
今回は以上です。