前回作成した環境でアプリケーションを作っていきます。まずはホーム画面を作ります。
つくるもの
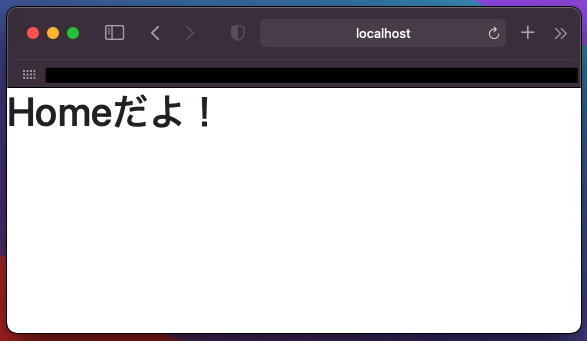
localhost:80にアクセスしたら、次のような画面が出るようにしたいと思います。デザインは二の次です…。

コンテナを起動
$ docker-compose up -d
コンテナのステータスがUpになっていることを確認したら、djangoコンテナに入ります。
$ docker-compose exec web bash
Startapp
ここからはDjangoの操作がメインになります。homeという名前のアプリを作成します。
$ python manage.py startapp home
settings.pyを開いて、アプリを登録します。
INSTALLED_APPS = [
    'home.apps.HomeConfig', # これを追加
    'django.contrib.admin',
    # 以下省略
テンプレートファイルの置き場所を指定します。プロジェクトフォルダの直下に配置するtemplatesフォルダを見にいくようにします。
TEMPLATES = [
    {
        'BACKEND': 'django.template.backends.django.DjangoTemplates',
        'DIRS': [os.path.join(BASE_DIR, 'templates')], # ここを修正
        # 以下省略
    },
]
ルーティング
confフォルダの中にあるurls.pyを修正します。
from django.contrib import admin
from django.urls import path, include # 追加

urlpatterns = [
    path('admin/', admin.site.urls),
    path('', include('home.urls')), # 追加
]
これでlocalhost:80にアクセスするとhomeアプリのurls.pyを参照するようになったので、homeフォルダ内にurls.pyを作成して、次のように記述します。
from  django.urls import path
from . import views

app_name = 'home'

urlpatterns = [
    path('', views.top, name='top')
]
これで次はviews.pyのtopを見にいくようになりました。views.pyを書き直します。
from django.shortcuts import render


def top(request):
    return render(request, 'home/top.html')
上の方でテンプレートファイルの置き場所を指定したので、templatesフォルダの中にあるhomeフォルダの中のtop.htmlを探しにいきます。というわけで、top.htmlを作ります。
<!doctype html>
<html lang="ja">
  <head>
    <!-- Required meta tags -->
    <meta charset="utf-8">
    <meta name="viewport" content="width=device-width, initial-scale=1, shrink-to-fit=no">

    <!-- Bootstrap CSS -->
    <link rel="stylesheet" href="https://stackpath.bootstrapcdn.com/bootstrap/4.3.1/css/bootstrap.min.css" integrity="sha384-ggOyR0iXCbMQv3Xipma34MD+dH/1fQ784/j6cY/iJTQUOhcWr7x9JvoRxT2MZw1T" crossorigin="anonymous">

    <title>django on docker</title>
  </head>
  <body>
    <h1>Homeだよ!</h1>

    <!-- Optional JavaScript -->
    <!-- jQuery first, then Popper.js, then Bootstrap JS -->
    <script src="https://code.jquery.com/jquery-3.3.1.slim.min.js" integrity="sha384-q8i/X+965DzO0rT7abK41JStQIAqVgRVzpbzo5smXKp4YfRvH+8abtTE1Pi6jizo" crossorigin="anonymous"></script>
    <script src="https://cdnjs.cloudflare.com/ajax/libs/popper.js/1.14.7/umd/popper.min.js" integrity="sha384-UO2eT0CpHqdSJQ6hJty5KVphtPhzWj9WO1clHTMGa3JDZwrnQq4sF86dIHNDz0W1" crossorigin="anonymous"></script>
    <script src="https://stackpath.bootstrapcdn.com/bootstrap/4.3.1/js/bootstrap.min.js" integrity="sha384-JjSmVgyd0p3pXB1rRibZUAYoIIy6OrQ6VrjIEaFf/nJGzIxFDsf4x0xIM+B07jRM" crossorigin="anonymous"></script>
  </body>
</html>
後々、デザインを整えていくことを考えて、Bootstrap4のスターターテンプレートを使いました。
コンテナを再起動
$ docker-compose stop
$ docker-compose up -d
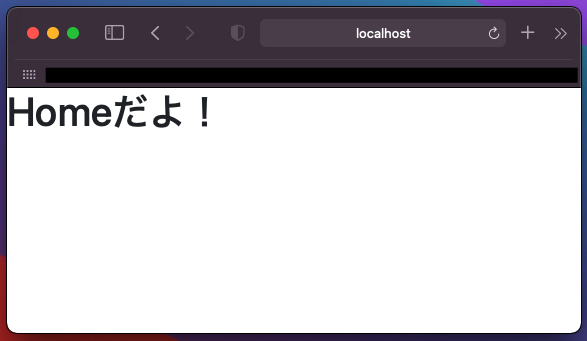
ブラウザを開いてlocalhost:80にアクセスします。うまくいっていれば、以下のような画面が出るはずです。

静的ページなので、そこまで複雑な操作はなかったかもしれません。