MacでQuartusは動かないことから、今回VirtualBoxで仮想環境を立てて環境構築をしてみました。
ただ、40 ~ 45GBほどの容量をVMと合わせて取ってしまったので、容量が足りない方は気をつけましょう。
やることは
- Quartusファイルのダウンロード
- 仮想環境の構築
- Quartusファイルを仮想環境への移動
- Quartusファイルの展開
の4つです。以下の記事を参考にさせていただきました。本記事との内容はバージョン変更と自分の気を付けたことぐらいなので、以下の記事が本家となっております。
環境
Mac OS Mojave
Macbook Air early 2015, SSD 128GB
前提
- Virtualboxインストール済み
- vagrantインストール済み
Quartusファイルのダウンロード
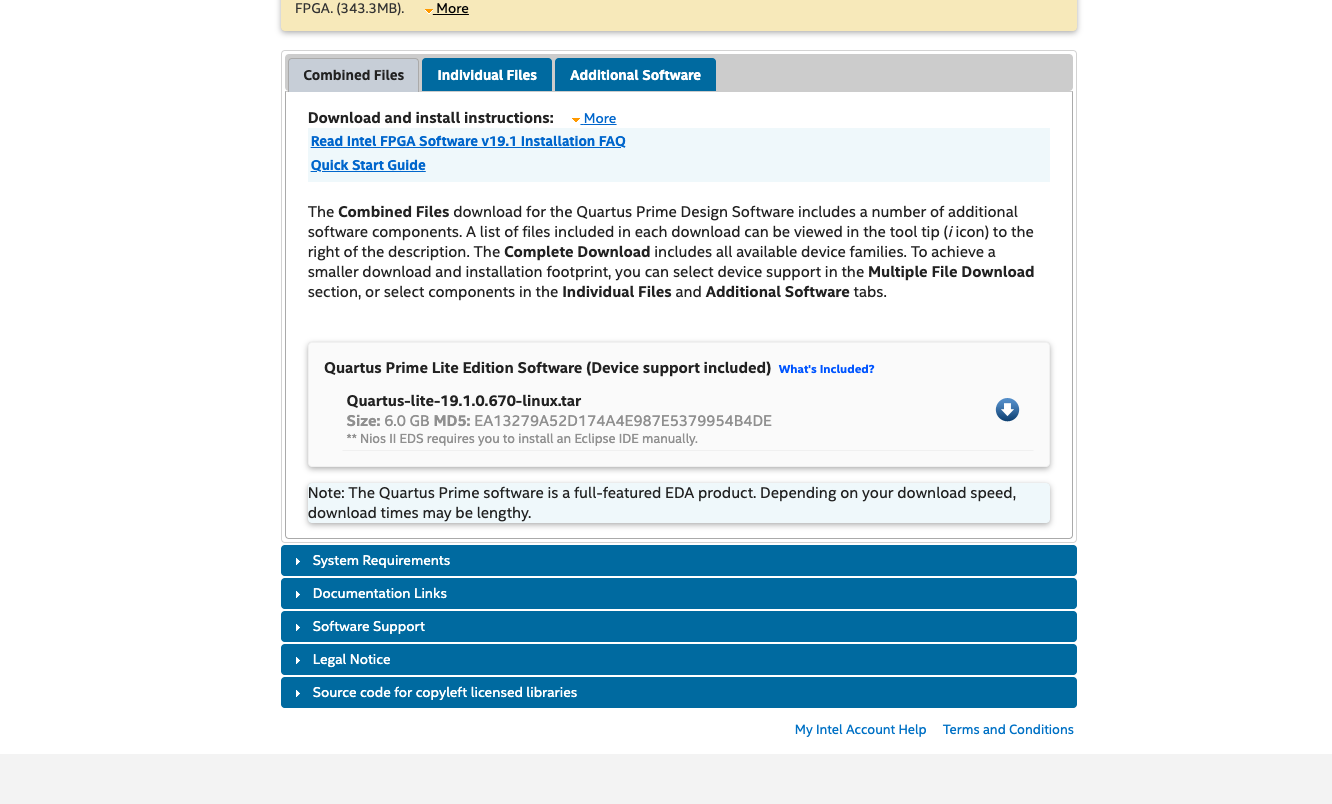
まずIntelのアカウントを作ってサインインする必要がありますが、ここからダウンロード可能です。
Select editionはlite、オペレーティングシステムはlinuxで、Select releaseは19.1です。(2020年5月9日現在)
Combined Filesの中のtar fileをダウンロードするのでいいです。
こちらで6GBあるので、ダウンロードには時間がかかります。
仮想環境の構築
まず、上記の前提でも言いましたがvagrant, virtualboxがインストールされていることを確認してください。
それに加えてvagrant-scpというプラグインもインストールしましょう。
vagrant plugin install vagrant-scp
自分のプロジェクトディレクトリに移り、Vagrantfileを作成します。
# -*- mode: ruby -*-
# vi: set ft=ruby :
# All Vagrant configuration is done below. The "2" in Vagrant.configure
# configures the configuration version (we support older styles for
# backwards compatibility). Please don't change it unless you know what
# you're doing.
Vagrant.configure("2") do |config|
  # The most common configuration options are documented and commented below.
  # For a complete reference, please see the online documentation at
  # https://docs.vagrantup.com.
  # Every Vagrant development environment requires a box. You can search for
  # boxes at https://vagrantcloud.com/search.
  config.vm.box = "bento/ubuntu-16.04"
  # Disable automatic box update checking. If you disable this, then
  # boxes will only be checked for updates when the user runs
  # `vagrant box outdated`. This is not recommended.
  # config.vm.box_check_update = false
  # Create a forwarded port mapping which allows access to a specific port
  # within the machine from a port on the host machine. In the example below,
  # accessing "localhost:8080" will access port 80 on the guest machine.
  # NOTE: This will enable public access to the opened port
  # config.vm.network "forwarded_port", guest: 80, host: 8080
  # Create a forwarded port mapping which allows access to a specific port
  # within the machine from a port on the host machine and only allow access
  # via 127.0.0.1 to disable public access
  # config.vm.network "forwarded_port", guest: 80, host: 8080, host_ip: "127.0.0.1"
  # Create a private network, which allows host-only access to the machine
  # using a specific IP.
  # config.vm.network "private_network", ip: "192.168.33.10"
  # Create a public network, which generally matched to bridged network.
  # Bridged networks make the machine appear as another physical device on
  # your network.
  # config.vm.network "public_network"
  # Share an additional folder to the guest VM. The first argument is
  # the path on the host to the actual folder. The second argument is
  # the path on the guest to mount the folder. And the optional third
  # argument is a set of non-required options.
  # config.vm.synced_folder "../data", "/vagrant_data"
  # Provider-specific configuration so you can fine-tune various
  # backing providers for Vagrant. These expose provider-specific options.
  # Example for VirtualBox:
  #
  config.vm.provider "virtualbox" do |vb|
    # Display the VirtualBox GUI when booting the machine
    vb.gui = true
    # Customize the amount of memory on the VM:
    vb.cpus = "2"
    vb.memory = "2048"
    vb.customize [
            "modifyvm", :id,
            "--vram", "256",                  # VRAM:256 (for full-screen mode)
            "--clipboard", "bidirectional",   # Sharing clipboard
            "--draganddrop", "bidirectional" # Enable D&D
        ]
  end
  #
  # View the documentation for the provider you are using for more
  # information on available options.
  # Enable provisioning with a shell script. Additional provisioners such as
  # Puppet, Chef, Ansible, Salt, and Docker are also available. Please see the
  # documentation for more information about their specific syntax and use.
  config.vm.provision "shell", inline: <<-SHELL
    dpkg --add-architecture i386
    apt-get update
    apt-get install -y ubuntu-desktop libxft2:i386 libxext6:i386 libncurses5:i386 libstdc++6:i386
  SHELL
end
Vagrantの起動と再起動
VMの初期化を行います。こちらも結構時間がかかります。
vagrant upの処理が終わったらvagrant reloadで再起動します。
vagrant up
# vagrant upのすべての処理が終わったら以下のコマンドで再起動します。
vagrant reload
Quartusファイルの転送
vagrant scp ファイルがあるディレクトリ/Quartus-lite-19.1.0.670-linux.tar :/home/vagrant

# downloadsであれば
vagrant scp ~/Downloads/Quartus-lite-19.1.0.670-linux.tar :/home/vagrant
これでtarfileを仮想環境に移せましたので、仮想環境内で展開していきます。
仮想環境に移せたことが確認できたら、ローカルにあるtarファイルは消してしまって大丈夫です。
Quartus のVM内でのインストール
VMにsshで入ります。
vagrant ssh
以下のコマンドでtarfileを展開します。xvfは-x、-v、-fのコマンドの組み合わさったものです。
-x: アーカイブされたファイルを解凍し展開と復元を行う
-v: アーカイブ結果を表示する
-f: アーカイブファイル名を指定する
tar -xvf Quartus-lite-19.1.0.670-linux.tar
これが終わったら、以下のコマンドで展開していきます。このコマンドで容量が爆発し始めるので、少なくとも30GBの容量は確保しておきましょう。
./setup.sh
すべてに対してEnterとYで答えます。
終わったらログアウトします。
exit
Quartus の起動まで
GUIからユーザー名vagrant、パスワードvagrantでログインします。
intelFPGA_liteのショートカットを作れば、そのままデスクトップから入ることが可能になります。ターミナルから立ち上げたい場合は以下のコマンドを実行します。
intelFPGA_lite/19.1/quartus/bin/quartus
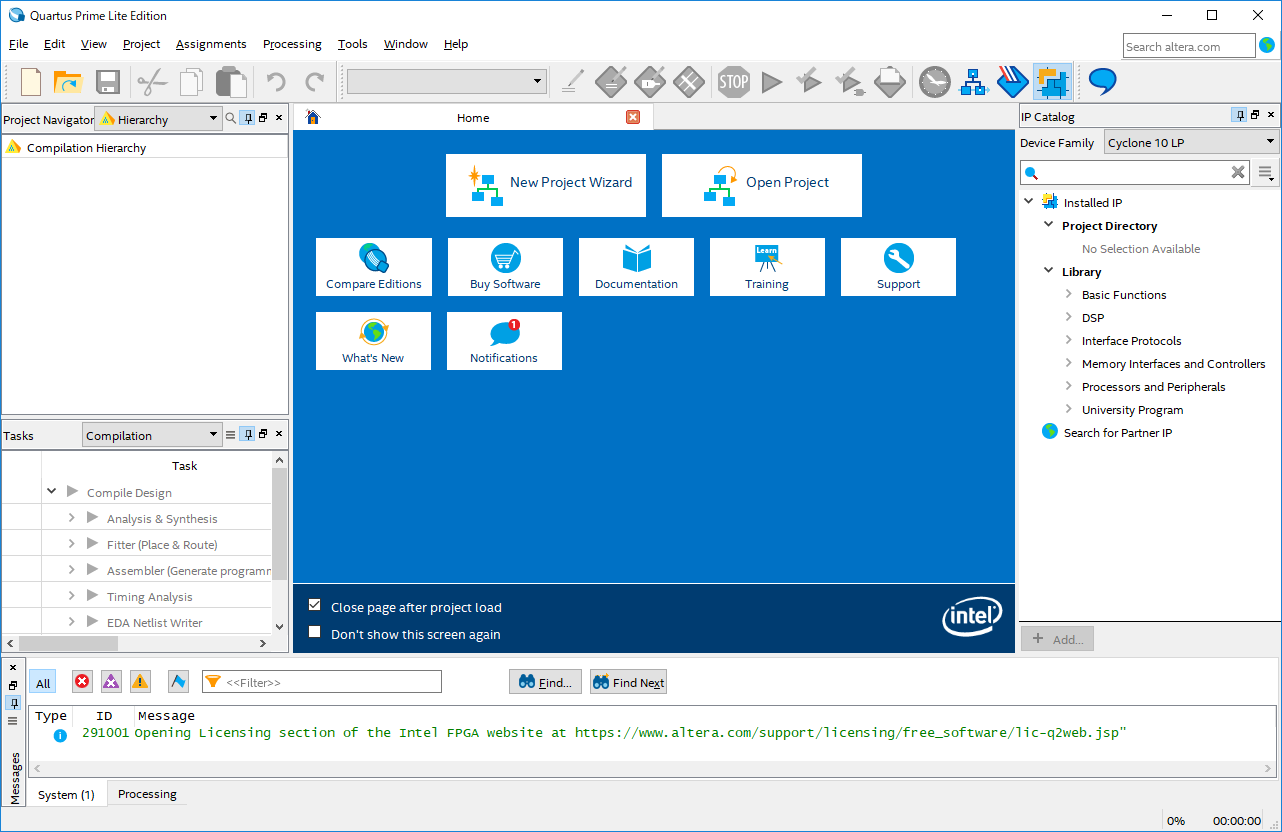
以下のように起動するはずです。

