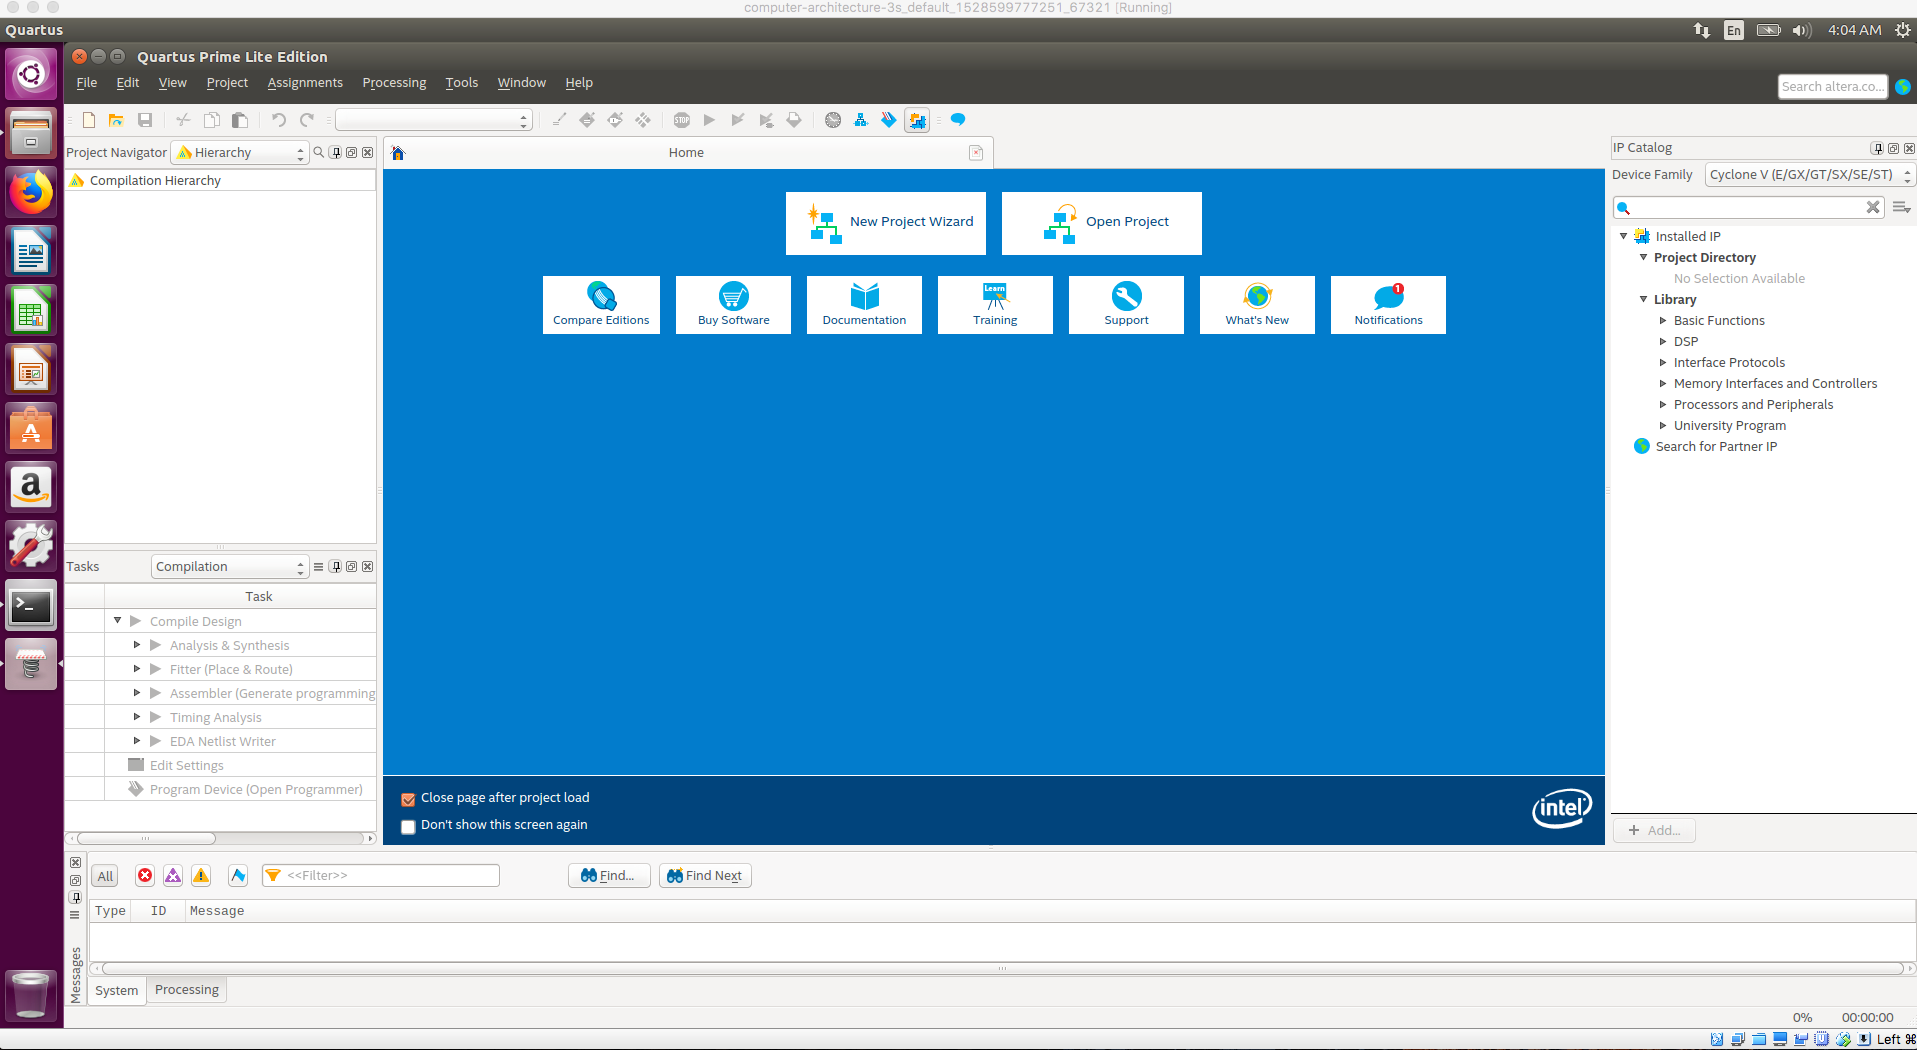
Quartus は、Windows または、Linux にのみ対応しており、macOS にはインストールできません。
そのため、VirtualBox と Vagrant を使って、Ubuntu の仮想環境を作成し、その中に Quartus をインストールして利用します。
その手順をまとめていきます。
検証環境
ホストOS
- macOS :
バージョン 10.12.6 - Macbook Pro
ゲストOS
- vagrant box :
bento/ubuntu-16.04 - ubuntu デスクトップ
手順
Vagrant VirtualBox のインストール
- Homebrew をインストールします。
- Homebrewのホームページ に掲載されているコマンドを実行します。
-
vagrantとvirtualboxをインストールします。 -
vagrant-scpプラグインをインストールします。
brew cask install vagrant virtualbox
vagrant plugin install vagrant-scp
Quartus Prime Lite エディションのダウンロード
Quartusのダウンロードページ からダウンロードします。ライセンスのためユーザー登録が必要なので、それも行ってください。6GBある巨大なファイルなのでネット環境には配慮してください。以下のオプションをつけてください。
- エディション :
Lite - バージョン :
18.0 - オペレーティング・システム :
Linux - ダウンロード方法 :
ダイレクト・ダウンロード
ファイルのダウンロードには時間がかかるため、ダウンロード中に次の Vagrantfile の作成 と Vagrant の起動 を行ってください。
Vagrantfile の作成
以下の内容で、Vagrantfileを作成します。
# -*- mode: ruby -*-
# vi: set ft=ruby :

# All Vagrant configuration is done below. The "2" in Vagrant.configure
# configures the configuration version (we support older styles for
# backwards compatibility). Please don't change it unless you know what
# you're doing.
Vagrant.configure("2") do |config|
  # The most common configuration options are documented and commented below.
  # For a complete reference, please see the online documentation at
  # https://docs.vagrantup.com.

  # Every Vagrant development environment requires a box. You can search for
  # boxes at https://vagrantcloud.com/search.
  config.vm.box = "bento/ubuntu-16.04"

  # Disable automatic box update checking. If you disable this, then
  # boxes will only be checked for updates when the user runs
  # `vagrant box outdated`. This is not recommended.
  # config.vm.box_check_update = false

  # Create a forwarded port mapping which allows access to a specific port
  # within the machine from a port on the host machine. In the example below,
  # accessing "localhost:8080" will access port 80 on the guest machine.
  # NOTE: This will enable public access to the opened port
  # config.vm.network "forwarded_port", guest: 80, host: 8080

  # Create a forwarded port mapping which allows access to a specific port
  # within the machine from a port on the host machine and only allow access
  # via 127.0.0.1 to disable public access
  # config.vm.network "forwarded_port", guest: 80, host: 8080, host_ip: "127.0.0.1"

  # Create a private network, which allows host-only access to the machine
  # using a specific IP.
  # config.vm.network "private_network", ip: "192.168.33.10"

  # Create a public network, which generally matched to bridged network.
  # Bridged networks make the machine appear as another physical device on
  # your network.
  # config.vm.network "public_network"

  # Share an additional folder to the guest VM. The first argument is
  # the path on the host to the actual folder. The second argument is
  # the path on the guest to mount the folder. And the optional third
  # argument is a set of non-required options.
  # config.vm.synced_folder "../data", "/vagrant_data"

  # Provider-specific configuration so you can fine-tune various
  # backing providers for Vagrant. These expose provider-specific options.
  # Example for VirtualBox:
  #
  config.vm.provider "virtualbox" do |vb|
    # Display the VirtualBox GUI when booting the machine
    vb.gui = true

    # Customize the amount of memory on the VM:
    vb.cpus = "2"
    vb.memory = "2048"
    vb.customize [
            "modifyvm", :id,
            "--vram", "256",                  # VRAM:256 (for full-screen mode)
            "--clipboard", "bidirectional",   # Sharing clipboard
            "--draganddrop", "bidirectional" # Enable D&D
        ]
  end
  #
  # View the documentation for the provider you are using for more
  # information on available options.

  # Enable provisioning with a shell script. Additional provisioners such as
  # Puppet, Chef, Ansible, Salt, and Docker are also available. Please see the
  # documentation for more information about their specific syntax and use.
  config.vm.provision "shell", inline: <<-SHELL
    dpkg --add-architecture i386
    apt-get update
    apt-get install -y ubuntu-desktop libxft2:i386 libxext6:i386 libncurses5:i386 libstdc++6:i386
  SHELL
end
Vagrant の起動
Vagrant で VM を起動します。初回は VM の初期化が行われるため時間がかかります。
また、初回起動時は、デスクトップ環境を起動するため、VM を再起動します。
vagrant up
vagrant reload
Quartusファイルの転送
Quartus のインストールファイルを VM に転送します。ファイル名が例と違う場合はそのファイル名を使ってください。
転送には少し時間がかかります。
vagrant scp Quartus-lite-18.0.0.614-linux.tar :/home/vagrant/
Quartusのインストール
まず、macOS のターミナルから VM にログインします。
vagrant ssh
以降は、ssh でログインした VM 内で実行します。
tarファイルを解凍して、setup.shを実行すると、コンソールモードでインストールが始まります。
tar -xvf Quartus-lite-18.0.0.614-linux.tar
./setup.sh
聞かれることには全て [Enter] または、 Y で答えてください。インストールが始まります。
インストールが終わったら、ssh からログアウトしておきます。
exit
Quartus の起動
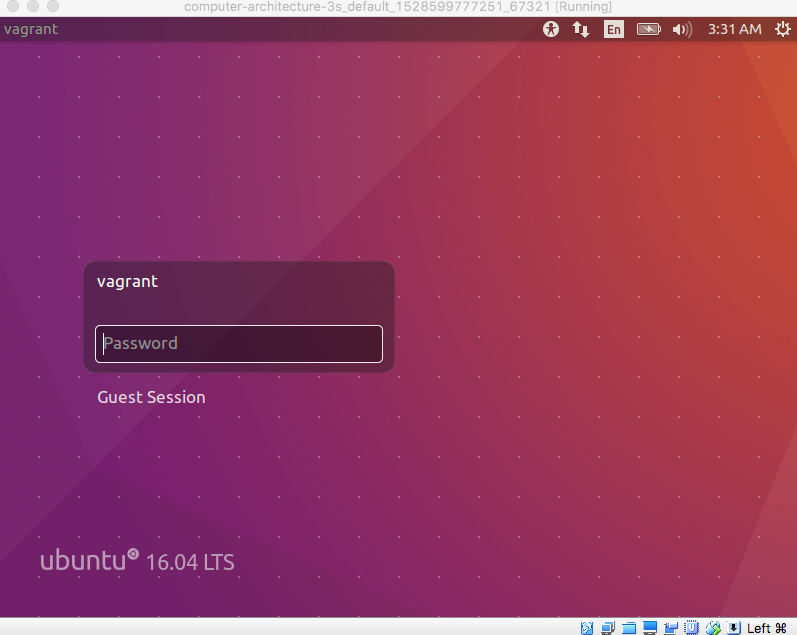
GUIが立ち上がっているため、そちらにログインします。ユーザー名は、vagrant、 パスワードも vagrant です。
ubuntu の GUI の中で、ターミナルを立ち上げ、以下のコマンドを実行すると、Quartus が起動します。
intelFPGA_lite/18.0/quartus/bin/quartus
シャットダウン
macOS のターミナルから、VM を終了させます。
vagrant halt
再度起動する場合は、初回起動の処理がスキップされるため、早く起動できます。
vagrant up
プロジェクトの作成
macOS 上の起動したディレクトリは、VM 上の /vagrant ディレクトリにマウントされているため、ファイルのやりとりをすることができます。
プロジェクトは、/vagrant ディレクトリ以下に作成することが望ましいです。

