概要
vueでWYSIWYGエディタのtiptapで他のWebサイトを埋め込み表示する方法を紹介します。
手順
- Iframelyというサービスを使います
- tiptapのカスタムノードを定義してIframelyのURLをiframeで表示します
詳細
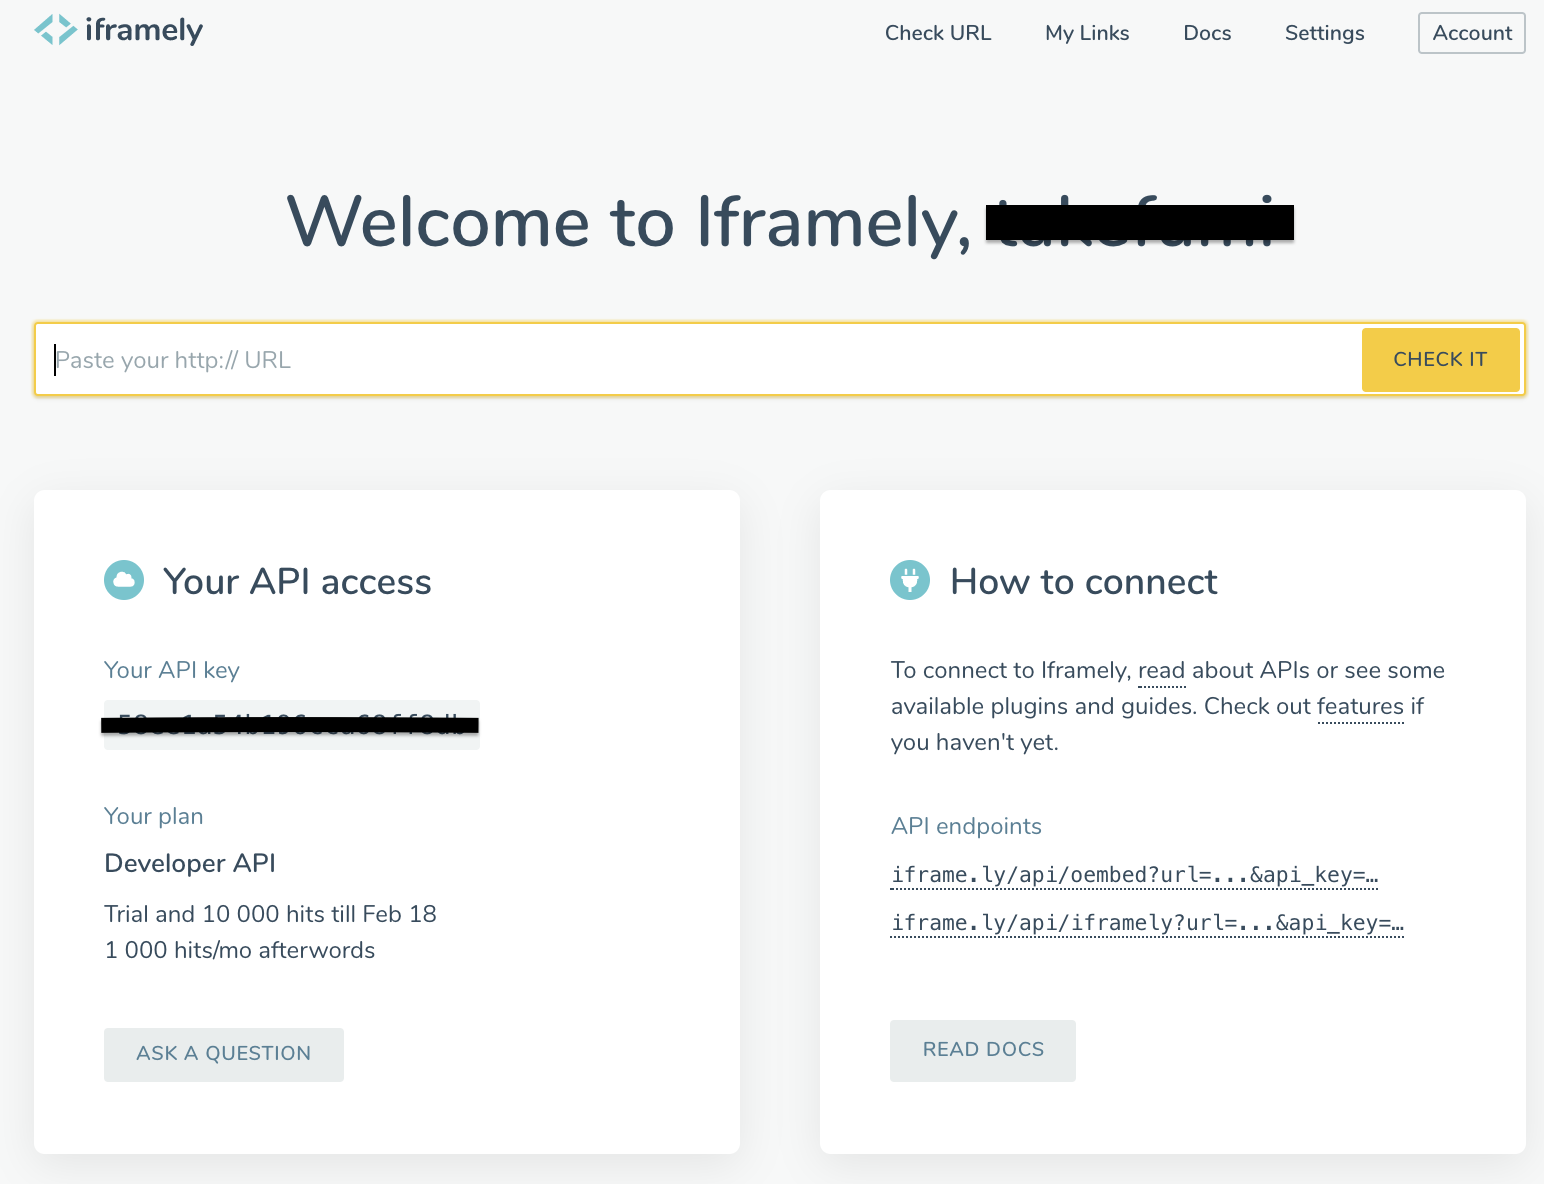
Iframelyでsign upしてAPI Keyを取得する
https://iframely.com/ からsign upして、ユーザー登録するとAPI Keyが発行されるのでこれを利用します。月1万回まで無料で利用できます。
API Keyの例) 58xx1axxbxxxcca68fxxxdb
sign up後は、ホームページに自分のAPI Keyが表示されます。
tiptapのカスタムノードを定義する
以下のようなjsファイルを作成してvueのコンポーネントと同じフォルダに用意します。
toDomのところがポイントで、配列を多用して子ノードを定義し、以下のようなhtmlを生成さます。
公式のガイドのIframely embeds for CKEditor oEmbed pluginというページCKEditorというWYSIWYGエディタでの実装例があったので参考にしました。
生成したいHTML
<div class="iframely-embed">
  <div class="iframely-responsive">
    <iframe src="//cdn.iframe.ly/api/iframe?app=1&api_key=APIキー&url=エンコードされたURL" 'frameborder="0" allow="autoplay; encrypted-media" allowfullscreen></iframe>
  </div>
</div>
CDNからiframelyのembed.jsを読み込む(2021/1/1追記)
index.htmlの場合
<script src="//cdn.iframe.ly/embed.js" async></script>
nuxt.config.jsの場合
export default {
  // Global page headers (https://go.nuxtjs.dev/config-head)
  head: {
    title: 'xxxxx',
    meta: [
      { charset: 'utf-8' },
      { name: 'viewport', content: 'width=device-width, initial-scale=1' },
      { hid: 'description', name: 'description', content: '' }
    ],
    link: [
      { rel: 'icon', type: 'image/x-icon', href: '/favicon.ico' }
    ],
    script: [
      { src: '//cdn.iframe.ly/embed.js'}
    ]
  },
...
tiptapのカスタムノードを生成するjs
tiptapは、ProseMirrorというWeb上でリッチテキストエディターを構築するためのツールキットを利用していて、仕様はそちらに従う必要があります。その仕様が膨大で理解するのに時間がかかりそうだったので、試行錯誤しながら進めるとできました。
Embed.js
import { Node } from 'tiptap'

export default class Embed extends Node {

  get name() {
    return 'embed'
  }

  get schema() {
    return {
      attrs: {
        src: {
          default: null,
        }
      },
      group: 'block',
      selectable: false,
      parseDOM: [{
        tag: 'iframe',
        getAttrs: dom => ({
          src: dom.getAttribute('src'),
        }),
      }],
      toDOM: node => ['div', { class: 'iframely-embed' },
        ['div', { class: 'iframely-responsive', style: 'padding-bottom: 66.6667%; padding-top: 120px;' },
          ['iframe', {
            src: '//cdn.iframe.ly/api/iframe?app=1&api_key=58xx1axxbxxxcca68fxxxdb&url=' + encodeURIComponent(node.attrs.src), // ここは自分のAPI Keyを設定する
            frameborder: "0",
            allow: "autoplay; encrypted-media",
          }]
        ]
      ],
    }
  }

  commands({ type }) {
    return attrs => (state, dispatch) => {
      const { selection } = state;
      const position = selection.$cursor
        ? selection.$cursor.pos
        : selection.$to.pos;
      const node = type.create(attrs);
      const transaction = state.tr.insert(position, node);
      dispatch(transaction);
    };
  }

}
2021/1/1 更新
上のtoDOMのところのiframeの指定で後ろに0を付けていたが、これがあるとgetHTMLでエラーになることがあったので取り除きました。
修正前)
          ['iframe', {
            src: '//cdn.iframe.ly/api/iframe?app=1&api_key=58xx1axxbxxxcca68fxxxdb&url=' + encodeURIComponent(node.attrs.src), // ここは自分のAPI Keyを設定する
            frameborder: "0",
            allow: "autoplay; encrypted-media",
          }, 0]
修正後)
          ['iframe', {
            src: '//cdn.iframe.ly/api/iframe?app=1&api_key=58xx1axxbxxxcca68fxxxdb&url=' + encodeURIComponent(node.attrs.src), // ここは自分のAPI Keyを設定する
            frameborder: "0",
            allow: "autoplay; encrypted-media",
          }]
editorのコンポーネントでcommand経由でurlを渡してノードを表示する
urlの入力フォームなどは省略しますが、editor.commandからembedを呼び出すことでnodeの挿入が可能になります。
<template>
  <div class="editor">
    <editor-content class="editor__content" :editor="editor" />
  </div>
</template>

<script>
import { Editor, EditorContent } from 'tiptap'
import {
  HardBreak,
  Heading,
  Bold,
  Italic,
  History,
  TrailingNode,
} from 'tiptap-extensions'
import Embed from './Embed.js'

export default {
  components: {
    EditorContent,
  },
  data() {
    return {
      editor: new Editor({
        extensions: [
          new HardBreak(),
          new Heading({ levels: [1, 2, 3] }),
          new Bold(),
          new Italic(),
          new History(),
          new TrailingNode(),
          // ここで指定する
          new Embed(),
        ],
        content: "",
      }),
    }
  },
  beforeDestroy() {
    this.editor.destroy()
  },
  methods: {
    embed() {
      this.editor.commands.embed({ src: 'https://news.yahoo.co.jp/pickup/6348622' });
    },
  }
}
</script>

<style lang="scss">
...省略
</style>
埋め込み表示のイメージ