Python製のWebフレームワークのDjangoにはGeoDjangoという、Django上で位置情報を用いたアプリを作るフレームワークが付属しています。
GeoDjangoを使ってる情報がほとんど見受けられず、ハマったのでまとめてみます。
使用するDBを選ぶ
GeoDjangoを使うためにはPostgreSQL/SQLite/MySQLなど、通常使えるDBにGeographicオブジェクトを扱えるようにする拡張をインストールしなくてはなりません。
PostgreSQL + PostGISでの環境構築が公式では推奨されているのですが、今回はSQLite + SpatiaLiteを使った方法で構築します。
SQLiteとSpatiaLiteを導入
SQLiteとSpatiaLiteを導入します。
公式のドキュメントでは、パッケージを持ってきて導入する方法が書かれていますが、Homebrewで入れた方が楽。
Installing Spatialite | Django documentation | Django
$ brew install sqlite
$ brew install libspatialite
$ brew install spatialite-tools
$ brew install librasterlite
pysqliteの導入
普通にpipを用いて入れようとすると、後ほどハマる。
$ pip install pysqlite # ハマる
今回はソースから導入する必要がある
$ curl -O https://pypi.python.org/packages/source/p/pysqlite/pysqlite-2.6.3.tar.gz
$ tar xzf pysqlite-2.6.3.tar.gz
$ cd pysqlite-2.6.3
$ $EDITOR setup.cfg
setup.cfgを以下の通り書き換える。
[build_ext]
# define=
include_dirs=/usr/local/Cellar/sqlite/3.8.3/include
library_dirs=/usr/local/Cellar/sqlite/3.8.3/lib
libraries=sqlite3
# define=SQLITE_OMIT_LOAD_EXTENSION
$ python setup.py install
$ pip install -e .
settings.pyの変更
プロジェクトで使うsettings.pyのENGINEを変更してやる
DATABASES = {
    'default': {
        'ENGINE': 'django.contrib.gis.db.backends.spatialite',
        'NAME': os.path.join(BASE_DIR, 'db.sqlite3'),
    }
}
backendをgisで提供されている物に変える。
また、INSTALLED_APPSにcontrib.gisを加える
INSTALLED_APPS = (
    'django.contrib.admin',
    'django.contrib.auth',
    'django.contrib.contenttypes',
    'django.contrib.sessions',
    'django.contrib.messages',
    'django.contrib.staticfiles',
    'django.contrib.gis',
)
モデルの定義
適当なGeographicなフィールドを持つModelを作ってあげる。なんでも良い
from django.contrib.gis.db import models
from django.utils.translation import ugettext as _

class City(models.Model):
    name = models.CharField(_('Name'), max_length=32)
    location = models.PointField(_('Location'))
通常と同じように、忘れずにINSTALLED_APPSに追加してあげる。また、確認用にAdminを作っておくと良いでしょう。
import django.contrib import admin
admin.site.register(City)
DBの作成
普通にsyncdbする前に、SpatiaLiteを用いたDBのテンプレートを作成する必要がある。
$ spatialite db.sqlite3 "SELECT InitSpatialMetaData();"
the SPATIAL_REF_SYS table already contains some row(s)
InitSpatiaMetaData ()error:"table spatial_ref_sys already exists"
$ python manage.py syncdb
通常通りDBが作成できたら完了
また、syncdbの時に、下記のエラーが出た場合
ImproperlyConfigured: The pysqlite library does not support C extension loading. Both SQLite and pysqlite must be configured to allow the loading of extensions to use SpatiaLite.
pysqliteのインストールが上手くいっていない可能性があります。上記に書いたようにソースからビルドしたら解決しました。
Adminページにモデルが表示されることを確認する
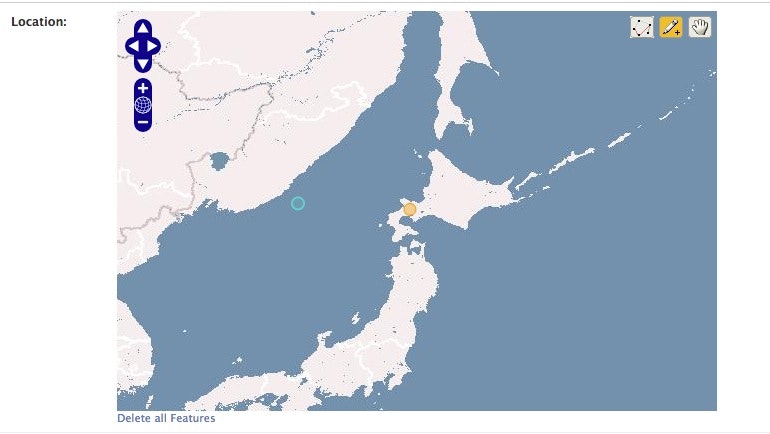
上手く行っていればAdminページなどから地図の編集ができる。
Google Mapと比べ、微妙な使いづらさですね。
まとめ
GeoDjango、緯度経度を保存できるほかに、マップ上でポリゴンが持てたり、特定の地点を含んでいるなどの検索条件を使えるO/Rマッパーが搭載されていたりとムダに高機能!
しかし、ただでさえ国内では例を見ないDjangoな上、使いどころが限定されているので、使われているところを見たことがありません。もっと流行れば良いですね。
