初めに
6日目です。
5日目はこちら
一旦今日が最終回になります!
今まで読んでいただきありがとうございました!
目次
- ビューを作成する
- ルーティングを行う
- ビューのテンプレートを作成する
- 画面の表示を確認する。
- 最後に
1. ビューを作成する
まずは、開発ディレクトリに遷移します。
# cd /root/projects/myproject/myproject/blog
# pwd
/root/projects/myproject/myproject/blog
# ls
__init__.py  __pycache__  admin.py  apps.py  migrations  models.py  tests.py  views.py
#
ビューはblogディレクトリ内のviews.pyに書きます。
このビューは投稿を取得します。
from django.shortcuts import render

# Create your views here.
from django.shortcuts import render, get_object_or_404
from .models import Post
# Create your views here.
def post_list(request):
    posts = Post.published.all() #5日目の最後で作成したpublishedを使用(publishedのみを取得する)
    return render(request,
                 'blog/post/list.html',
                 {'posts': posts})
次に投稿1つ1つを表示するビューを作成します。
views.pyに下記を追記します。
def post_detail(request, year, month, day, post):
    post = get_object_or_404(Post, slug=post,
                                   status='published',
                                   publish__year=year,
                                   publish__month=month,
                                   publish__day=day)
    return render(request,
                  'blog/post/detail.html',
                  {'post': post})
次に今作成したビューを表示するためにルーティングを行います。
2. ルーティングを行う
ルーティングを行うためには
まずblogディレクトリにurls.pyを作成します。
from django.urls import path
from . import views

app_name = 'blog'
urlpatterns = [
    path('', views.post_list, name='post_list'),
    path('<int:year>/<int:month>/<int:day>/<slug:post>/',
         views.post_detail,
         name='post_detail'),
]
次にmyprojectのurls.pyを修正します。
from django.contrib import admin
from django.urls import path

urlpatterns = [
    path('admin/', admin.site.urls),
]
from django.contrib import admin
from django.urls import path, include

urlpatterns = [
    path('admin/', admin.site.urls),
    path('blog/', include('blog.urls', namespace='blog')),
]
1つ1つの投稿にリンクを作成するためにblogのmodels.pyを修正します。
from django.urls import reverse
class Post(models.Model):
    # ...
    def get_absolute_url(self):
        return reverse('blog:post_detail',
                       args=[self.publish.year,
                             self.publish.month,
                             self.publish.day, self.slug])
3. ビューのテンプレートを作成する
まずは、下記の様にディレクトリとファイルを作成してください。
# pwd
/root/projects/myproject/myproject/blog
# tree templates
templates
`-- blog
    |-- base.html
    `-- post
        |-- detail.html
        `-- list.html

2 directories, 3 files
#
ファイルには次の内容を書き込んでください。
{% load static %}
<!DOCTYPE html>
<html>
    <head>
        <title>{% block title %}{% endblock %}</title>
        <link href="{% static "css/blog.css" %}" rel="stylesheet">
    </head>
    <body>
        <div id="content">
            {% block content %}
            {% endblock %}
        </div>
        <div id="sidebar">
            <h2>My Blog</h2>
            <p>This is my blog.</p>
        </div>
    </body>
</html>
{% extends "blog/base.html" %}
{% block title %}My Blog{% endblock %}
{% block content %}
  <h1>My Blog</h1>
  {% for post in posts %}
    <h2>
      <a href="{{ post.get_absolute_url }}">
        {{ post.title }}
      </a>
    </h2>
    <p class="date">
      Published {{ post.publish }} by {{ post.author }}
    </p>
    {{ post.body|truncatewords:30|linebreaks }}
  {% endfor %}
{% endblock %}
{% extends "blog/base.html" %}
{% block title %}{{ post.title }}{% endblock %}
{% block content %}
  <h1>{{ post.title }}</h1>
  <p class="date">
    Published {{ post.publish }} by {{ post.author }}
  </p>
  {{ post.body|linebreaks }}
{% endblock %}
次にbase.htmlで読み込む[css/blog.css]を作成します。
blogディレクトリに/static/css/blog.cssを作成します。
body {
    margin:0;
    padding:0;
    font-family:helvetica, sans-serif;
}

a {
    color:#00abff;
    text-decoration:none;
}

h1 {
    font-weight:normal;
    border-bottom:1px solid #bbb;
    padding:0 0 10px 0;
}

h2 {
    font-weight:normal;
    margin:30px 0 0;
}

# content {
    float:left;
    width:60%;
    padding:0 0 0 30px;
}

# sidebar {
    float:right;
    width:30%;
    padding:10px;
    background:#efefef;
    height:100%;
}

p.date {
    color:#ccc;
    font-family: georgia, serif;
    font-size: 12px;
    font-style: italic;
}

/* pagination */
.pagination {
    margin:40px 0;
    font-weight:bold;
}

/* forms */
label {
    float:left;
    clear:both;
    color:#333;
    margin-bottom:4px;
}
input, textarea {
    clear:both;
    float:left;
    margin:0 0 10px;
    background:#ededed;
    border:0;
    padding:6px 10px;
    font-size:12px;
}
input[type=submit] {
    font-weight:bold;
    background:#00abff;
    color:#fff;
    padding:10px 20px;
    font-size:14px;
    text-transform:uppercase;
}
.errorlist {
    color:#cc0033;
    float:left;
    clear:both;
    padding-left:10px;
}

/* comments */
.comment {
    padding:10px;
}
.comment:nth-child(even) {
    background:#efefef;
}
.comment .info {
    font-weight:bold;
    font-size:12px;
    color:#666;
}
ここまで完了するとblogディレクトリは下のようなファイルの配置になっています。
# tree blog
blog
|-- __init__.py
|-- __pycache__
|   |-- __init__.cpython-38.pyc
|   |-- admin.cpython-38.pyc
|   |-- apps.cpython-38.pyc
|   |-- models.cpython-38.pyc
|   |-- urls.cpython-38.pyc
|   `-- views.cpython-38.pyc
|-- admin.py
|-- apps.py
|-- migrations
|   |-- 0001_initial.py
|   |-- __init__.py
|   `-- __pycache__
|       |-- 0001_initial.cpython-38.pyc
|       `-- __init__.cpython-38.pyc
|-- models.py
|-- static
|   `-- css
|       `-- blog.css
|-- templates
|   `-- blog
|       |-- base.html
|       `-- post
|           |-- detail.html
|           `-- list.html
|-- tests.py
|-- urls.py
`-- views.py

8 directories, 21 files
#
4. 画面の表示を確認する。
ここで
127.0.0.1:8000/blog/
を確認します。
すると下のような画面になっているかと思います。

ここで投稿した物が表示されていないのは全て投稿の状態がdraftになっているためです。
ですのでテストで投稿していた一つをpublishedにします。
まずは、管理サイトに遷移します。
127.0.0.1:8000/admin/blog/post/
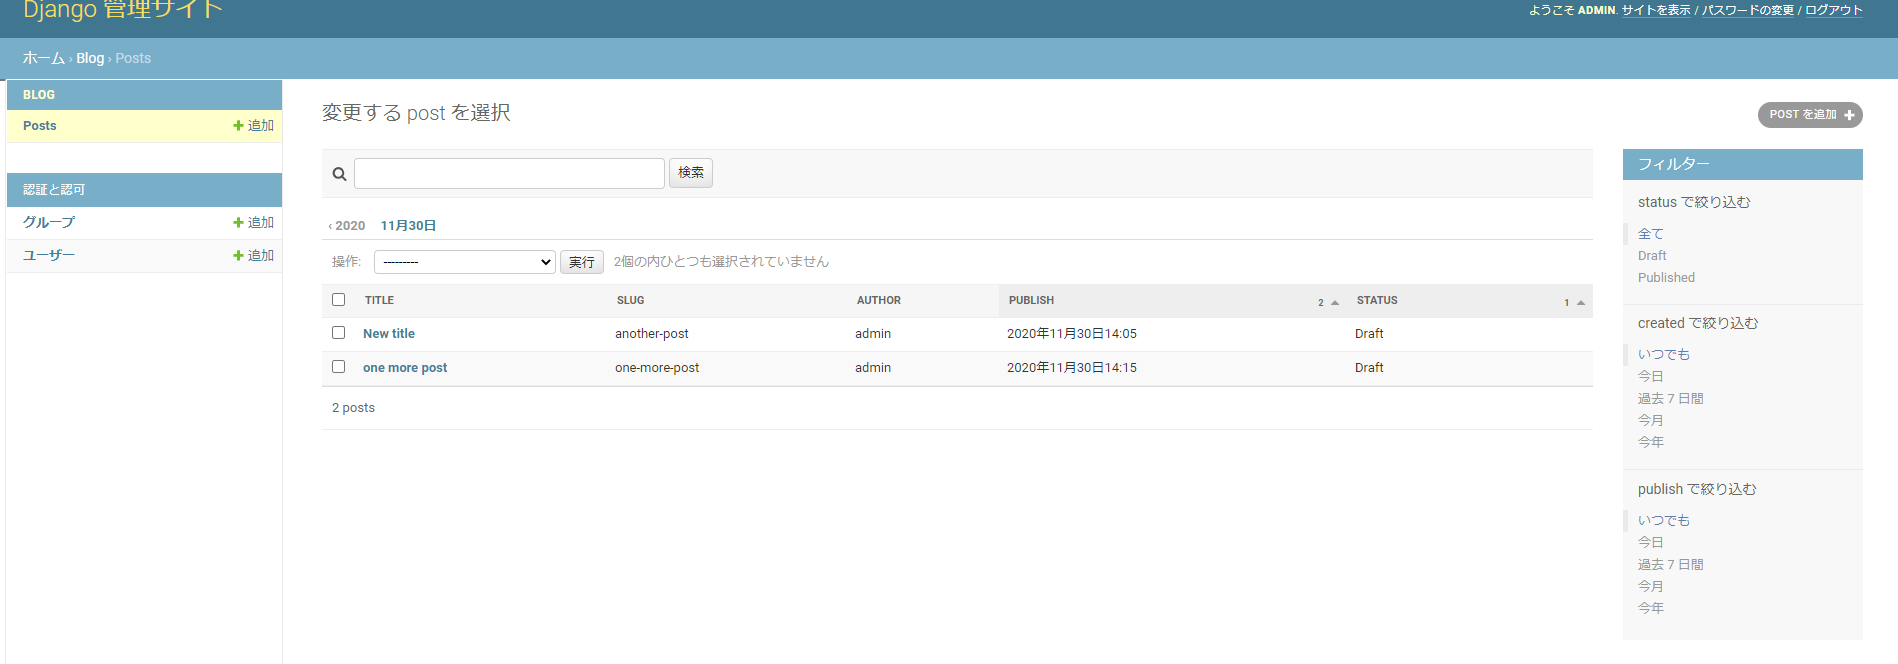
New titleを選択してstatusをpublishedに変更して保存します。
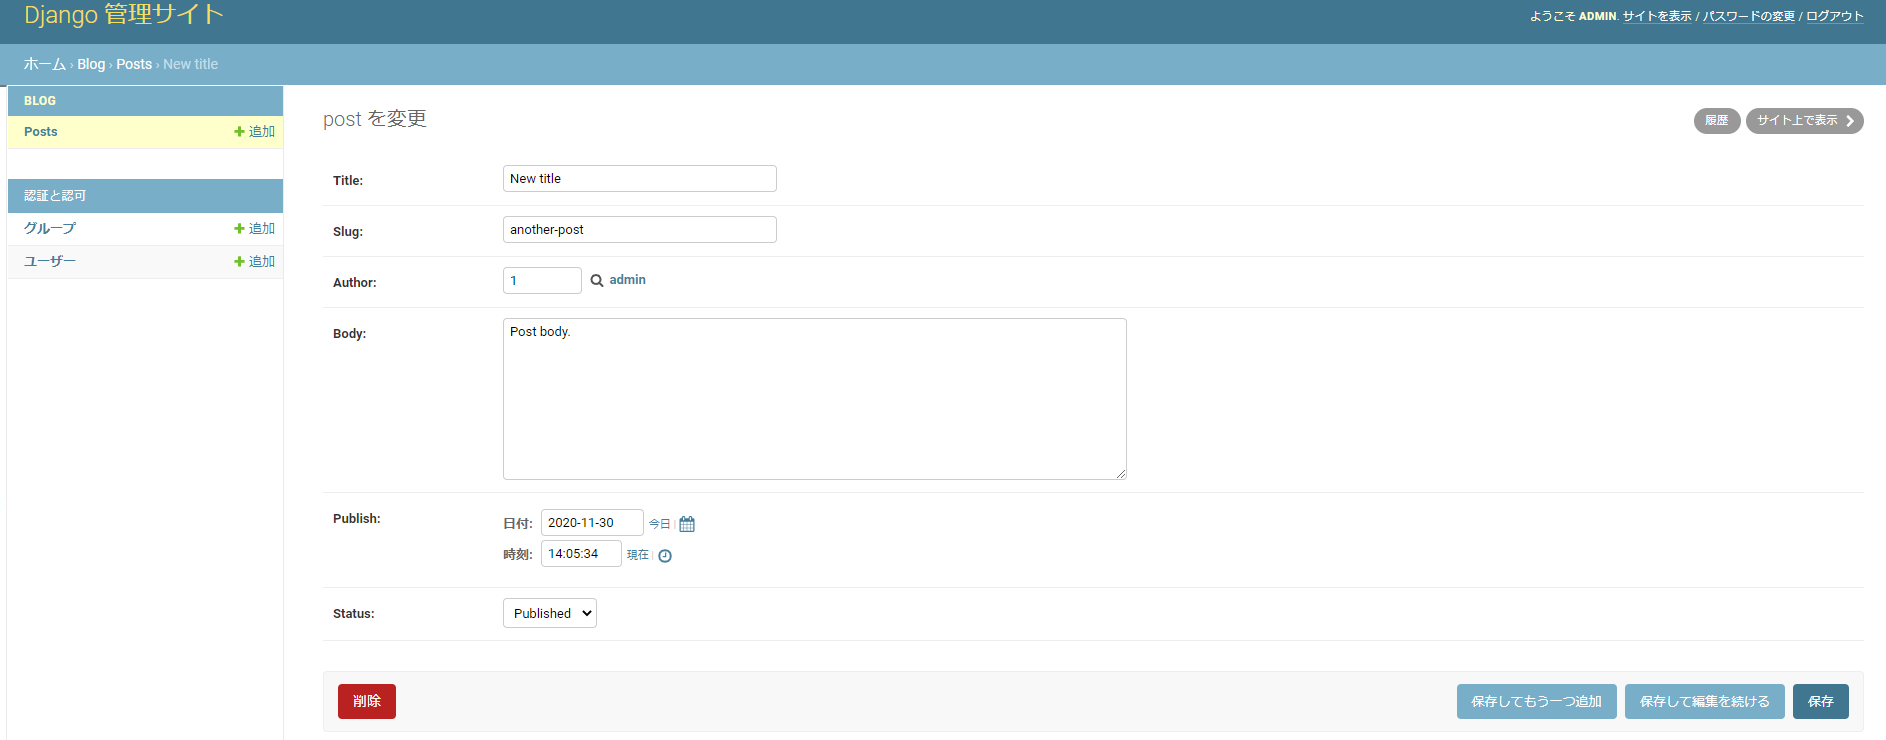
再度127.0.0.1:8000/blogに遷移すると下の様にpublishedにした方が表示されていると思います。

また、青いNew titleをクリックすると詳細画面に遷移します。

5. 最後に
この6日間でモデルを作成してテーブルを作り管理サイトを作り画面表示まで行いました。
djangoにはもっともっと奥深く色々なことができますので色々調べてみてください!
始めてこういった連載記事を投稿して拙い部分が多々ありましたが読んでいただきありがとうございました!
この記事では下記の本を参考に書かせていただいています。
この記事ではDjangoを実際に触って動かすことをメインに書いていますので上記のマイグレーションの詳しい説明などはこの本を読んでただければと思います。
Django 3 By Example - Third Edition