以前に「WordPress テーマカスタマイザーに動画セクションを追加して出力(ver 4.6以下の場合)」という記事を書きましたが、WordPress 4.7 でカスタムヘッダーにビデオがサポートされました。
これにより以前より簡単に動画ヘッダーを実装できるようになりましたので軽く紹介。
参照:https://make.wordpress.org/core/2016/11/26/video-headers-in-4-7/
カスタムヘッダーで動画を使うようにする
'video' => true, を追加
参照:https://developer.wordpress.org/themes/functionality/custom-headers/
<?php
function themename_custom_header_setup() {
    $args = array(
        'default-image'      => get_template_directory_uri() . 'img/default-image.jpg',
        'default-text-color' => '000',
        'width'              => 1000,
        'height'             => 250,
        'flex-width'         => true,
        'flex-height'        => true,
        'video'              => true,
    )
    add_theme_support( 'custom-header', $args );
}
add_action( 'after_setup_theme', 'themename_custom_header_setup' );
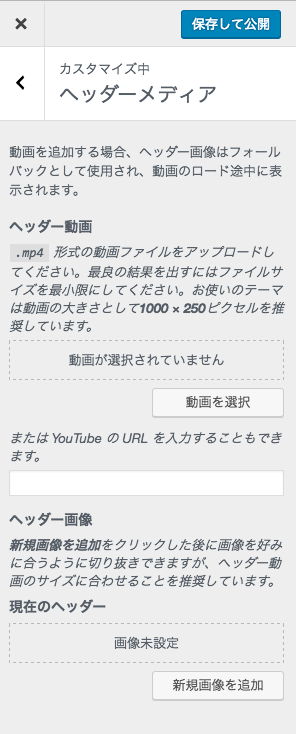
これだけでカスタマイザーに「ヘッダーメディア」として追加される

なお、対応しているのは
- .mp4
- YouTube の動画
出力側
表示した位置に
<?php the_custom_header_markup(); ?>
でオケ
画像と動画の両方を設定した場合
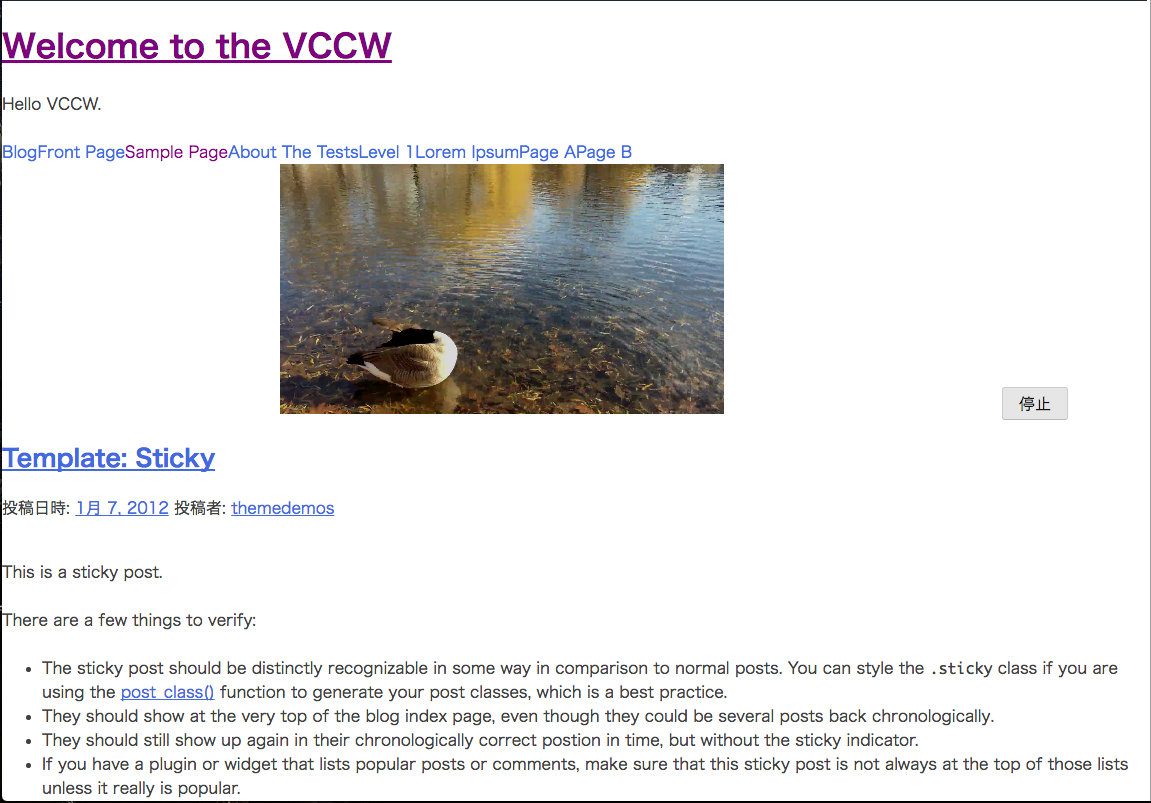
動画の読み込みが完了するまでは「ヘッダー画像」が表示されます。読み込み完了後、 wp-custom-header.js が画像と動画を置き換えます。
wp-custom-header.js がレンダリングする停止・再生ボタンのソース
cssで調整したい場合はクラスを参考に
Pause Button
<button type="button" id="wp-custom-header-video-button" class="wp-custom-header-video-button wp-custom-header-video-play">Pause</button>
Play Button
<button type="button" id="wp-custom-header-video-button" class="wp-custom-header-video-button wp-custom-header-video-pause">Play</button>
カスタムヘッダーの見た目
the_custom_header_markup() は wp-custom-header という cssクラスを持つ <div> タグで囲まれているので、こんな感じの css を追加しておく。
.wp-custom-header iframe,
.wp-custom-header img,
.wp-custom-header video {
	display: block;
	height: auto;
	max-width: 100%;
}
現場からは以上です。
