はじめに
macでCentOS7の環境をVagrant + VirtualBoxで構築する手順を記します。
構築手順
1. Vagrantのインストール
公式サイトのDownloadsからdmgをインストールします。
https://www.vagrantup.com/downloads.html

2. Virtual Boxのインストール
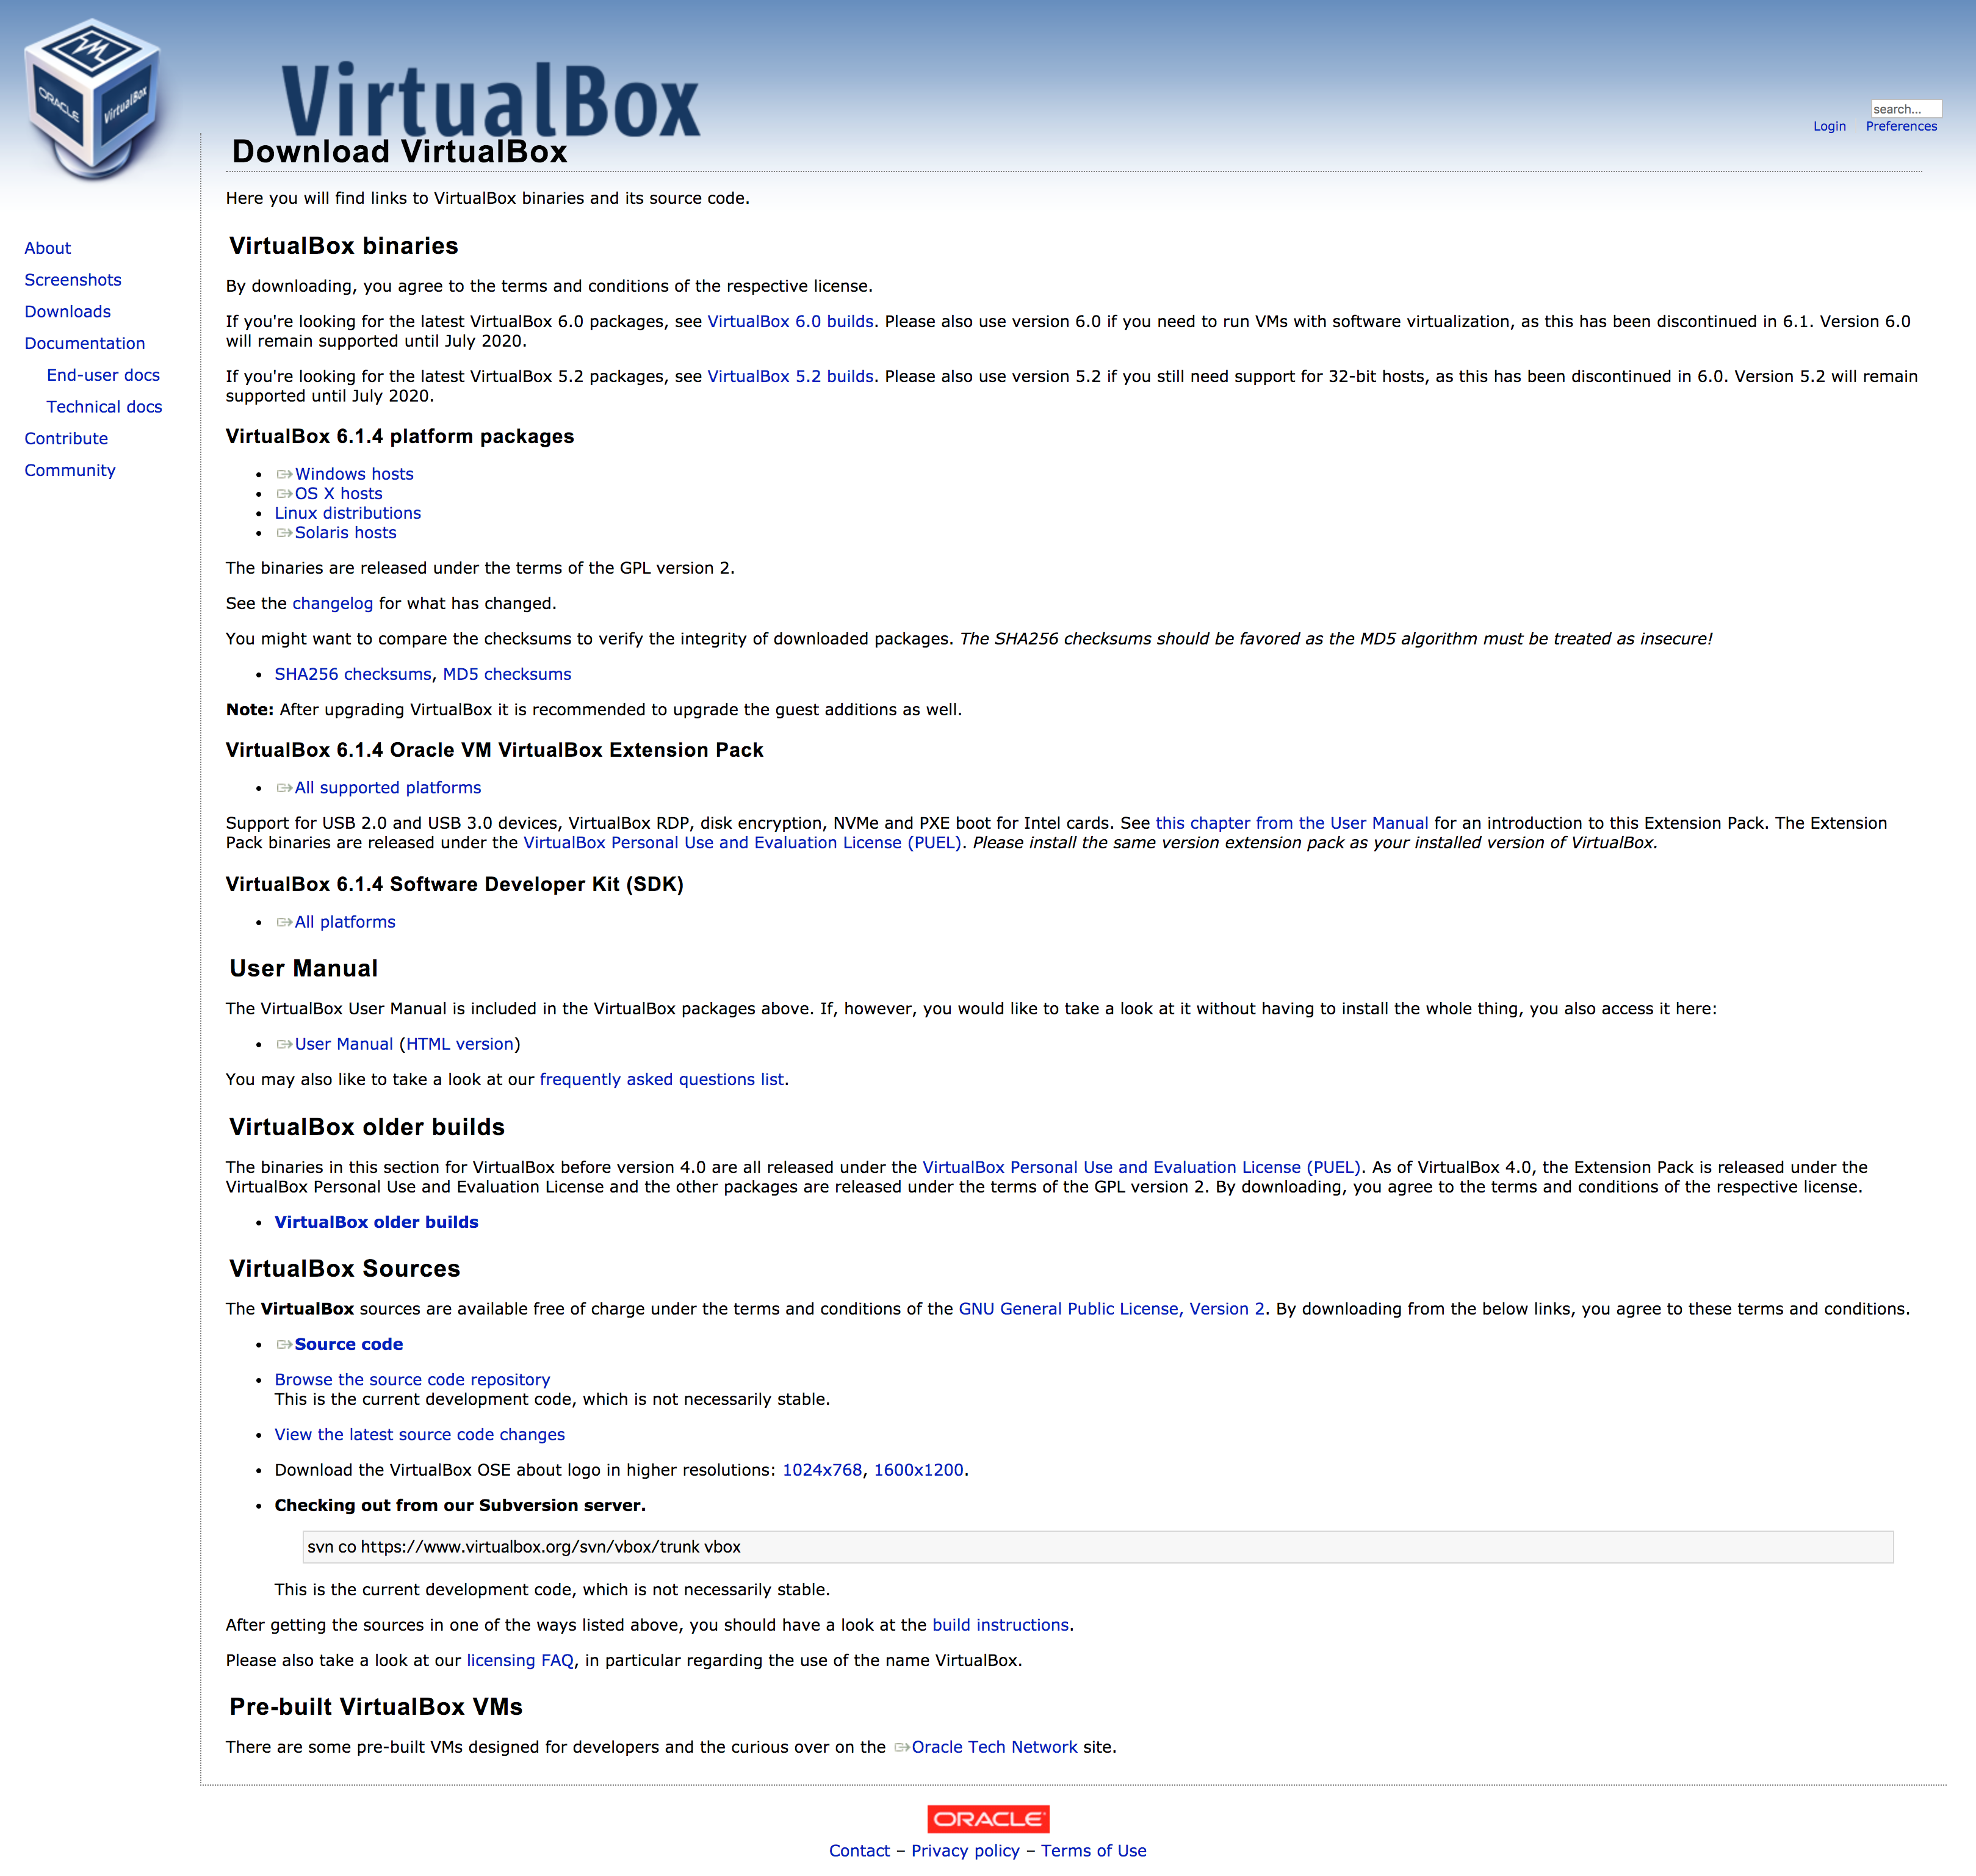
Vagrantには仮想化ソフトウェアは含まれないのでVirtual Boxをインストールします。
macではOS X hostsからインストールします。
3. boxを新規追加
VagrantとVirtual Boxのインストールが完了したら、環境の元となるboxを追加します
boxは https://www.vagrantbox.es/ でCentOS検索して出てきたCentOS7.0.0のリポジトリのURLをコピーして、以下のようにboxを追加します。
今回はCentOS7としてaddします。
# 例: $ vagrant box add {仮想マシンの名前} {boxのURL}
$ vagrant box add CentOS7 https://github.com/tommy-muehle/puppet-vagrant-boxes/releases/download/1.1.0/centos-7.0-x86_64.box
4. 仮想マシンを生成
まず適当なディレクトリを作ります。
今回はCentOS7を作ります。
$ mkdir CentOS7
ディレクトリが作成できたら、作成したディレクトリに移動してVagrantのinitコマンドを実行して
初期化します。
# 作成したディレクトリに移動
$ cd CentOS7
# 仮想マシンを初期化
# vagrant init {boxをaddしたときにつけた仮想マシンの名前}
$ vagrant init CentOS7
しばらくするとディレクトリ内にVagrantfileと言うファイルが生成されます。
ここに仮想マシンの設定を記述します。
5. Vagrantfileを編集する
IPアドレスの設定
まず仮想マシンのIPアドレスを設定します。
#config.vm.network "private_network", ip: "192.168.33.10"
#35行目付近に↑のような感じでコメントアウトされているので#を消してコメントアウトを解除してあげる
config.vm.network "private_network", ip: "192.168.33.10"
macのファイルを仮想マシンと共有する
Vagrantfileの最後の行にあるendの直前にホストマシン(mac)と仮想マシンで共有できるに設定を記述します。
config.vm.synced_folder"~/CentOS7","/vagrant",owner:'vagrant',group:'vagrant',mount_options:['dmode=777', 'fmode=777']
詳しい説明はしませんが、これはホストマシン(mac)側のCentOS7というディレクトリを
仮想マシンの/vagrantと言うディレクトリを共有してるいと言う意味です。
6. 仮想マシンを起動してアクセスする
Vagrantfileを書き終わったら下記のコマンドを実行して仮想マシンを起動させます
$ vagrant up
しばらくすると起動が完了するので下記のコマンドを実行して仮想マシンへログインします。
$ vagrant ssh
アクセスできたらcat /etc/redhat-releaseというコマンドを実行して下記と同じ結果がでたら成功です。
[vagrant@localhost ~]$ cat /etc/redhat-release
CentOS Linux release 7.7.1908 (Core)
仮想マシンからログアウトしたいときは
exitコマンドを実行してログアウトします。
仮想マシンの停止
haltで仮想マシンを停止します。
$ vagrant halt
==> default: Attempting graceful shutdown of VM...
ちゃんと停止できたか確認してみます。
$ vagrant status
Current machine states:

default                   poweroff (virtualbox)

The VM is powered off. To restart the VM, simply run `vagrant up`
poweroffになっています。
ちゃんと仮想マシンが停止したようです。
まとめ
・vagrant up
・vagrant ssh
・vagrant halt
この3つのコマンドで仮想マシンの起動、アクセス、停止をコマンドラインで操作できるようになりました。
あとは仮想マシンの中に各種パッケージをインストールして開発環境を構築していきます。
今回は環境構築についてなのでひとまず以上です。
