0.はじめに
当記事では、
・Heroku使ったことない
・Ruby少しは触ったことある
・Sinatraは全く知らない
という人向けに、Line Messaging APIを使ったオウム返しのLineBot(hogeって打つとhogeって返してくれるBot)を簡単に作るための手順を説明したいと思います。というか私がそうだったので復習という形でこの記事を投稿しました。間違い等のご指摘、快く承ります!
環境はMacOSX El Capitan 10.11.6です。
当記事を書くにあたって様々な方の記事を参考にさせてもらったので、それぞれの手順で参考になればと思いURLを各所に貼らせていただきました。問題があれば消します。
1. Herokuの準備をする
Heroku公式サイトからSign upしてアカウントを作成します。
https://www.heroku.com/home
次にHeroku Command Line Interfaceをダウンロードし、インストールします。以下のサイトからOS X Installerをクリックして流れに沿っていけば大丈夫だと思います。これを入れるとコマンドライン上でherokuの操作が可能になります。
https://devcenter.heroku.com/articles/heroku-cli
以下のようにherokuコマンドが叩けて、LoginもできたらOK.
$ heroku login
Enter your Heroku credentials.
Email: example@gmail.com←登録したメールアドレスを入力
Password (typing will be hidden):
Logged in as example@gmail.com
次にHerokuの作業ディレクトリを作成します。今回の名前はfreechat_appとしました。
$ mkdir freechat_app
$ cd freechat_app/
$ heroku create
これでHerokuを利用する準備ができました。
Herokuについての詳しい記事は、Arashi氏の記事が参考になります!
http://qiita.com/Arashi/items/b2f2e01259238235e187
2. Sinatraを使ってみる
SinatraはRubyで使えるライブラリの一つであり、Sinatraを使うと簡単にwebアプリケーションの制作ができます。Ruby on Railsでは敷居が高いと感じたらSinatraを試しに使ってみるのもアリなのではないでしょうか。
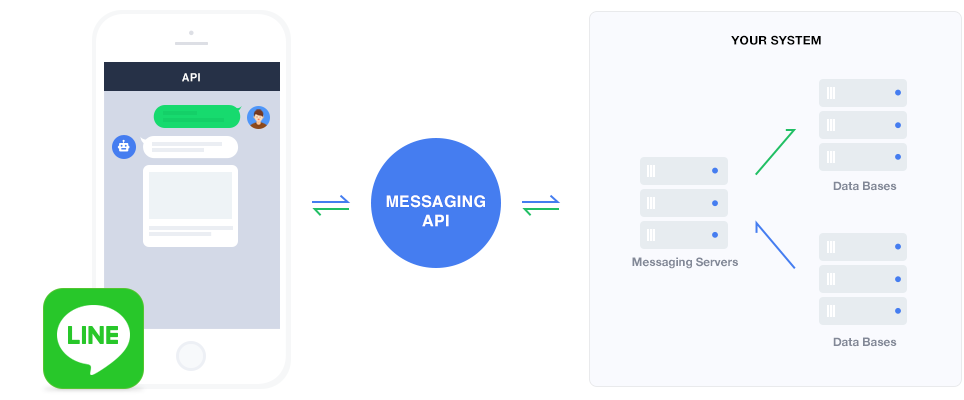
今回作るものは以下の図のMessaging Serversにあたります。(詳しくはhttps://developers.line.me/messaging-api/overview)

というわけでSinatraをインストールします。なお、rubyの環境は整っているものとします。
Bundlerをインストールしてない場合は以下を実行。バージョンも確認してみました。
Bundlerについて詳しい記事はこちら:
http://qiita.com/oshou/items/6283c2315dc7dd244aef
$ gem install bundler
$ bundler -v
Bundler version 1.13.7
次にSinatraをBundler経由でインストールします。
$ bundle init
$ vim Gemfile
以下のようなGemfileを作成します。
source "https://rubygems.org"
gem 'sinatra'
gem 'line-bot-api'
pathを指定してライブラリをインストールします。pathを指定する理由は、システムにgem installすると綺麗ではないのでプロジェクトごとに分けた方がいいからだと思われます。Sinatraのように汎用的に使われるライブラリならシステムにインストールしてもいいかもしれませんが、LINE Bot制作に特化したline-bot-apiなんかはシステムに入れたくないはずです。以下を実行するとsinatraとline-bot-apiに加えて、依存するライブラリも一緒にインストールしてくれます。これはBundlerの機能です。
$ bundle install --path=vendor/bundle
Fetching gem metadata from https://rubygems.org/..........
Fetching version metadata from https://rubygems.org/.
Resolving dependencies...
Installing line-bot-api 1.0.0
Installing rack 1.6.5
Installing tilt 2.0.5
Using bundler 1.13.7
Installing rack-protection 1.5.3
Installing sinatra 1.4.7
Bundle complete! 2 Gemfile dependencies, 6 gems now installed.
Bundled gems are installed into ./vendor/bundle.```
次にRubyのコードを書きます。
require 'sinatra'
require 'line/bot'

get '/' do
  "Hello world"
end
実行します。
$ bundle exec ruby app_main.rb
[2017-01-01 20:03:05] INFO  WEBrick 1.3.1
[2017-01-01 20:03:05] INFO  ruby 2.3.3 (2016-11-21) [x86_64-darwin15]
== Sinatra (v1.4.7) has taken the stage on 4567 for development with backup from WEBrick
[2017-01-01 20:03:05] INFO  WEBrick::HTTPServer#start: pid=15617 port=4567
この状態で
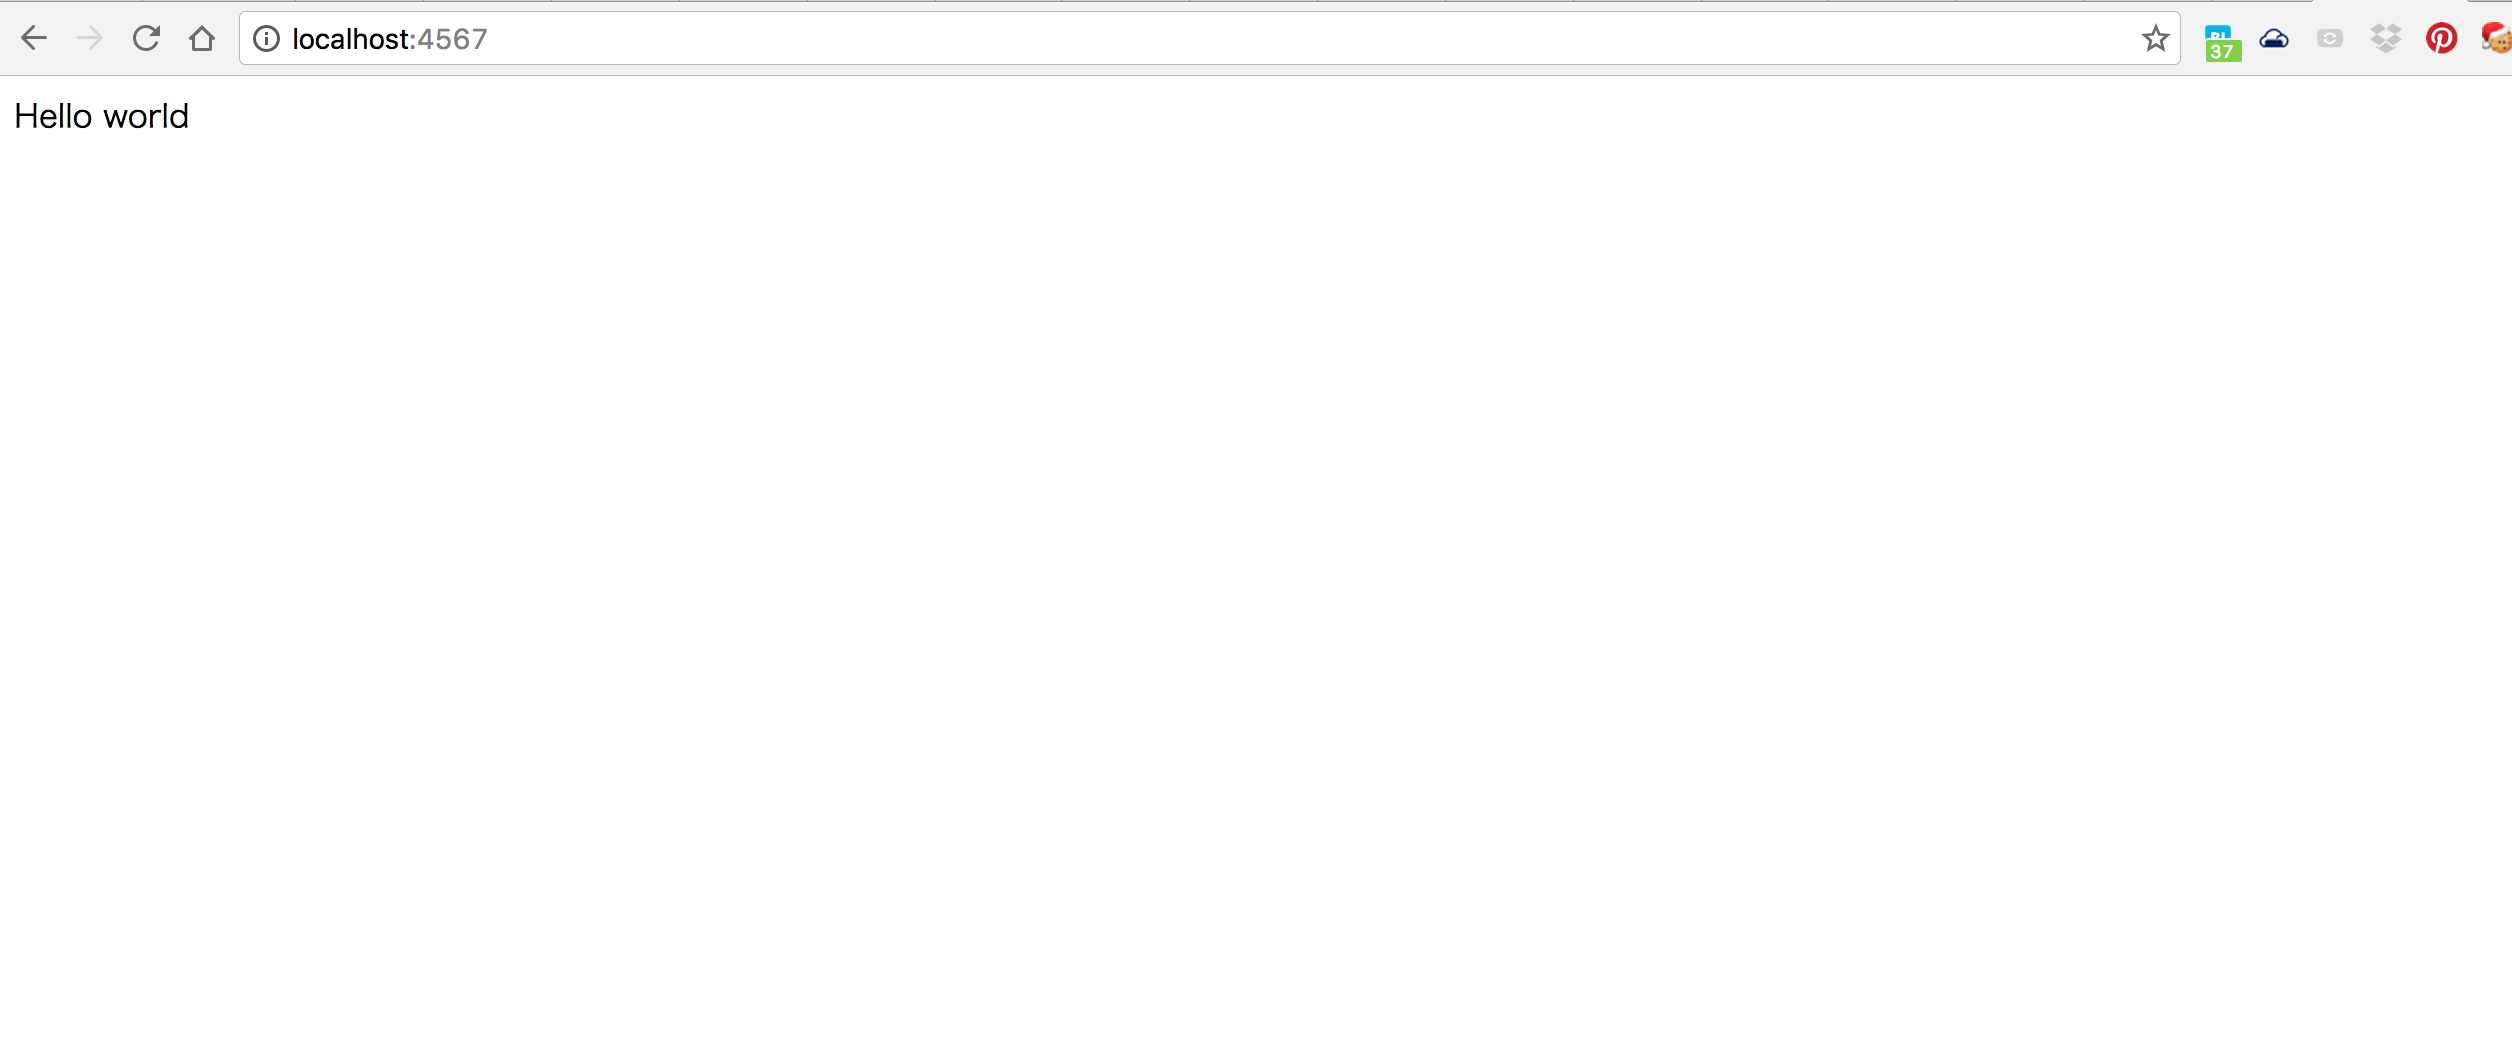
http://localhost:4567
にアクセスしてHello worldできたらOK.

ちなみに、
$ ruby app_main.rb
とすると、システムのライブラリパスを参照することになってしまうのでここは、
$ bundle exec ruby app_main.rb
としました。こうすることでプロジェクトのローカル環境で実行できます。
3. Line Botアカウントを用意する
下記サイトの手順に沿って進めていきます。
https://developers.line.me/messaging-api/getting-started
LINE@アカウントを作ってMessaging APIを利用可能にする
- LINE Business Centerの上側のサービスを選択して、「Messaging APIを始める」を押します。
- 会社名を求められますが、個人名でOKです。
- アカウントに必要な情報を入力。これでLINE@アカウントの作成完了です。
- LINE Business Centerの上側のアカウントリストを選択して、作成したアカウントのLINE@ Managerに移動する。
- 「アカウント設定」→「Bot設定」で、Message APIを有効にする。(確認を求められます)
- 同ページの「Webhook送信」を有効にする。
- LINE Business Centerの上側のアカウントリストを選択。Line Developperというボタンが現れたのでそこに飛ぶ。
- ページ下の方にあるChannel access token右側のissueボタンを押し、Channel access tokenを発行する。
- Channel SecretとChannel access tokenは後で使うので控えておく。
4. BotにLine Messaging APIを叩かせる
専ら以下のサイトのコードを利用します。Line社公式のものです。当記事に微小に変更したコードを掲載しますが、問題があったら消します。
https://github.com/line/line-bot-sdk-ruby
require 'sinatra'
require 'line/bot'

# 微小変更部分!確認用。
get '/' do
  "Hello world"
end

def client
  @client ||= Line::Bot::Client.new { |config|
    config.channel_secret = ENV["LINE_CHANNEL_SECRET"]
    config.channel_token = ENV["LINE_CHANNEL_TOKEN"]
  }
end

post '/callback' do
  body = request.body.read

  signature = request.env['HTTP_X_LINE_SIGNATURE']
  unless client.validate_signature(body, signature)
    error 400 do 'Bad Request' end
  end

  events = client.parse_events_from(body)
  events.each { |event|
    case event
    when Line::Bot::Event::Message
      case event.type
      when Line::Bot::Event::MessageType::Text
        message = {
          type: 'text',
          text: event.message['text']
        }
        client.reply_message(event['replyToken'], message)
      when Line::Bot::Event::MessageType::Image, Line::Bot::Event::MessageType::Video
        response = client.get_message_content(event.message['id'])
        tf = Tempfile.open("content")
        tf.write(response.body)
      end
    end
  }

  "OK"
end
次にProcfileとconfig.ruを作成します。
$ touch Procfile config.ru
web: bundle exec rackup config.ru -p $PORT
require './app_main'
run Sinatra::Application
Procfileは"Herokuに何をさせるか"が書かれた指示書のようなファイルのようです。今回のProcfileは、config.ruの設定に従ってRackを起動するというものです。いきなりruとかRackとかが現れて戸惑いますが…。
RackはRubyによるWebアプリケーション開発のHTTP送受信処理を担当するモジュール(gem)で、Ruby on Railsを始めとする多くのWebフレームワークの一番下のレベルで利用されています。
参考:Rack解説 - Rackの構造とRack DSL
RackはRubyの各Webフレームワークに組み込まれたHTTPモジュールのようです。そういえばさっきbundle installした時に依存で入ってましたね!
Herokuにデプロイする
作成したWebアプリケーションを利用可能にするためにそれらをHerokuにアップロードすることを、デプロイと言います。ここまでで作ったファイル一覧はこの通りになります。
$ ls -a
.            .bundle      Gemfile.lock app_main.rb  vendor
..           Gemfile      Procfile     config.ru
HerokuのデプロイにはGitを使用するのでGitの準備をします。
まず.gitignoreを書きます。Heroku側に必要のないファイルをアップロードしないためです。
以下のサイトのコードはRails用ですが今回はこちらを使用させていただきました。
http://qiita.com/seri_k/items/2945dbbc3e09e651b538
$ vim .gitignore
# ----------------------------------------------------------------------------
# This is the .gitignore file for the rails-composer repository.
#
# Rails Composer is an application template that creates a Rails starter app.
#
# The Rails Composer application template is generated by the rails_apps_composer gem:
# https://github.com/RailsApps/rails_apps_composer
#
# The Rails Composer application template will create a .gitignore file for any starter app.
# This file isn't used by the Rails Composer application template; instead the template uses:
# https://github.com/RailsApps/rails-composer/blob/master/files/gitignore.txt
#
# Corrections? Improvements? Create a GitHub issue:
# http://github.com/RailsApps/rails-composer/issues
# ----------------------------------------------------------------------------

# bundler state
/.bundle
/vendor/bundle/
/vendor/ruby/

# minimal Rails specific artifacts
db/*.sqlite3
/log/*
/tmp/*

# various artifacts
**.war
*.rbc
*.sassc
.rspec
.redcar/
.sass-cache
/coverage.data
/coverage/
/db/*.javadb/
/db/*.sqlite3
/doc/api/
/doc/app/
/doc/features.html
/doc/specs.html
/public/cache
/public/stylesheets/compiled
/public/system/*
/spec/tmp/*
/cache
/capybara*
/capybara-*.html
/gems
/spec/requests
/spec/routing
/spec/views
/specifications
rerun.txt
pickle-email-*.html

# If you find yourself ignoring temporary files generated by your text editor
# or operating system, you probably want to add a global ignore instead:
#   git config --global core.excludesfile ~/.gitignore_global
#
# Here are some files you may want to ignore globally:

# scm revert files
**.orig

# Mac finder artifacts
.DS_Store

# Netbeans project directory
/nbproject/

# RubyMine project files
.idea

# Textmate project files
/*.tmproj

# vim artifacts
**.swp
初期化してaddしてcommitしてpushします。
$ git init
$ git add -A
$ git commit -m 'first commit'
$ git push heroku master
$ heroku open
heroku openするとHello worldが表示されていると思います。これはリモートで動作したことを意味しています。

最後に、Messaging APIを利用するための設定をします。HerokuコントロールパネルからSettings->Config VariablesでReveal Config Varsを押します。するとHeroku環境下での環境変数が表示されます。
ここに、先ほどメモったChannel SecretとChannel access tokenをセットします。
LINE_CHANNEL_SECRET   xxxxxx←メモったChannel Secret
LINE_CHANNEL_TOKEN    yyyyyy←メモったChannel access token
次にLine developersのページに行き、Webhook URLにAPIのURLを入力します。
このような感じのURLだと思います。
https://fathomless-waters-27765.herokuapp.com/callback
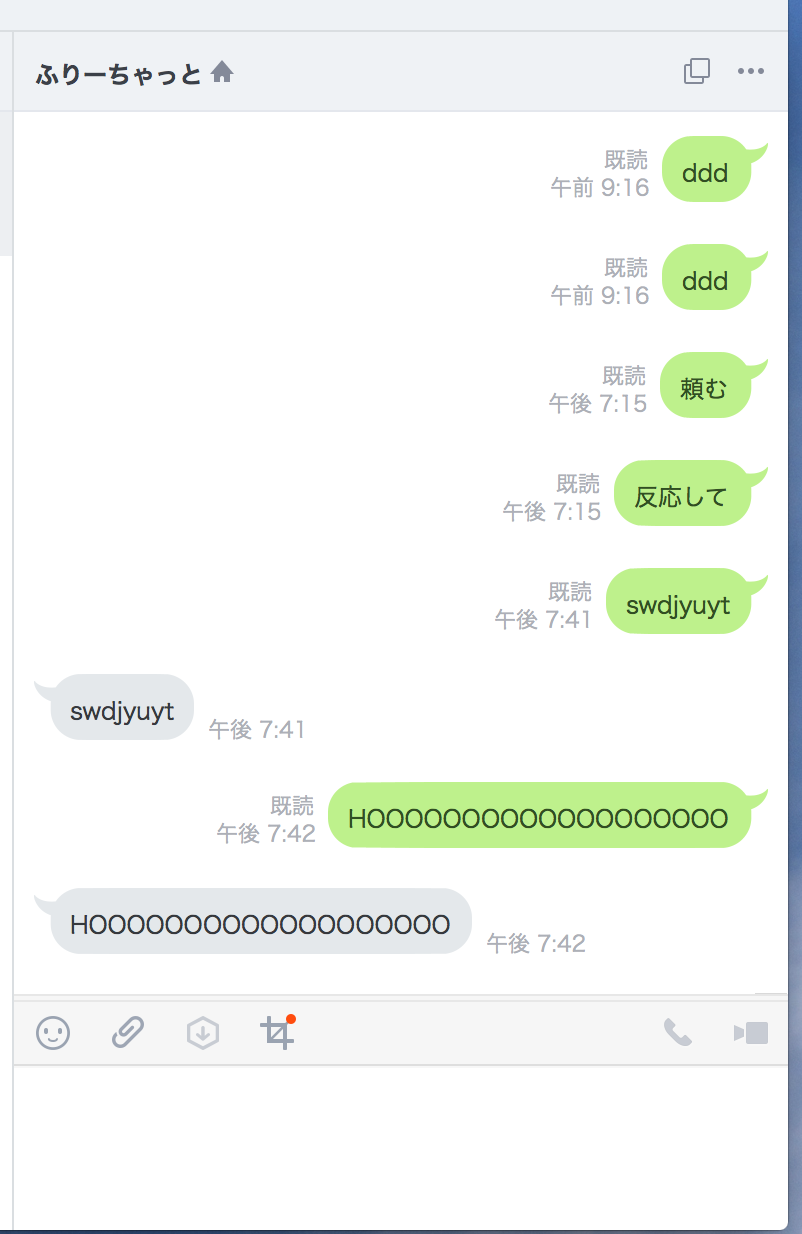
これでAPIが使えるようになりました。先ほど作ったLINE@アカウントと友達になってメッセージを投げます。

出来ました!
※午後7:15まで反応しなかったのはLINE DeveloperでIP WhiteListを設定していたためでした。herokuのログに受信ログが残っていたのでheroku->LINEで問題があったことは確実なのですがこれが原因だとは…。Fixieで得たアドレスを入力したのに通らなかったことが謎です
ログを見て怪しいエラーがなければ完璧ですね。
$ heroku logs
お疲れ様でした!
参考記事
Bundler
Bundlerの使い方
bundle installするときはpathを指定しよう
railsでbundle installする時にインストールパスを指定
bundlerでgemをプロジェクトごとに管理する
Ruby書くならBundler使え
Heroku
Getting Started with Ruby on Heroku
Herokuに速攻デプロイするSinatraアプリテンプレートをつくる #1
Sinatra
Sinatraを動かすまで
Rack解説 - Rackの構造とRack DSL