M5Stack Advent Calendar 2020 8日目の記事です。
はじめに
M5StickVは、コンパクトで気軽にAIを学習、体験することができる素晴らしいデバイスですが、標準ではWiFiやBluetoothなどの通信が使えないのが残念なところです。
@nnn112358 さんの Wi-FiがないM5StickVを、M5StickCと繋ぎLINEに投稿してみるまでの手順 などの記事で、M5StickVとM5StackCを接続してWiFi通信することに挑戦されています。
今回は、もっと汎用的にWiFiを使うことができる環境を試してみます。
MaixPy
M5StickVにはMaixPyが入った状態で出荷されます。MaixPyはK210用のMicroPython実装で、M5StickVの他にもSipeed社の Maixシリーズ で使うことができます。Maixシリーズで使われているM1W SoCにはESP8285というチップが搭載されていてWiFi通信を行うことができ、MaixPyにはESP8285用の通信ライブラリーが用意されています。
M5StackでESP8285をエミュレーションしてあげることができれば、MaixPyの通信ライブラリーを使用してMaixPyでWiFi通信を行うことができるはずです。
準備
- M5StackにはESP8285を簡単にエミュレーションするアプリを入れます。開発はPlatform IOを利用しました。ソースは こちら から git clone してください。
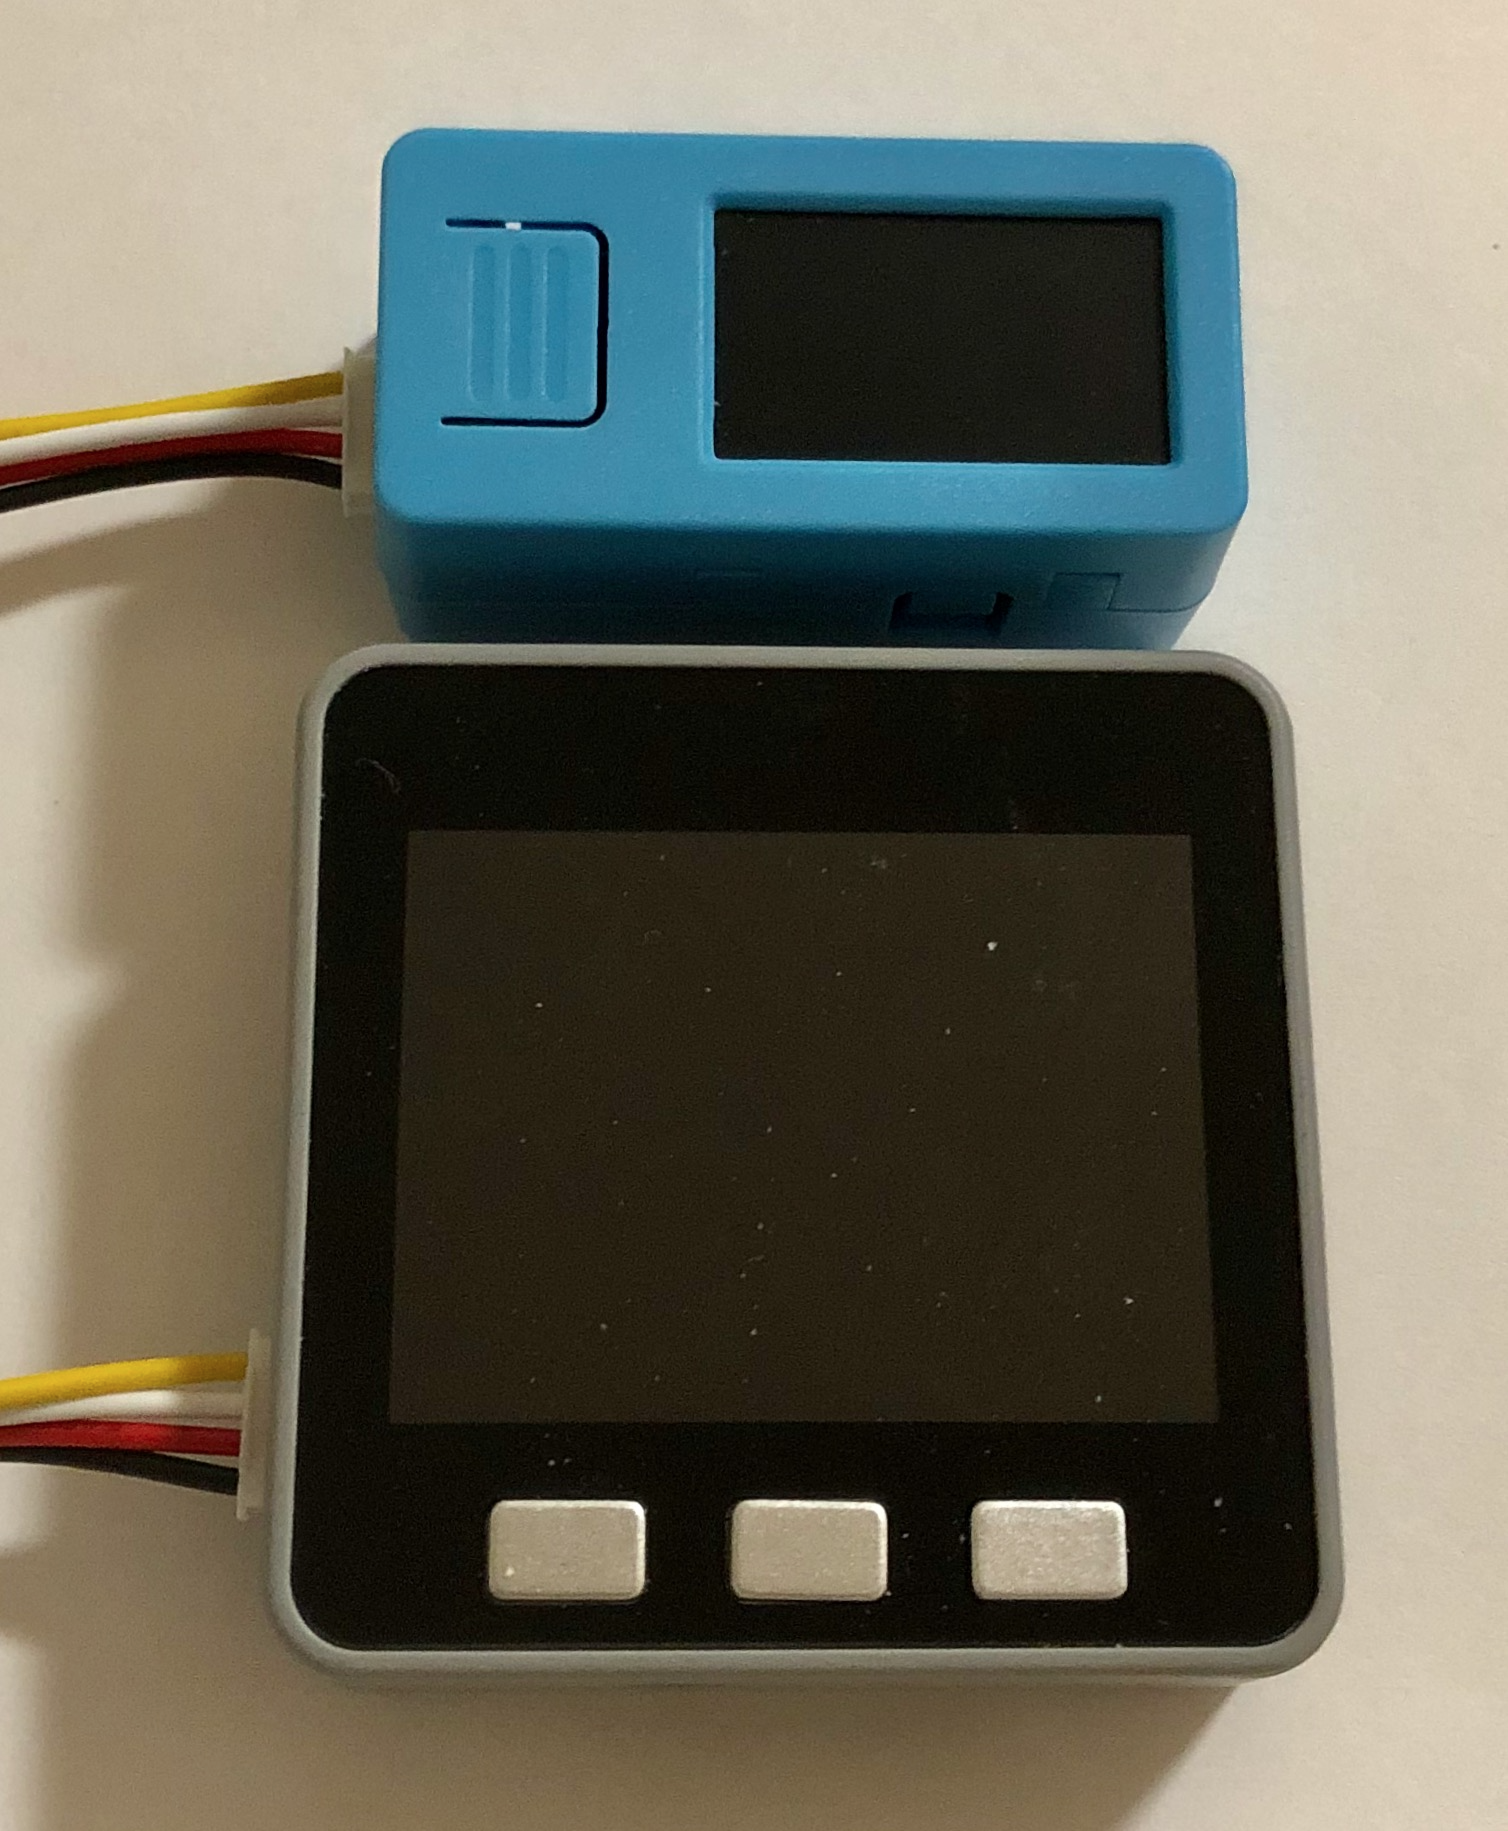
- GroveケーブルでM5StickVとM5Stackを接続します。
実行
M5StackとGroveケーブルで接続したM5StickVにMaixPy IDEで操作します。Sipeed社のGitHubにある、MaixPy_scripts からいくつかのサンプルを実行してみます。
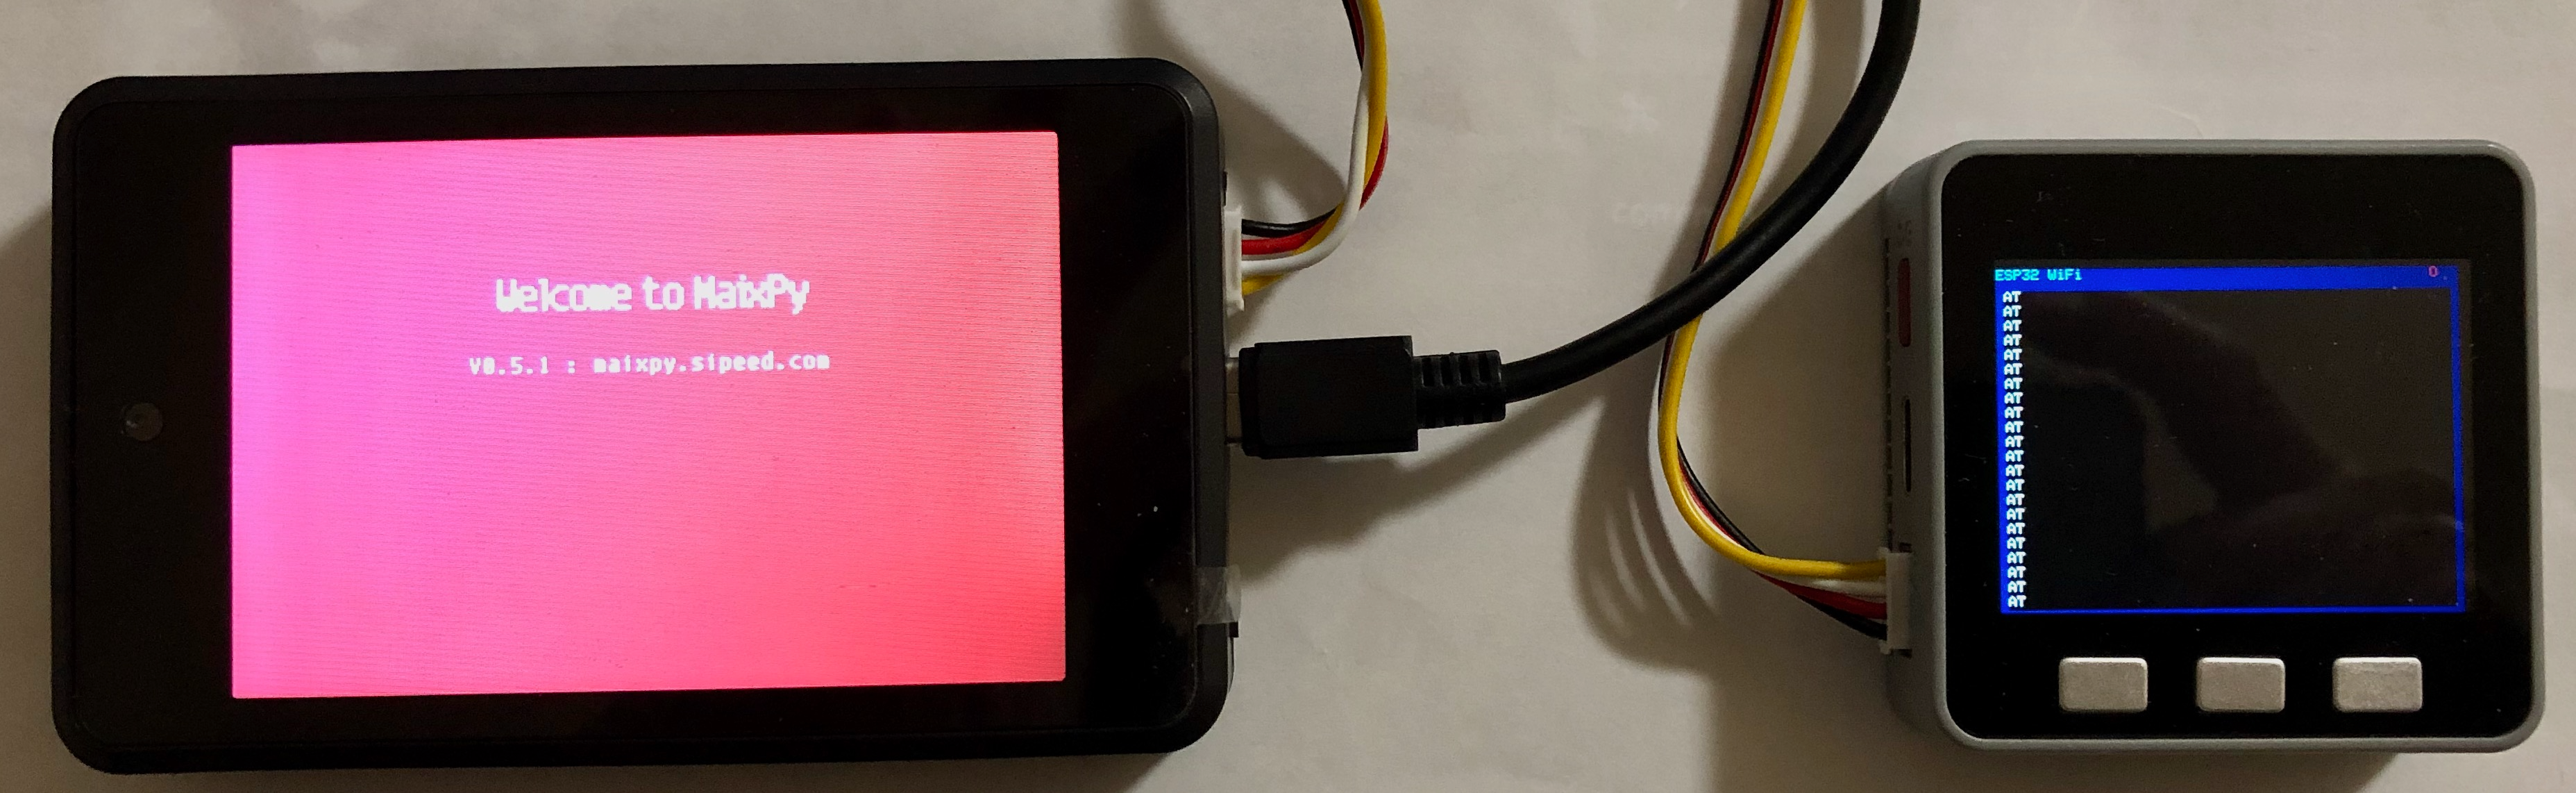
ATコマンドのテスト
M5Stackにシリアル通信でATコマンドを送ると、OKが返ってきます。これでM5StickVとM5Stackの間で正しくシリアル通信できることが確認できます。
import time
from Maix import GPIO
from machine import UART
from fpioa_manager import fm
from board import board_info

fm.register(35, fm.fpioa.UART2_TX, force=True)
fm.register(34, fm.fpioa.UART2_RX, force=True)

uart = UART(UART.UART2,115200,timeout=1000, read_buf_len=4096)

time.sleep_ms(2000)

while 1:
	read = uart.read()
	if read:
		print(read)
	uart.write("AT\r\n")
	time.sleep_ms(500)
アクセスポイントのスキャン
WiFiのアクセスポイントをスキャンして、アクセスポイントの一覧を返します。
import time, network
from Maix import GPIO
from machine import UART
from fpioa_manager import fm
from board import board_info

fm.register(35, fm.fpioa.UART2_TX, force=True)
fm.register(34, fm.fpioa.UART2_RX, force=True)

uart = UART(UART.UART2,115200,timeout=1000, read_buf_len=4096)

def wifi_deal_ap_info(info):
    res = []
    for ap_str in info:
        ap_str = ap_str.split(",")
        info_one = []
        for node in ap_str:
            if node.startswith('"'):
                info_one.append(node[1:-1])
            else:
                info_one.append(int(node))
        res.append(info_one)
    return res


time.sleep(2)
nic = network.ESP8285(uart)

time.sleep(1)
ap_info = nic.scan()
ap_info = wifi_deal_ap_info(ap_info)

ap_info.sort(key=lambda x:x[2], reverse=True) # sort by rssi
for ap in ap_info:
    print("SSID:{:^20}, RSSI:{:>5} , MAC:{:^20}".format(ap[1], ap[2], ap[3]) )
ステーションモードの接続
M5StackをステーションモードとしてWiFiアクセスポイントに接続します。M5StackがWiFi通信できることが確認できます。
import time, network
from Maix import GPIO
from machine import UART
from fpioa_manager import fm
from board import board_info

fm.register(35, fm.fpioa.UART2_TX, force=True)
fm.register(34, fm.fpioa.UART2_RX, force=True)

uart = UART(UART.UART2,115200,timeout=1000, read_buf_len=4096)

time.sleep(2)
nic = network.ESP8285(uart)

nic.connect("ssid","pass")
conf = nic.ifconfig()
print(conf)
httpリクエスト
これができればOKですね。
import time, network
import socket
from Maix import GPIO
from machine import UART
from fpioa_manager import fm
from board import board_info

fm.register(35, fm.fpioa.UART2_TX, force=True)
fm.register(34, fm.fpioa.UART2_RX, force=True)

uart = UART(UART.UART2,115200,timeout=1000, read_buf_len=4096)

time.sleep(2)
nic = network.ESP8285(uart)

time.sleep(1)
nic.connect("<ssid>","<pass>")
conf = nic.ifconfig()
print(conf)

sock = socket.socket()
addr = socket.getaddrinfo("arduino.cc", 80)[0][-1]
sock.connect(addr)
sock.send('''GET /asciilogo.txt HTTP/1.1
Host: arduino.cc
cache-control: no-cache

''')

img = b""
sock.settimeout(5)
while True:
    data = sock.recv(4096)
    if len(data) == 0:
        break
    print("rcv:", len(data))
    img = img + data
Arduino/Maixduino
Maixシリーズ用のArduino、MaixduinoでもWiFiを試してみます。
ソースは以下のようになります、試される方は こちら をgit cloneしてご利用ください。
/*--------------------------------------------------------------------
Copyright 2020 fukuen

This M5StickV WiFi demo is free software: you can redistribute it
and/or modify it under the terms of the GNU General Public License as
published by the Free Software Foundation, either version 3 of the
License, or (at your option) any later version.

The Arduino WiFiEsp library is distributed in the hope that it will be
useful, but WITHOUT ANY WARRANTY; without even the implied warranty of
MERCHANTABILITY or FITNESS FOR A PARTICULAR PURPOSE.  See the
GNU General Public License for more details.

You should have received a copy of the GNU General Public License
along with The Arduino WiFiEsp library.  If not, see
<http://www.gnu.org/licenses/>.
--------------------------------------------------------------------*/

# include <Arduino.h>
# include <TFT_eSPI.h>
# include <Wire.h>
# include <WiFiEsp.h>

TFT_eSPI lcd;

# ifdef M5STICKV
# define AXP192_ADDR 0x34
# define PIN_SDA 29
# define PIN_SCL 28
# endif

# define WIDTH 280
# define HEIGHT 240
# define XOFFSET 40
# define YOFFSET 60

char ssid[] = "<ssid>";      // your network SSID (name)
char pass[] = "<pass>";      // your network password
int status = WL_IDLE_STATUS;

char server[] = "arduino.cc";

// Initialize the Ethernet client object
WiFiEspClient client;

char buf[1024];

bool axp192_init() {
  Serial.printf("AXP192 init.\n");
  sysctl_set_power_mode(SYSCTL_POWER_BANK3,SYSCTL_POWER_V33);

  Wire.begin((uint8_t) PIN_SDA, (uint8_t) PIN_SCL, 400000);
  Wire.beginTransmission(AXP192_ADDR);
  int err = Wire.endTransmission();
  if (err) {
    Serial.printf("Power management ic not found.\n");
    return false;
  }
  Serial.printf("AXP192 found.\n");

  // Clear the interrupts
  Wire.beginTransmission(AXP192_ADDR);
  Wire.write(0x46);
  Wire.write(0xFF);
  Wire.endTransmission();
  Wire.beginTransmission(AXP192_ADDR);
  Wire.write(0x23);
  Wire.write(0x08); //K210_VCore(DCDC2) set to 0.9V
  Wire.endTransmission();
  Wire.beginTransmission(AXP192_ADDR);
  Wire.write(0x33);
  Wire.write(0xC1); //190mA Charging Current
  Wire.endTransmission();
  Wire.beginTransmission(AXP192_ADDR);
  Wire.write(0x36);
  Wire.write(0x6C); //4s shutdown
  Wire.endTransmission();
  Wire.beginTransmission(AXP192_ADDR);
  Wire.write(0x91);
  Wire.write(0xF0); //LCD Backlight: GPIO0 3.3V
  Wire.endTransmission();
  Wire.beginTransmission(AXP192_ADDR);
  Wire.write(0x90);
  Wire.write(0x02); //GPIO LDO mode
  Wire.endTransmission();
  Wire.beginTransmission(AXP192_ADDR);
  Wire.write(0x28);
  Wire.write(0xF0); //VDD2.8V net: LDO2 3.3V,  VDD 1.5V net: LDO3 1.8V
  Wire.endTransmission();
  Wire.beginTransmission(AXP192_ADDR);
  Wire.write(0x27);
  Wire.write(0x2C); //VDD1.8V net:  DC-DC3 1.8V
  Wire.endTransmission();
  Wire.beginTransmission(AXP192_ADDR);
  Wire.write(0x12);
  Wire.write(0xFF); //open all power and EXTEN
  Wire.endTransmission();
  Wire.beginTransmission(AXP192_ADDR);
  Wire.write(0x23);
  Wire.write(0x08); //VDD 0.9v net: DC-DC2 0.9V
  Wire.endTransmission();
  Wire.beginTransmission(AXP192_ADDR);
  Wire.write(0x31);
  Wire.write(0x03); //Cutoff voltage 3.2V
  Wire.endTransmission();
  Wire.beginTransmission(AXP192_ADDR);
  Wire.write(0x39);
  Wire.write(0xFC); //Turnoff Temp Protect (Sensor not exist!)
  Wire.endTransmission();

  fpioa_set_function(23, (fpioa_function_t)(FUNC_GPIOHS0 + 26));
  gpiohs_set_drive_mode(26, GPIO_DM_OUTPUT);
  gpiohs_set_pin(26, GPIO_PV_HIGH); //Disable VBUS As Input, BAT->5V Boost->VBUS->Charing Cycle

  msleep(20);
  return true;
}

void printWifiStatus() {
  // print the SSID of the network you're attached to
  Serial.print("SSID: ");
  Serial.println(WiFi.SSID());

  // print your WiFi shield's IP address
  IPAddress ip = WiFi.localIP();
  Serial.print("IP Address: ");
  Serial.println(ip);

  // print the received signal strength
  long rssi = WiFi.RSSI();
  Serial.print("Signal strength (RSSI):");
  Serial.print(rssi);
  Serial.println(" dBm");
}

void setup() {
  Serial.begin(115200);
  axp192_init();

  /* LCD init */
  lcd.begin();
  lcd.setRotation(1);

  lcd.fillRect(0, 0, WIDTH, HEIGHT, TFT_BLACK);
  lcd.setTextFont(0);
  lcd.setTextColor(TFT_WHITE);
  lcd.setCursor(0 + XOFFSET, 0 + YOFFSET);
  lcd.printf("aaa");

  Serial1.begin(115200, 34, 35);  // initialize serial for ESP WiFi module
  WiFi.init(&Serial1);    // initialize ESP WiFi module

  // check for the presence of the shield
  if (WiFi.status() == WL_NO_SHIELD) {
      Serial.println("WiFi shield not present");
      // don't continue
      while (true);
  }

  // attempt to connect to WiFi network
  while (status != WL_CONNECTED) {
    Serial.print("Attempting to connect to WPA SSID: ");
    Serial.println(ssid);
    // Connect to WPA/WPA2 network
    status = WiFi.begin(ssid, pass);
  }

  printWifiStatus();

  Serial.println();
  Serial.println("Starting connection to server...");
  // if you get a connection, report back via serial
  if (client.connect(server, 80)) {
    Serial.println("Connected to server");
    // Make a HTTP request
    client.println("GET /asciilogo.txt HTTP/1.1");
    client.println("Host: arduino.cc");
    client.println("Connection: close");
    client.println();
  }
}

void loop() {
  // if there are incoming bytes available
  // from the server, read them and print them
  while (client.available()) {
//    char c = client.read();
//    Serial.write(c);
    int size = client.readBytes(buf, 256);
    Serial.write(buf, size);
  }

  // if the server's disconnected, stop the client
  if (!client.connected()) {
    Serial.println();
    Serial.println("Disconnecting from server...");
    client.stop();

    // do nothing forevermore
    while (true);
  }
}
Maix Amigo
M5StickVが使えなくなったので、代わりにMaix Amigoの場合は、こんな感じになります。
import time
from Maix import GPIO
from machine import UART
from fpioa_manager import fm
from board import board_info

fm.register(7, fm.fpioa.UART2_TX, force=True)
fm.register(9, fm.fpioa.UART2_RX, force=True)

uart = UART(UART.UART2,115200,timeout=1000, read_buf_len=4096)

time.sleep_ms(2000)

while 1:
	read = uart.read()
	if read:
		print(read)
	uart.write("AT\r\n")
	time.sleep_ms(500)
おわりに
やっつけで作ったので、最小限のESP8285エミュレーションしかできていないのと、十分テストできていませんが、M5StickVで手軽にWiFiを使う一つの方法になるのではないかと思っています。
Advent Calendar用に限定共有記事にしたところ、限定共有記事の特性を知らなかったため意外にもアクセスがあったり、おそらくデバッグ中にUSBコネクタをGroveポートに当ててしまったためM5SticvVのポートが使えなくなってしまったりとトラブルがあり、十分テストできていませんが、何かのお役に立てていただければと思います。
サンタさんから新しいM5StickVが届きますように!
ToDo
- サーバーモード
- UDP通信
- 速度(115200bps over)
- 安定性改善