はじめに
仕事で関わっているRecord Meetingという自動議事メモ作成サービスでM5Stackを利用しているのですが、デバイスが増えてくると管理が大変です。Raspberry Piくらいリソースがあれば選択肢が増えてきますが、M5Stackの場合皆さんどのように管理されていますか?ということで、唯一の候補になりそうなAmazon FreeRTOSがM5Stackで使えるかを検証してみました。
検証
M5StackでAmazon FreeRTOSを動かしている情報は見つけられませんでしたが、「Espressif ESP32-DevKitC と ESP-WROVER-KIT の開始方法」、「Amazon FreeRTOSがESP32に対応したのでさっそく試してみた」、「ESP32-DevKitCにAmazon FreeRTOSをインストールする」、などを参考に導入してみました。
本家Amazonの「Espressif ESP32-DevKitC と ESP-WROVER-KIT の開始方法」、ほぼそのままの手順です。
注意事項
現在、ESP32-WROVER-KIT および ESP DevKitC の Amazon FreeRTOS ポートは、以下の機能をサポートしていません。
- Lightweight IP (LwIP)。
- 対称型マルチプロセッシング (SMP)。
前提条件
Amazon FreeRTOS を使い始める前に、AWS アカウントとアクセス許可を設定する必要があります。検証ということで、私は禁断のルートアカウントで試しました。
- AmazonFreeRTOSFullAccess
- AWSIoTFullAccess
開発環境の設定
EspressifのESP-IDFを使用します。Windowsの場合は、インストーラーをダウンロードして実行すれば開発環境ができあがります。
Pythonやgitなどがすでにインストールされている場合は、既存のものを使用するか、新規インストールするか選択できます。私の場合、インストール先がデフォルトではデスクトップになっていたので、別の場所(C:\ESP-IDF)に変えました。場所によってはインストーラーがエラーになりました。
CMakeもインストールします。
シリアル接続の確立
すでにM5Stackを利用している人は、ドライバーがインストールされているはずです。
Amazon FreeRTOSをダウンロードします
Git bashから、任意の場所にAmazon FreeRTOSをダウンロードします
git clone https://github.com/aws/amazon-freertos --recursive
Amazon FreeRTOS デモアプリケーションを設定する
最初にデモアプリを動かすための設定を行います。ビルドするために以下が必要です。「Espressif ESP32-DevKitC と ESP-WROVER-KIT の開始方法」を参考にしてください。
- Python 2.7.10 以降
- AWS CLI
- AWS SDK for Python (boto3)
現在は、Python 3系で大丈夫のようです。
/tools/aws_config_quick_start/configure.json を編集してWi-Fiの接続情報を設定します。
例:
{
    "afr_source_dir":"../..",
    "thing_name":"<M5Stackの名前>",
    "wifi_ssid":"<Wi-FiのSSID>",
    "wifi_password":"<Wi-Fiのパスワード>",
    "wifi_security":"<eWiFiSecurityWPA2など>"
}
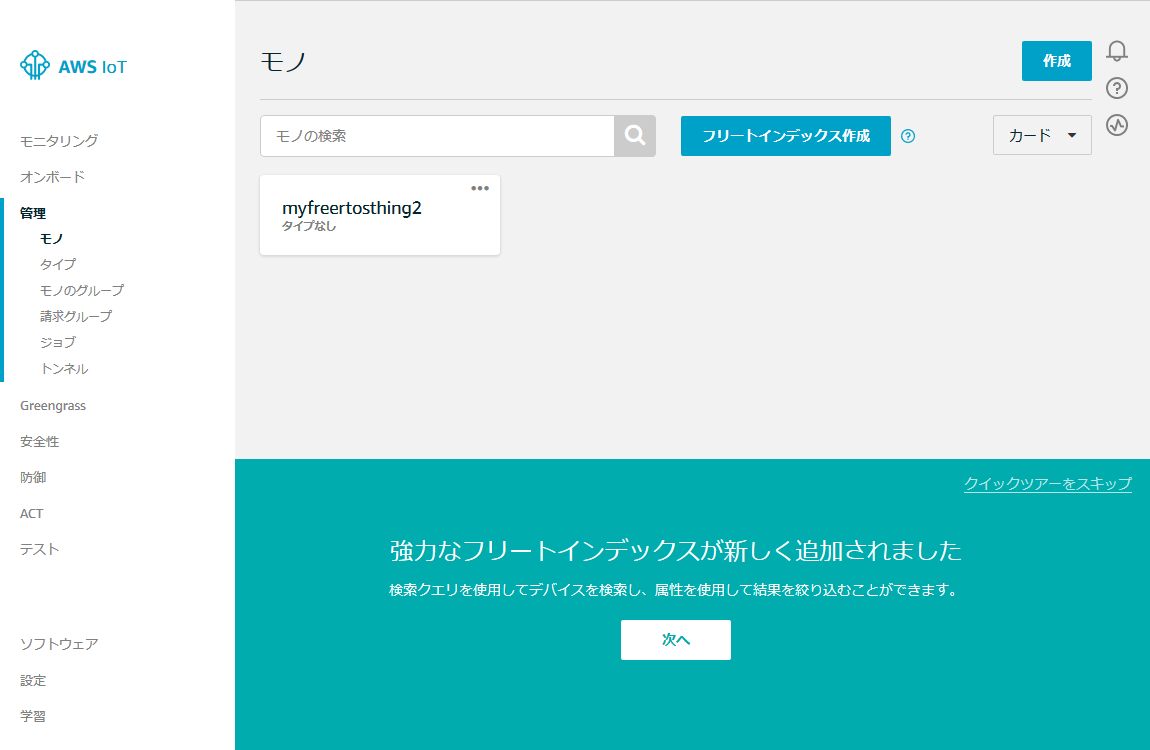
/tools/aws_config_quick_start ディレクトリに移動して、python SetupAWS.py setup を実行すると、デモアプリケーション用のC++ヘッダ情報が更新されるのと、AWS IoTにも登録されます。
python SetupAWS.py setup
Windows で Amazon FreeRTOS をビルドする
Windowsのコマンドプロンプトを開きます。次のコマンドで環境変数を設定します。
Windowsのコマンドプロンプトで実行できるのは便利な反面、使い慣れたMSYS2、MinGWのシェルが使えないというデメリットもあります。
(ESP-IDFのexport.batを実行している場合)IDF_PATHをクリアします(これをやってなくてちょっとハマりました)
set IDF_PATH= <Enter>
Amazon FreeRTOS をダウンロードしたディレクトリに変更して、CMakeを実行します。
cmake -DVENDOR=espressif -DBOARD=esp32_wrover_kit -DCOMPILER=xtensa-esp32 -GNinja -S . -B build
うまくいけばこんな感じのメッセージが表示されます。
-- The C compiler identification is GNU 5.2.0
-- The CXX compiler identification is GNU 5.2.0
-- The ASM compiler identification is GNU

...

-- Component libraries:
=========================Resolving dependencies==========================
module disabled: posix
reason:          posix::mcu_port is not defined by vendor.
dependency path: posix->posix::mcu_port


====================Configuration for Amazon FreeRTOS====================
  Version:                 201912.00
  Git version:             201912.00-25-g6bc2f67f9

Target microcontroller:
  vendor:                  Espressif
  board:                   ESP-WROVER-KIT
  description:             Development board produced by Espressif that has support for
                           LCD, MicroSD card, and USB JTAG interface. It comes in two
                           variants either with ESP-WROOM-32 or ESP32-WROVER module.
  family:                  ESP32
  data ram size:           520KB
  program memory size:     4MB

Host platform:
  OS:                      Windows-10.0.17763
  Toolchain:               xtensa-esp32
  Toolchain path:          C:/Users/<user>/.espressif/tools/xtensa-esp32-elf/1.22.0-80-
                           g6c4433a5-5.2.0/xtensa-esp32-elf
  CMake generator:         Ninja

Amazon FreeRTOS modules:
  Modules to build:        ble, ble_hal, ble_wifi_provisioning, common, crypto, defender,
                           dev_mode_key_provisioning, freertos_plus_tcp, greengrass,
                           https, kernel, mqtt, ota, pkcs11, pkcs11_implementation,
                           platform, secure_sockets, serializer, shadow, tls, wifi
  Enabled by user:         ble, ble_hal, ble_wifi_provisioning, defender, greengrass,
                           https, mqtt, ota, pkcs11, pkcs11_implementation, platform,
                           secure_sockets, shadow, wifi
  Enabled by dependency:   common, crypto, demo_base, dev_mode_key_provisioning,
                           freertos, freertos_plus_tcp, kernel, ota_http, ota_mqtt,
                           pkcs11_mbedtls, secure_sockets_freertos_plus_tcp, serializer,
                           tls, utils
  3rdparty dependencies:   http_parser, jsmn, mbedtls, pkcs11, tinycbor
  Available demos:         demo_ble, demo_ble_numeric_comparison, demo_defender,
                           demo_greengrass_connectivity, demo_https, demo_mqtt, demo_ota,
                           demo_shadow, demo_tcp, demo_wifi_provisioning
  Available tests:
=========================================================================

-- Configuring done
-- Generating done
-- Build files have been written to: C:/Users/<user>/git/amazon-freertos/build
CMakeが成功したら、buildディレクトリに移動してビルドします。
cd build
ninja
...
...


[50/55] Generating idf_component_main.sections_info
[51/55] Linking C static library esp-idf\bootloader_support\libbootloader_support.a
[52/55] Generating idf_component_bootloader_support.sections_info
[53/55] Building C object CMakeFiles/bootloader.elf.dir/dummy_main_src.c.obj
[54/55] Linking C executable bootloader.elf
[55/55] Generating bootloader.bin
esptool.py v2.8-dev
[819/819] Generating aws_demos.bin
esptool.py v2.8-dev
ビルドが成功したら、M5Stackにフラッシュします。USBにM5Stackだけ使用している場合は、ポートを省略可能です。
cd ..
idf.py flash
シリアルコンソールからモニターします。
idf.py monitor
--- idf_monitor on COM6 115200 ---
--- Quit: Ctrl+] | Menu: Ctrl+T | Help: Ctrl+T followed by Ctrl+H ---
ets Jun  8 2016 00:22:57

rst:0x1 (POWERON_RESET),boot:0x17 (SPI_FAST_FLASH_BOOT)
configsip: 0, SPIWP:0xee
clk_drv:0x00,q_drv:0x00,d_drv:0x00,cs0_drv:0x00,hd_drv:0x00,wp_drv:0x00
mode:DIO, clock div:2
load:0x3fff0018,len:4
load:0x3fff001c,len:7224
load:0x40078000,len:12620
load:0x40080400,len:6708
entry 0x40080778
I (72) boot: Chip Revision: 1
I (72) boot_comm: chip revision: 1, min. bootloader chip revision: 0
I (38) boot: ESP-IDF v3.3-163-g601a03e 2nd stage bootloader
I (39) boot: compile time 08:56:04
I (39) boot: Enabling RNG early entropy source...
I (44) boot: SPI Speed      : 40MHz
I (48) boot: SPI Mode       : DIO
I (52) boot: SPI Flash Size : 4MB
I (56) boot: Partition Table:
I (60) boot: ## Label            Usage          Type ST Offset   Length
I (67) boot:  0 nvs              WiFi data        01 02 00010000 00006000
I (75) boot:  1 otadata          OTA data         01 00 00016000 00002000
I (82) boot:  2 phy_init         RF data          01 01 00018000 00001000
I (90) boot:  3 ota_0            OTA app          00 10 00020000 00177000
I (97) boot:  4 ota_1            OTA app          00 11 001a0000 00177000
I (104) boot:  5 storage          WiFi data        01 02 00317000 00010000
I (112) boot: End of partition table
I (116) boot: ota rollback check done
I (121) boot_comm: chip revision: 1, min. application chip revision: 0
I (128) esp_image: segment 0: paddr=0x00020020 vaddr=0x3f400020 size=0x225bc (140732) map
I (186) esp_image: segment 1: paddr=0x000425e4 vaddr=0x3ffbdb60 size=0x030b4 ( 12468) load
I (191) esp_image: segment 2: paddr=0x000456a0 vaddr=0x40080000 size=0x00400 (  1024) load


...
...


Publish retain flag: 0
133 1204 [iot_thread] [INFO ][MQTT][12040] (MQTT connection 0x3ffde42c) MQTT PUBLISH operation queued.
134 1204 [iot_thread] [INFO ][DEMO][12040] Acknowledgment message for PUBLISH 16 will be sent.
135 1205 [iot_thread] [INFO ][DEMO][12050] 2 publishes received.
136 1205 [iot_thread] [INFO ][DEMO][12050] Publishing messages 18 to 19.
137 1205 [iot_thread] [INFO ][MQTT][12050] (MQTT connection 0x3ffde42c) MQTT PUBLISH operation queued.
138 1205 [iot_thread] [INFO ][MQTT][12050] (MQTT connection 0x3ffde42c) MQTT PUBLISH operation queued.
139 1205 [iot_thread] [INFO ][DEMO][12050] Waiting for 2 publishes to be received.
140 1211 [iot_thread] [INFO ][DEMO][12110] MQTT PUBLISH 18 successfully sent.
141 1212 [iot_thread] [INFO ][DEMO][12120] MQTT PUBLISH 19 successfully sent.
142 1213 [iot_thread] [INFO ][DEMO][12130] Incoming PUBLISH received:
Subscription topic filter: iotdemo/topic/3
Publish topic name: iotdemo/topic/3
Publish retain flag: 0
143 1213 [iot_thread] [INFO ][MQTT][12130] (MQTT connection 0x3ffde42c) MQTT PUBLISH operation queued.
144 1213 [iot_thread] [INFO ][DEMO][12130] Acknowledgment message for PUBLISH 18 will be sent.
145 1216 [iot_thread] [INFO ][DEMO][12160] Incoming PUBLISH received:
Subscription topic filter: iotdemo/topic/4
Publish topic name: iotdemo/topic/4
Publish retain flag: 0
146 1216 [iot_thread] [INFO ][MQTT][12160] (MQTT connection 0x3ffde42c) MQTT PUBLISH operation queued.
147 1217 [iot_thread] [INFO ][DEMO][12170] Acknowledgment message for PUBLISH 19 will be sent.
148 1218 [iot_thread] [INFO ][DEMO][12180] 2 publishes received.
149 1218 [iot_thread] [INFO ][MQTT][12180] (MQTT connection 0x3ffde42c) UNSUBSCRIBE operation scheduled.
150 1218 [iot_thread] [INFO ][MQTT][12180] (MQTT connection 0x3ffde42c, UNSUBSCRIBE operation 0x3ffdf190) Waiting for operation completion.
151 1226 [iot_thread] [INFO ][MQTT][12260] (MQTT connection 0x3ffde42c, UNSUBSCRIBE operation 0x3ffdf190) Wait complete with result SUCCESS.
152 1226 [iot_thread] [INFO ][MQTT][12260] (MQTT connection 0x3ffde42c) Disconnecting connection.
153 1226 [iot_thread] [INFO ][MQTT][12260] (MQTT connection 0x3ffde42c, DISCONNECT operation 0x3ffdfe80) Waiting for operation completion.
154 1229 [iot_thread] [INFO ][MQTT][12290] (MQTT connection 0x3ffde42c, DISCONNECT operation 0x3ffdfe80) Wait complete with result SUCCESS.
155 1229 [iot_thread] [INFO ][MQTT][12290] (MQTT connection 0x3ffde42c) Connection disconnected.
156 1230 [iot_thread] [INFO ][MQTT][12300] (MQTT connection 0x3ffde42c) Network connection closed.
I (12604) wifi: state: run -> init (0)
I (12604) wifi: pm stop, total sleep time: 2348585 us / 8282093 us

I (12604) wifi: new:<11,0>, old:<11,0>, ap:<255,255>, sta:<11,0>, prof:1
I (12614) WIFI: SYSTEM_EVENT_STA_DISCONNECTED: 8
157 1232 [iot_thread] [INFO ][MQTT][12320] (MQTT connection 0x3ffde42c) Network connection destroyed.
158 1232 [iot_thread] [INFO ][MQTT][12320] MQTT library cleanup done.
159 1232 [iot_thread] [INFO ][DEMO][12320] memory_metrics::freertos_heap::before::bytes::184000
160 1232 [iot_thread] [INFO ][DEMO][12320] memory_metrics::freertos_heap::after::bytes::59472
161 1232 [iot_thread] [INFO ][DEMO][12320] memory_metrics::demo_task_stack::before::bytes::5844
162 1232 [iot_thread] [INFO ][DEMO][12320] memory_metrics::demo_task_stack::after::bytes::2068
163 1232 [iot_thread] [INFO ][DEMO][12320] Demo completed successfully.
164 1236 [iot_thread] [INFO ][INIT][12360] SDK cleanup done.
165 1236 [iot_thread] [INFO ][DEMO][12360] -------DEMO FINISHED-------
Wi-Fiに接続して、MQTTも動作しているようです。
こちら ESP32-DevKitCにAmazon FreeRTOSをインストールする のようにAWS IoTコンソールでMQTTクライアントを使ってMQTTのサブスクライブを行うと。送受信の状況が確認できます。
最後に
意外に、すんなりと動いてくれました。M5StackでAmazon FreeRTOSが動作することが分かったので、次回はGPIOを操作してLEDを点滅させてみたいと思います。

