好きな名言や言葉、フレーズが表示されるWebページなツールをつくりました。
Chromeを標準としてWebブラウザでフルスクリーン表示できるため、タブレットデバイスなどで表示してデスク周りに置いておくことで、モチベーション維持ができます。(ディスプレイの自動消灯はご自分でなんとかしてください)
使用した技術のキーワードは「Cloudflare D1」「Cloudflare Workers」「Vue.js」です。
技術選定
サーバーサイドは楽したいので、Cloudflare Workersでサーバーレスにします。
データベースも楽したいので、Cloudflare D1にします。
フロントエンドも楽したいので、使い慣れたVue.jsで実装します。
開発手順
サーバーサイド
Cloudflare Workersアプリのテンプレート導入、Cloudflare D1へのデータベース作成は済みとします。
知りたい方は、以下のチュートリアルを参照してください。
Cloudflare Workers
Cloudflare D1
以下は使用する主要なコマンドです。
npm create cloudflare@latest -- my-first-worker
npx wrangler d1 create prod-d1-tutorial
npx wrangler d1 execute prod-d1-tutorial --local --file=./schema.sql
テーブルはこんな感じにします。
DROP TABLE IF EXISTS Words;

CREATE TABLE IF NOT EXISTS Words (
    id INTEGER PRIMARY KEY AUTOINCREMENT,
    word TEXT NOT NULL,
    likes INTEGER DEFAULT 0,
    views INTEGER DEFAULT 0
);

INSERT INTO
    Words (word)
VALUES
    ('山路を登りながら、こう考えた。'),
    ('智に働けば角が立つ。'),
    ('情に棹させば流される。'),
    ('意地を通せば窮屈だ。'),
    ('とかくに人の世は住みにくい。'),
    ('住みにくさが高じると、安い所へ引き越したくなる。'),
    ('どこへ越しても住みにくいと悟った時、詩が生れて、画が出来る。');
Workersのソースコードはこんな感じになりました。
interface Env {
	DB: D1Database;
}

export default {
	async fetch(request, env, ctx): Promise<Response> {
		if (request.method === 'GET') {
			if (request.url.endsWith('/v1/words')) {
				const response = await env.DB.prepare('SELECT * FROM words LIMIT 10').all();
				const words = response.results;
				return new Response(JSON.stringify({ words }), {
					headers: {
						'content-type': 'application/json',
					},
				});
			}
		}
		return new Response('Hello World!');
	}
} satisfies ExportedHandler<Env>;
ここまでで動作を確認します。
VSCodeで「REST Client」拡張機能を導入し、以下のファイルを準備し、「Send Request」でリクエストを実行します。
GET http://127.0.0.1:8787/v1/words
こんなレスポンスを受信できれば、ひとまずOKです。
HTTP/1.1 200 OK
Transfer-Encoding: chunked
Content-Type: application/json
Content-Encoding: gzip

{
  "words": [
    {
      "id": 1,
      "word": "山路を登りながら、こう考えた。",
      "likes": 0,
      "views": 0
    },
    /* 略 */
    {
      "id": 7,
      "word": "どこへ越しても住みにくいと悟った時、詩が生れて、画が出来る。",
      "likes": 0,
      "views": 0
    }
  ]
}
フロントエンド
次に、フロントエンドになるHTMLファイルを準備します。
お手軽にやるために、CDNのVueを使用します。
上記を参考にして、ベースは以下のように準備します。
<!DOCTYPE html>
<html lang="ja">

<head>
    <meta charset="UTF-8">
    <meta name="viewport" content="width=device-width, initial-scale=1.0">
    <title>Iine Words Viewer</title>
</head>

<body>
    <script src="https://unpkg.com/vue@3/dist/vue.global.js"></script>

    <div id="app">{{ message }}</div>

    <script>
        const { createApp, ref } = Vue

        createApp({
            setup() {
                const message = ref('Hello vue!')
                return {
                    message
                }
            }
        }).mount('#app')
    </script>
</body>

</html>
これにスクリプトを追加します。
DOM部分は以下のとおりです。
<div id="app">
    <div class="ui" @click="toggleFullScreen">
        <span v-if="!nowFull">Full Screen</span><span v-else>×</span>
    </div>
    <div class="viewer">
        {{ displayWord() }}
    </div>
</div>
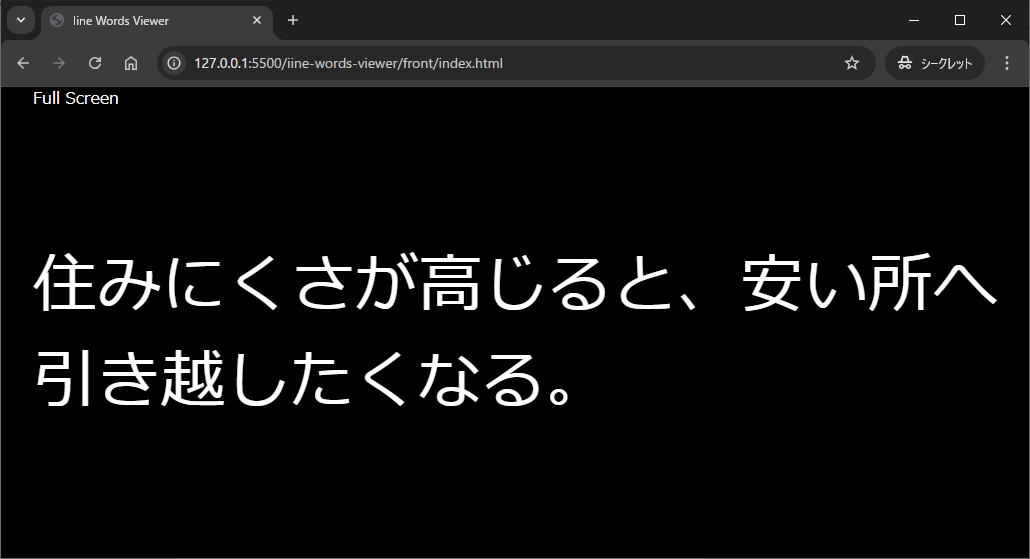
フルスクリーン表示に切り替えるためのクリック箇所であるuiクラス部分と言葉を表示するviewerクラス部分にわけてあります。
動作としては、Full Screenという文字をクリックすると、フルスクリーン表示へ切り替わり、文字は×に置き換わります。
viewer側は定期的に言葉が変化していきます。
言葉はvueのmount時に1回取得してきたものを、シャッフルして表示、すべて表示したら再度シャッフルして表示……を繰り返します。
これを実現するコードが以下のとおりです。
const { createApp, ref } = Vue;

createApp({
    setup() {
        const words = ref([]);
        const count = ref(0);
        const nowFull = ref(false);
        return {
            words,
            count,
            nowFull
        }
    },
    async mounted() {
        const response = await fetch('http://127.0.0.1:8787/v1/words');
        const json = await response.json();

        this.words = this.shuffle( json.words);

        setInterval(() => {
            this.count = this.count + 1;
            if (this.count >= this.words.length) {
                this.count = 0;
                this.words = this.shuffle(this.words);
            }
        }, 5000);
    },
    methods: {
        shuffle(array) {
            for (let i = array.length - 1; i > 0; i--) {
                const j = Math.floor(Math.random() * (i + 1));
                [array[i], array[j]] = [array[j], array[i]];
            }
            return array;
        },
        displayWord() {
            const wordObj = this.words[this.count];
            if (wordObj === undefined) return "";
            return wordObj.word;
        },
        toggleFullScreen() {
            if (!document.fullscreenElement) {
                document.documentElement.requestFullscreen();
                this.nowFull = true;
            } else if (document.exitFullscreen) {
                document.exitFullscreen();
                this.nowFull = false;
            }
        }
    }
}).mount('#app')
ところどころについて説明代わりのメモをしておきます。
async mounted() {
    const response = await fetch('http://127.0.0.1:8787/v1/words');
    const json = await response.json();

    this.words = this.shuffle( json.words);

    setInterval(() => {
        this.count = this.count + 1;
        if (this.count >= this.words.length) {
            this.count = 0;
            this.words = this.shuffle(this.words);
        }
    }, 5000);
},
ふつうにfetchして、データを取得します。
shuffle()はmethodsオブジェクトへ実装してありますが、引数に配列を持ち、戻り値がシャッフル済みの配列にした関数です。
定期的に言葉の表示を切り替えるため、setInterval()を使っています。
何番目の言葉を表示するかを示すcountがあるので、定期的にcountをインクリメントし、あふれたら0に戻すのと、再度シャッフルを実行します。
(見た目ではわかりませんが、仕組み的に多分一瞬古い配列のゼロ番目が表示されていると思います)
methods: {
    shuffle(array) {
        for (let i = array.length - 1; i > 0; i--) {
            const j = Math.floor(Math.random() * (i + 1));
            [array[i], array[j]] = [array[j], array[i]];
        }
        return array;
    },
シャッフル用の関数です。
先に述べたとおり、配列をシャッフルして、返します。
displayWord() {
    const wordObj = this.words[this.count];
    if (wordObj === undefined) return "";
    return wordObj.word;
},
言葉を表示する場所です。
配列を参照しているだけですが、処理をわかりやすくするため、切り出しました。
toggleFullScreen() {
    if (!document.fullscreenElement) {
        document.documentElement.requestFullscreen();
        this.nowFull = true;
    } else if (document.exitFullscreen) {
        document.exitFullscreen();
        this.nowFull = false;
    }
}
この処理は以前使った処理を再利用しています。
フルスクリーン状態でなければフルスクリーン表示をブラウザへリクエストしているみたいです。
以上で、実装完了です。
動作確認
ウィンドウだとこんな感じ。
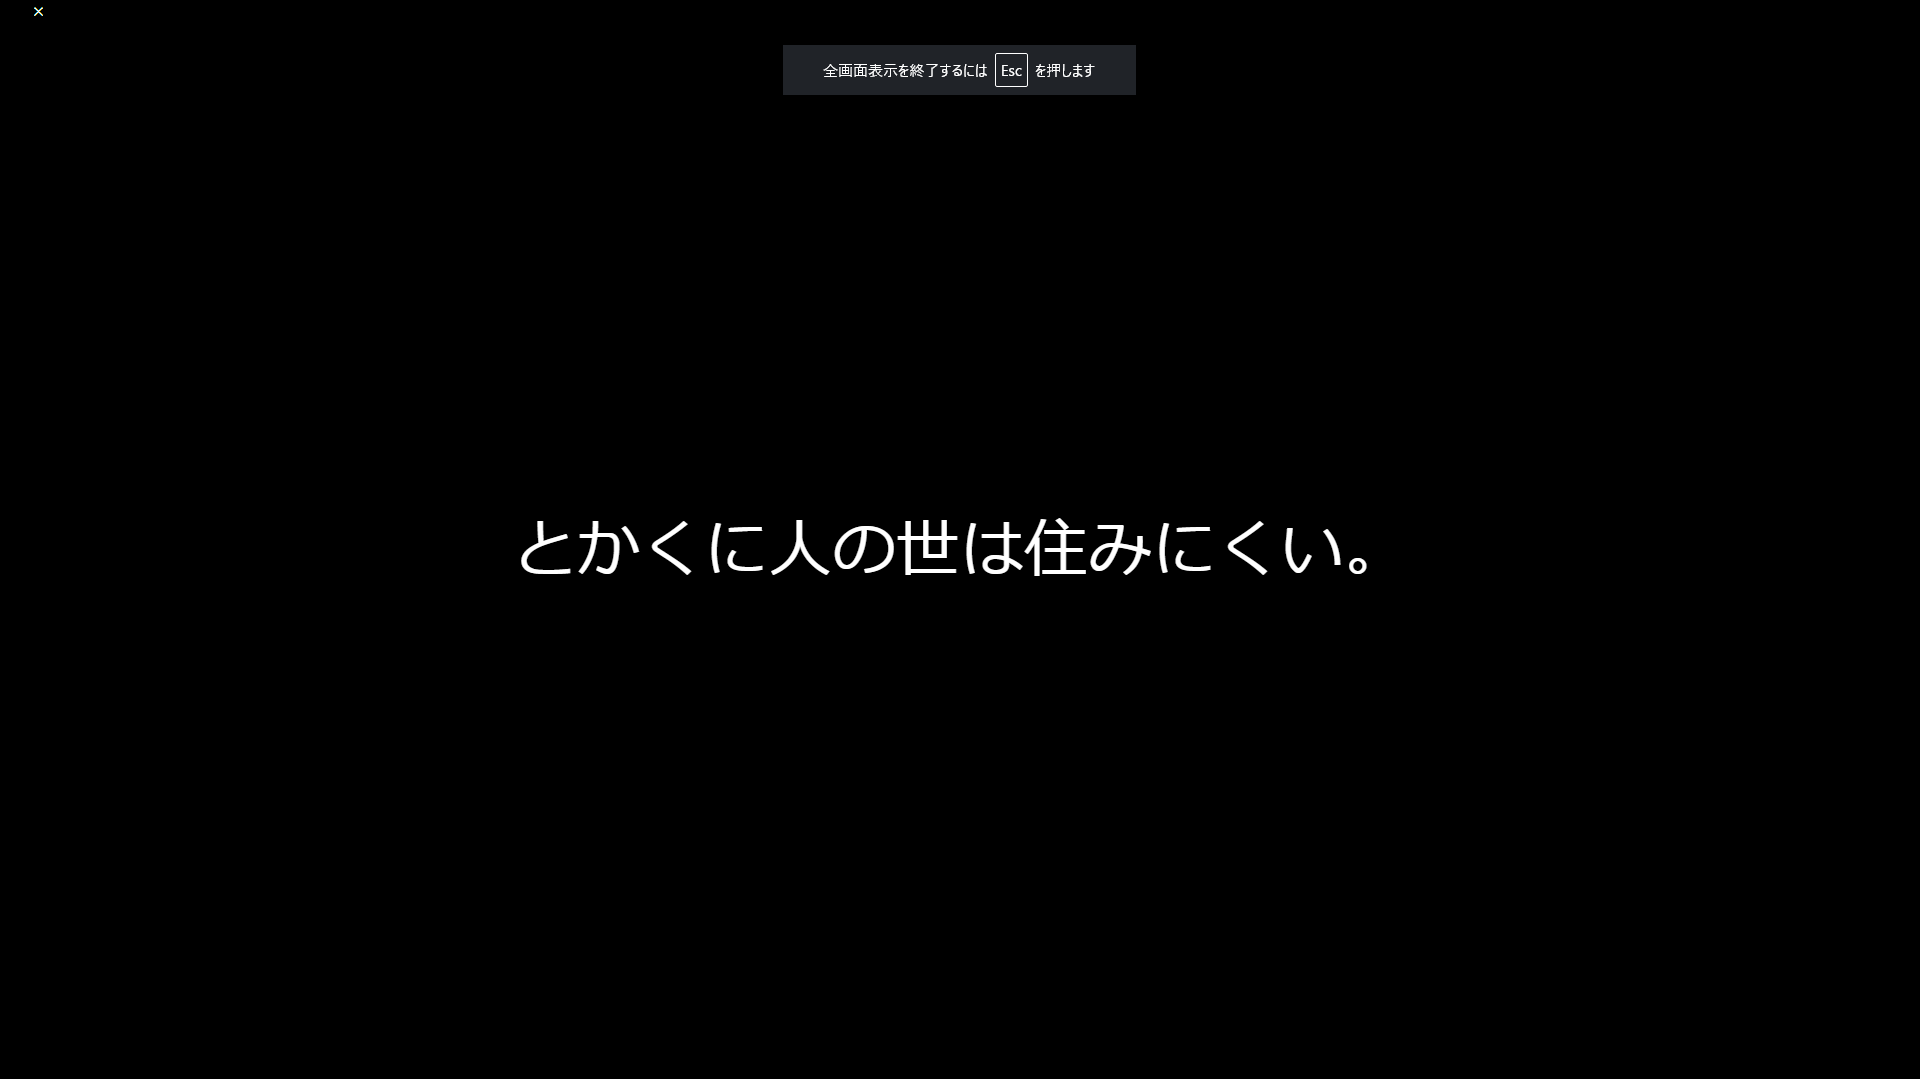
フルスクリーン表示でこうなります。
パソコン画面のため、やたらめったら広いです。
終わりに
こんな感じでスライドショーが作成できました。
今回の記事はここまでにしておきますが、実際に運用するのであれば、Cloudflareへのデプロイや、開発環境と本番環境でのURLの違いを切り替える必要があるでしょう。
余裕があれば、後で記事にするかもしれません。
以上、ここまで読んでいただきありがとうございました。