はじめに
私用PCに言語学習環境を用意すると学習環境が不要になった後にゴミファイルが沢山できるため中々ハードルが高く用意出来なかったですがWSL2 + Docker +VSCode環境でお手軽に開発環境を用意出来ることを知ったので書籍等を参考にPython開発環境用意してみました。
実際にDjango環境を構築してみましたがNGINXとUWSGIの連携が中々上手くいかず苦労したので備忘録として残してます。
参考サイト、書籍
Django
https://docs.djangoproject.com/ja/3.1/intro/install/
NGINX
https://docs.nginx.com/nginx/admin-guide/web-server/app-gateway-uwsgi-django/
uWSGIドキュメント
https://uwsgi-docs.readthedocs.io/en/latest/tutorials/Django_and_nginx.html
https://github.com/nginx/nginx/blob/master/conf/uwsgi_params
参考書籍
Docker Desktop for Windows/Macでつくるクリーンな開発環境構築入門(Python版)
開発環境構築
以下のフォルダ、ファイル構成で開発環境を構築して行きます。
Django_Dev
│
│  docker-compose.yml
│
├─db
│
├─django
│  │   Dockerfile
│  │   requirements.txt
│  │
│  └─uwsgi
│       uwsgi.ini
│
├─src
│  └─static
│
└─web
    │  uwsgi_params
    │
    └─conf
         nginx.conf
docker-compose.ymlファイル作成
以下の内容でdocker-compose.ymlファイルを作成します。
docker-compose.yml
version: '3.8'
services:

  db:
    image: postgres:13.1
    container_name: postgres
    volumes:
      - ./db/dbdata:/var/lib/postgresql/data
    expose:
      - '5432'
    environment:
      - POSTGRES_USER=postgres
      - POSTGRES_PASSWORD=postgres
      - POSTGRES_DB=myappdb

  django:
    build: ./django
    image: django
    container_name: django
    expose:
      - '8080'
    volumes:
      - ./src:/code
      - ./django/uwsgi:/etc/uwsgi/
    depends_on:
      - db

  web:
    image: nginx:1.18.0
    container_name: nginx
    volumes:
      - ./web/conf:/etc/nginx/conf.d
      - ./web/uwsgi_params:/etc/nginx/uwsgi_params
      - ./src/static:/static
    ports:
      - '80:80'
    depends_on:
      - django
DjangoとuWSGI構築
Pythonイメージを元にDockerfileでDjangoとuWSGI環境を構築します。
Dockerfile
FROM python:3.9.1-buster
RUN apt-get update && apt-get install -y tzdata && rm -rf /var/lib/apt/lists/*
RUN mkdir /etc/uwsgi
RUN mkdir /code
WORKDIR /code
COPY requirements.txt ${PWD}
RUN pip install -r requirements.txt
ENV PYTHONUNBUFFERED 1
ENV TZ=Asia/Tokyo
CMD ["uwsgi","--ini","/etc/uwsgi/uwsgi.ini"]
requirements.txt
Django==3.1.4
psycopg2==2.8.6
uwsgi==2.0.19.1
uwsgi.ini
[uwsgi]
module = myapp.wsgi
socket = :8080
uid = www-data
gid = www-data
chmod-socket = 755
vacuum = true
NGINX開発環境構築
以下の内容でnginx.conf、uwsgi_paramsファイルを作成します。
nginx.conf
upstream django {
    server django:8080;
}

server {
    listen      80;
    server_name dockerhost;
    charset     utf-8;

    location /static {
        alias /static;
    }

    location / {
        uwsgi_pass  django;
        include     /etc/nginx/uwsgi_params;
    }
}
uwsgi_params
uwsgi_param  QUERY_STRING       $query_string;
uwsgi_param  REQUEST_METHOD     $request_method;
uwsgi_param  CONTENT_TYPE       $content_type;
uwsgi_param  CONTENT_LENGTH     $content_length;

uwsgi_param  REQUEST_URI        $request_uri;
uwsgi_param  PATH_INFO          $document_uri;
uwsgi_param  DOCUMENT_ROOT      $document_root;
uwsgi_param  SERVER_PROTOCOL    $server_protocol;
uwsgi_param  REQUEST_SCHEME     $scheme;
uwsgi_param  HTTPS              $https if_not_empty;

uwsgi_param  REMOTE_ADDR        $remote_addr;
uwsgi_param  REMOTE_PORT        $remote_port;
uwsgi_param  SERVER_PORT        $server_port;
uwsgi_param  SERVER_NAME        $server_name;
Dockerイメージのビルド
docker-compose.ymlファイルがあるディレクトリで以下のコマンドを実行し、DjangoとuWSGIがインストールされたDockerイメージをビルドします。
docker-compose build
実行結果
db uses an image, skipping
web uses an image, skipping
Building django
Step 1/10 : FROM python:3.9.1-buster
3.9.1-buster: Pulling from library/python
(snip)
Successfully built a65b92412516
Successfully tagged django:latest
Dockerイメージ作成確認
以下のコマンドを実行しdjangoイメージが作成されたことを確認します。
docker images
実行結果
REPOSITORY   TAG            IMAGE ID       CREATED         SIZE
django       latest         a65b92412516   6 minutes ago   936MB ★
python       3.9.1-buster   d1eef6fb8dbe   2 weeks ago     885MB
コンテナ起動
以下のコマンドを実行しコンテナを起動します。
docker-compose up -d
実行結果
Creating network "django_dev_default" with the default driver
Pulling db (postgres:13.1)...
13.1: Pulling from library/postgres
(snip)
Status: Downloaded newer image for nginx:1.18.0
Creating postgres ... done
Creating django   ... done
Creating nginx    ... done
コンテナ起動確認
以下のコマンドを実行しコンテナが起動していることを確認します。
docker ps -a
実行結果
CONTAINER ID   IMAGE           COMMAND                  CREATED          STATUS          PORTS                NAMES
ff1bf925d1fe   nginx:1.18.0    "/docker-entrypoint.…"   19 seconds ago   Up 16 seconds   0.0.0.0:80->80/tcp   nginx
9a4e0631ed5d   django          "uwsgi --ini /etc/uw…"   20 seconds ago   Up 17 seconds   8080/tcp             django
b3e6d1bd4d77   postgres:13.1   "docker-entrypoint.s…"   20 seconds ago   Up 17 seconds   5432/tcp             postgres
イメージファイル確認
docker-compose.ymlで指定したイメージファイルがダウンロードされているか確認します。
docker images
実行結果
REPOSITORY   TAG            IMAGE ID       CREATED          SIZE
django       latest         a65b92412516   10 minutes ago   936MB
postgres     13.1           1f1bd4302537   4 days ago       314MB
python       3.9.1-buster   d1eef6fb8dbe   2 weeks ago      885MB
nginx        1.18.0         05f64a802c26   3 weeks ago      133MB
Djangoプロジェクト作成
以下のコマンドを実行しdjangoコンテナに接続後myapp名でプロジェクトを作成します。
docker-compose exec django /bin/bash
django-admin startproject myapp .
myappプロジェクト関連ファイル作成確認
以下のコマンドを実行しファイルが新規に作成されたことを確認します。
ls -lR
.:
total 4
-rwxr-xr-x 1 root root  661 Jan  4 11:41 manage.py
drwxr-xr-x 1 root root 4096 Jan  4 11:41 myapp
drwxrwxrwx 1 root root 4096 Jan  3 22:44 static

./myapp:
total 8
-rw-r--r-- 1 root root    0 Jan  4 11:41 __init__.py
-rw-r--r-- 1 root root  387 Jan  4 11:41 asgi.py
-rw-r--r-- 1 root root 3059 Jan  4 11:41 settings.py
-rw-r--r-- 1 root root  747 Jan  4 11:41 urls.py
-rw-r--r-- 1 root root  387 Jan  4 11:41 wsgi.py

./static:
total 0
Django初期設定
Djangoを動かすための最低限の初期設定をします。
settings.py
import os

(snip)

ALLOWED_HOSTS = ["*"]

(snip)


DATABASES = {
    'default': {
        'ENGINE': 'django.db.backends.postgresql',
        'NAME': 'myappdb',
        'USER': 'postgres',
        'PASSWORD': 'postgres',
        'HOST': 'db',
        'PORT': 5432,
    }
}

(snip)


LANGUAGE_CODE = 'ja'

TIME_ZONE = 'Asia/Tokyo'

USE_I18N = True

USE_L10N = True

USE_TZ = True


# Static files (CSS, JavaScript, Images)
# https://docs.djangoproject.com/en/3.1/howto/static-files/

STATIC_URL = '/static/'
STATIC_ROOT = os.path.join(BASE_DIR, 'static/')
静止ファイルを集約
以下のコマンドを実施して静止ファイルをstaticフォルダに集約します。
docker-compose exec django /bin/bash
./manage.py collectstatic
実行結果
132 static files copied to '/code/static'.
サービス再起動
設定を反映するために以下のコマンドでサービスを再起動します。
docker-compose restart
Restarting nginx    ... done
Restarting django   ... done
Restarting postgres ... done
サービス起動確認
以下のコマンドでサービスが起動していることを確認します。
docker-compose ps -a
  Name                Command               State         Ports
----------------------------------------------------------------------
django     uwsgi --ini /etc/uwsgi/uws ...   Up      8080/tcp
nginx      /docker-entrypoint.sh ngin ...   Up      0.0.0.0:80->80/tcp
postgres   docker-entrypoint.sh postgres    Up      5432/tcp
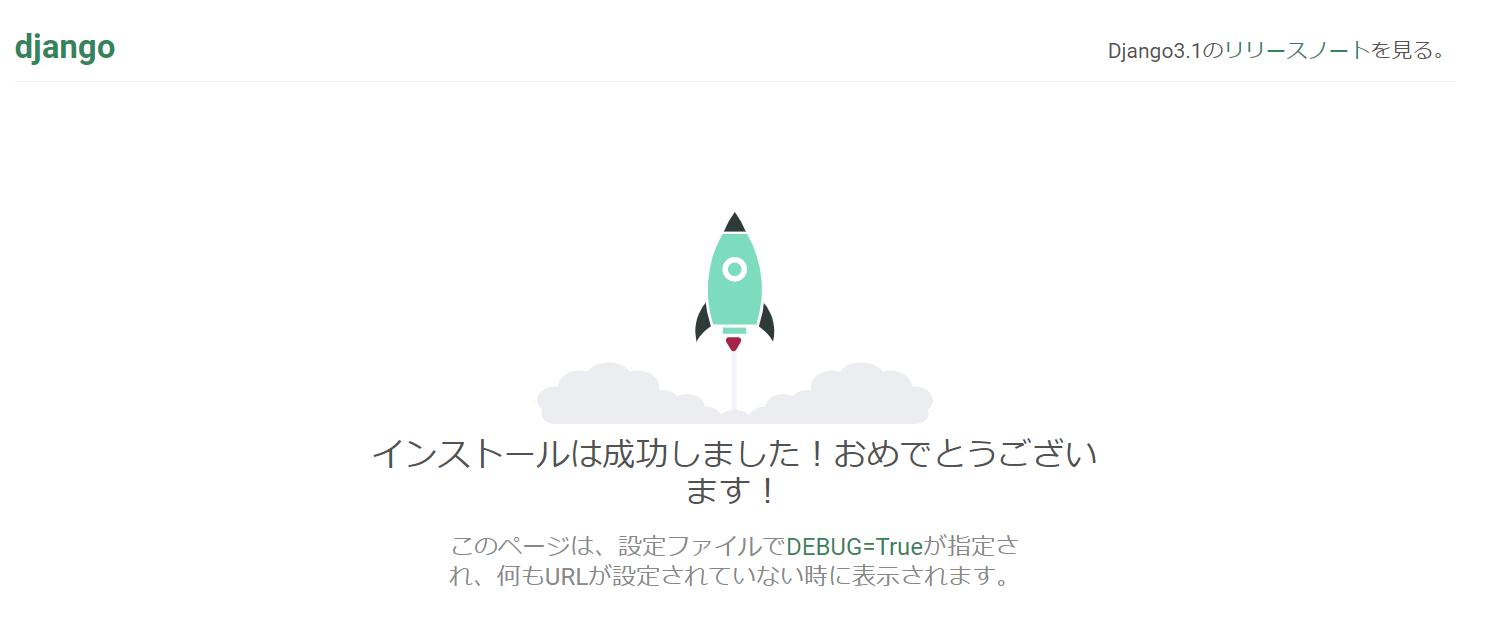
動作確認
ブラウザにローカル・ループバック・アドレスを入力して以下の画面が表示されることを確認します。
トラブルシューティング
もし上手く行かない場合は以下のコマンドでログを確認しながらトラブルシューティングします。現在の設定はログをWindows側に保存する設定になっていないため追加でWindows側に保存するようにする必要があります。
docker-compose logs or docker-compose logs コンテナ名
まとめ
Django環境を用意したのでWebアプリケーションを作成したいと思います。
完成したらGitHUBにアップロード予定です。