はじめに
この記事は BRIGHT VIE Advent Calendar 2017 8日目の記事になります。
前回、IonicPage採用時のHTMLタグ拡張(Custom Components)実装について (1/2)では、
IonicPageに準じた、新しいページの作成方法までを投稿しました。
後半では、HTMLタグ拡張(以下カスタムタグ)をIonic Pageへ導入する部分をみていきます。
新しいカスタムタグを作成する
まずは新しいカスタムタグとなる「カスタムコンポーネント」を生成します。
$ ionic g
? What would you like to generate: component
? What should the name be? basic-title
componentの新規作成を行うと、以下のようなフォルダやファイルが生成されます。

basic-titleフォルダにはカスタムタグを構成する
・html:タグ情報
・scss:デザイン情報
・ts:ビジネスロジック
それぞれのファイルが生成されています。
ionic gコマンドで生成されたcomponentは自動的に
components.module.tsに、新規コンポーネントとして追加されていきます。(便利!)
import { NgModule } from '@angular/core';
import { BasicTitleComponent } from './basic-title/basic-title';
@NgModule({
	declarations: [BasicTitleComponent],
	imports: [],
	exports: [BasicTitleComponent]
})
export class ComponentsModule {}
単純なタグではありますが、以下のようなカスタムタグが生成されました。
<!-- Generated template for the BasicTitleComponent component -->
<div>
  {{text}}
</div>
このカスタムタグを使用するためのタグ名称は、
以下のselectorに指定されたbasic-titleとなります。
import { Component } from '@angular/core';

/**
 * Generated class for the BasicTitleComponent component.
 *
 * See https://angular.io/api/core/Component for more info on Angular
 * Components.
 */
@Component({
  selector: 'basic-title',
  templateUrl: 'basic-title.html'
})
export class BasicTitleComponent {

  text: string;

  constructor() {
    console.log('Hello BasicTitleComponent Component');
    this.text = 'Hello World';
  }

}
これで
<basic-title></basic-title>
と記述できるカスタムタグの準備ができました。
カスタムタグをHTMLに追加する
早速さきほどの生成済のHome.htmlにを使ってみます
<ion-header>
  <ion-navbar>
    <ion-title>home</ion-title>
  </ion-navbar>
</ion-header>

<ion-content padding>
  <basic-title></basic-title>
</ion-content>
タグを追加して、
ionic serve
で起動!
大量のエラーがでます。。
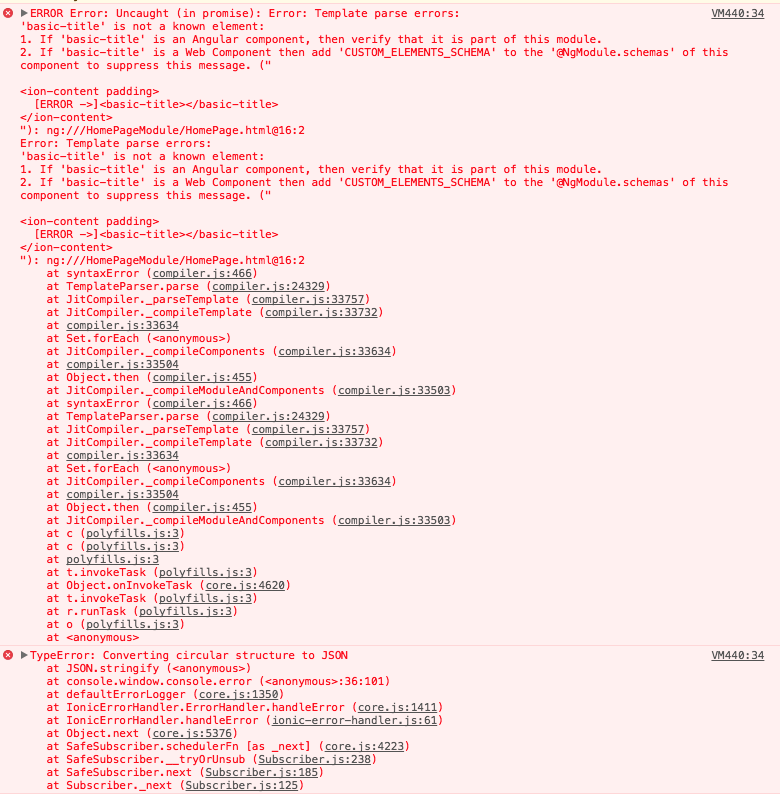
homeページがタグを認識できないことを警告しています。
IonicPage対応のHTMLで、カスタムタグを認識させる
カスタムタグを認識させるのは、home.module.tsのimportへ、components.module.tsへの参照を追加します。
import { NgModule } from '@angular/core';
import { IonicPageModule } from 'ionic-angular';
import { HomePage } from './home';
import { ComponentsModule } from '../../components/components.module';

@NgModule({
  declarations: [
    HomePage,
  ],
  imports: [
    ComponentsModule,
    IonicPageModule.forChild(HomePage),
  ],
})
export class HomePageModule {}
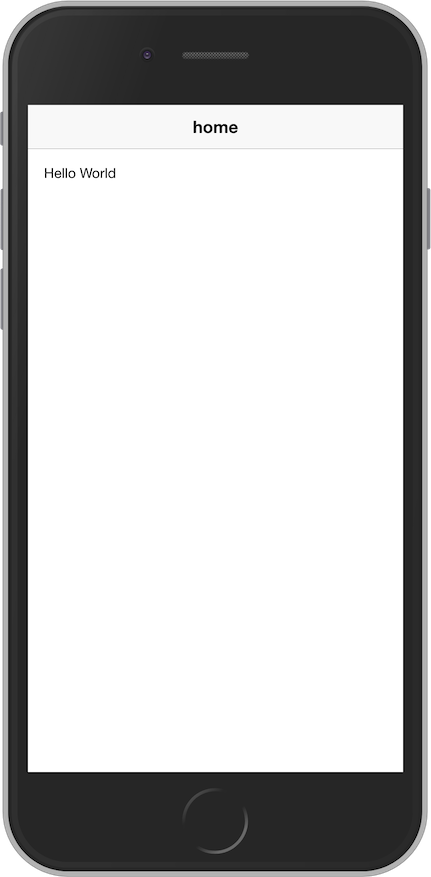
上のようにimportsへ追加すると、無事、カスタムタグの情報が追加されました!
IonicPageに対応したページはモジュール分割の概念から、ベースとなるメインモジュールとは独立したモジュールとなるため、
各ページで個別にComponentsModuleをimportする必要があります。
Josh Moronyさんによる
Custom Components in Ionic 2
で紹介されているのは、まだIonicPageが導入される前の手法になりますので、
ComponentsModuleのimportを忘れないようにご注意を!
(ということに気づかず、最初はまりましたw)