
Creating a short AI video is easy.
Creating one that looks consistent from the first scene to the last is much harder.
When I started making product videos for social media, I kept running into the same issues:
- Characters looked different between shots.
- Camera movements felt random.
- Audio didn't always match the scene.
- I spent more time regenerating videos than editing them.
Instead of constantly switching between different AI models, I decided to improve my workflow first. Recently, HappyHorse 1.1 has become part of that workflow.
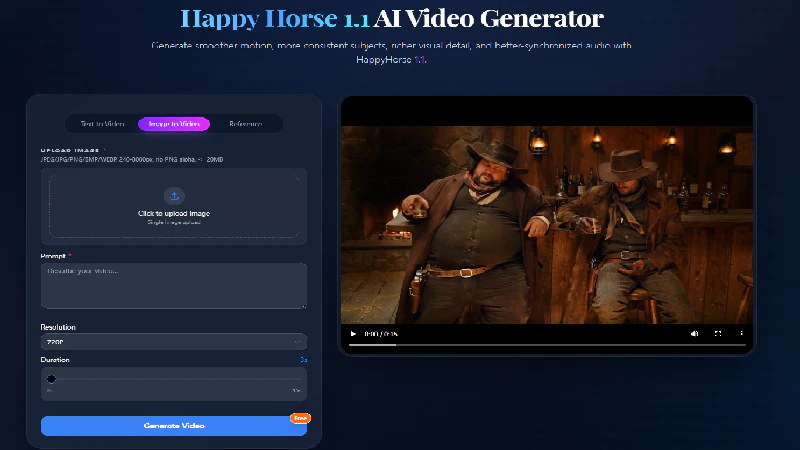
What Is HappyHorse 1.1?
HappyHorse 1.1 is an AI video generation model that focuses on creating more consistent and cinematic videos.
Some of the features I use most often include:
- Text-to-Video
- Image-to-Video
- Reference-to-Video
- Multi-reference input
- Native synchronized audio
- 720P and 1080P output
Compared with the previous version, HappyHorse 1.1 places a stronger emphasis on motion quality, subject consistency, prompt understanding, and audio synchronization across connected scenes.
My Workflow
Step 1 — Prepare a Reference Image
I always begin with one strong reference image instead of generating a video immediately.
Example prompt:
A premium skincare product on a marble countertop,
soft morning sunlight,
minimalist luxury style,
cinematic lighting,
professional product photography
Spending a few extra minutes on composition usually improves the final video significantly.
Step 2 — Generate the Video
Once the image is ready, I upload it to HappyHorse 1.1 AI Video Generator.
Instead of describing the entire scene again, I focus only on motion.
Example prompt:
Slow cinematic camera push in,
gentle product rotation,
soft reflections,
natural lighting transition,
premium commercial atmosphere
I've found that shorter motion prompts are usually more reliable than long, highly detailed descriptions.
Step 3 — Compare Multiple Generations
Rather than keeping the first result, I usually generate four or five versions.
Then I compare:
- Camera movement
- Subject consistency
- Motion smoothness
- Audio synchronization
- Overall visual quality
Choosing the strongest version at this stage saves a lot of editing time later.
Step 4 — Final Editing
After selecting my favorite clip, I move it into CapCut.
Normally I only add:
- Captions
- Background music (if needed)
- Logo
- Simple transitions
Since the generated footage already looks close to the final result, post-production becomes much more efficient.
Use Cases
This workflow has worked well for several different projects.
Product Marketing
Creating promotional videos from a single product image.
YouTube Shorts
Building short cinematic videos without filming.
Social Media Campaigns
Producing multiple creative variations for TikTok, Instagram Reels, and X.
Brand Storytelling
Maintaining visual consistency across connected scenes.
Creative Prototyping
Testing ideas before investing in a full production.
Why This Workflow Works
The biggest improvement isn't just better-looking videos.
It's having a repeatable production process.
By starting with a reference image, generating multiple variations, and refining only the strongest clips, I spend much less time repeating the same work.
HappyHorse 1.1 also improves temporal consistency, prompt following, multi-reference generation, synchronized audio, and subject preservation, making it easier to create connected scenes instead of isolated clips.
Final Thoughts
After testing different AI video models, I've realized that a structured workflow is more valuable than constantly chasing the newest release.
Starting with a strong reference image, keeping prompts focused on motion, and comparing multiple generations has helped me produce more consistent AI videos while reducing unnecessary iterations.
If you're building AI videos for marketing, storytelling, or social media, try this workflow with your own prompts and adapt it to your creative process. Small improvements in workflow often make a bigger difference than changing models.