Hook
A few months ago, I started experimenting with AI video generation for social media content.
The problem wasn't generating videos.
The problem was generating videos that actually felt consistent.
I often ran into issues like:
- Characters changing between scenes
- Camera movements that felt random
- Multiple clips that didn't connect well
- Too much time spent regenerating results
As someone creating short-form content, I wanted a workflow that could produce more coherent videos without spending hours editing.
That's when I started testing Kling 3.0.
What Is Kling 3.0?
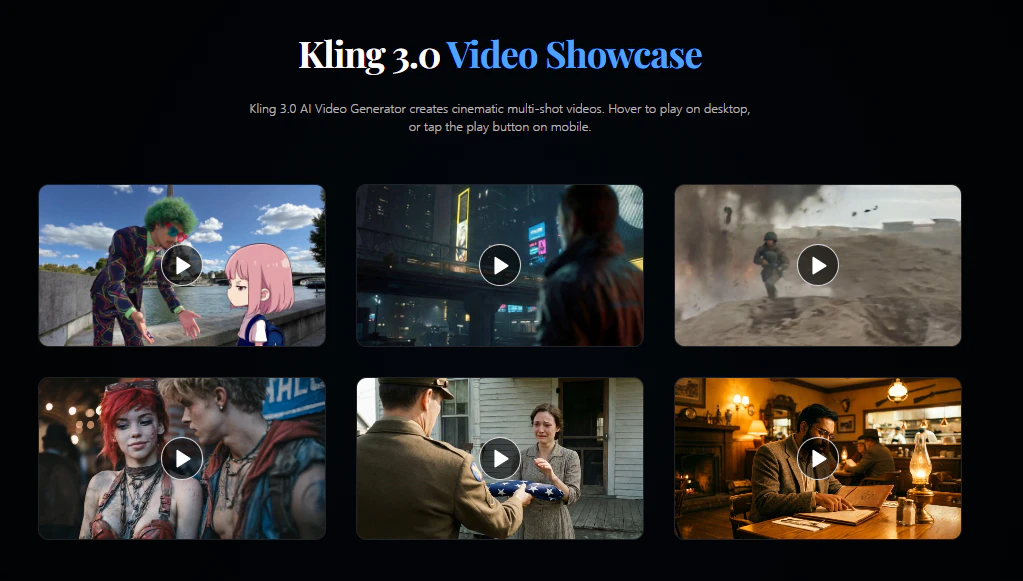
Kling 3.0 is an AI video generation model designed for cinematic video creation.
Some features that stood out to me:
- Text-to-Video
- Image-to-Video
- Multi-Shot Storyboarding
- Character Consistency
- Native Audio Generation
- Up to 15-Second Video Output
Instead of creating isolated clips, it can generate connected scenes with more consistent storytelling.
How I Use It
Step 1: Create a Key Visual
I usually start with a reference image.
Example prompt:
A luxury sports car parked in Tokyo at night,
cinematic lighting,
rain reflections,
highly detailed,
professional commercial photography
I spend most of my time here.
A stronger image usually produces a stronger video.
Step 2: Generate a Video in Kling 3.0
Once the image is ready, I upload it to
and focus on motion instructions.
Example prompt:
Slow cinematic camera orbit,
reflections moving on wet streets,
subtle environmental motion,
commercial advertising style,
realistic lighting
One thing I've noticed is that camera-related prompts work particularly well.
Terms like:
- dolly in
- orbit shot
- tracking shot
- cinematic push in
often produce more predictable results.
Step 3: Build Multiple Variations
I rarely keep the first generation.
Instead I create several versions and compare:
- Motion quality
- Camera movement
- Character consistency
- Overall atmosphere
This usually gives me at least one strong candidate for editing.
Step 4: Final Editing
After generation, I import the clips into CapCut.
At this stage I only add:
- Captions
- Music
- Logo
- Transitions
Most of the visual storytelling is already generated by the model.
Use Cases
This workflow works particularly well for:
YouTube Shorts
Creating cinematic clips without filming new footage.
Product Marketing
Generating quick commercial concepts before production.
AI Storytelling
Testing scene ideas and narrative sequences.
Social Media Content
Producing visual content for TikTok, Reels, and X.
Why This Workflow Works
What I like most is the balance between quality and speed.
Compared with older AI video workflows, Kling 3.0 offers:
- Better multi-shot generation
- Improved subject consistency
- Native audio support
- Longer video duration
- More cinematic camera control
These features make it easier to create videos that feel connected rather than isolated clips.
Final Thoughts
After testing multiple AI video tools, I've learned that the workflow often matters more than the model itself.
A strong reference image, clear motion instructions, and a simple editing process can dramatically improve the final result.
If you're experimenting with AI video creation, try this workflow with your own prompts and see what kind of results you can create.