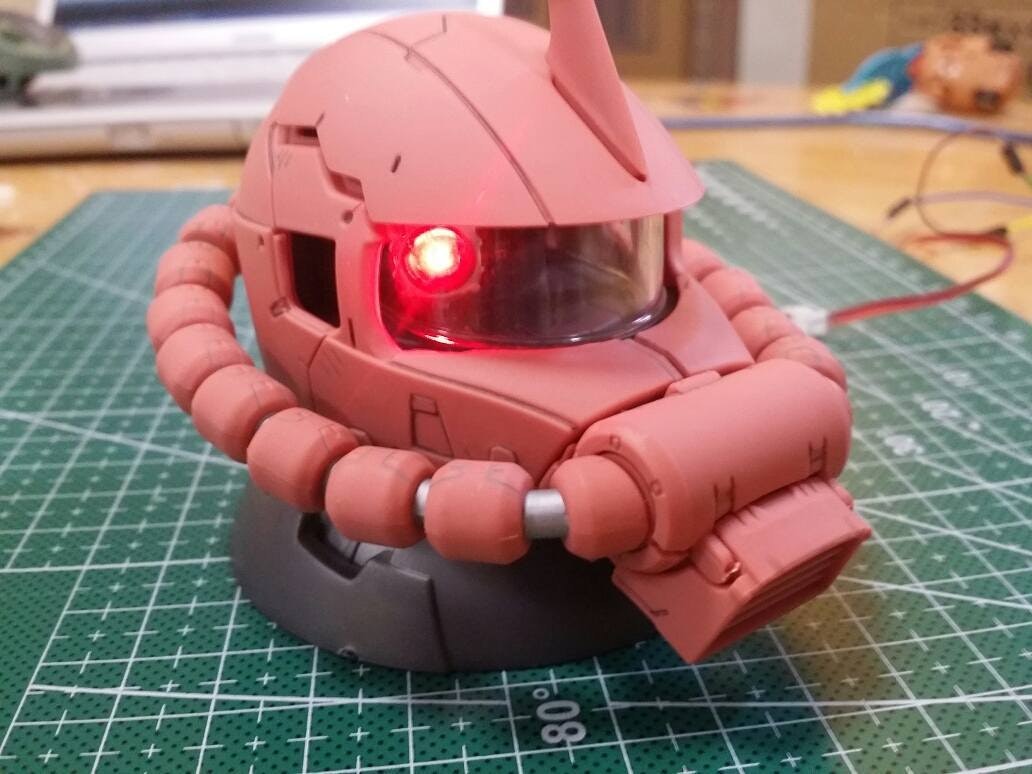
ガチャガチャで買ったザクヘッドを改造してプログラム制御してみました。
使用パーツ:
・ザクヘッド(塗装してみました。)
・Arduino nano 互換機
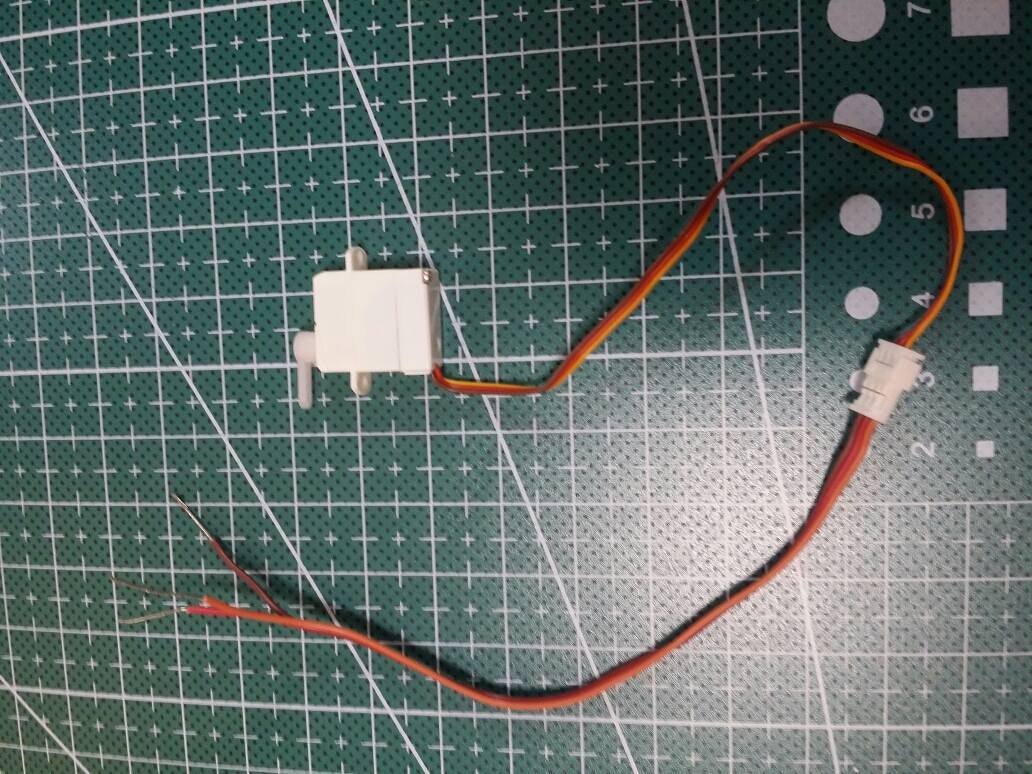
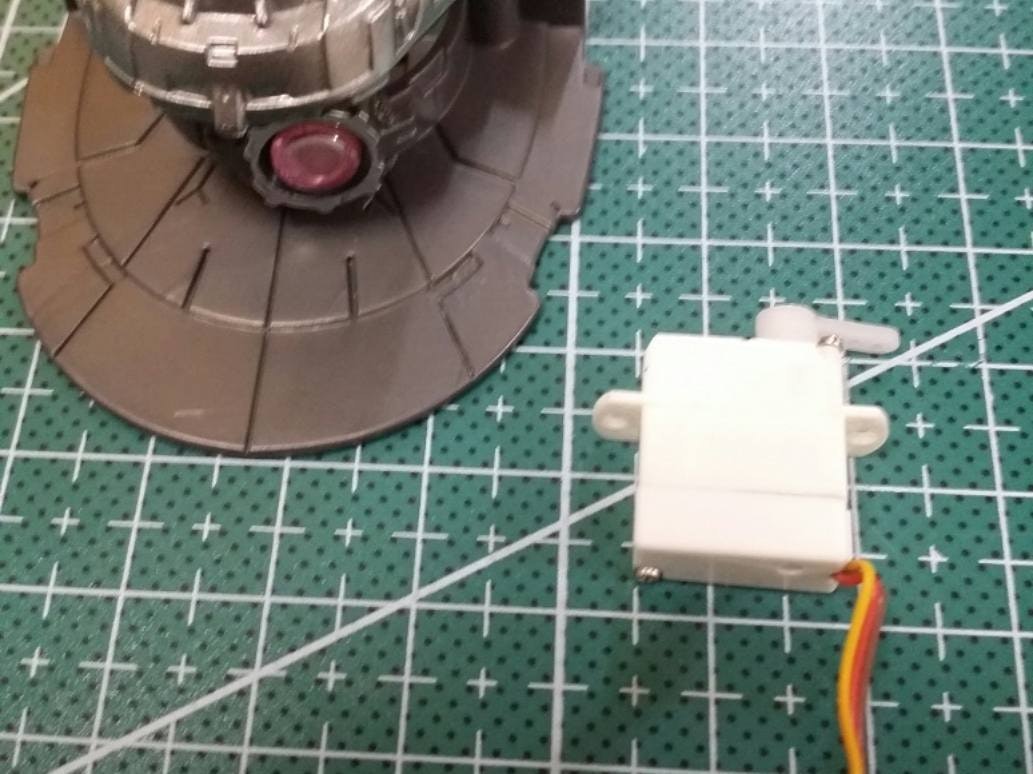
・マイクロサーボモーター
・白色 LED 1 個 (Arduino の GPIO から給電)
・マイクロ USB ケーブル(arduino nano に給電)
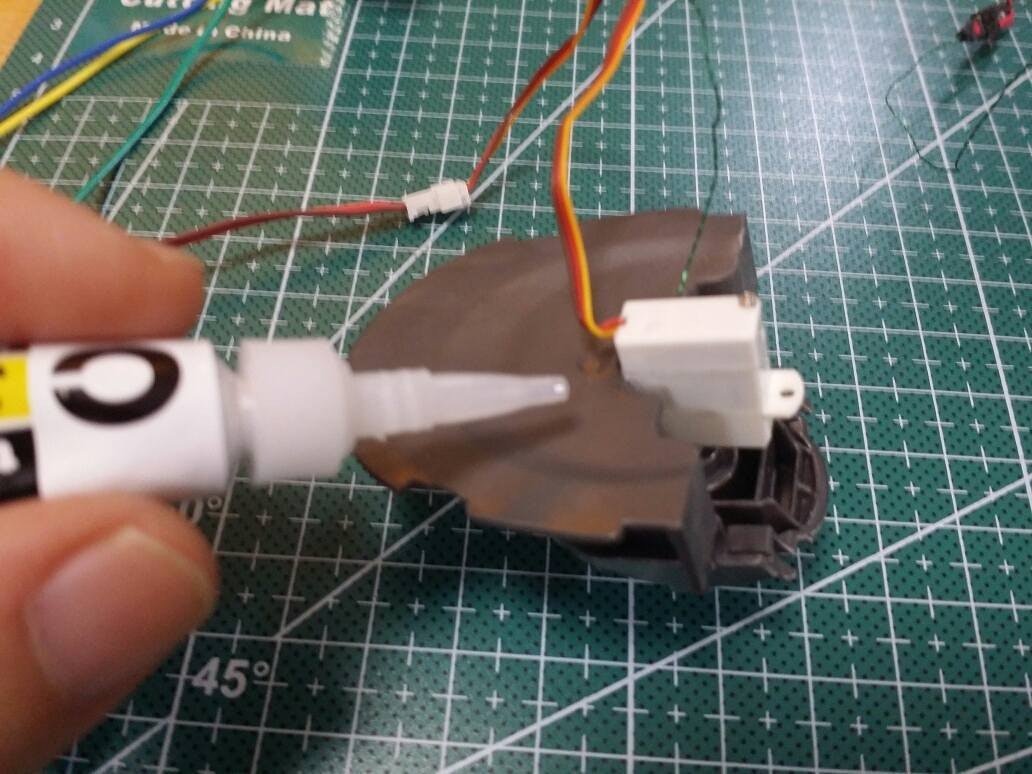
・瞬間接着剤
開発環境:
配線:
サーボモータをArduinoに接続します。
Arduinoのピンアサイン

今回、茶=GND、オレンジ=+5V、黄=シグナルとなっていました。
シグナルをD9に接続しました。
また、白色LEDは3.3VとGNDにつなげます。
コード:
# include <Servo.h>

Servo myservo;
// twelve servo objects can be created on most boards

int pos = 0;

void setup() {
  myservo.attach(9);
}

void loop() {
  for (pos = 0; pos <= 100; pos += 1) {
    myservo.write(pos);
    delay(3);
  }
  for (pos = 100; pos >= 0; pos -= 1) {
    myservo.write(pos);
    delay(3);
  }
動作確認:
— 館チョー (@canchou) July 13, 2019
LEDとモーターをヘッド内に接着:
モノアイ裏に白色LEDを接着。 モノアイ駆動軸にサーボモータ軸を接着します。

改造中。 pic.twitter.com/F6ZIySUCHL
— 館チョー (@canchou) July 13, 2019
いい感じ。
— 館チョー (@canchou) July 13, 2019
— 館チョー (@canchou) July 13, 2019

