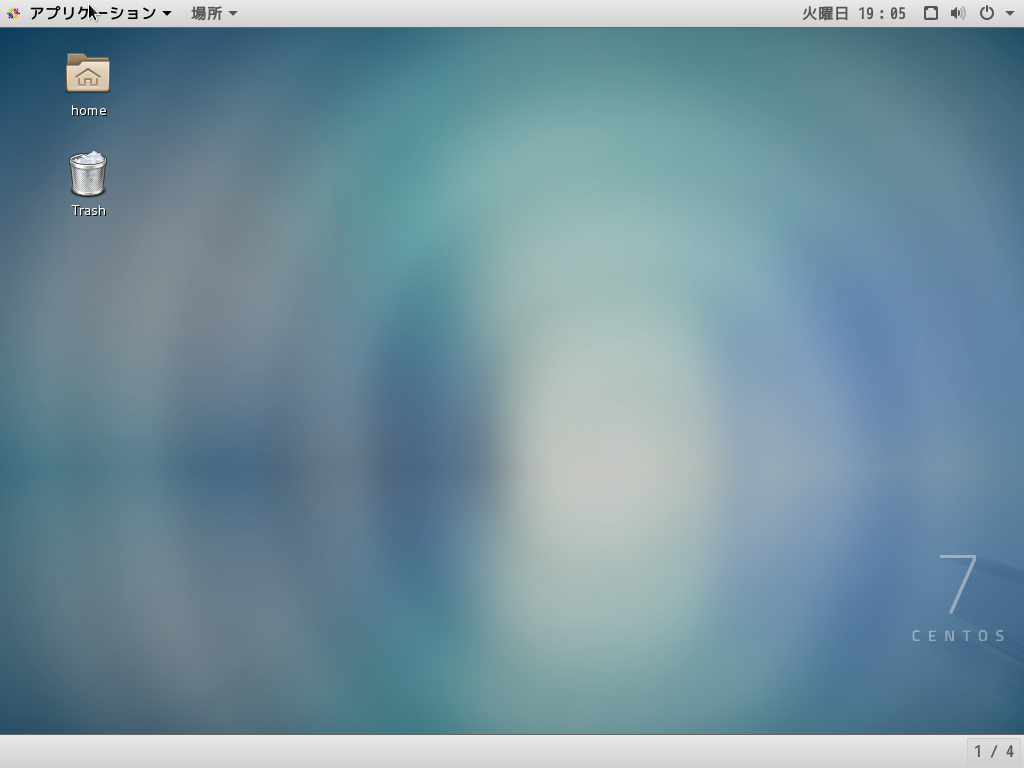
既に作成した開発環境(vmdk形式)をvagrant(box形式)で読み込めるようにしてみた。
まわりにこういうことに興味がある人がいなくて大変。。。
ゆくゆくはjenkinsと連携したい。
環境
-
ホストOS:Windows Server 2012 R2 64bit
- vagrant:Ver2.0.2
- VirtualBox:5.2.6
-
ゲストOS:CentOS 7.3
手順
変換したい開発環境をVirtualBoxで起動させておく。
コマンドプロンプトで下記変換コマンドを実行
vagrant package --base [VirtualBoxName] --output [BoxFile].box
VirtualBoxName:VirtualBoxタイトルバーに表示されてる名前
BoxFile:vagrantで読み込むファイル名
なんかいろいろエラーでたけどboxファイルは生成された。
C:\Users\[UserName]>vagrant package --base [VirtualBoxName]--output [BoxFile].box
==> [VirtualBoxName]: Attempting graceful shutdown of VM...
    [VirtualBoxName]: Guest communication could not be established! This is usually because
    [VirtualBoxName]: SSH is not running, the authentication information was changed,
    [VirtualBoxName]: or some other networking issue. Vagrant will force halt, if
    [VirtualBoxName]: capable.
==> [VirtualBoxName]: Forcing shutdown of VM...
==> [VirtualBoxName]: Exporting VM...
==> [VirtualBoxName]: Compressing package to:C:/Users/[UserName]/[BoxFile].box
UserName:Windowsアカウント名
vagrantに下記コマンドによってboxの追加
vagrant box add "[BoxFile]" ./[BoxFile].box
C:\Develop\VirtualMachine>vagrant box add "[BoxFile]" ./[BoxFile].box
==> box: Box file was not detected as metadata. Adding it directly...
==> box: Adding box '[BoxFile]' (v0) for provider:
    box: Unpacking necessary files from: file://C:/[BoxFile].box
    box: Progress: 100% (Rate: 18.0M/s, Estimated time remaining: --:--:--)
==> box: Successfully added box '[BoxFile]' (v0) for 'virtualbox'!
vagrant初期化
vagrant init [BoxFile]
A `Vagrantfile` has been placed in this directory. You are now
ready to `vagrant up` your first virtual environment! Please read
the comments in the Vagrantfile as well as documentation on
`vagrantup.com` for more information on using Vagrant.
Vagrantfileのユーザの変更
作成されたvmには当然vagrantユーザを定義していないので、
ファイルにログインユーザを指定します。
config.ssh.username = "[VM_USERNAME]"
vagrant起動[失敗]
vagrant up
Bringing machine 'default' up with 'virtualbox' provider...
==> default: Clearing any previously set forwarded ports...
==> default: Clearing any previously set network interfaces...
==> default: Preparing network interfaces based on configuration...
    default: Adapter 1: nat
==> default: Forwarding ports...
    default: 22 (guest) => 2222 (host) (adapter 1)
==> default: Booting VM...
==> default: Waiting for machine to boot. This may take a few minutes...
    default: SSH address: 127.0.0.1:2222
    default: SSH username: melco
    default: SSH auth method: private key
    default: Warning: Connection reset. Retrying...
    default: Warning: Connection aborted. Retrying...
    default: Warning: Connection reset. Retrying...
    default: Warning: Connection aborted. Retrying...
    default: Warning: Connection reset. Retrying...
    default: Warning: Connection aborted. Retrying...
    default: Warning: Authentication failure. Retrying...
入れない⇒sshの公開キー設定がboxのほうでされていないせい
Ctrl+Cで中断して別作業
ssh公開キー設定をvmに設定
ホストOSでssh公開キーを生成する。
基本ローカルネットワークでしか使わないのでセキュリティは軽視気味
cd C:\Users\[USERNAME]\.vagrant.d
ssh-keygen insecure_private_key > public_key
UserName:Windowsアカウント名
Vagrantfileの秘密鍵設定
config.ssh.private_key_path = "C:/Users/Administrator/.vagrant.d/insecure_private_key"
公開キーのやりとりをホストOSとゲストOS間で行うのでvagrantの設定を取得しておく
vagrant ssh-config > ssh.config
ssh公開鍵の設定
ssh.configでデフォルトではPasswordAuthenticationの引数がnoになっているのでyesに書き換える。
scp -F ssh.config C:\Users\[USERNAME]\.vagrant.d\public_key [VM_USERNAME]@default:~/ssh
vagrant ssh
chmod 700 ~/.ssh
mv public_key authorized_keys
chmod 600 authorized_keys
vagrant halt
今度こそvagrant起動[失敗]
vagrant up
Bringing machine 'default' up with 'virtualbox' provider...
==> default: Clearing any previously set forwarded ports...
==> default: Clearing any previously set network interfaces...
==> default: Preparing network interfaces based on configuration...
    default: Adapter 1: nat
==> default: Forwarding ports...
    default: 22 (guest) => 2222 (host) (adapter 1)
==> default: Booting VM...
==> default: Waiting for machine to boot. This may take a few minutes...
    default: SSH address: 127.0.0.1:2222
    default: SSH username: melco
    default: SSH auth method: private key
    default:
    default: Vagrant insecure key detected. Vagrant will automatically replace
    default: this with a newly generated keypair for better security.
    default:
    default: Inserting generated public key within guest...
    default: Removing insecure key from the guest if it's present...
    default: Key inserted! Disconnecting and reconnecting using new SSH key...
==> default: Machine booted and ready!
==> default: Checking for guest additions in VM...
    default: No guest additions were detected on the base box for this VM! Guest
    default: additions are required for forwarded ports, shared folders, host only
    default: networking, and more. If SSH fails on this machine, please install
    default: the guest additions and repackage the box to continue.
    default:
    default: This is not an error message; everything may continue to work properly,
    default: in which case you may ignore this message.
==> default: Mounting shared folders...
    default: /vagrant => C:/Develop/VirtualMachine
The following SSH command responded with a non-zero exit status.
Vagrant assumes that this means the command failed!

mkdir -p /vagrant
権限がないようなのでこれまでの[VM_USERNAME]をすべてrootにして再度実行。
3度目の正直[失敗]
vagrant reload
==> default: Attempting graceful shutdown of VM...
    default:
    default: Vagrant insecure key detected. Vagrant will automatically replace
    default: this with a newly generated keypair for better security.
    default:
    default: Inserting generated public key within guest...
    default: Removing insecure key from the guest if it's present...
    default: Key inserted! Disconnecting and reconnecting using new SSH key...
==> default: Clearing any previously set forwarded ports...
==> default: Clearing any previously set network interfaces...
==> default: Preparing network interfaces based on configuration...
    default: Adapter 1: nat
==> default: Forwarding ports...
    default: 22 (guest) => 2222 (host) (adapter 1)
==> default: Booting VM...
==> default: Waiting for machine to boot. This may take a few minutes...
    default: SSH address: 127.0.0.1:2222
    default: SSH username: root
    default: SSH auth method: private key
==> default: Machine booted and ready!
==> default: Checking for guest additions in VM...
    default: No guest additions were detected on the base box for this VM! Guest

    default: additions are required for forwarded ports, shared folders, host only
    default: networking, and more. If SSH fails on this machine, please install
    default: the guest additions and repackage the box to continue.
    default:
    default: This is not an error message; everything may continue to work properly,
    default: in which case you may ignore this message.
==> default: Mounting shared folders...
    default: /vagrant => C:/Develop/VirtualMachine
Vagrant was unable to mount VirtualBox shared folders. This is usually
because the filesystem "vboxsf" is not available. This filesystem is
made available via the VirtualBox Guest Additions and kernel module.
Please verify that these guest additions are properly installed in the
guest. This is not a bug in Vagrant and is usually caused by a faulty
Vagrant box. For context, the command attempted was:

mount -t vboxsf -o uid=0,gid=0 vagrant /vagrant
どうやら共有フォルダのマウントに必要なGuest Additionなるものがないための様子
vagrant-vbguestプラグインのインストール
うちの環境だとproxyの設定が必要だっとのでまずproxyをsetした。
set http_proxy=[proxy_address]:[proxy_port]
vagrant plugin install vagrant-vbguest
Installing the 'vagrant-vbguest' plugin. This can take a few minutes...
Fetching: micromachine-2.0.0.gem (100%)
Fetching: vagrant-vbguest-0.15.1.gem (100%)
Installed the plugin 'vagrant-vbguest (0.15.1)'!
4度目の正直[成功!]
vagrant reload
・
・
・
==> default: Checking for guest additions in VM...
==> default: Mounting shared folders...
    default: /vagrant => C:/Develop/VirtualMachine
==> default: Machine already provisioned. Run `vagrant provision` or use the `--
provision`
==> default: flag to force provisioning. Provisioners marked to run always will
still run.
ログ割愛。どうやらエラーもなく正常にうごいている様子。
ここまで長かった。。。
参照ページ
- [vmdkからboxへの変換]https://vladimir-ivanov.net/how-to-restore-a-vagrant-box-using-vmdk-disk/
- [vagrantログイン時のユーザー変更]https://qiita.com/YusukeHigaki/items/8e8508cd9603958fbf0a
- [vagrantのssh設定]https://qiita.com/Esfahan/items/e5f707dc6d116c2cc751
- [windowsのssh設定]https://qiita.com/digdagdag/items/9e5c061e7d86e0af9a57
- [VagrantOSとホストOS間のファイル送受信]https://qiita.com/ritukiii/items/628a87af6008e2a398fd
- [ssh config設定]http://euske.github.io/openssh-jman/ssh_config.html
- [vagrant up時にmkdir /vagrantが失敗]https://qiita.com/EichiSanden/items/68b0ae3d8a98ea60cc3e
- [Vagrantで共有フォルダのマウントに失敗するときの対処方法]https://qiita.com/ozawan/items/9751dcfd9bd4c470cd82
- [Proxy環境下でのVagrant設定]https://qiita.com/kota344@github/items/304979feaf965afffb1a
