MQTTは、軽量なIoTメッセージ交換およびデータ転送することができるプロトコルです。IoT開発者向けの柔軟化なハードウェア・ネットワークのリソースをバランス良く管理する目的に特化しました。
ESP8266は、高度に統合されたWi-Fi SoCソリューションを提供し、低消費電力、コンパクトなデザイン、高い安定性でユーザーのニーズに応えています。ESP8266は、完全な独立したWi-Fiネットワーク機能を備えており、スタンドアロンでも他のホストMCU上のスレーブとしても使用できます。
今回は、ESP8266をEMQ X MQTT Cloudが運営と保守する無料のパブリックMQTTサーバーに接続し、Arduino IDEを使用してESP8266をプログラミングします。 EMQ X CloudはEMQによって、安全なMQTT IoTクラウドサービスプラットフォーム、運用・保守をワンストップ、分離環境でMQTT 5.0に接続するサービスを提供します。
必要なIoTコンポーネント
- ESP8266
- Arduino IDE
- MQTT X:クロスプラットフォームMQTT 5.0クライアントツール
- 無料のパブリックMQTTサーバー
- Broker: broker.emqx.io
- TCP Port: 1883
- Websocket Port: 8083
ESP8266 Pub / Sub 構成図
ESP8266コードライティング
1. まずは、ESP8266WiFiとPubSubClientライブラリをインポートします。
ESP8266WiFiライブラリはESP8266をWi-Fiネットワークに接続できます。
PubSubClientライブラリはESP8266をMQTTサーバーに接続してメッセージをパブリッシュしたり、トピックをサブスクライブしたりします。
# include <ESP8266WiFi.h>
# include <PubSubClient.h>
2. Wi-Fi名とパスワード、MQTTサーバーの接続アドレスとポートを設定します
const char *ssid = "name"; // Enter your WiFi name
const char *password = "pass";  // Enter WiFi password
const char *mqtt_broker = "broker.emqx.io";
const int mqtt_port = 1883;
3. シリアル接続を開いてプログラムの結果を出力して、Wi-Fiネットワークに接続します
// Set software serial baud to 115200;
Serial.begin(115200);
// connecting to a WiFi network
WiFi.begin(ssid, password);
while (WiFi.status() != WL_CONNECTED) {
   delay(500);
   Serial.println("Connecting to WiFi..");
}
4. MQTTサーバーの情報をパラメーターとして渡す、コールバック関数を作成して、接続情報をシリアルモニターに出力します
client.setServer(mqtt_broker, mqtt_port);
client.setCallback(callback);
while (!client.connected()) {
    Serial.println("Connecting to public emqx mqtt broker.....");
    if (client.connect("esp8266-client")) {
       Serial.println("Public emqx mqtt broker connected");
    } else {
        Serial.print("failed with state ");
        Serial.print(client.state());
        delay(2000);
    }
}

void callback(char *topic, byte *payload, unsigned int length) {
   Serial.print("Message arrived in topic: ");
   Serial.println(topic);
   Serial.print("Message:");
   for (int i = 0; i < length; i++) {
      Serial.print((char) payload[i]);
   }
  Serial.println();
  Serial.println("-----------------------");
}
5. MQTTサーバーが正常に接続された後、ESP8266はメッセージをパブリッシュして、トピックをサブスクライブします
// publish and subscribe
client.publish("esp8266/test", "hello emqx");
client.subscribe("esp8266/test");
6. トピック名をシリアルポートに出力して、受信したメッセージのバイト情報を出力します
void callback(char *topic, byte *payload, unsigned int length) {
    Serial.print("Message arrived in topic: ");
    Serial.println(topic);
    Serial.print("Message:");
    for (int i = 0; i < length; i++) {
       Serial.print((char) payload[i]);
    }
    Serial.println();
    Serial.println("-----------------------");
 }
MQTTサーバーの接続とテスト
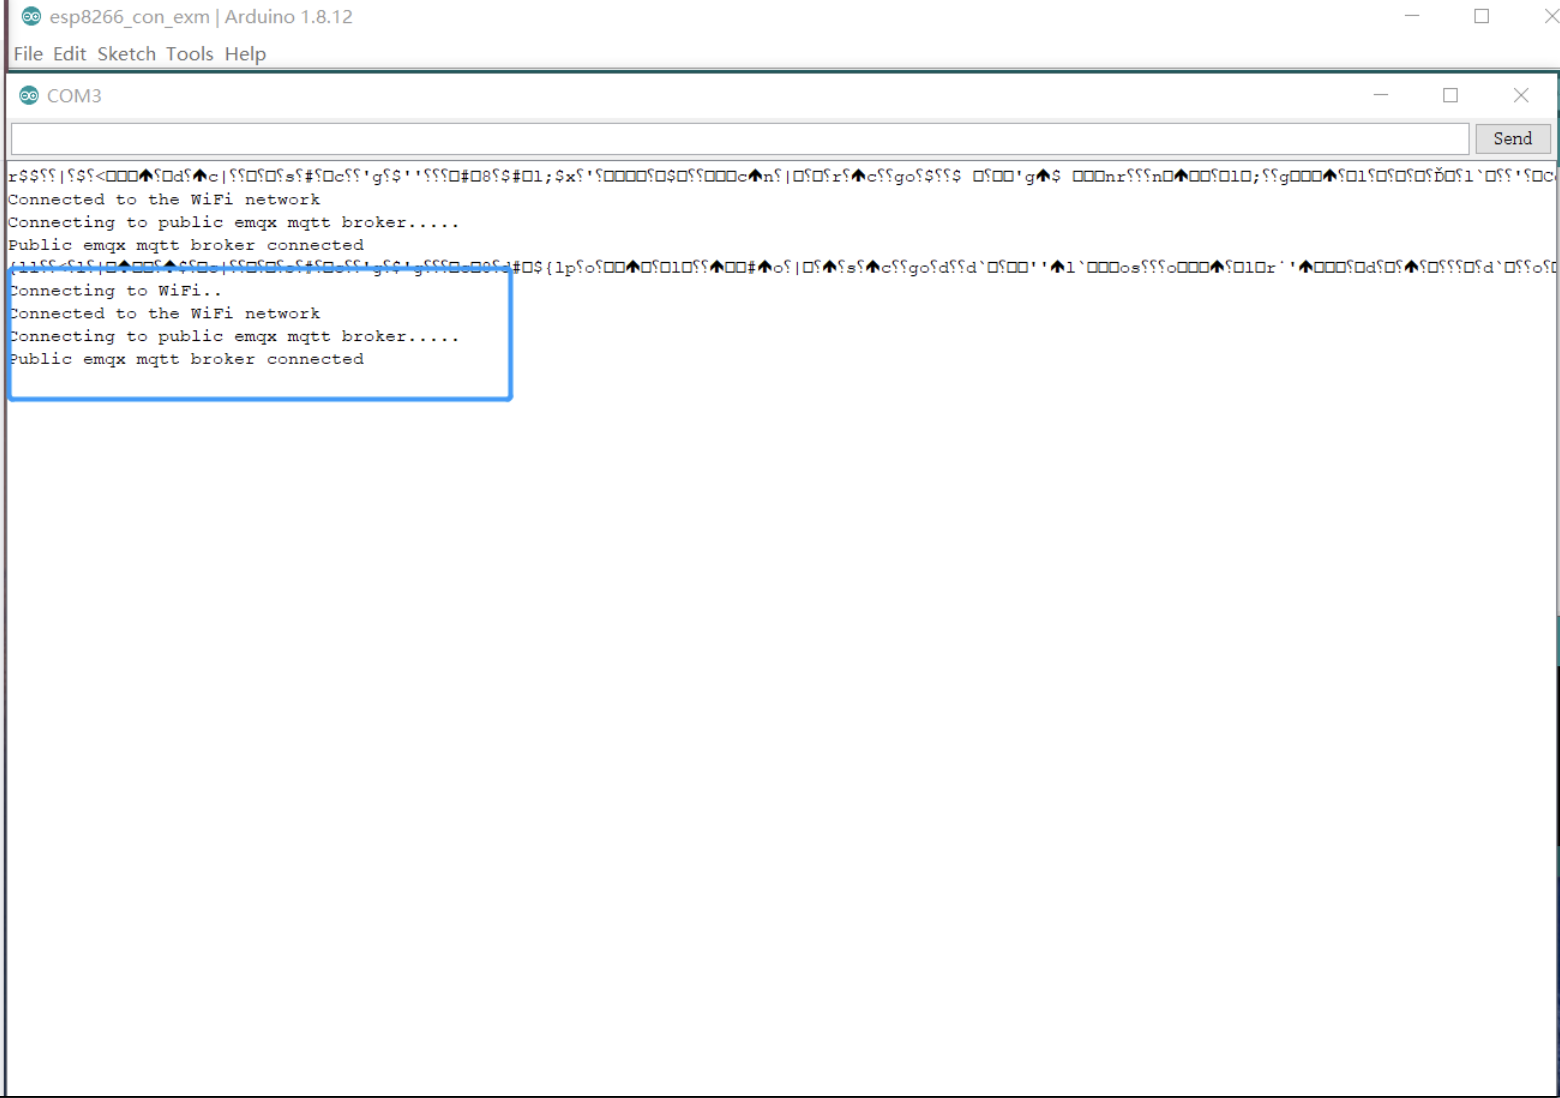
1. Arduino IDEを使用して、完全なコードをESP8266にアップロードした後、シリアルモニターを開いてください

2. MQTT XクライアントとMQTTサーバー間の接続を確立して、ESP8266にメッセージを送信します

3. シリアルモニターでESP8266が受信されたメッセージを確認します

完全なソースコード
# include <ESP8266WiFi.h>
# include <PubSubClient.h>

const char *ssid = "name"; // Enter your WiFi name
const char *password = "pass";  // Enter WiFi password
const char *mqtt_broker = "broker.emqx.io";
const int mqtt_port = 1883;

WiFiClient espClient;
PubSubClient client(espClient);

void setup() {
    // Set software serial baud to 115200;
    Serial.begin(115200);
    // connecting to a WiFi network
    WiFi.begin(ssid, password);
    while (WiFi.status() != WL_CONNECTED) {
        delay(500);
        Serial.println("Connecting to WiFi..");
    }
    Serial.println("Connected to the WiFi network");
    //connecting to a mqtt broker
    client.setServer(mqtt_broker, mqtt_port);
    client.setCallback(callback);
    while (!client.connected()) {
        Serial.println("Connecting to public emqx mqtt broker.....");
        if (client.connect("esp8266-client")) {
            Serial.println("Public emqx mqtt broker connected");
        } else {
            Serial.print("failed with state ");
            Serial.print(client.state());
            delay(2000);
        }
    }
    // publish and subscribe
    client.publish("esp8266/test", "hello emqx");
    client.subscribe("esp8266/test");
}

void callback(char *topic, byte *payload, unsigned int length) {
    Serial.print("Message arrived in topic: ");
    Serial.println(topic);
    Serial.print("Message:");
    for (int i = 0; i < length; i++) {
        Serial.print((char) payload[i]);
    }
    Serial.println();
    Serial.println("-----------------------");
}

void loop() {
    client.loop();
}
まとめ
ここまで、ESP8266をEMQ X Cloudが提供するパブリックMQTTサーバーへ正常に接続しました。今回は、ESP8266をMQTTサーバに接続するだけです。これはESP8266の基本的な機能の一つであります。実際にESP8266はさまざまなIoTセンサーに接続して、センサーデータをMQTTサーバーに転送することもできます。
今後もIoT開発やESP8266についての記事を投稿していく予定です。次回も、お楽しみに!
