こちらで作成したものを Nginx で表示するようにする方法です。
Django で作成したページを uwsgi で表示する
hello という app を追加しました。
Django で Hello World
uwsgi で使う mysite.ini を次のように変更します。
mysite.ini
[uwsgi]
# http = 0:3031
socket = 0:3031
chdir = /home/uchida/tmp/jan13/ex01/mysite
wsgi-file = mysite/wsgi.py
processes = 4
threads = 2
master = 1
stats = 127.0.0.1:9191
uwsgi を起動します。
uwsgi --plugin http,python mysite.ini
Nginx の設定ファイルを修正します。
/etc/nginx/nginx.conf
        location / {
                include uwsgi_params;
                uwsgi_pass 127.0.0.1:3031;
                }
Nginx のパラメーターが正しいか確認
sudo nginx -t
Nginx を再起動
sudo systemctl restart nginx
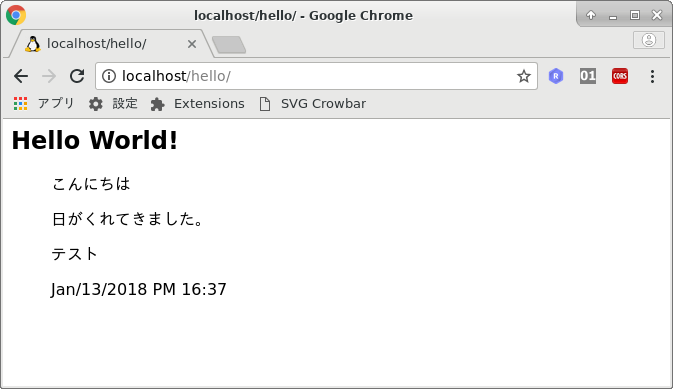
ブラウザーでアクセス
app のコード
hello/views.py
#
from django.http import HttpResponse


def index(request):
    str_out = ""
    str_out += "<H2>Hello World!</H2>"
    str_out += "<blockquote>"
    str_out += "こんにちは<p />"
    str_out += "日がくれてきました。<p />"
    str_out += "テスト<p />"
    str_out += "Jan/13/2018 PM 16:37<p />"
    str_out += "</blockquote>"
#
    return HttpResponse(str_out)
uWSGI の起動を systemd を使うには次のようにします。
AWS の Ubuntu 18.04 での方法です。
WorkingDirectory は mysite.ini のある場所です。
/etc/systemd/system/mysite.service
[Unit]
Description=uWSGI instance to serve myproject
After=network.target

[Service]
User=ubuntu
Group=www-data
WorkingDirectory=/home/ubuntu/tmp/mysite
ExecStart=/usr/bin/uwsgi --plugin http,python3 --ini mysite.ini

[Install]
WantedBy=multi-user.target
サービスの起動
sudo systemctl start mysite