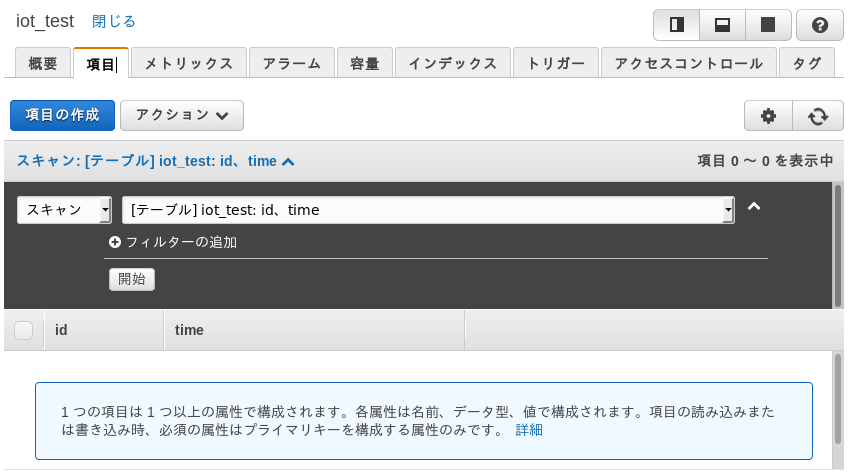
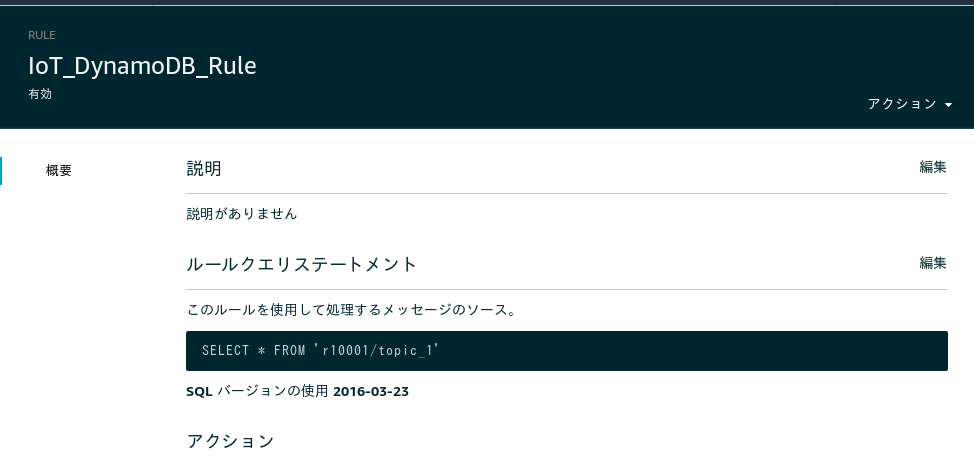
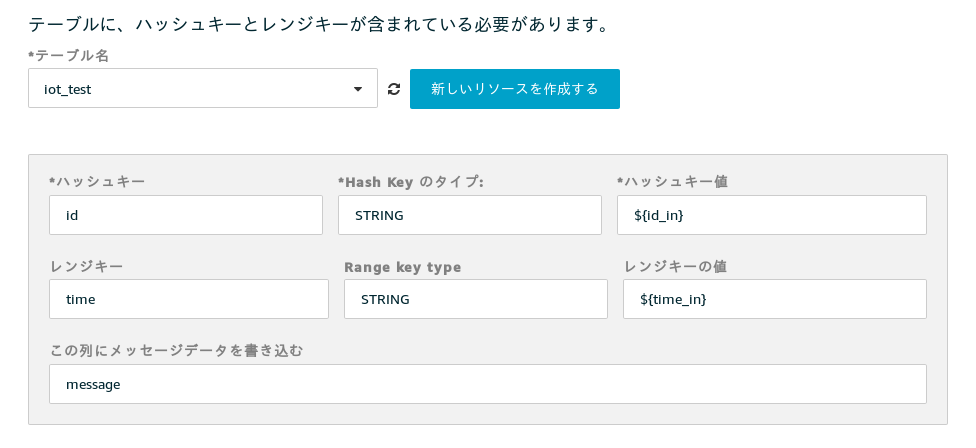
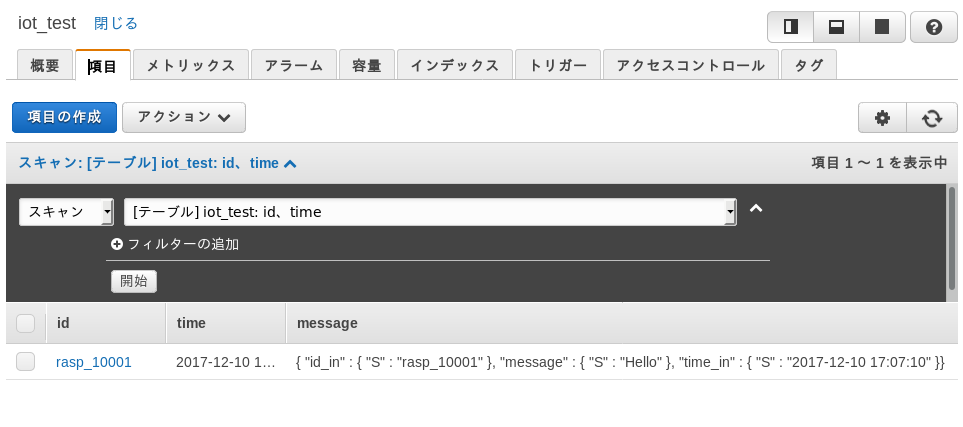
1) DynamoDB のテーブルを作成します。
ハッシュキーを id、レンジキーを time にします。
次のプログラムでも作成できます。
dynamo_create.py
# ! /usr/bin/python
# -*- coding: utf-8 -*-
#
#	dynamo_create.py
#
#					Dec/10/2017
# ---------------------------------------------------------------
import	sys
import	datetime
import	boto3
from decimal import *

# ---------------------------------------------------------------
def create_table_proc(table_name):
	table = dynamodb.create_table(
		TableName=table_name,
		KeySchema=[
		{
		'AttributeName': 'id',
		'KeyType': 'HASH'
		},
		{
		'AttributeName': 'time',
		'KeyType': 'RANGE'
		},
		],
		AttributeDefinitions=[
			{'AttributeName': 'id', 'AttributeType': 'S' },
			{'AttributeName': 'time', 'AttributeType': 'S' },
			],
		ProvisionedThroughput={
			'ReadCapacityUnits': 1,
			'WriteCapacityUnits': 1
			}
		)

	print("Table status:", table.table_status)
#
# ---------------------------------------------------------------
sys.stderr.write ("*** 開始 ***\n")
#
dynamodb = boto3.resource('dynamodb')

table_name = 'iot_test'

try:
	create_table_proc(table_name)
except Exception as ee:
	sys.stderr.write("*** error *** in create_table_proc ***\n")
	sys.stderr.write(str(ee) + "\n")

sys.stderr.write ("*** 終了 ***\n")
# ---------------------------------------------------------------
ハッシュキー値 ${id_in}
レジスターの値 ${time_in}
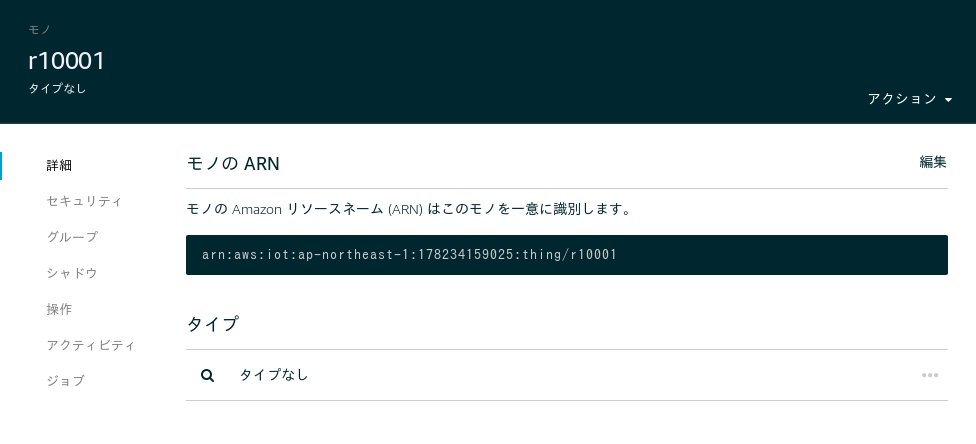
- IoT Thing (ブローカー)を作成します。
AWS コンソールで作成する方法は、
AWS IOT の簡単な使い方
AWS CLI で作成する方法は、
AWS IOT を AWS CLI で設定
- Pub/Sub のテストを行ないます。
IoT Thing を作成した時に出来た認証ファイルを使います。
こちらにその方法があります。
Raspberry Pi で、mosquitto を使って、AWS IOT に Pub/Sub する
Publish する JSON を次のようにして下さい。
in01.json
{
  "id_in": "rasp_10001",
  "time_in": "2017-12-10 17:07:10",
  "message": "Hello"
}
