sqlite3 を使っている Django を Heroku にデプロイします。
次で行っている内容を、VPS の Arch Linux で行いました。
[Python] Djangoチュートリアル - WebAPIサーバの簡単構築方法
A) まずは、開発サーバーで動かします。
A-1) ソースのクローン
git clone https://github.com/okoppe8/Django-REST-Framework-easy-sample
A-2) 他のサイトからアクセスできるように project/settings.py を編集
(省略)
ALLOWED_HOSTS = ['*']
(省略)
A-3) ライブラリーのインストール
sudo pip install djangorestframework
sudo pip install django-filter
sudo pip install dj_database_url
A-4) データベース db.sqlite3 の作成
python manage.py migrate
A-5) superuser の作成
python manage.py createsuperuser
メールアドレスは test@test.com で構いません。
A-6) ダミーデータの挿入
カスタムコマンドを使います。
python manage.py prepare_dummydata
A-7) 開発サーバーの起動
python manage.py runserver
B) 次に Heroku にデプロイします。
Heroku では データベースとして PostgreSQL が使われます。
その為に データベースの設定を project/settings.py と project/local_settings.py の2箇所に記述します。
B-1) project/local_settings.py の作成
import os

BASE_DIR = os.path.dirname(os.path.dirname(os.path.abspath(__file__)))


DATABASES = {
    'default': {
        'ENGINE': 'django.db.backends.sqlite3',
        'NAME': os.path.join(BASE_DIR, 'db.sqlite3'),
    }
}

DEBUG = True
B-2) project/settings.py の編集
(省略)
import dj_database_url
DATABASES['default'] = dj_database_url.config()
SECURE_PROXY_SSL_HEADER = ('HTTP_X_FORWARDED_PROTO', 'https')
ALLOWED_HOSTS = ['*']
STATIC_ROOT = 'staticfiles'
DEBUG = False
try:
    from .local_settings import *
except ImportError:
    pass
B-3) 開発サーバーを動かしてローカルの設定を読み込むことを確認
python manage.py runserver
B-4) 次のファイルを用意します。
runtime.txt
Procfile
requirements.txt
.gitignore
python-3.9.9
web: gunicorn project.wsgi --log-file -
django-heroku
gunicorn
django
django-filter
djangorestframework
pytz
psycopg2
.vscode
__pycache__
env
staticfiles
db.sqlite3
*.py[co]
local_settings.py
B-5) Heroku にアップロードします。
heroku login -i
git init
git add .
git commit -m "init"
heroku create p0499
heroku config:set DISABLE_COLLECTSTATIC=1
git push heroku master
B-6) Heroku でデータベースの作成
heroku run python manage.py migrate
B-7) Heroku で superuser の作成
heroku run python manage.py createsuperuser
B-8) Heroku で ダミーデータ の作成
heroku run python manage.py prepare_dummydata
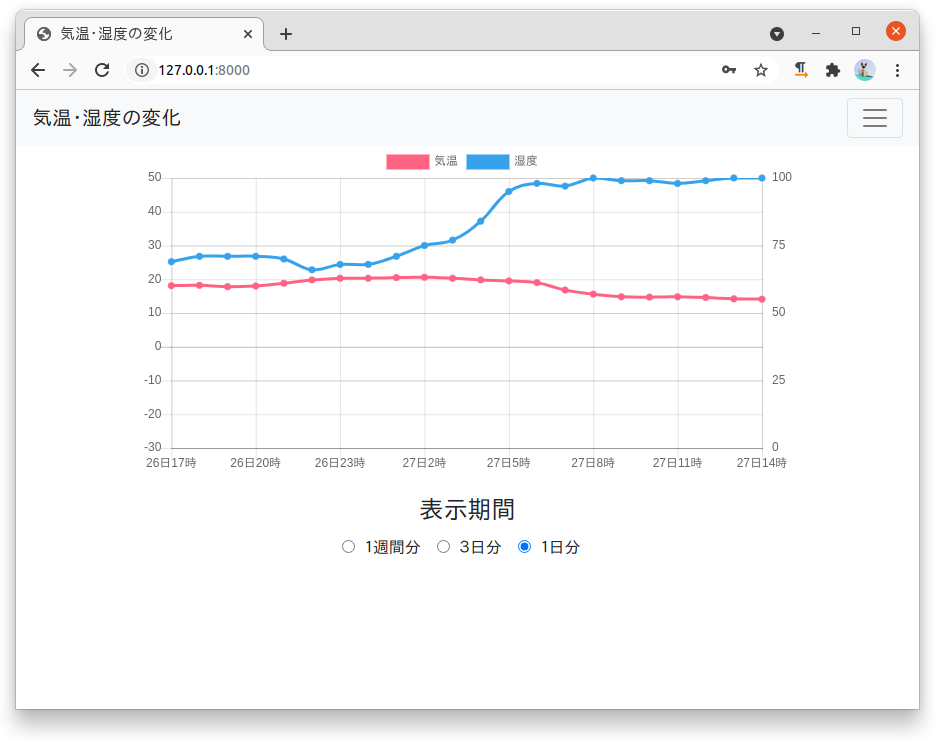
B-9) ブラウザーで http://p0499.herokuapp.com/ にアクセス
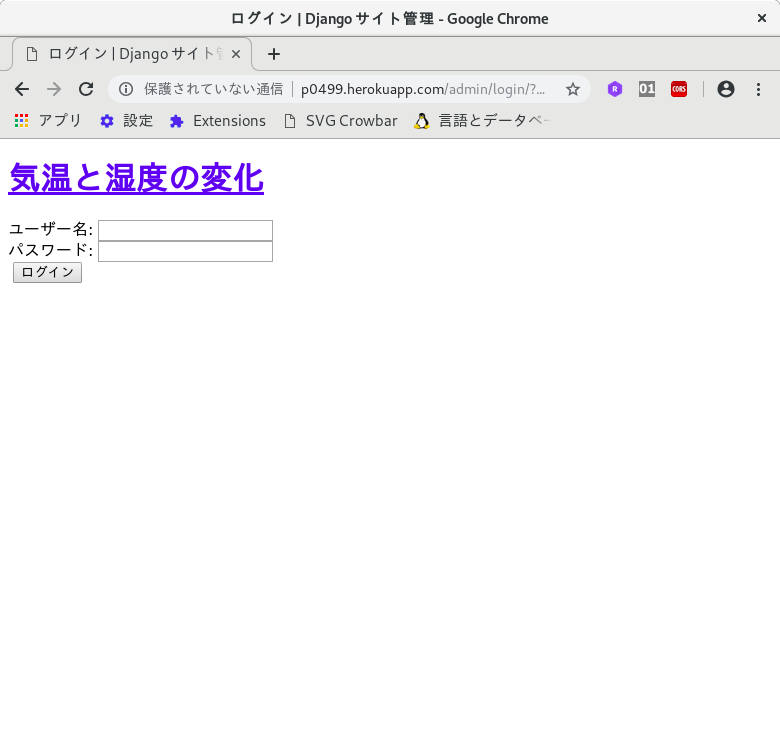
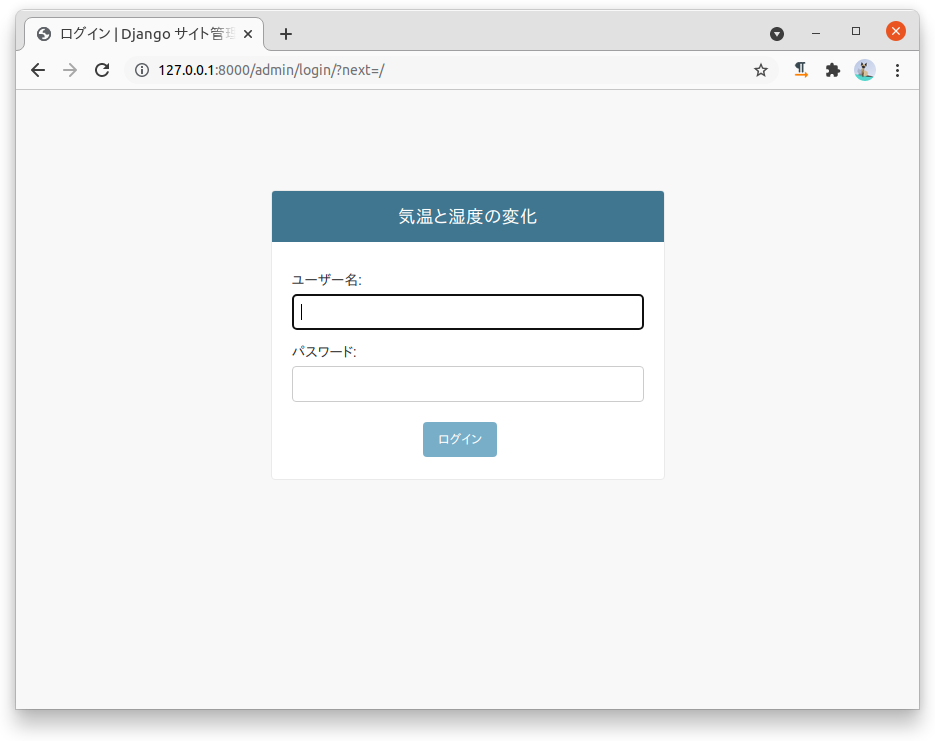
B-10) もし、画面が次のようになったら 静的データに問題があります。


