この記事は株式会社富士通システムズウェブテクノロジーが企画するいのべこ夏休みアドベントカレンダー 2020の10日目の記事です。本記事の掲載内容は私自身の見解であり、所属する組織を代表するものではありません。
はじめに
Vue.jsとNode.jsを使い、MongoDBに登録された今までに読んだ本の名前をブラウザで確認できるアプリケーションを作りました。
どんな本を読んだか把握しやすくすることで今後の勉強に役立てたいと思います。
環境
以下は使用するソフトウェアのバージョンです。
OSはWindows10 Enterprise バージョン1809です。
$ node -v
v12.16.1
$ npm -v
6.13.4
$ vue -V
@vue/cli 4.4.6
$ mongo
>db.version()
4.2.8
事前準備
- Node.jsとMongoDBのインストールをして、データベースに本のデータを登録します。
Node.jsのインストール
-
Node.js公式サイトからNode.jsをダウンロードします。
コマンドプロンプトで以下のコマンドを入力し、バージョン情報が出てきたら問題なくインストールされています。
$ node -v
- Node.jsと一緒にnpmもインストールされるので、以下のコマンドで確認します。
$ npm -v
MongoDBのインストール
- 今回はローカル環境でアプリケーションが動くことを確認したいので、まずWindows環境にMongoDBをインストールします。
- MongoDB公式サイトからServerのダウンロードを選択し、ダウンロードしたインストーラーを起動してください。
- Windowsのシステム環境変数Pathに以下のパスを追加します。
※バージョンによって、4.4の部分は変わります
C:\Program Files\MongoDB\Server\4.4\bin\
- Windowsの再起動後にコマンドプロンプトで以下のコマンドを入力してバージョン情報を確認します。
$ mongo
> db.version();
データベースの準備
- MongoDB shellでデータベースとコレクションの作成を行います。
$ mongo
> use mydb
switched to db mydb
> db.createCollection('mylist');
{ "ok" : 1 }
> show collections
mylist
- 以下のコマンドでデータベースに読んだ本の名前を登録します。
$ mongo
> use mydb
switched to db mydb
> db.mylist.insert({name:'アジャイルサムライ'});
WriteResult({ "nInserted" : 1 })
> db.mylist.insert({name:'エクストリームプログラミング'});
WriteResult({ "nInserted" : 1 })
> db.mylist.insert({name:'テスト駆動開発'});
WriteResult({ "nInserted" : 1 })
> db.mylist.insert({name:'スクラム現場ガイド'});
WriteResult({ "nInserted" : 1 })
クライアントサイドの作成
- 以下のコマンドでクライアントサイドとサーバーサイドをまとめるディレクトリ、クライアントサイドの作業ディレクトリを作成します。
※質問形式でプロジェクトの作成を行う部分がありますが、Install vue-router?はyesとしてください。
$ mkdir my_project
$ cd my_project
$ vue init webpack frontend
$ cd frontend
$ npm run dev
- この状態で
http://localhost:8080に接続すると、Welcome to Your Vue.js Appと出力された画面を確認できます。
サーバーサイドの作成
- 以下のコマンドでサーバーサイドの作業ディレクトリを作成し、必要なモジュールをインストールします。
$ cd my_project
$ mkdir backend
$ cd backend
$ npm init
$ npm install --save express body-parser cors mongoose
- 作成されたpackage.jsonのscriptsの部分を以下のように編集します。
package.json
{
  "name": "backend",
  "version": "1.0.0",
  "description": "",
  "main": "index.js",
  "scripts": {
    "start": "node index.js"
  },
  "author": "",
  "license": "ISC",
  "dependencies": {
    "body-parser": "^1.19.0",
    "cors": "^2.8.5",
    "express": "^4.17.1",
    "mongoose": "^5.9.27"
  }
}
APIの作成
- backendにindex.jsを作成し、データベースに登録した本の名前を取得するメソッドを書きます。
※connectOptionはmongooseでデータベースに接続する際に出る警告を避けるため書いています。
backend/index.js
const express = require("express");
const bodyParser = require("body-parser");
const cors = require("cors");
const mongoose = require("mongoose");
const BooksList = require("./models/module");

const connectOption = {
  useNewUrlParser: true,
  useUnifiedTopology: true,
};

mongoose.connect("mongodb://localhost/mydb", connectOption);
const app = express();
app.use(bodyParser.urlencoded({ extended: false }));
app.use(bodyParser.json());
app.use(cors());

app.get("/mydb", (req, res) => {
  BooksList.find(function (err, result) {
    if (!err) {
      return res.json(result);
    } else {
      return res.status(500).send("post mylist faild");
    }
  });
});

app.listen(process.env.PORT || 3000);
- modelsフォルダとmodule.jsを作成し、データベースのスキーマ設定をします。
models/module.js
const mongoose = require("mongoose");
const Schema = mongoose.Schema;

const BooksListSchema = Schema({ name: String }, { collection: "mylist" });
module.exports = mongoose.model("BooksList", BooksListSchema);
- コマンドプロンプトでnpm startとコマンドを入力し、データベースとAPIの確認をします。
$ cd backend
$ npm start
- この時点で
http://localhost:3000/mydbに接続するとデータベースに登録した本の名前が出ています。

API通信部分と画面の作成
API通信部分の作成
- frontendにaxiosをインストールします。
$ cd frontend
$ npm install --save axios
- frontendにapiフォルダを作成します。以下のようにindex.jsとmethods.jsを書き、通信部分を作ります。
api/index.js
import axios from "axios";

export default () => {
  return axios.create({
    baseURL: `http://localhost:3000/`
  });
};
api/methods.js
import Api from "./index";

export default {
  getBooksData() {
    return Api().get("/mydb");
  }
};
画面の作成
- src/componentsフォルダにBooksList.vueを作成します。デフォルトで作られていたHelloWorld.vueは削除しました。
src/components/BooksList.vue
<template>
  <div class="bookslist">
    <h1 class="title">読んだ本リスト</h1>
    <div class="books">
      <li v-for="book in books" :key="book.index">{{book.name}}</li>
    </div>
  </div>
</template>
<script>
import Methods from "@/api/methods";
export default {
  name: "BooksList",
  data() {
    return {
      books: ""
    };
  },
  created() {
    this.getData();
  },
  methods: {
    async getData() {
      let books_data = await Methods.getBooksData();
      this.books = books_data.data;
    },
  },
};
</script>
<style>
.bookslist {
  max-width: 300px;
  margin: 0 auto;
  text-align: center;
  font-family: Century;
}
.books {
  display: inline-block;
  text-align: left;
}
.title {
  color: #5b5b5b;
  background: linear-gradient(transparent 70%, #6088c6 70%);
}
</style>
- frontend/router/index.jsに先ほど削除したHelloWorld.vueがコンポーネントとして登録されているので、BooksList.vueに書き換えます。
frontend/router/index.js
import Vue from "vue";
import Router from "vue-router";
import BooksList from "../components/BooksList";

Vue.use(Router);

export default new Router({
  routes: [
    {
      path: "/",
      name: "BooksList",
      component: BooksList
    }
  ]
});
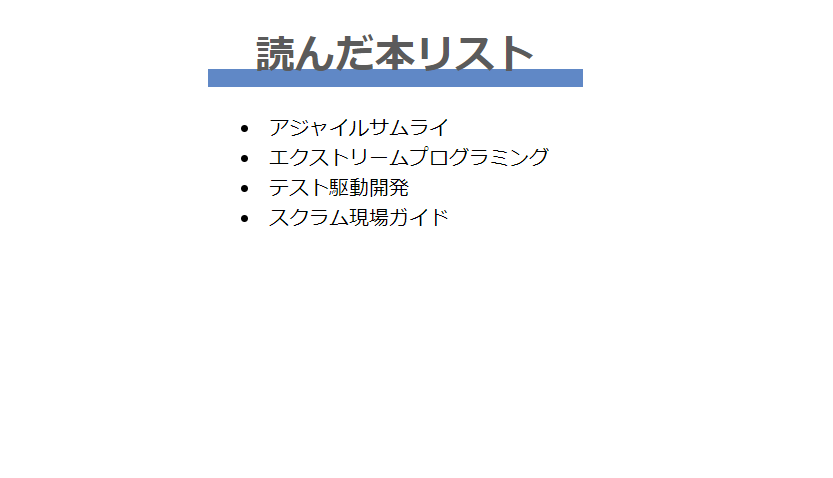
- 画面上にデータベースに登録した本の名前が出ているか確認します。
- backendとfrontendでそれぞれ
npm startとコマンド入力をします。
$ cd backend
$ npm start
$ cd frontend
$ npm start
-
http://localhost:8080/に接続すると、読んだ本の名前がリストになっています。
さいごに
今回はMongoDBに直接データを入力し、画面上に表示するアプリケーションを作成しました。
今後は画面上からデータを入力できるようにする機能や、本のカテゴリー別の表を作って表示するなどの機能も追加していきたいと思っています。