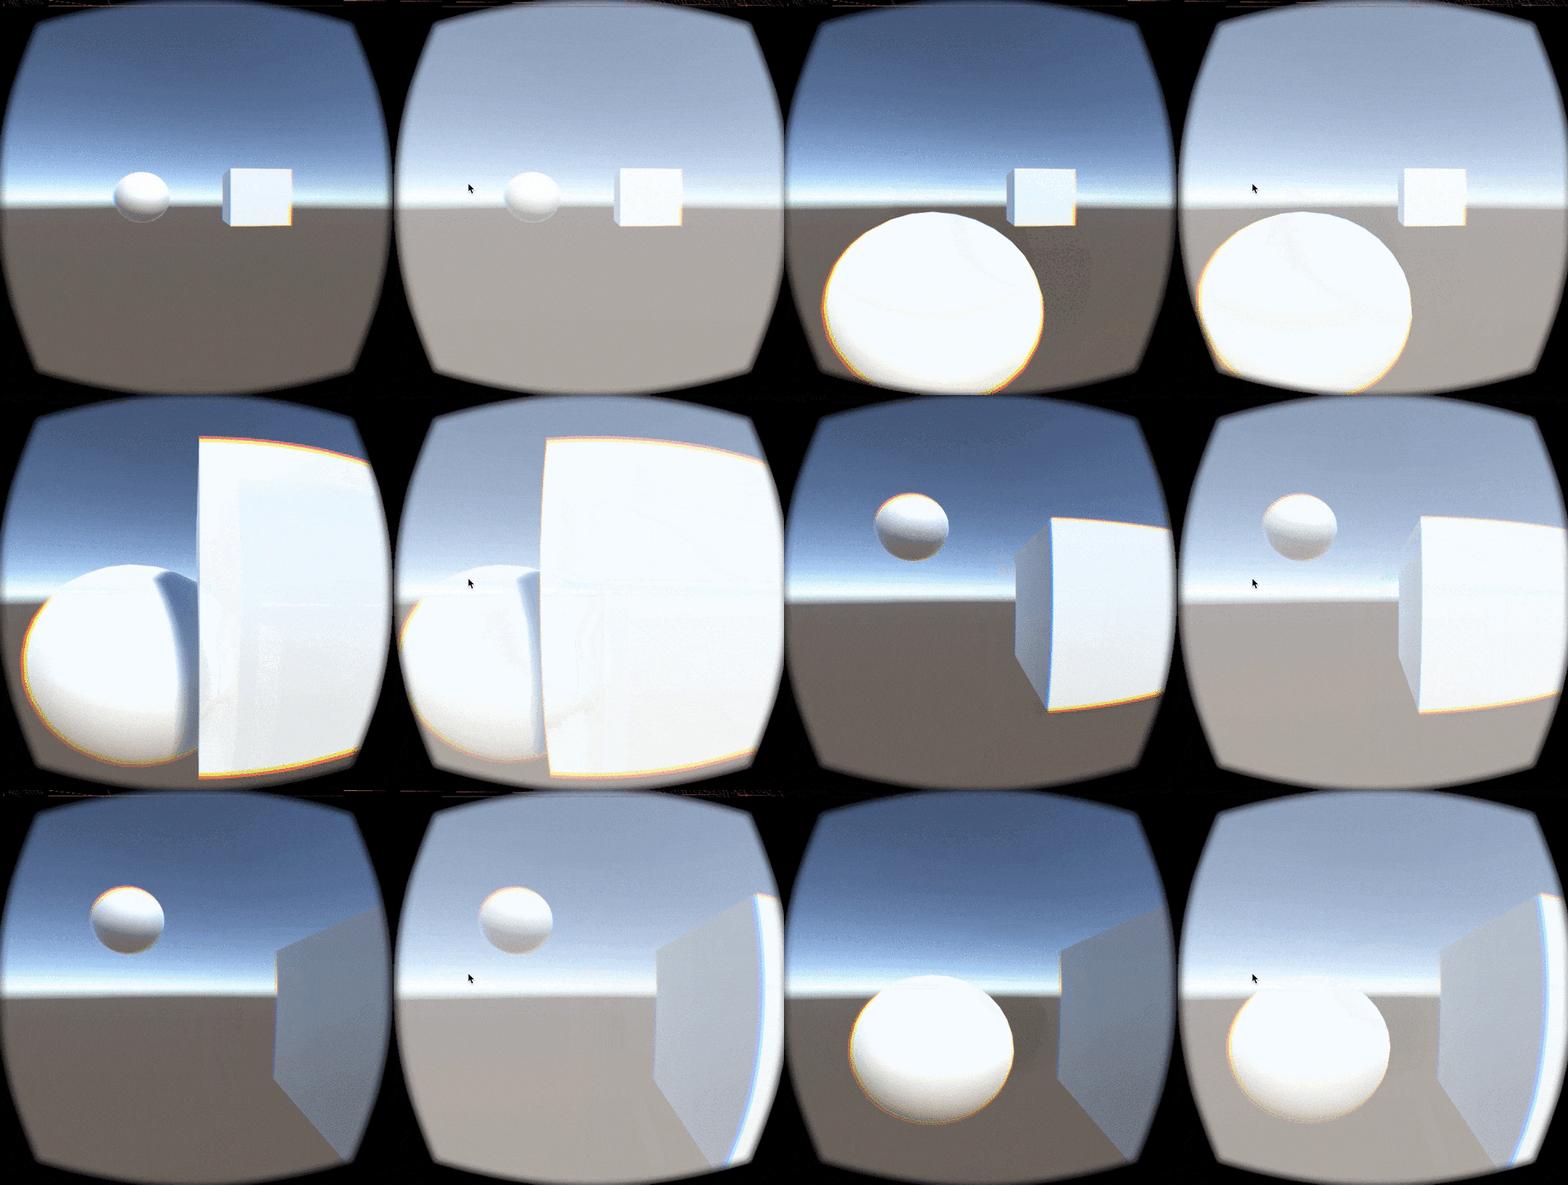
LeapmotionのOVRデモに入っているものを少し変更するだけでとりあえずOculusで見ている画面にLeapmotionがトラッキングした手を表示することは簡単にできます。
が、その手の位置だったり手の状態に応じてなにか起動したり動かしたり、みたいなことをやろうとするとそれだけでは足りません。
その場合はLeap.Controllerクラスを適切に利用する必要があります。
Cubeが右手、Sphereが左手の位置を表しています。
OculusにLeapmotionをアタッチして手をかざすと、実際の手の位置に近い感じでオブジェクトが動きます。
今回作ったサンプルはGitHubにあげてあります。
(SampleFilesディレクトリのMainシーンが上記のものです)
サンプルコード
以下は、Leapmotionのデモについている手の位置と大体同じような動きになるよう補正したものです。
上記のアニメーションGifを表示したコードです。
(自分が利用した環境やスケール、体感値が多分に含まれているのであくまでこういう感じで補正するといいよ、という参考にしてください)
using UnityEngine;
using System.Collections;
using Leap;

public class LeapControllerSample : MonoBehaviour {

	[SerializeField] GameObject m_leftTarget;
	[SerializeField] GameObject m_rightTarget;
	[SerializeField] bool m_isHeadMounted = true;

	Controller leap;
	float moveScale = 0.5f;

	void Start() {
		// Leap Controllerを生成
		leap = new Controller();

		// Optimize for top-down tracking if on head mounted display.
		Controller.PolicyFlag policy_flags = leap.PolicyFlags;
		if (m_isHeadMounted) {
			policy_flags |= Controller.PolicyFlag.POLICY_OPTIMIZE_HMD;
		}
		else {
			policy_flags &= ~Controller.PolicyFlag.POLICY_OPTIMIZE_HMD;
		}

		leap.SetPolicyFlags(policy_flags);
	}

	// LeapのVectorからUnityのVector3に変換
	Vector3 ToVector3(Vector v) {
		return new Vector3(v.x, v.y, v.z);
	}

	// ヘッドトラッキングモード時のLeapのVectorを
	// 視点位置とリンクするよう変換する
	Vector3 ConvertPosition(Vector v) {

		Vector3 pos = ToVector3(v);

		// Normalize to range of -1 to 1
		pos *= 2;
		pos -= Vector3.one;

		// Convert to the Unity coordinate.
		// Leap has especial coordinates, 0s are left, bottom and back.
		// Also See `IntaractionBox coordinates`.
		float tmp = pos.z;
		pos.x  = -pos.x;
		pos.z  = pos.y;
		pos.y  = -tmp;
		return pos;
	}

	void Update() {

		Frame frame = leap.Frame();
		InteractionBox interactionBox = frame.InteractionBox;
		HandList hands = frame.Hands;

		for (int i = 0; i < frame.Hands.Count; i++) {
			// 左手
			if (frame.Hands[i].IsLeft) {
				Vector normalizedPosition = interactionBox.NormalizePoint(frame.Hands[i].PalmPosition);

				Vector3 handPosition = ConvertPosition(normalizedPosition);

				// 変換した位置を実際に利用するスケールなどに応じて係数を掛ける
				handPosition.z -= 2.0f;
				handPosition *= moveScale;

				m_leftTarget.transform.position = handPosition;
			}
			// 右手
			else if (frame.Hands[i].IsRight) {
				Vector normalizedPosition = interactionBox.NormalizePoint(frame.Hands[i].PalmPosition);

				Vector3 handPosition = ConvertPosition(normalizedPosition);

				// 変換した位置を実際に利用するスケールなどに応じて係数を掛ける
				handPosition.z -= 2.0f;
				handPosition *= moveScale;

				m_rightTarget.transform.position = handPosition;
			}
		}
	}
}
IntaractionBox
Leapmotionは、IntaractionBoxという概念でトラッキングした手の位置を数値に変換します。
ドキュメントから画像を引用すると以下のイメージです。
左奥下方が、(0, 0, 0)の位置になり、右、上、手前に動くとそれぞれの数値が1に向かって上昇するようになっています。
サンプルコードでは、これを考慮して目のために手をおいた時に中央、左右に移動した時に-1〜1の間になるように補正しています。(ConvertPositionメソッド)

