はじめに
こんばんは、amaebiです。
MySQLをGUIで管理したいため、phpMyAdminを導入しようと思います。
各バージョン
OSバージョン : AlmaLinux 9.5 (Teal Serval)
Apacheバージョン : Apache/2.4.62
PHPバージョン : PHP 8.0.30
MySQLバージョン : MySQL Ver 8.0.41
インストール手順
phpMyAdminインストール
# dnf install phpmyadmin
# ls -la /usr/share/ | grep phpMyAdmin
Apache再起動
# systemctl restart httpd
# systemctl status httpd
http://<自宅サーバーのIPアドレス>/phpMyAdminでアクセスします。
ブラウザからアクセスすると403 Forbiddenが表示されます。
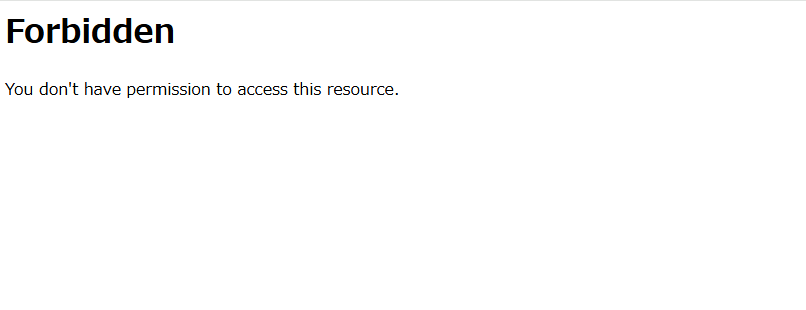
/var/log/httpd/error_logを確認するとアクセス拒否のエラーが表示されました。
# tail -F /var/log/httpd/error_log
[xxx Apr xx xx:xx:xx.xxxxxx 2025] [authz_core:error] [pid 2846:tid 2949] [client 192.168.xx.xx:51096] AH01630: client denied by server configuration: /usr/share/phpMyAdmin/
[xxx Apr xx xx:xx:xx.xxxxxx 2025] [authz_core:error] [pid 2846:tid 2956] [client 192.168.xx.xx:51096] AH01630: client denied by server configuration: /usr/share/phpMyAdmin/
[xxx Apr xx xx:xx:xx.xxxxxx 2025] [authz_core:error] [pid 2846:tid 2964] [client 192.168.xx.xx:51096] AH01630: client denied by server configuration: /usr/share/phpMyAdmin/
[xxx Apr xx xx:xx:xx.xxxxxx 2025] [authz_core:error] [pid 2846:tid 2951] [client 192.168.xx.xx:51096] AH01630: client denied by server configuration: /usr/share/phpMyAdmin/
#
原因を調査すると、/etc/httpd/conf.d/phpMyAdmin.confの設定で、ローカルホストしか許可されていないためでした。
phpMyAdmin.conf(一部抜粋)
<Directory /usr/share/phpMyAdmin/>
   AddDefaultCharset UTF-8

   Require local
</Directory>
そのため、外部からのアクセスを許可するようにConfigファイルを書き換えます。
ファイル書き換え
# ls -la /etc/httpd/conf.d
# mkdir -v /etc/httpd/conf.d/.backup
# cp -ipv /etc/httpd/conf.d/phpMyAdmin.conf /etc/httpd/conf.d/.backup/phpMyAdmin.conf.`date +%Y%m%d`
# vi /etc/httpd/conf.d/phpMyAdmin.conf
差分確認
# diff -U0 /etc/httpd/conf.d/.backup/phpMyAdmin.conf.<対象ファイルの日付> /etc/httpd/conf.d/phpMyAdmin.conf
--- /etc/httpd/conf.d/.backup/phpMyAdmin.conf.<対象ファイルの日付>  2025-01-22 15:58:57.000000000 +0900
+++ /etc/httpd/conf.d/phpMyAdmin.conf   2025-xx-xx xx:xx:xx.xxxxxxxxx +0900
@@ -12,0 +13 @@
+   Require ip 192.168.1.0/24 ← ログイン側のIPアドレスを指定してあげます
@@ -14 +15 @@
-   Require local
+##   Require local
#
Apache再起動
# systemctl restart httpd
# systemctl status httpd
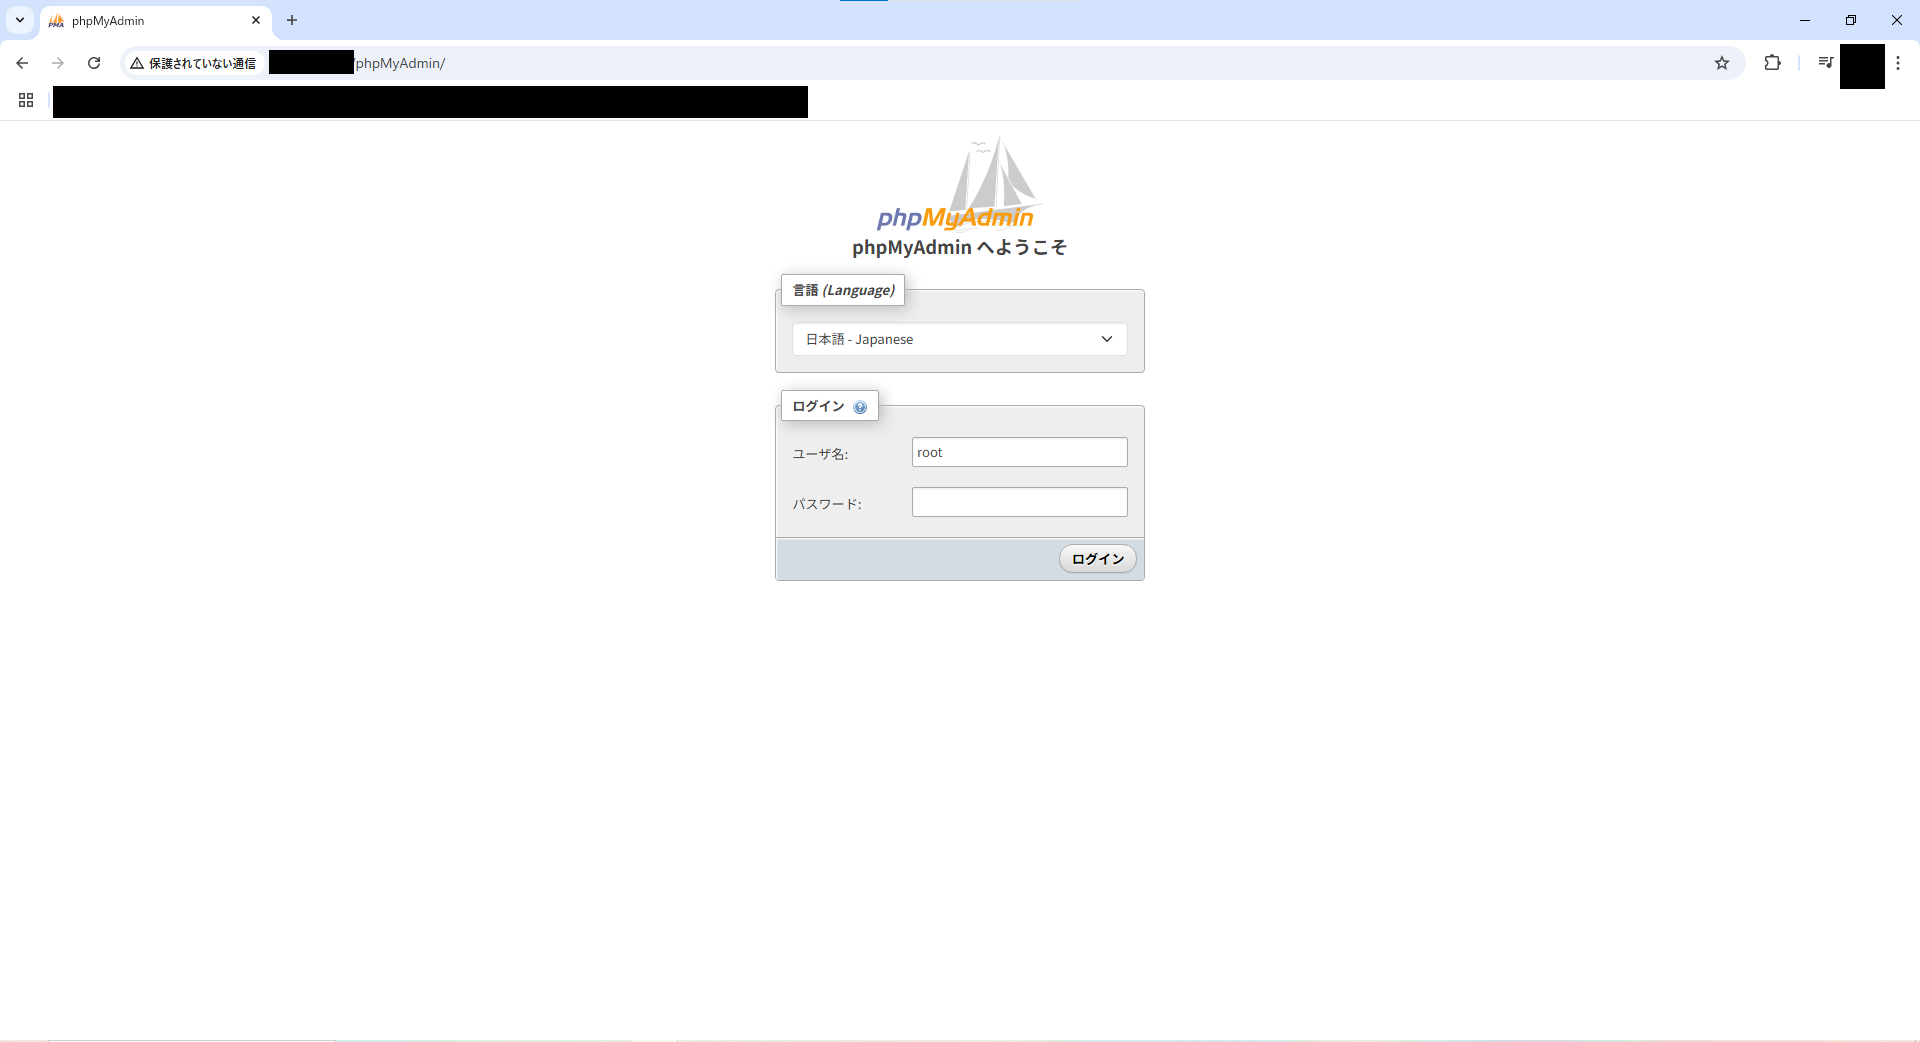
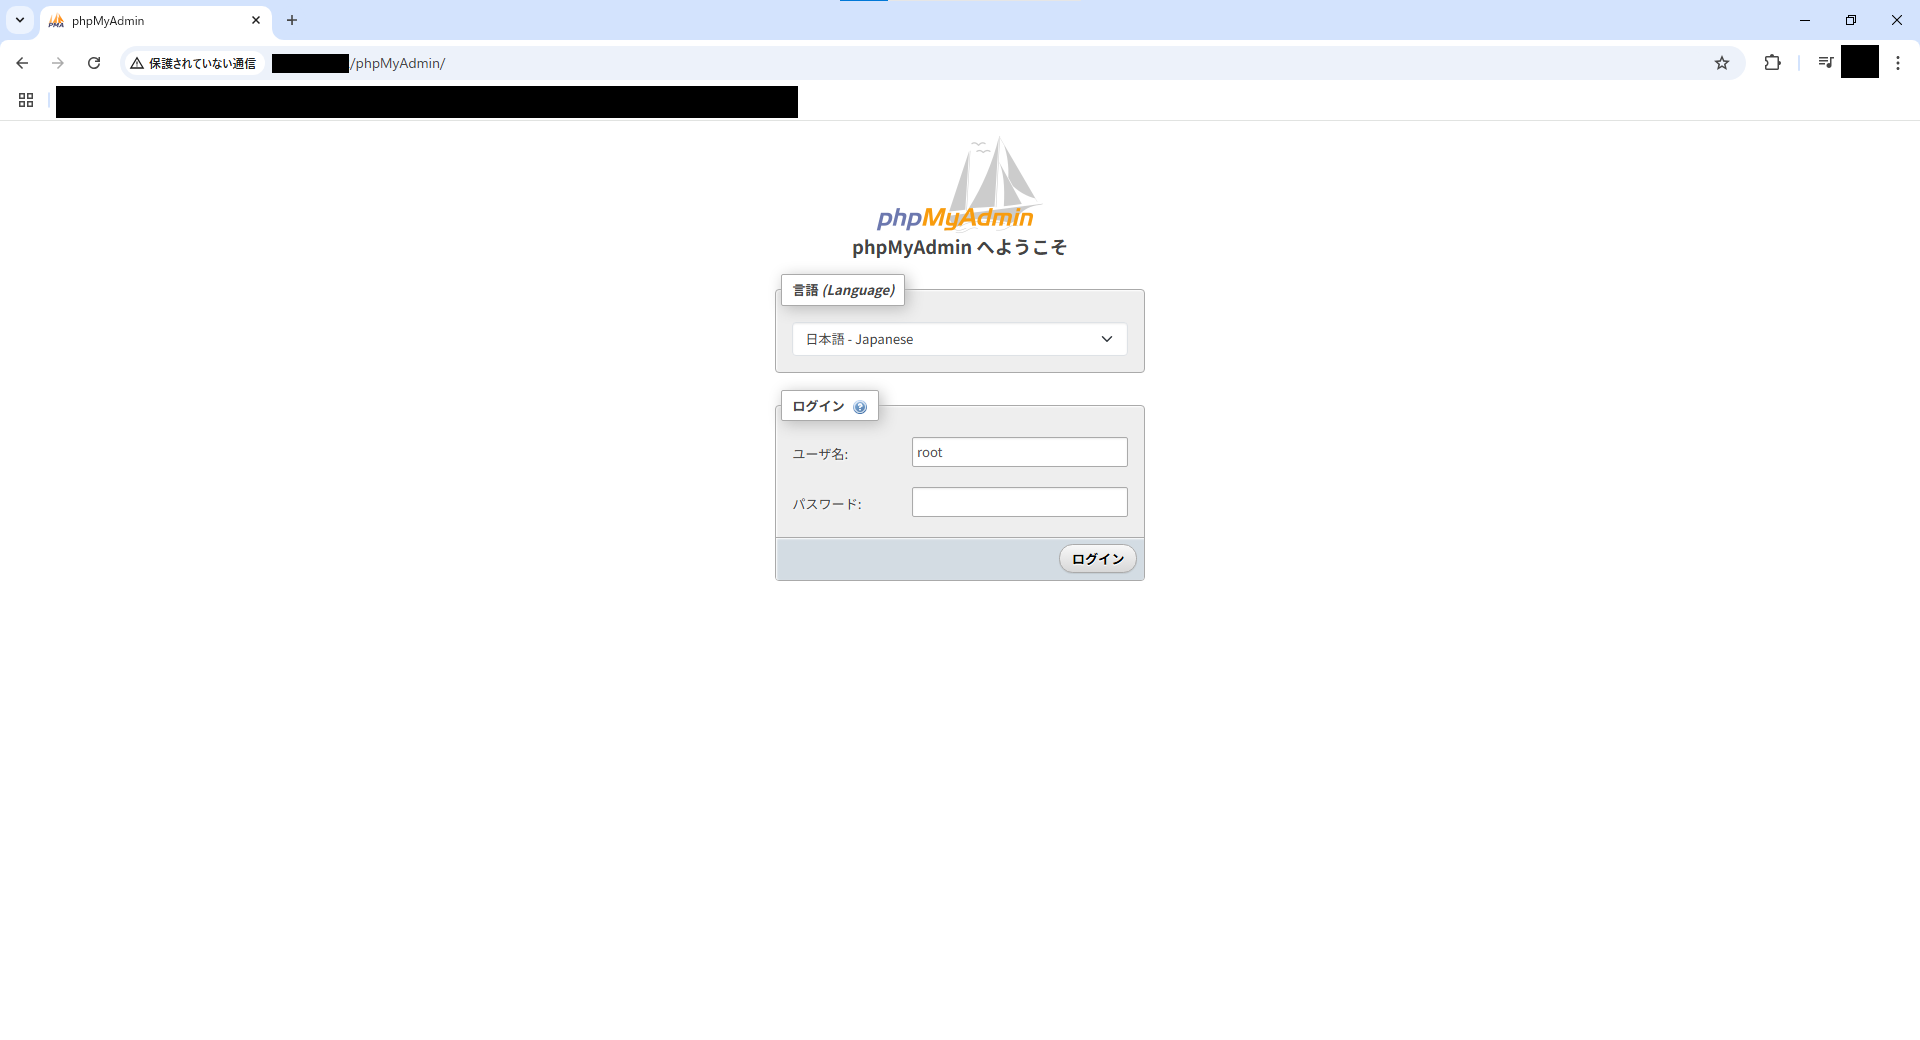
もう一度http://<自宅サーバーのIPアドレス>/phpMyAdminでアクセスします。
無事アクセスすることができました。(ログイン確認もできました。)
セキュア設定
phpMyAdmin.confにBasic認証を追加します。
ベーシック認証
# vi /etc/httpd/conf.d/phpMyAdmin.conf
差分確認
# diff -U0 /etc/httpd/conf.d/.backup/phpMyAdmin.conf.<対象ファイルの日付> /etc/httpd/conf.d/phpMyAdmin.conf
--- /etc/httpd/conf.d/.backup/phpMyAdmin.conf.<対象ファイルの日付>  2025-01-22 15:58:57.000000000 +0900
+++ /etc/httpd/conf.d/phpMyAdmin.conf   2025-xx-xx xx:xx:xx.xxxxxxxxx +0900
@@ -14 +14,6 @@
-   Require local
+   AuthType Basic
+   AuthName "IDとパスワードを入力してください。"
+   AuthUserFile /etc/httpd/conf/.htpasswd
+   Require valid-user
+
+##   Require local
#
.htpasswdファイル作成
# htpasswd -c /etc/httpd/conf/.htpasswd <ユーザー名>
New password:
Re-type new password:
Adding password for user <ユーザー名>
#
# ls -la /etc/httpd/conf
apache再起動
# systemctl restart httpd
# systemctl status httpd
http://<自宅サーバーのIPアドレス>/phpMyAdminでアクセスします。
Basic認証が有効になっています。
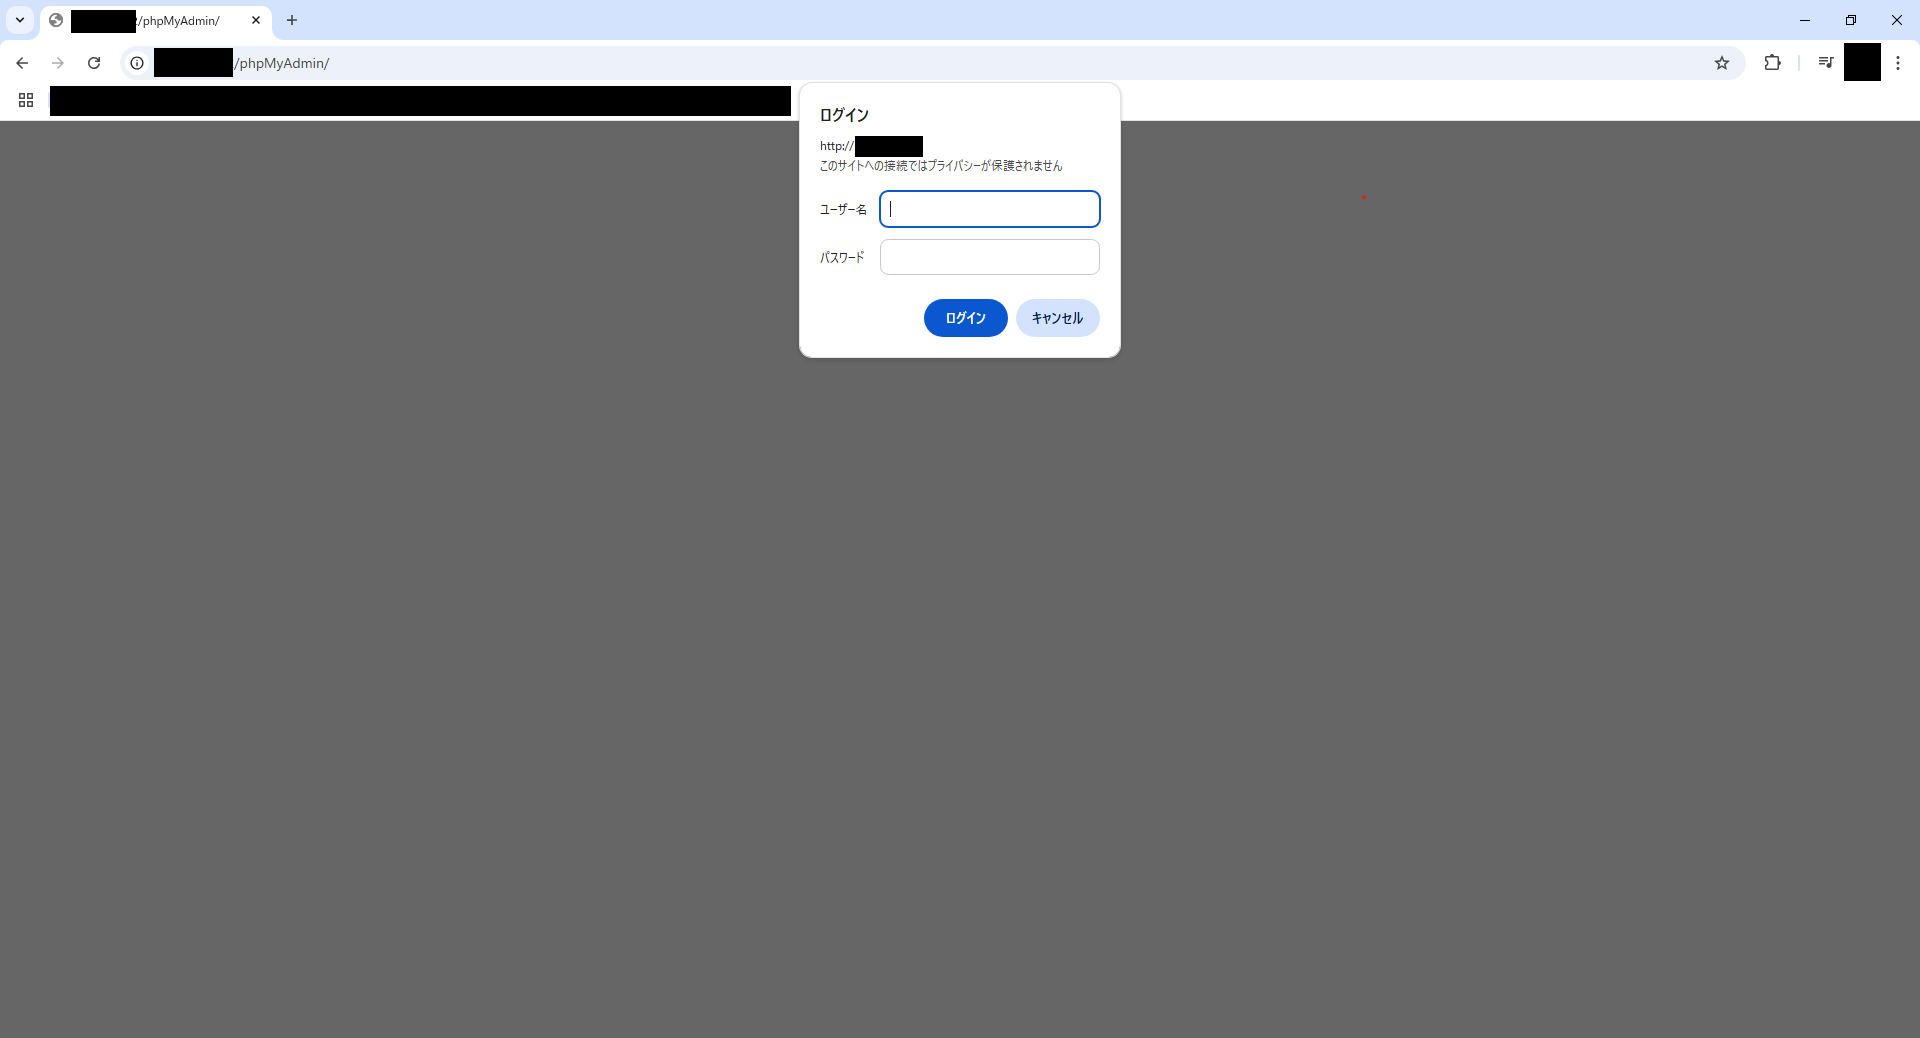
先ほど設定したIDとパスワードを使用して、無事ログイン確認ができました。
最後に
簡単ではありますが、phpMyAdminのインストール手順でした。
CLIでMySQLを叩くもいいですが、やっぱりGUIでポチポチする方がめっちゃ楽ですわ~