最低限のインストールと日本語化の手順。
詳細なドキュメントは https://code.visualstudio.com/docs を参照。
1. VSCodeのインストール
-
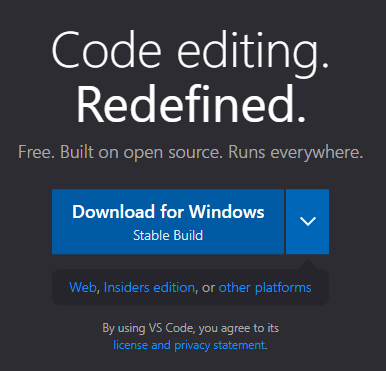
code.visualstudio.com を開き、
Download for Windowsを押してインストーラーVSCodeUserSetup-x64-(バージョン).exeをダウンロードする
-
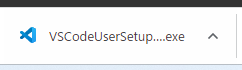
ダウンロードした
VSCodeUserSetup-x64-(バージョン).exeを実行
(Google Chromeを使っていれば画面下部に表示される)
-
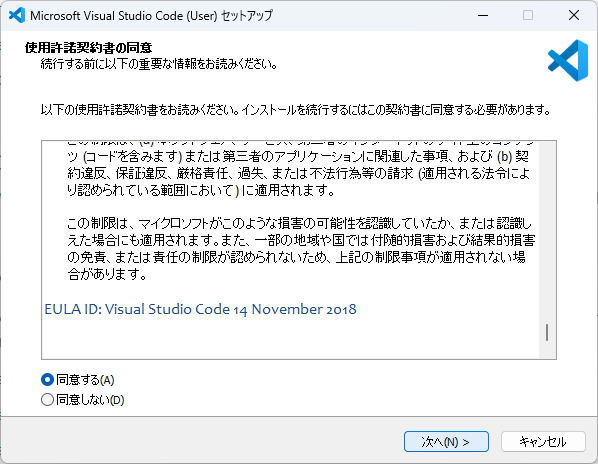
使用許諾契約書に同意して、画面右下の
次へ(N) >を押す
-
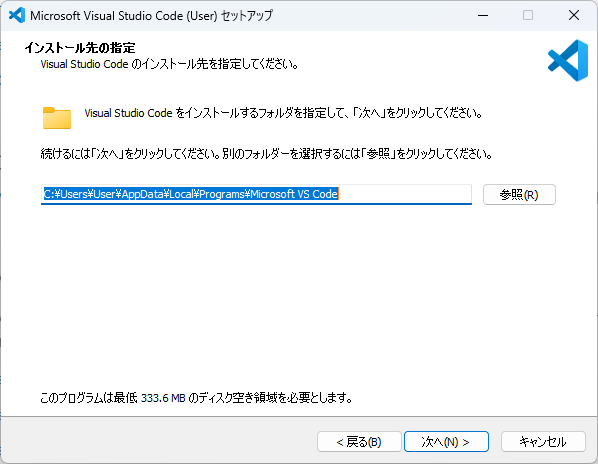
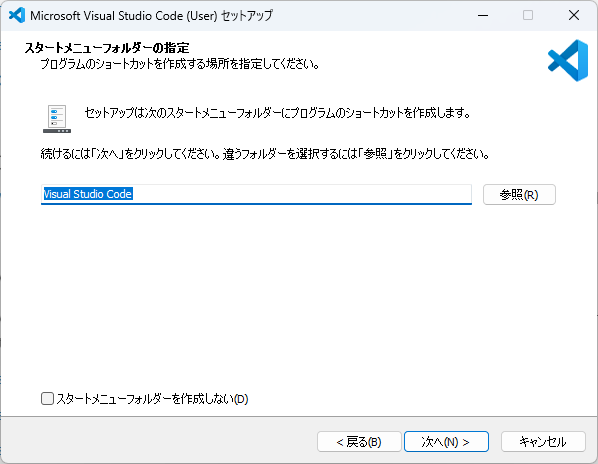
インストール先・スタートメニューフォルダーは変更せずに、画面右下の
次へ(N) >を押す
-
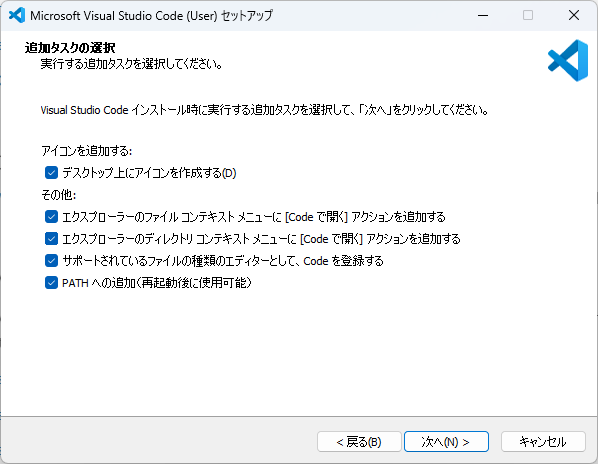
追加タスクはすべての項目にチェックを入れて、画面右下の
次へ(N) >を押す
※ 少し便利になります
-
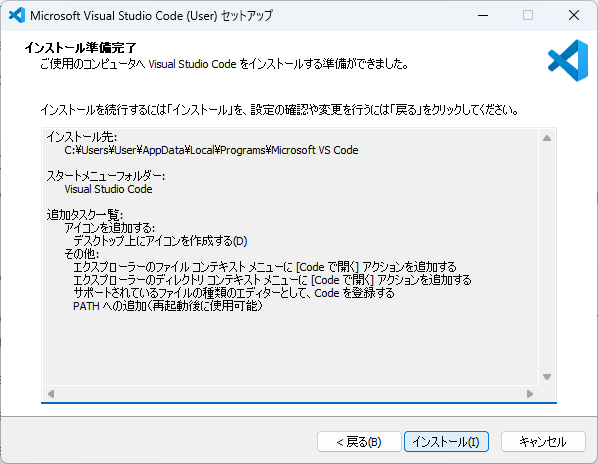
設定内容を確認して画面右下の
インストール(I) >を押す
-
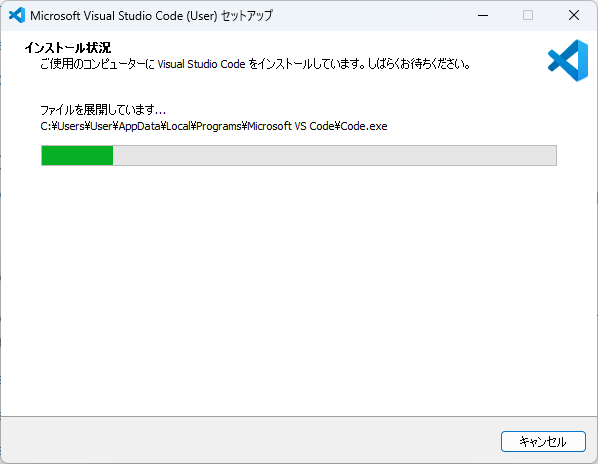
インストール完了を待つ
-
画面右下の
完了(F)を押してセットアップを完了する
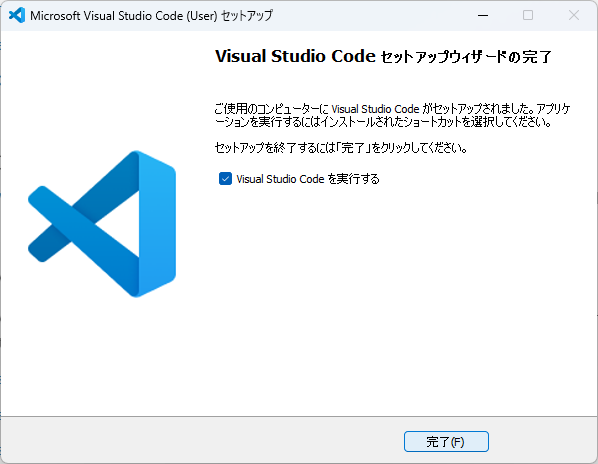
-
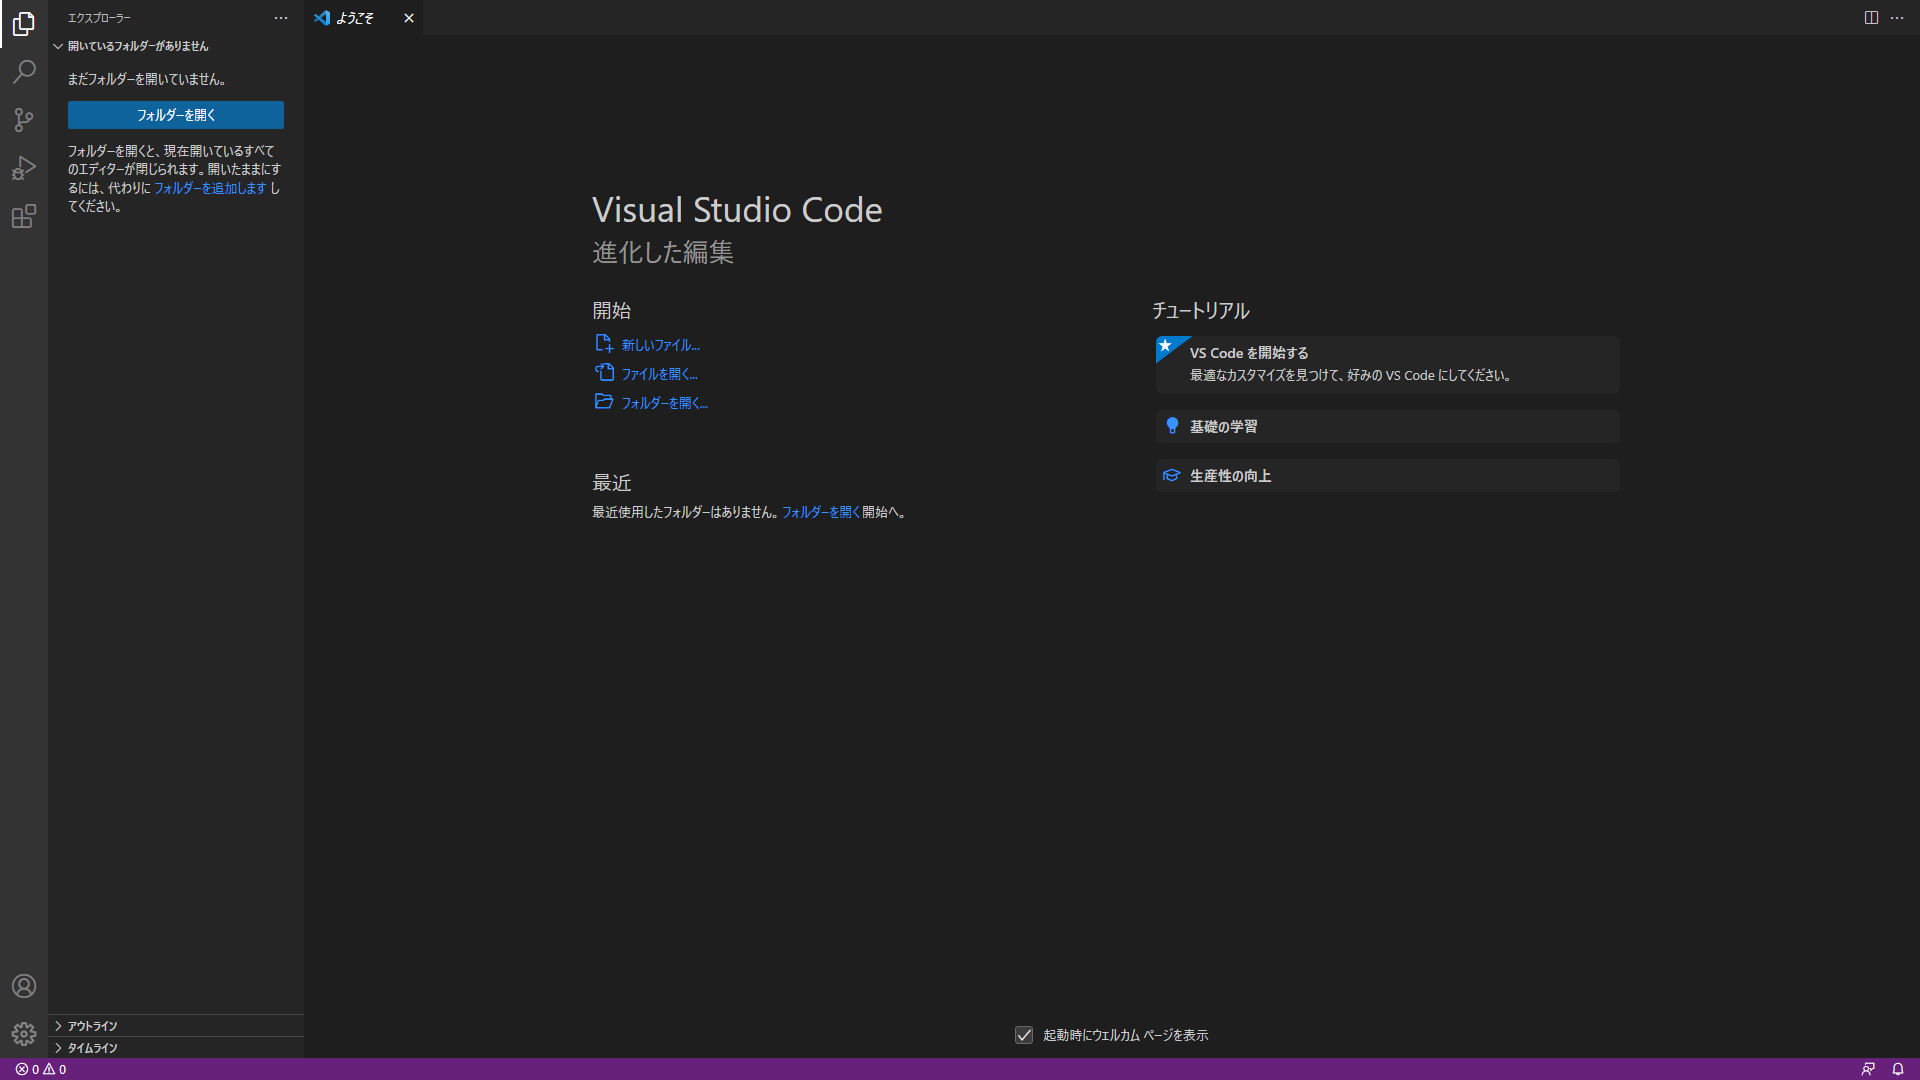
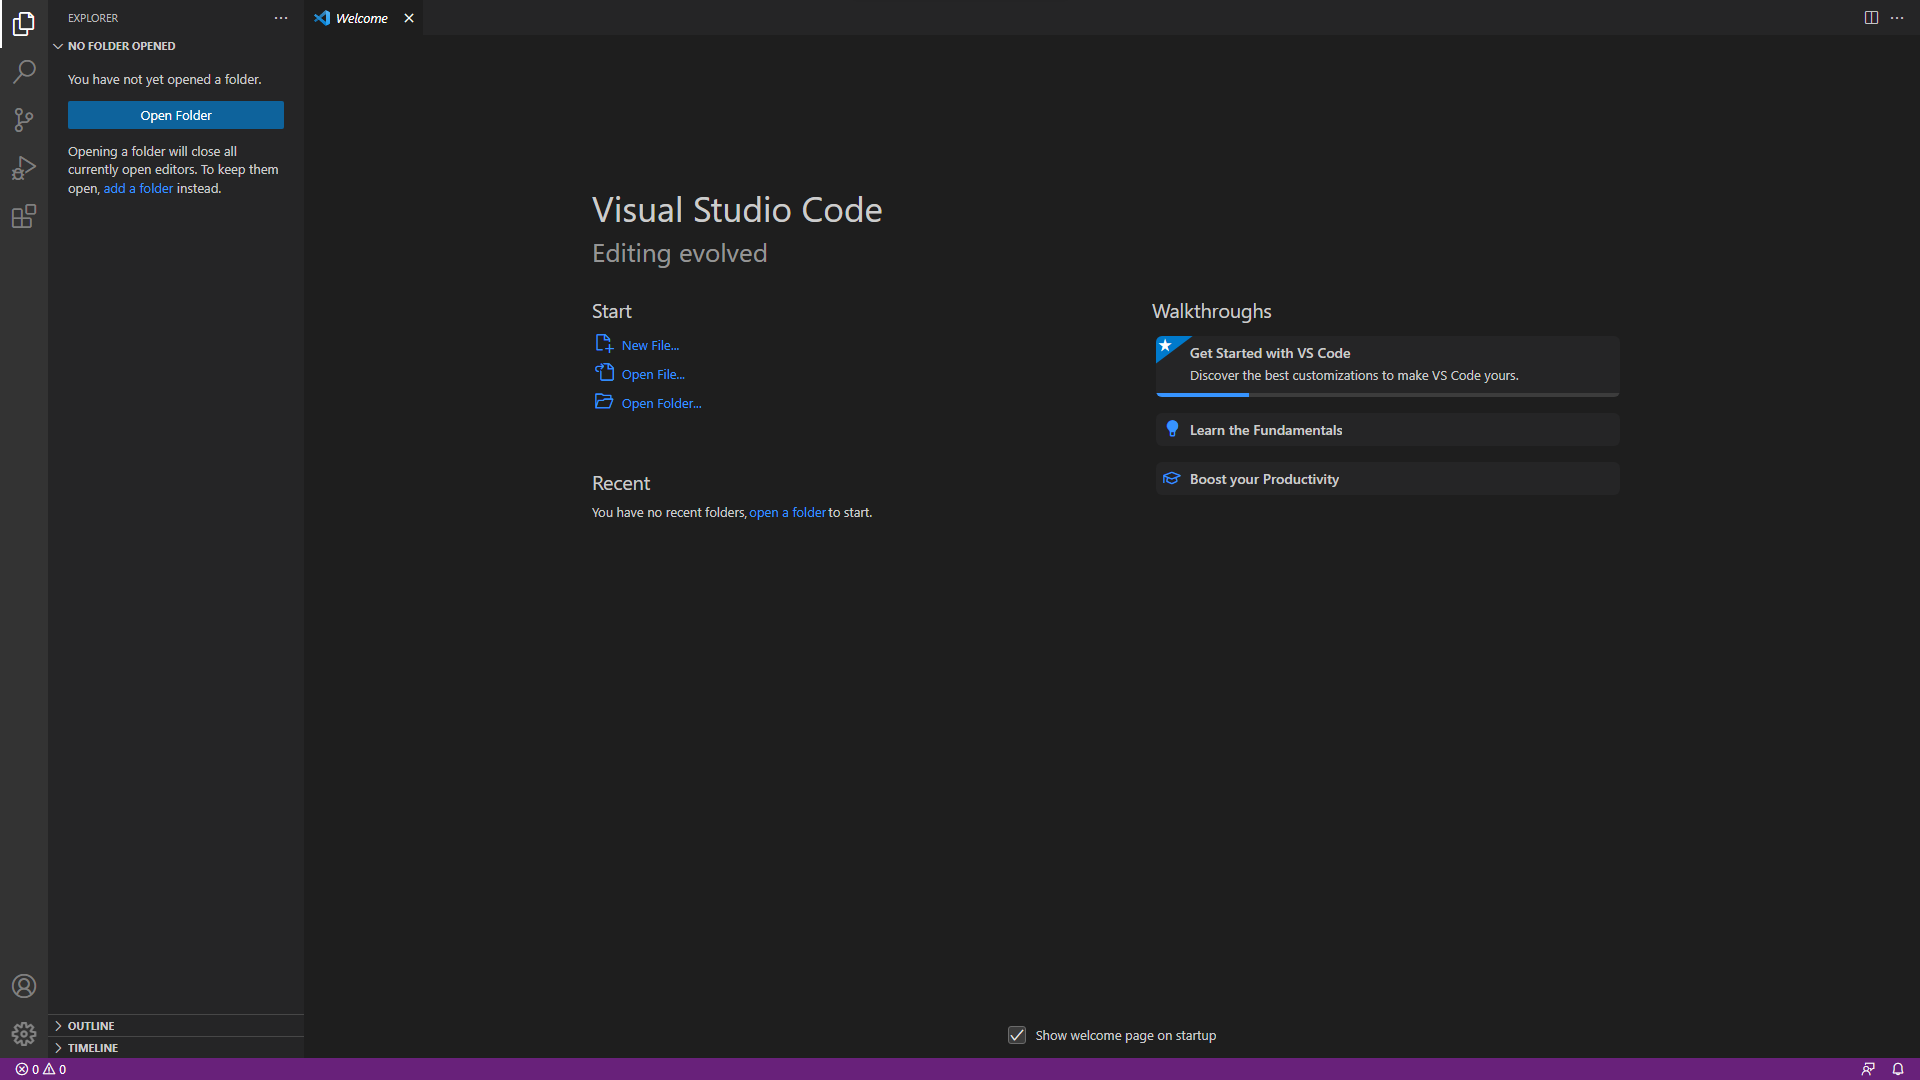
画面が開く
2. VSCodeの画面の日本語化

-
画面左端の四角が4つ並んだ
Extensionsを開く -
画面左上の検索欄(
Search Extensions in Marketplace)にJapanese Language Pack for Visual Studio Codeと入力する
※Japanくらいまで入力すれば一番上に出てくるはず -
検索欄の真下の
Japanese Language Pack for Visual Studio Codeを押す -
右に開いたページの上部にある
Installを押す -
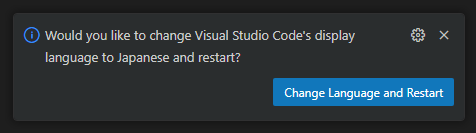
画面右下に再起動ボタンが出現するので、これを押してVSCodeを開き直す
-
日本語化された画面が開く