前置き
そこそこRailsが扱えるようになりました。
ありがたいことに色々コメントをいただく機会もあり、改めて見直してみたところ、ちょっとうまく動かないところとかもあり、Rails自体のバージョンも上がっているので最新版の6.0で書き直すことにしました。
お知らせ
本内容とほとんど同等に動作するものをRails7で再実装しました。作りも荒く、まだ記事としての体裁を整えられていないので限定公開にしていますが、Rails7で開発している方はこちらを参考にしてください。
https://qiita.com/rhiroe/private/2121f96684581a44901e
https://github.com/rhiroe/actioncable_rails7
本題
今回作成するアプリはユーザー認証にDevise、リアルタイムチャットを実現するためにActionCableを使用します。
作成順序は大まかに以下の通りです。
- 全てのユーザーが接続できるオープンなチャットアプリを作成
- グループを作成してそこに参加するメンバーのみでチャットができるよう改良する
開発環境
Ruby 2.6.3
Rails 6.0.0
参考にした記事
・Action Cableでリアルタイムチャットアプリの作成方法 (Rails 5.1.4にて)(その1) herokuで動かす!
・Rails 5 Action Cable メッセージとルームを紐付ける。
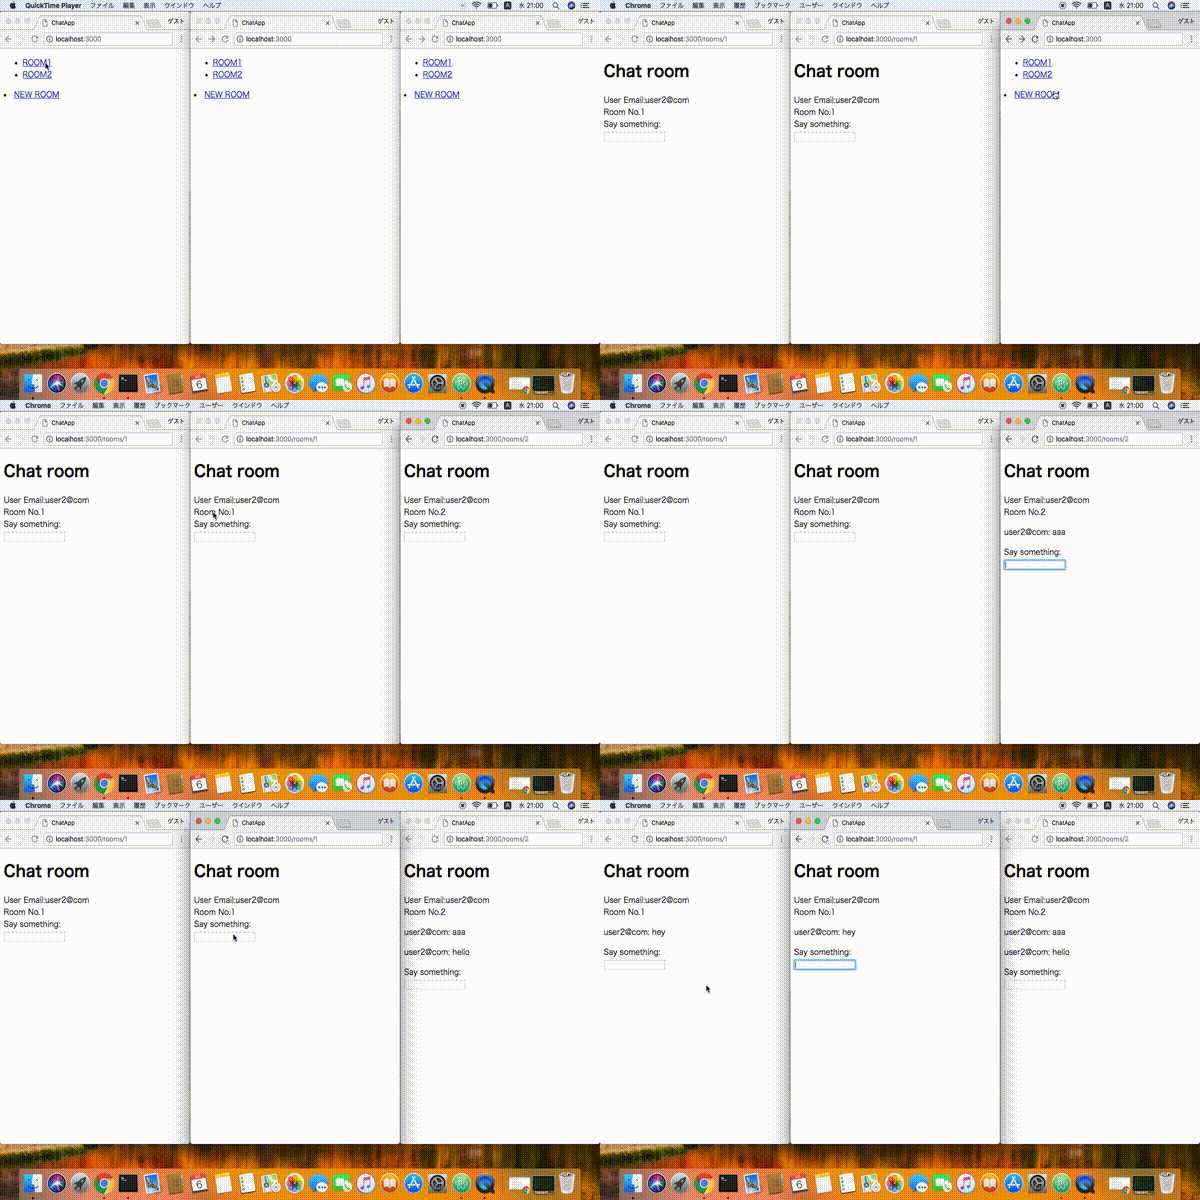
完成形イメージ
下のような同じルーム内でのみリアルタイムで投稿内容が表示されるシンプルなアプリです。

ソースコード
https://github.com/erysk/actioncable
https://github.com/erysk/chat_app (古いバージョンでLINE風にして遊んだみたもの)
アプリの作成
今回はchat_appという名前でアプリケーションを作成します。
まずは全てのユーザーが接続できるオープンなチャットアプリを作成していきます。
テストは作成しません。
DBはデフォルトのSQLiteを使います。
まずはrailsアプリケーションを作成します。
$ mkdir chat_app
$ cd chat_app
$ bundle init
# frozen_string_literal: true

source "https://rubygems.org"

git_source(:github) {|repo_name| "https://github.com/#{repo_name}" }

gem 'rails', '6.0.0'
$ bundle install
$ rails _6.0.0_ new . -T
この-Tというオプションはテストを作成しませんよというものです。
--skip-testの略です。Minitest関連のファイルが自動生成されなくなります。
Gemfileを上書きしますか?と聞かれるので上書きしてください。
Rails6ではデフォルトでwebpackerを使うようになっていますので、
初めての場合yarnをインストールする必要があったりするかと思います。
だいたいはbrew install yarnとかで解決すると思いますが、調べてみてください。
エラーなどでyarnを新しくインストールした場合は再度rails webpacker:installを実行してください。
Gemfileに必要なgemを追加し、インストールします。
gem 'devise'
$ bundle install
ユーザー認証
続いてDeviseでサクッとユーザー認証を実現します。
Deviseについての細かな説明は割愛します。
少し検索すればとても参考になる記事がいくつも出てくると思うのでそちらを参考にしてください。
$ rails g devise:install
$ rails g devise user
$ rails db:migrate
たまにrails g devise:installで固まることがあります。
その場合はspring stopでspringを止めてから再度試してください。
サーバーを起動してhttp://localhost:3000/users/sign_inにアクセスし、ログイン機能を確認。
チャット機能の作成
Messageモデルを作成
# text型のcontentカラムを持つMessageモデルを作成
$ rails g model message content:text
$ rails db:migrate
Roomsコントローラの作成
# showアクションを持つroomsコントローラを作成
$ rails g controller rooms show
ルーティングの設定
Rails.application.routes.draw do
  devise_for :users
  get 'rooms/show'
end
showアクションの中身を追加
class RoomsController < ApplicationController
  before_action :authenticate_user! # Deviseのログイン確認

  def show
    # メッセージ一覧を取得
    @messages = Message.all
  end
end
rooms#showに対応するviewを作成
<h1>Chat room</h1>
<div id='messages'>
  <%= render @messages %>
</div>
render @messagesとはrender partial: 'messages/message', collection: @messagesの略です。
メッセージ毎にmessages/_message.html.erbというパーシャルが適用されるようになります。
message1つ1つを表示するパーシャルを追加
<div class='message'>
  <p><%= message.content %></p>
</div>
この中のmessage変数の中に@messagesのそれぞれのレコードが代入されています。
投稿データの登録
$ rails c
Message.create! content: 'Hello'
http://localhost:3000/rooms/showにアクセスし、投稿したデータが表示されるか確認
Roomチャネルの作成
ActionCableの機能を使うためにチャネルを作成します。
その前にjQueryを使えるようにしておきましょう。
$ yarn add jquery
const { environment } = require('@rails/webpacker');

const webpack = require('webpack');

environment.plugins.append('Provide',
  new webpack.ProvidePlugin({
    $: 'jquery/src/jquery',
    jQuery: 'jquery/src/jquery'
  })
);

module.exports = environment;
// 追加
require('jquery');
デベロッパーツールのコンソールでバージョンが表示されればOK。
console.log($.fn.jquery);
// 3.4.1
speakメソッドを持つroomチャネルを作成します。
$ rails g channel room speak
app/channel/room_channel.rbのsubscribedメソッドのコメントアウトを外し、"room_channel"をstreamする。
そしてspeakアクションに引数を用意し、中身を追加する
class RoomChannel < ApplicationCable::Channel
  def subscribed
    stream_from "room_channel"
  end

  def unsubscribed
    # Any cleanup needed when channel is unsubscribed
  end

  def speak(data)
    # jsで実行されたspeakのmessageを受け取り、room_channelのreceivedにブロードキャストする
    ActionCable.server.broadcast 'room_channel', message: data['message']
  end
end
channelのspeakを実行させるためにjsでspeak関数を定義する。
consumer.subscriptions.create("RoomChannel", {
  // ...
  // これが実行されるとコンシューマになったRoomChannel#speak({ message: message })が呼ばれる
  speak: function(message) {
    return this.perform('speak', {
      message: message
    });
  }
});
データを受け取った際のアクションを定義する。
consumer.subscriptions.create("RoomChannel", {
  // ...
  // room_channel.rbでブロードキャストされたものがここに届く
  received: function(data) {
    return alert(data['message']);
  },
  // ...
});
フォームの作成
<h1>Chat room</h1>
<div id='messages'>
  <%= render @messages %>
</div>

<%= label_tag :content, 'Say something:' %>
<%= text_field_tag :content, nil, data: { behavior: 'room_speaker' } %>
フォーム内でエンターキーを押した時の動作を定義
const chatChannel = consumer.subscriptions.create("RoomChannel", {
  // ...
});


$(document).on('keypress', '[data-behavior~=room_speaker]', function(event) {
  if (event.keyCode === 13) {
    chatChannel.speak(event.target.value);
    event.target.value = '';
    return event.preventDefault();
  }
});
サーバー起動、テキストボックスに文字を入力してエンターを押してアラートが出ればOK
入力したものが保存されるように改善
speakアクションの書き換え
  def speak(data)
    # ActionCable.server.broadcast 'room_channel', message: data['message']
    Message.create! content: data['message']
  end
Broadcastのjobを作成
$ rails g job MessageBroadcast
作成されたjobファイルを編集し、ブロードキャスト処理を追加
  def perform(message)
    ActionCable.server.broadcast 'room_channel', message: render_message(message)
  end

  private

    def render_message(message)
      ApplicationController.renderer.render partial: 'messages/message', locals: { message: message }
    end
###messageモデルを編集する
バリデーションとデータ作成後にジョブを実行させるよう追記する
class Message < ApplicationRecord
  validates :content, presence: true
  # createの後にコミットする { MessageBroadcastJobのperformを遅延実行 引数はself }
  after_create_commit { MessageBroadcastJob.perform_later self }
end
サーバー起動、文字入力後エンターを押し、入力した文字入りHTMLがアラートされればOK
非同期でアラートの代わりに画面に文字を表示させる
  received: function(data) {
    return $('#messages').append(data['message']);
  }
実際にメッセージを送信して確認
これでチャット機能は実装されました。
複数のルームとメッセージの紐付け
ここからは先ほど作ったアプリを改良して、複数ルームのそれぞれのルームの接続者のみにチャットが見えるようにします。
Roomモデルの作成
$ rails g model room
$ rails db:migrate
###モデルの紐付け
Messageモデルに紐付けのためのカラムを追加します。
$ rails g migration AddUserRefAndRoomRefToMessages user:references room:references
うまいこと自動生成されてなかった場合は手直しする。
class AddUserRefAndRoomRefToMessages < ActiveRecord::Migration[6.0]
  def change
    add_reference :messages, :user, null: false, foreign_key: true
    add_reference :messages, :room, null: false, foreign_key: true
  end
end
デフォルト値の無いNotNullなカラムをいきなり追加しようとするとエラーになるので小細工する。
class AddUserRefAndRoomRefToMessages < ActiveRecord::Migration[6.0]
  def change
    add_reference :messages, :user, foreign_key: true
    add_reference :messages, :room, foreign_key: true
    change_column_null :messages, :user_id, false
    change_column_null :messages, :room_id, false
  end
end
$ rails db:migrate
UserモデルとRoomモデルに紐付けのためのhas_manyとbelongs_toを追加
class User < ApplicationRecord

  # ...

  has_many :messages
end
class Room < ApplicationRecord
  has_many :messages
end
class Message < ApplicationRecord

  # ...

  belongs_to :user
  belongs_to :room
end
##接続ルームのメッセージのみが表示されるようControllerとViewを変更
Controller
class RoomsController < ApplicationController

  # ついでにRoom一覧を表示させるアクションも追加しておく
  def index
    @rooms = Room.all.order(:id)
  end

  def show
    @room = Room.find(params[:id])
    @messages = @room.messages
  end
end
Rails.application.routes.draw do
  devise_for :users

  # rootはRoom一覧画面にしておく
  root 'rooms#index'

  # resourcesを使うとRESTfulなURLを自動生成できる
  resources :rooms, only: %i[show]
end
View
紐づいたデータを表示させるよう修正する。
接続ルームに紐づいたメッセージを全て表示させるためのview
<%#                ここの data-room_id を使ってjs側で部屋を見分ける %>
<div id='messages' data-room_id="<%= @room.id %>">
  <%= render @messages %>
</div>

<%= label_tag :content, 'Say something:' %>
<%= text_field_tag :content, nil, data: { behavior: 'room_speaker' } %>
接続ルームに紐づいたメッセージ1つ1つを表示するパーシャル
<div class='message'>
  <%# 投稿者を特定できるようにメールアドレスを表示させておく %>
  <p><%= "#{message.user.email}: #{message.content}" %></p>
</div>
ついでにRoom一覧画面も追加しておこう
<div>
  <ul>
    <% @rooms.each do |room| %>
      <li><%= link_to "ROOM#{room.id}", room_path(room) %></li>
    <% end %>
  </ul>
</div>
Room.idを受け取り、監視する場所を分ける
import consumer from './consumer'

// $(function() { ... }); で囲むことでレンダリング後に実行される
// レンダリング前に実行されると $('#messages').data('room_id') が取得できない
// turbolinks を使っている場合は $(document).on('turbolinks:load', function() { ... }); で囲う
$(function() {
  const chatChannel = consumer.subscriptions.create({ channel: 'RoomChannel', room: $('#messages').data('room_id') }, {
    connected() {
      // Called when the subscription is ready for use on the server
    },

    disconnected() {
      // Called when the subscription has been terminated by the server
    },

    received: function(data) {
      return $('#messages').append(data['message']);
    },

    speak: function(message) {
      return this.perform('speak', {
        message: message
      });
    }
  });

  $(document).on('keypress', '[data-behavior~=room_speaker]', function(event) {
    if (event.keyCode === 13) {
      chatChannel.speak(event.target.value);
      event.target.value = '';
      return event.preventDefault();
    }
  });
});
class RoomChannel < ApplicationCable::Channel
  def subscribed
    stream_from "room_channel_#{params['room']}"
  end

  # ...

  def speak(data)
    Message.create! content: data['message'], user_id: current_user.id, room_id: params['room']
  end
end
ブロードキャストする場所もルームごとに分ける
  def perform(message)
    ActionCable.server.broadcast "room_channel_#{message.room_id}", message: render_message(message)
  end
current_user情報を取得する
Deviseを使っている場合、ログインユーザーのIDはクッキーの以下に格納されている
cookies.encrypted[Rails.application.config.session_options[:key]]['warden.user.user.key'][0][0]
また、ログインユーザーのインスタンスには以下でアクセスできる。
env['warden'].user
これを使ってcurrent_userをWebsocket側で使うためのコードを書く
module ApplicationCable
  class Connection < ActionCable::Connection::Base
    identified_by :current_user

    def connect
      reject_unauthorized_connection unless find_verified_user
    end

    private

    def find_verified_user
      self.current_user = env['warden'].user
    end
  end
end
##完成
あとはログインしないとチャットできないようにしたり、Roomの新規作成機能を付け加えたり、メッセージ画面をおしゃれな感じにしたり、Roomの閲覧制限をかけたりこの辺りは簡単にできると思う。
わかんないこととかあったら気軽にコメントかTwitterの方に連絡してくれれば責任を持って説明します。
あと、記事の内容を書き換えたので(一応確認はしたけど)うまく動かないとかがもしあれば教えてください。