はじめに
Oculus Goの画面上にCanvasを表示してみます。
準備
手順
1. Canvasの追加
Hierarchy上にCanvasを追加し、インスペクタで、以下のような設定に変更する。
| 項目名 | 値 |
|---|---|
| Render Mode | WorldSpace |
| Event Camera | OVRCameraRig > TrackingSpace > CenterEyeAnchor |
| Rect Transform | (PosX, PosY, PosZ) = (0, 0, 200) |
| Width | 500 |
| height | 200 |

2. OVRRaycasterの追加、Graphic Raycasterの削除
「Graphic Raycaster」コンポーネントを削除し、Assets > OVRInputSelection > InputSystem > OVRRaycasterを追加する。

3. EventSystemの設定
「Standalone Input Module」を削除し、Assets > OVRInputSelection > OVRInputModuleを追加し、インスペクタで、以下のような設定に変更する。
| 項目名 | 値 |
|---|---|
| Tracking Space | OVRCameraRig > TrackingSpace |
4. Canvasに背景色をつける
「Image」コンポーネントを追加し、Canvasの範囲がわかりやすいように背景色をつける。
5. 実行
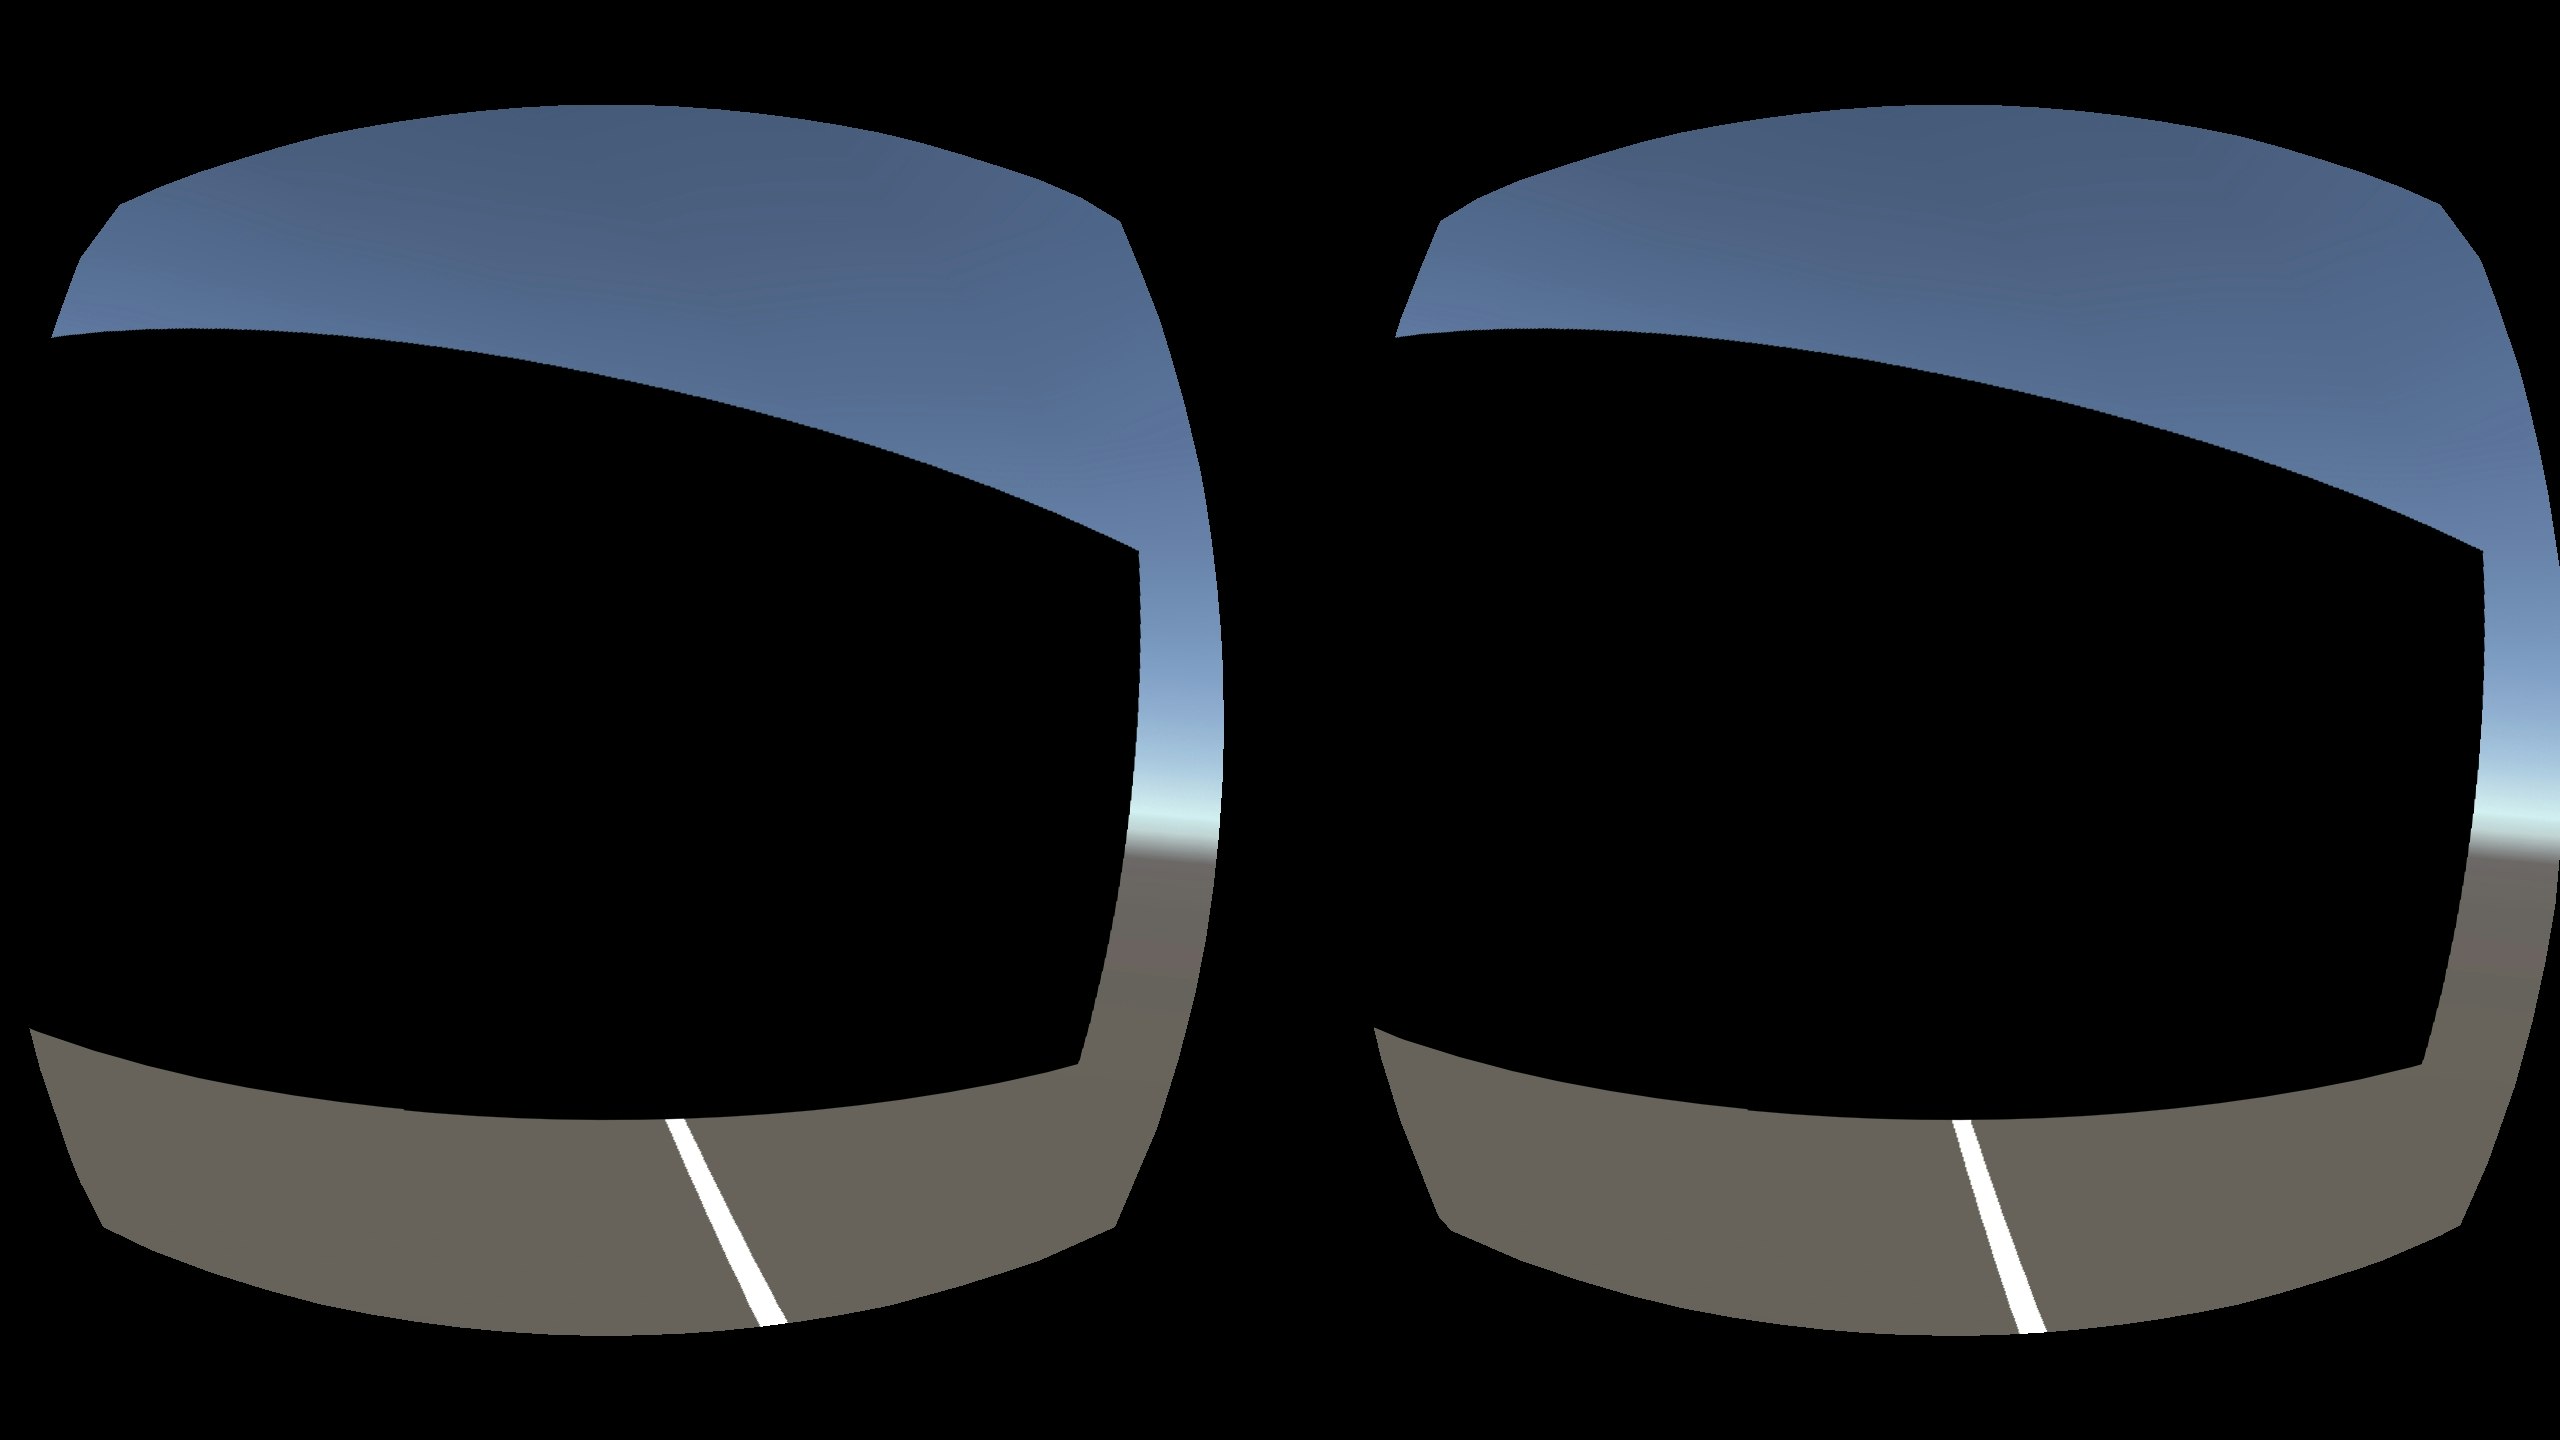
Canvasが表示されました。
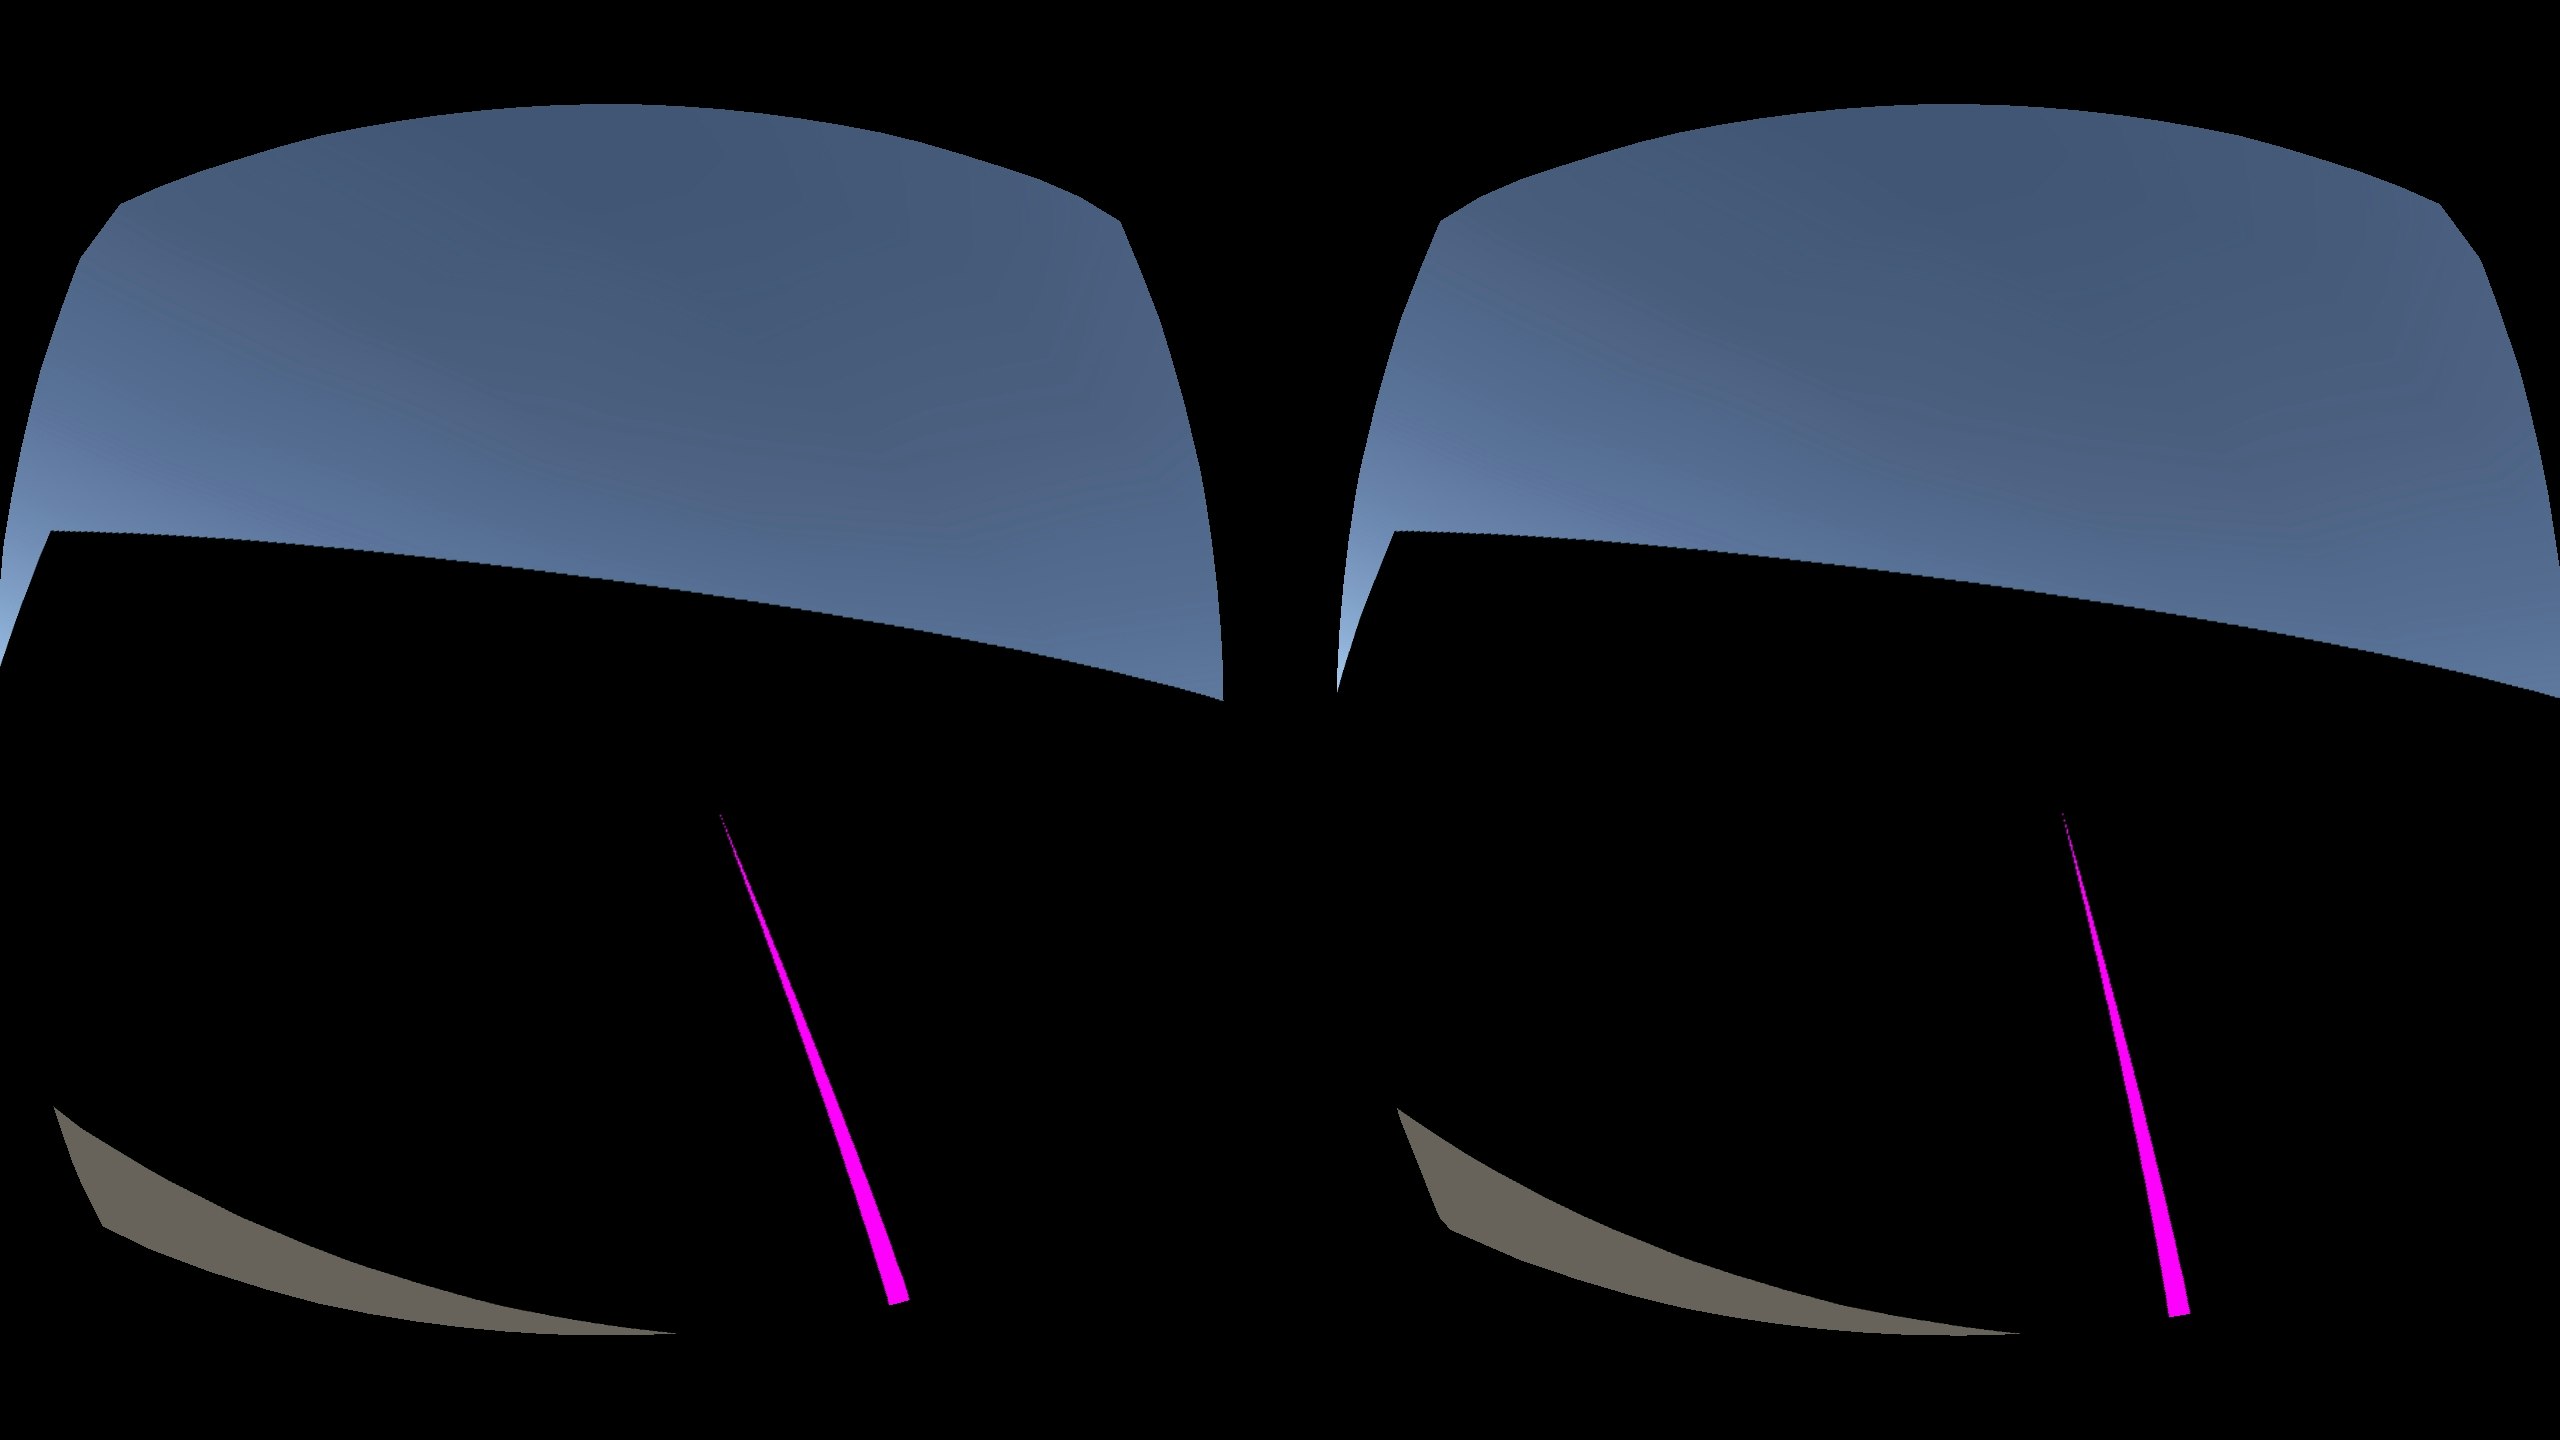
が、、、レーザーポインタが突き抜けています。
OVRPointerVisualizer.csのコードを修正すると、良い感じになりました。
おまけ
6. UIパーツの追加
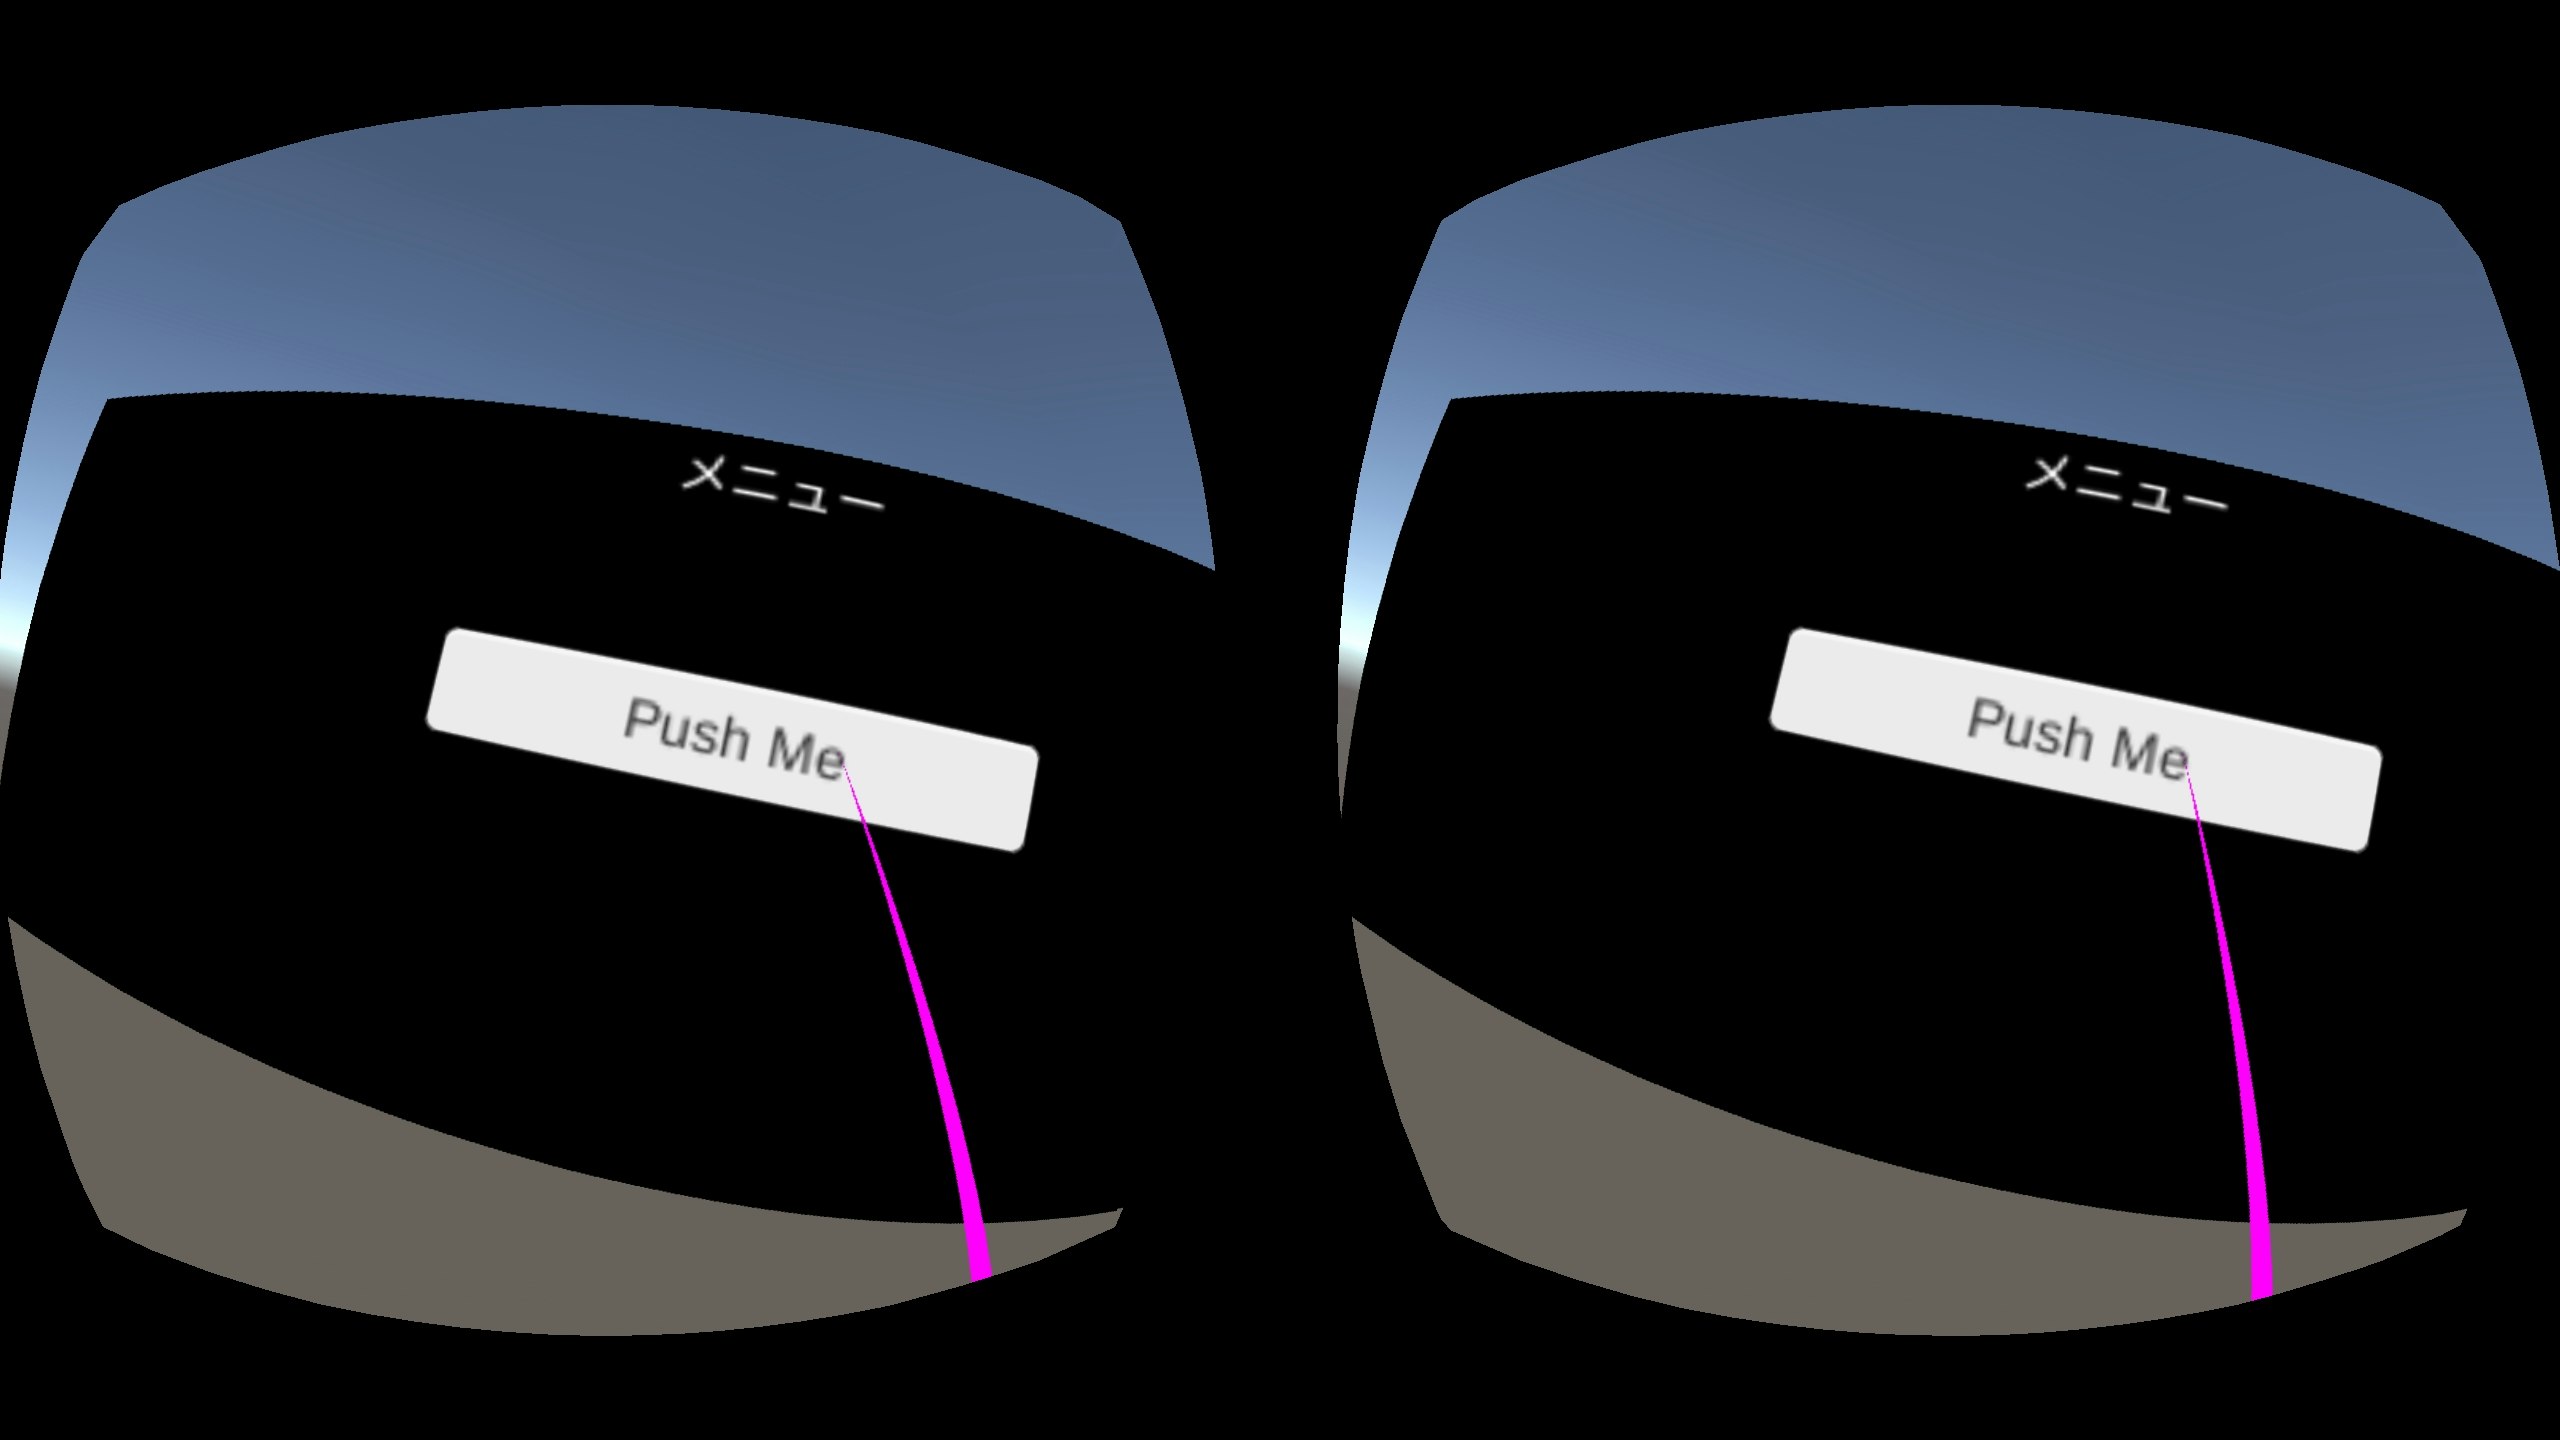
Canvas上にTextとButtonを適当に配置してみます。
ゲーム画面上は、以下のように配置しました。
| 項目名 | 値 |
|---|---|
| Text (x,y,z) | (0, 80, 0) |
| Button (x,y,z) | (0, 20, 0) |
画面の中心が、(0,0)ぽいことが、ようやく分かってきました。

7. 実行
Game画面と特に変化はありません。
次回への課題
イベント処理を実装できるようにしたいです。


