React Native で、UI, UX改善のため、マイクロインタラクションを実装したい!
ただし、Affter Effect 使ったことない!
でも、 Lottie っていう素敵なサイトから、簡単にアニメーションを取り入れることができるらしい!
ただ、公式通りに手順を進めても、全然アニメーション実装できねえぞ、こら!!!
って方のために、お役に立てる記事です。
こちらの記事が参考になりました。
有難うございます。
React Native でアニメーションを実現するなら lottie-react-native で決まり
では、やっていきましょう〜
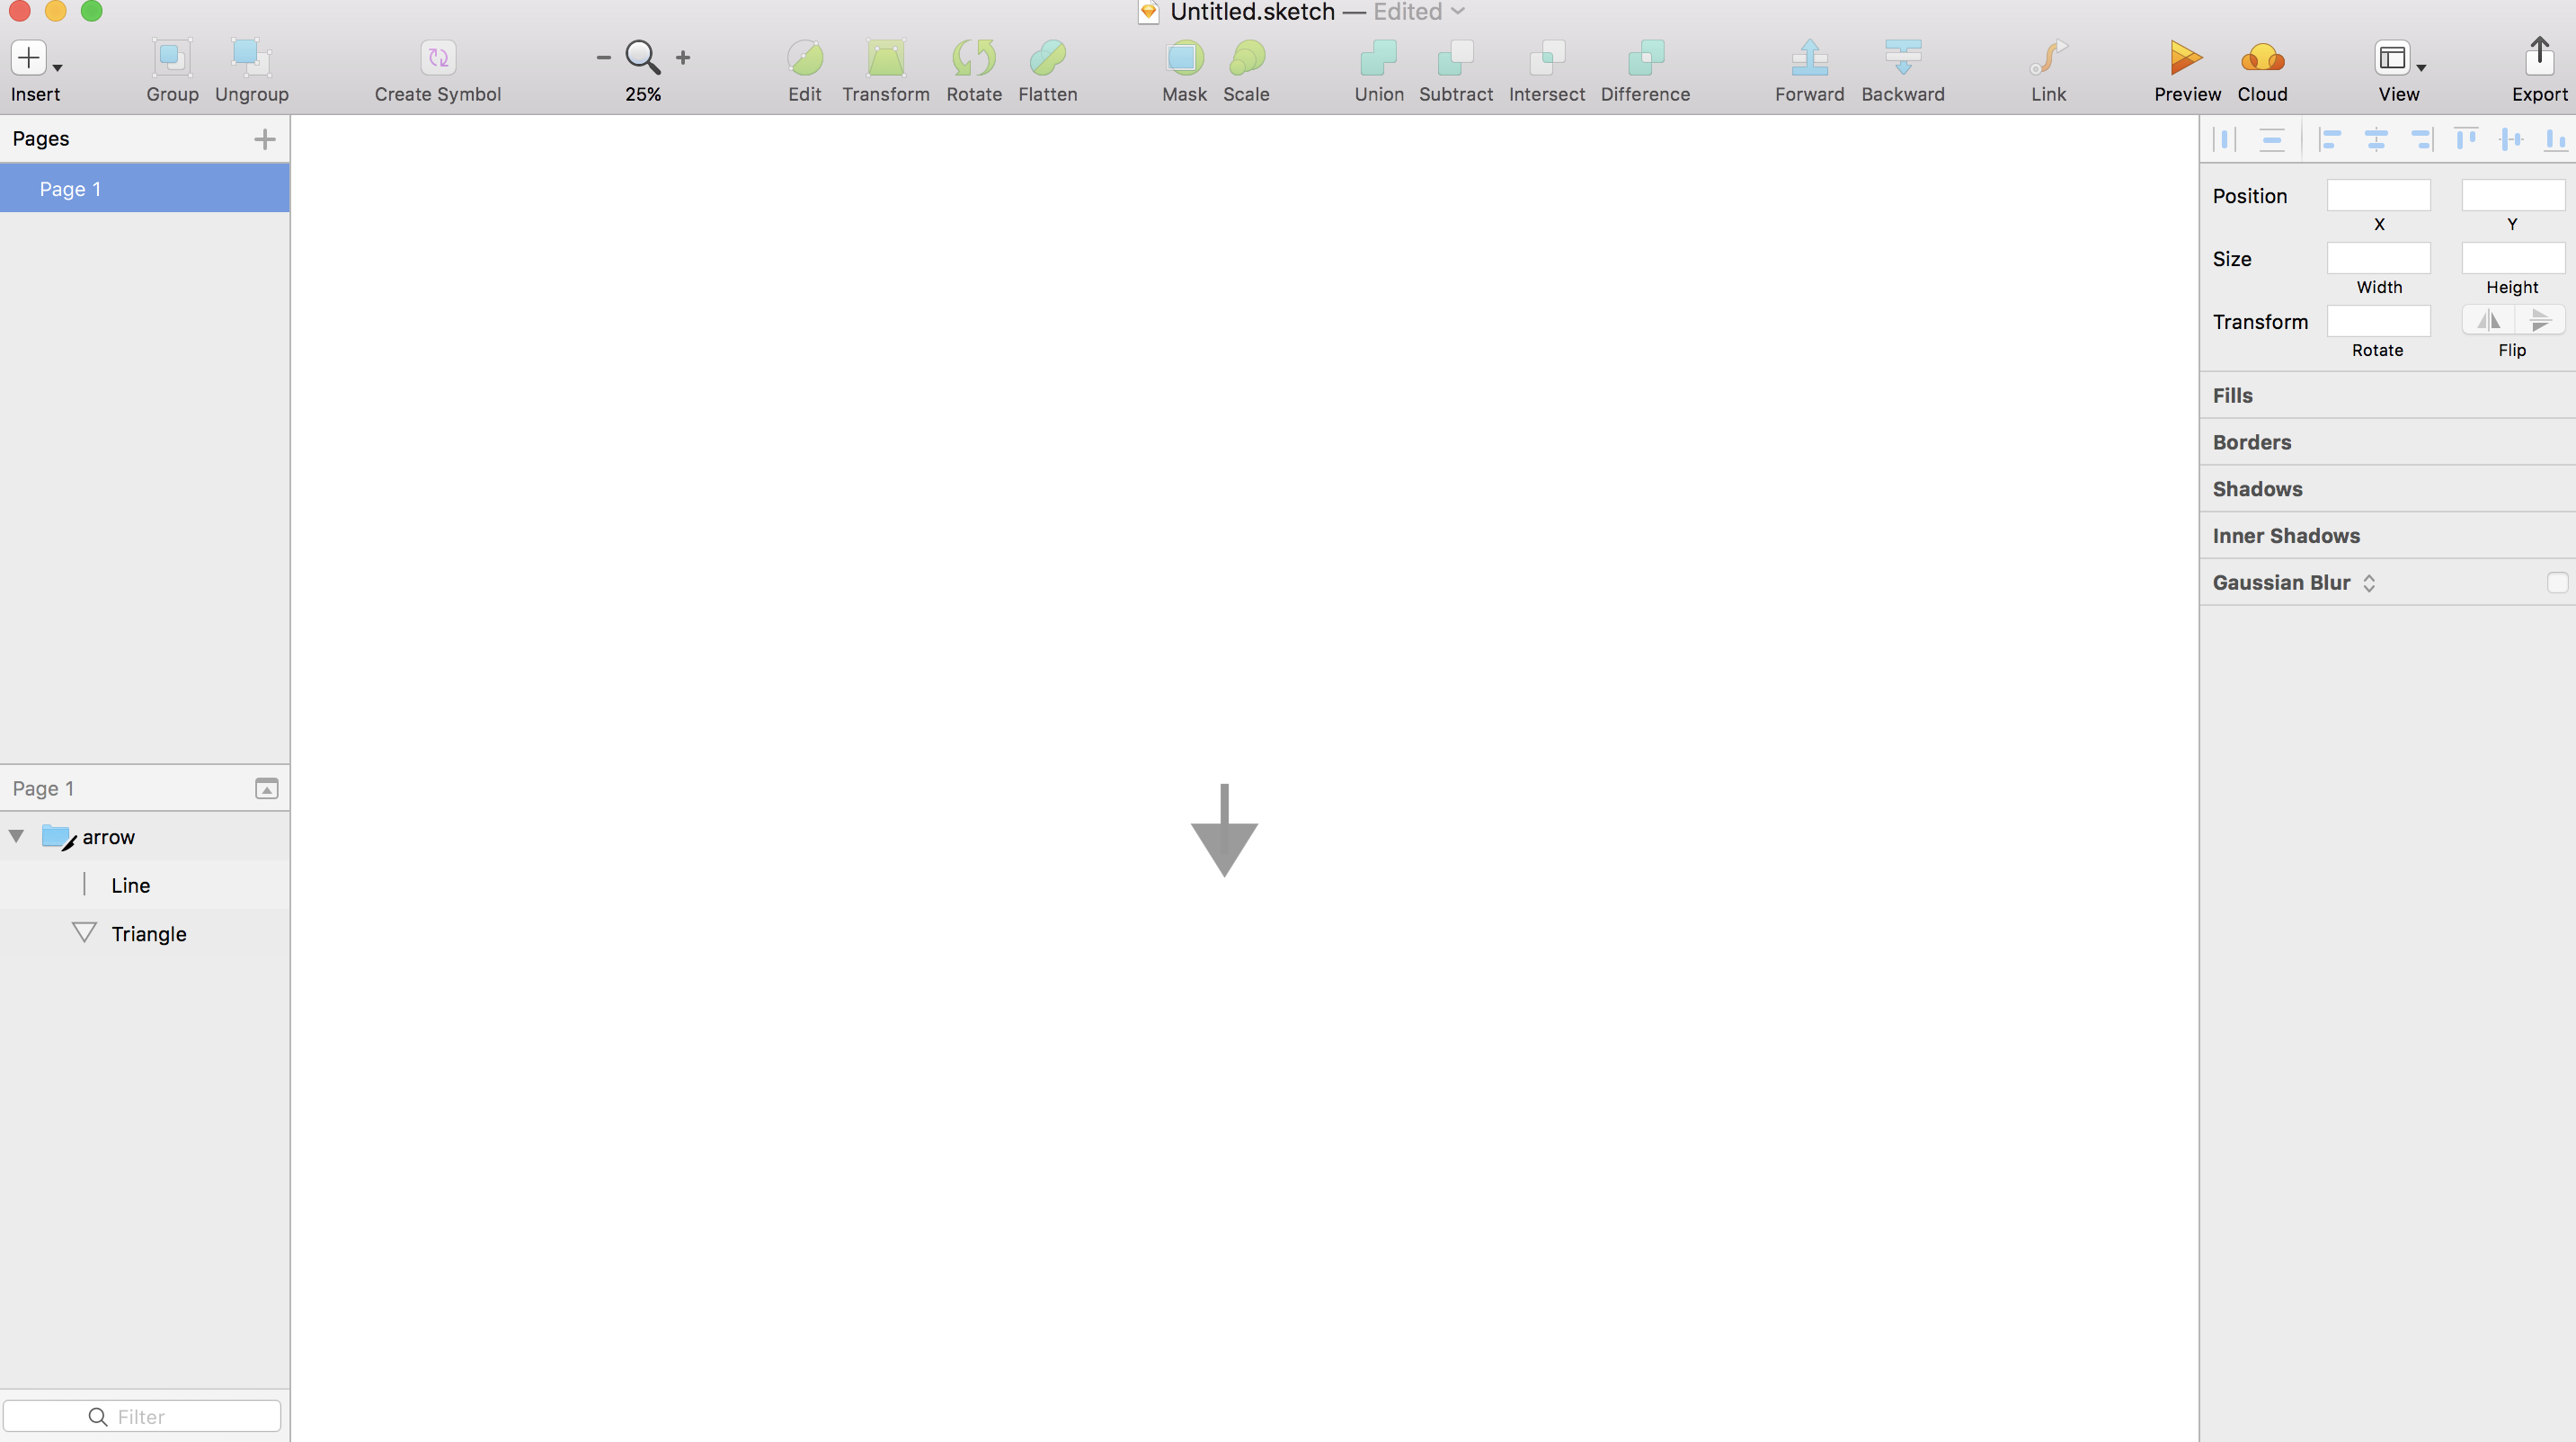
1. sketchで画像を作る
では、適当に矢印の画像を作りましょう。ここで注意、作り終わったら、必ずCommand + S でsaveしましょう。
2. Haikuをdownload
これが、超絶おすすめです。無料だなんて・・・!
理由としては、
- sketch と互換している
- animation をjson ファイルとして吐き出しているので、容量を食わない
- 操作が簡単
- react native に対応している
- 名前がいい。日本人の心をくすぐる。
では、早速やってみましょう。
3. Haikuにsketch のファイルをインポートする
こちらの記事が参考になりました。
Motion design for the web, iOS & Android with Haiku
簡単に手順を述べます。
1: + ボタンをクリックし、新しいProjectを始める。
2: LIBRARY の横の+ボタンをおして、Import new file をクリックし、作成したsketchを読み込む
3: Haikuの下の画面で、適当なアニメーションをつける。
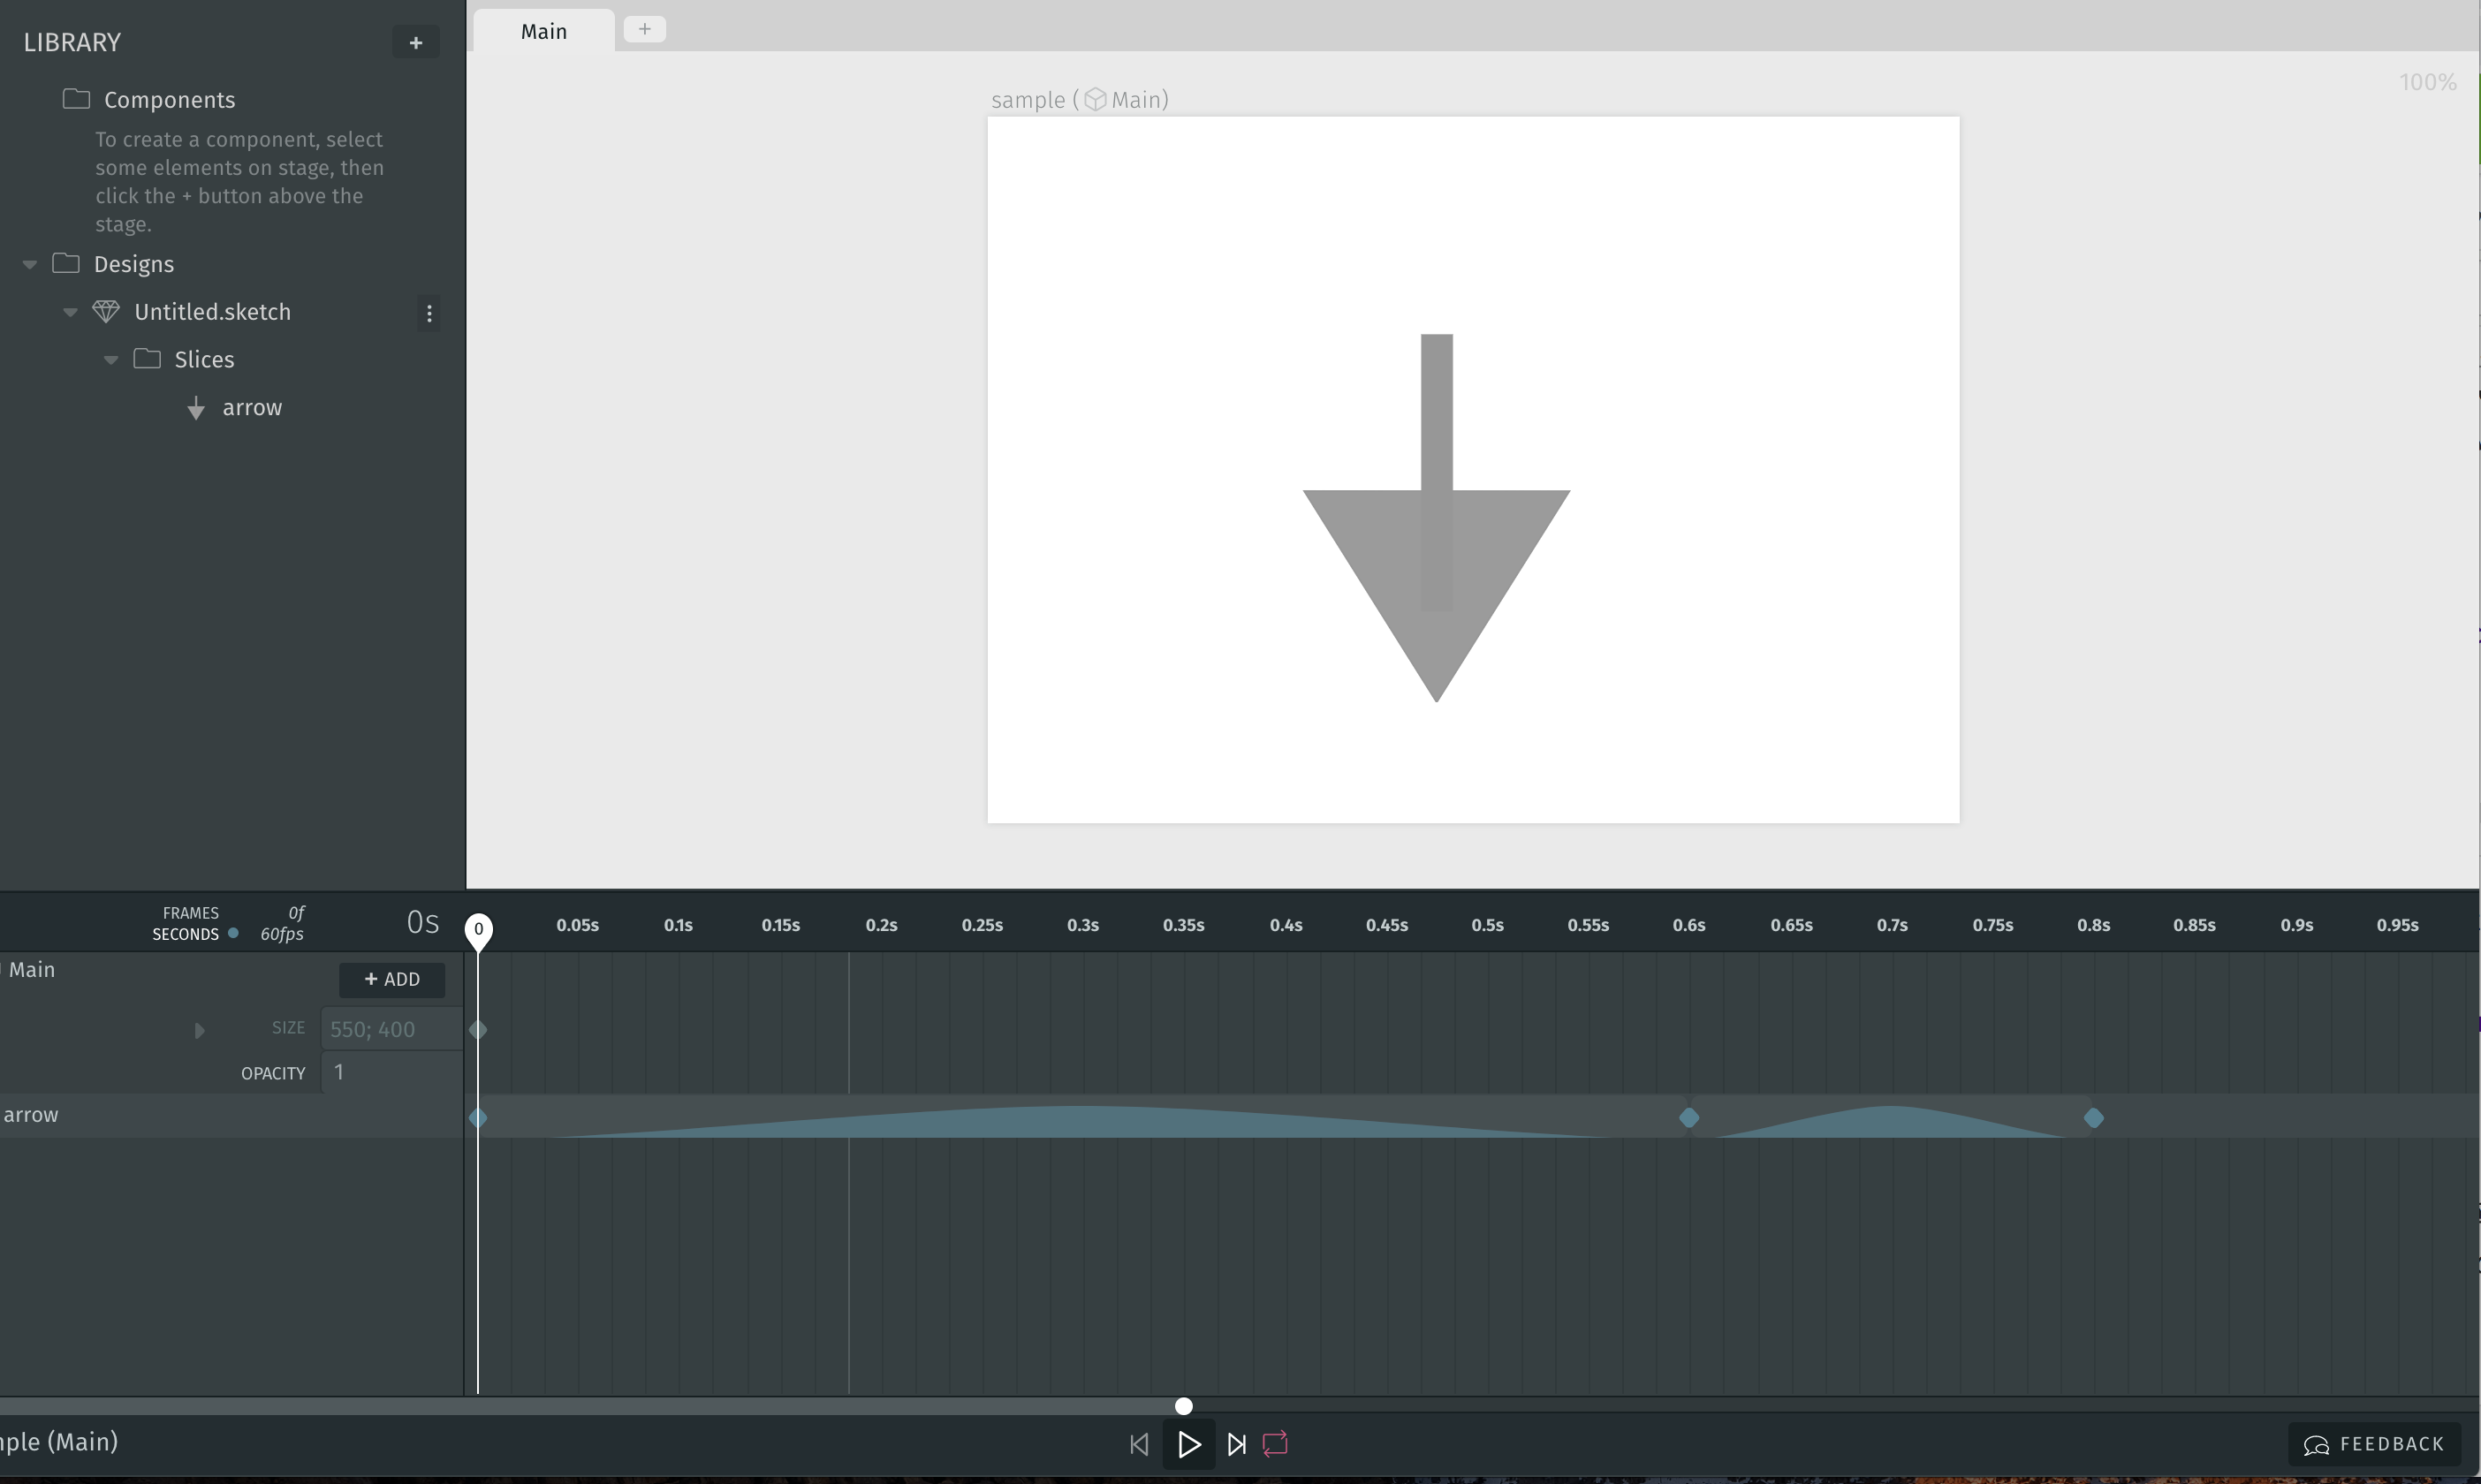
ここからが本番です。
4: 右上のPUBLISH をおす。
5: REACT NATIVE をクリック
6: Download JSON し、できたJSONファイルを自分のテキストエディタに取り込む
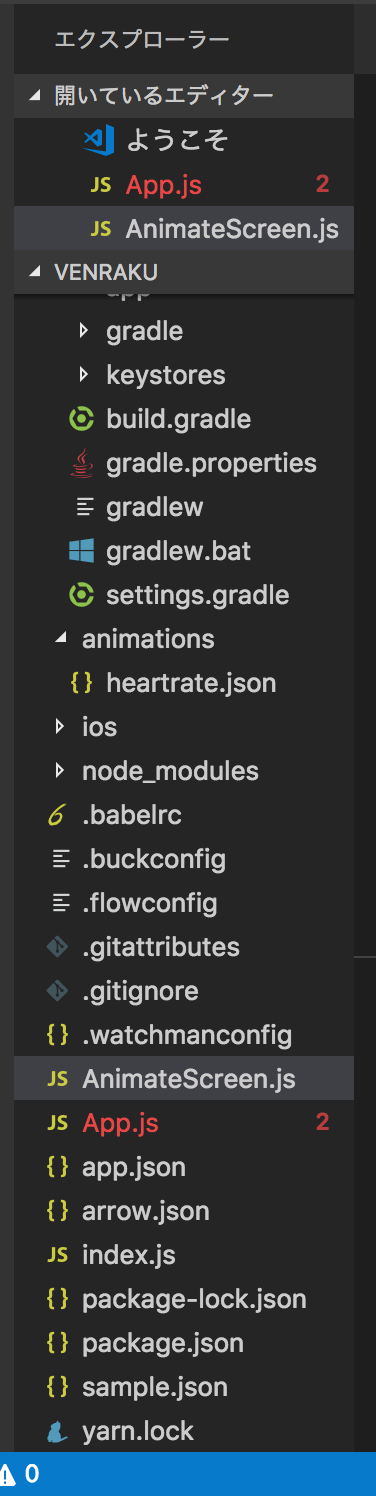
arrow.json という形で取り込みました。
では、Reactnative でLottie ファイルを使えるようにしましょう。
(すでに、react native init 〇〇 → reactnative run-ios してプロジェクトを作ってあるものとします。)
npm i --save lottie-react-native
react-native link
ここで、アプリを再起動すると
'Lottie/Lottie.h' file not found
# import <Lottie/Lottie.h>
というビルドエラーが発生します。
あわてず、XCODEを修正します。
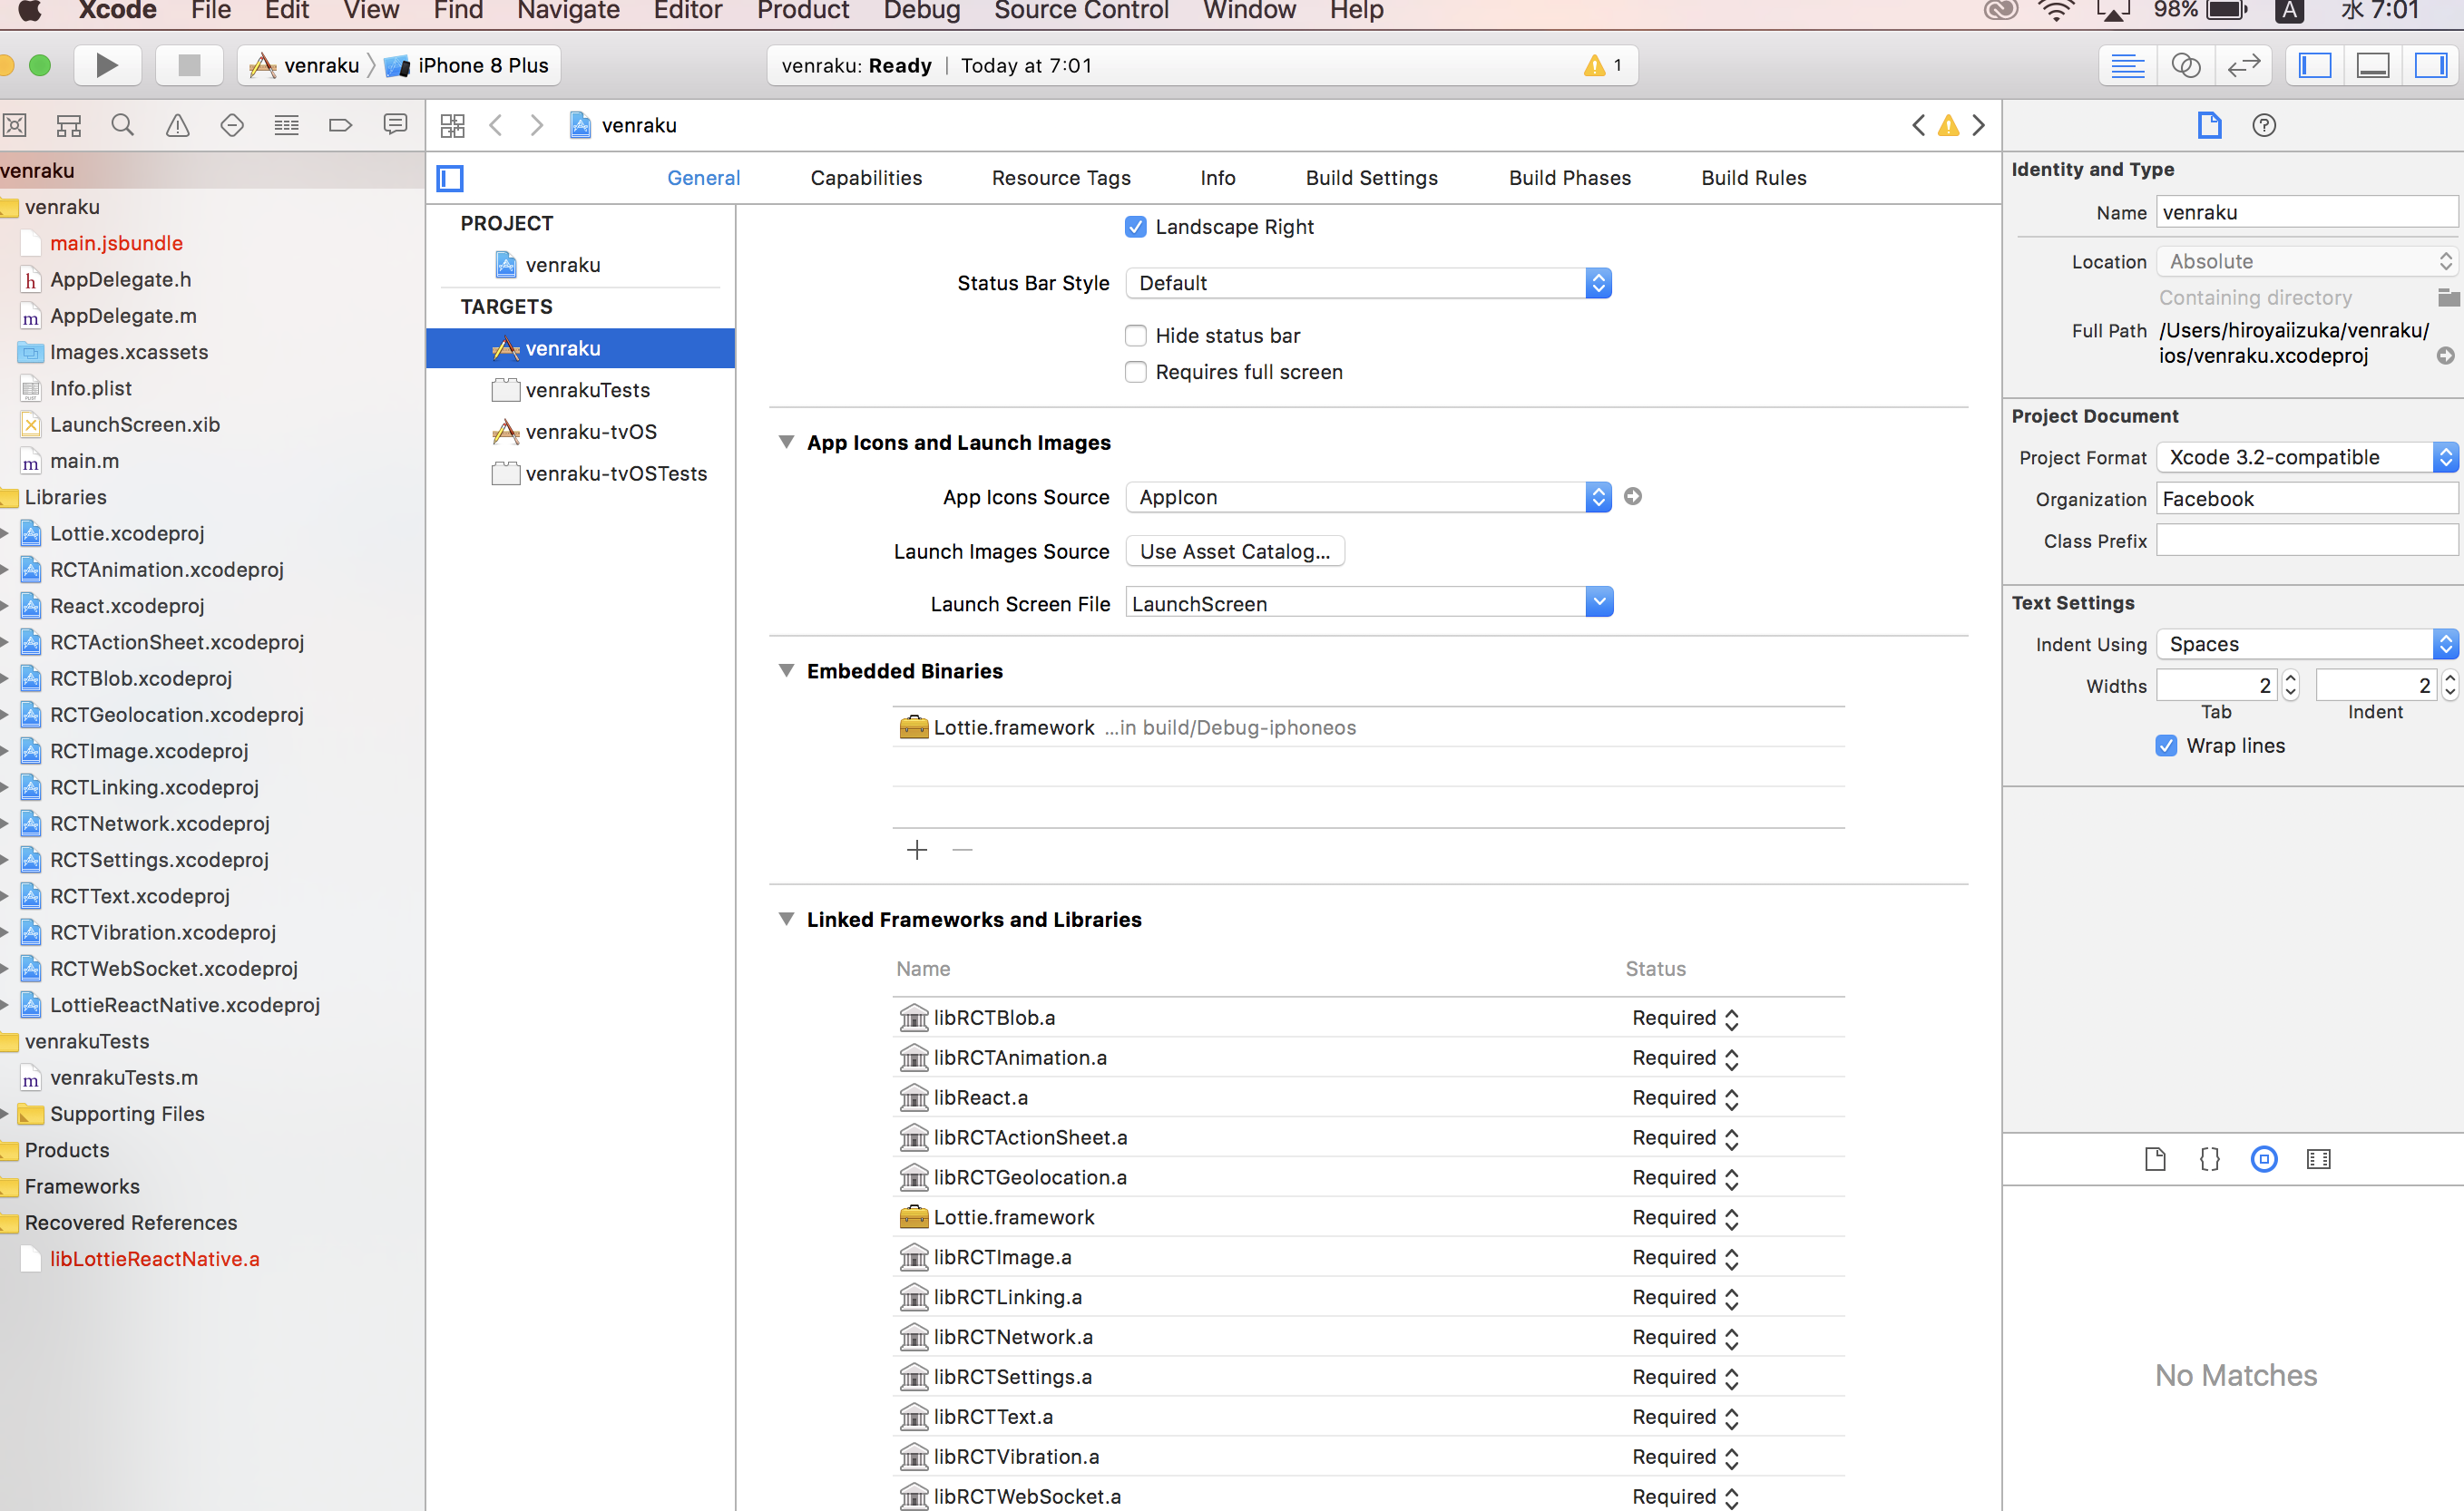
7: /ios/ProjectName.Xcodeproj からXCODEを立ち上げます。
node_modules 内の Lottie.xcodeproj を Xcode のプロジェクト内のLibraries の中に、
ドロッグアンドドロップします。
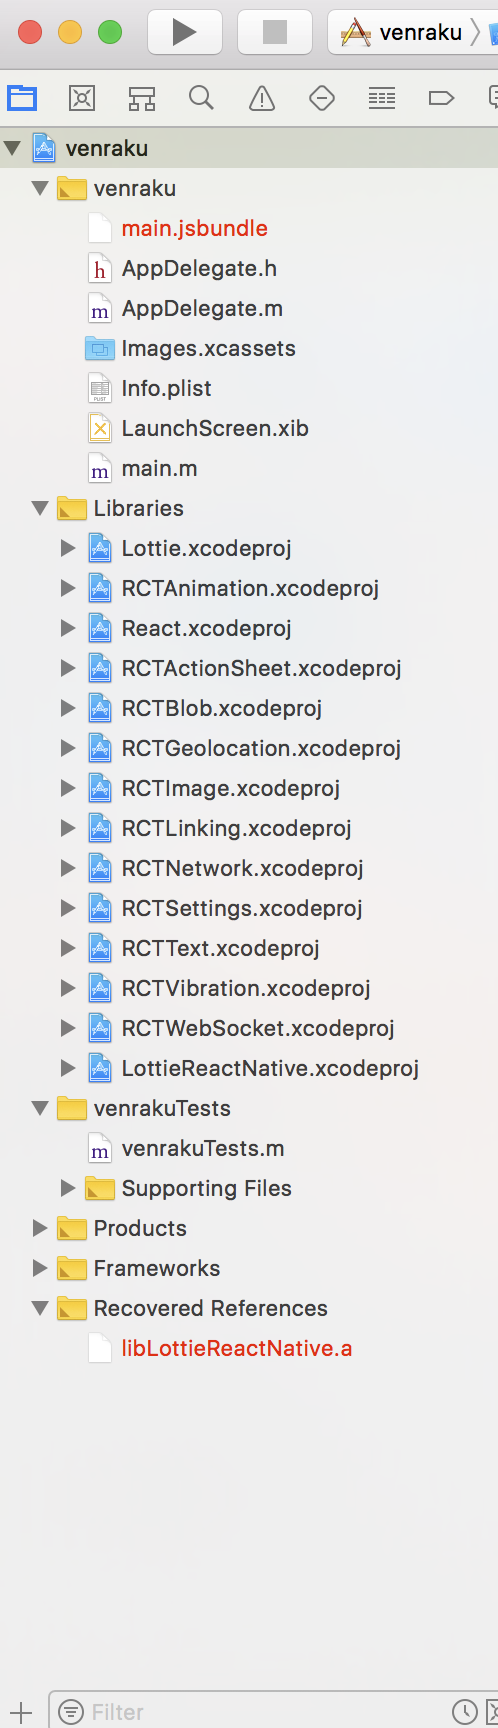
(Libraries の直下に、Lottie.xcodeproj が挿入されました。)
8: General > Embedded Binaries の + ボタンから、Lottie.framework iOS を追加します
9: これで、iOS シュミレーターを再起動し、下記のようにコードを打ちましょう
import React from 'react';
import LottieView from 'lottie-react-native';

export default class BasicExample extends React.Component {
  render() {
    return (
      <LottieView
        source={require('./arrow.json')}
        autoPlay
        loop
      />
    );
  }
}
import React, {Component} from 'react';
import {Platform, StyleSheet, Text, View} from 'react-native';
import LottieView from 'lottie-react-native';
import Anime from './AnimateScreen';

const instructions = Platform.select({
  ios: 'Press Cmd+R to reload,\n' + 'Cmd+D or shake for dev menu',
  android:
    'Double tap R on your keyboard to reload,\n' +
    'Shake or press menu button for dev menu',
});

type Props = {};
export default class App extends Component<Props> {
  render() {
    return (
      <View style={styles.container}>

        <Text style={styles.welcome}>Welcome to React Native!</Text>
        <Anime />
        <Text style={styles.instructions}>To get started, edit App.js</Text>
        <Text style={styles.instructions}>{instructions}</Text>
      </View>
    );
  }
}

const styles = StyleSheet.create({
  container: {
    flex: 1,
    justifyContent: 'center',
    alignItems: 'center',
    backgroundColor: '#F5FCFF',
  },
  welcome: {
    fontSize: 20,
    textAlign: 'center',
    margin: 10,
  },
  instructions: {
    textAlign: 'center',
    color: '#333333',
    marginBottom: 5,
  },
});
これで動くはずです!

Lottie + Haiku で簡単に自作アニメーションを取り入れることができましたね!
Happy ReactNative ライフを~