はじめに
現在のモバイル開発においてモダンなアニメーションはなくてはならないものです。
画面遷移の際、共通要素が途切れてしまうとユーザーが困惑してしまうことがあります。
一覧画面から詳細画面へ遷移する際に共通要素を途切れさせないように表示することで実際にユーザーがUIに手を触れているような感覚になります。
以下の動画の通りです。
— どすこい@Android Engineer (@dosukoi_android) September 25, 2020
このアニメーションはSharedElementTransitionというものを使います。
環境
NavigationComponentを使います。
appレベルのbuild.gradleに依存関係を記述していきます。
dependencies {
    def nav_version = "2.3.0"
    implementation "androidx.navigation:navigation-fragment-ktx:$nav_version"
    implementation "androidx.navigation:navigation-ui-ktx:$nav_version"
}
説明しないこと
Jetpackの説明
NavigationComponentの説明
やり方
1. NavGraphを作る
res/navigationディレクトリを作り、navGraphファイルを作ります。
<navigation xmlns:android="http://schemas.android.com/apk/res/android"
    xmlns:app="http://schemas.android.com/apk/res-auto" android:id="@+id/main_navigation"
    app:startDestination="@id/topFragment">

    <fragment
        android:id="@+id/exampleFragment"
        android:name="com.example.motionlayoutsample.view.fragment.ExampleFragment"
        android:label="ExampleFragment" >
        <action
            android:id="@+id/action_example2Fragment_to_example2DetailFragment"
            app:destination="@id/exampleDetailFragment" />
    </fragment>
    <fragment
        android:id="@+id/exampleDetailFragment"
        android:name="com.example.motionlayoutsample.view.fragment.ExampleDetailFragment"
        android:label="ExampleDetailFragment" >
        <argument
            android:name="transitionName"
            app:argType="string"/>
    </fragment>

</navigation>
2. NavHostFragmentを設定する
<?xml version="1.0" encoding="utf-8"?>
<androidx.constraintlayout.widget.ConstraintLayout xmlns:android="http://schemas.android.com/apk/res/android"
    xmlns:app="http://schemas.android.com/apk/res-auto"
    xmlns:tools="http://schemas.android.com/tools"
    android:layout_width="match_parent"
    android:layout_height="match_parent"
    tools:context=".view.activity.MainActivity">

    <androidx.appcompat.widget.Toolbar
        android:id="@+id/toolbar"
        android:layout_width="match_parent"
        android:layout_height="wrap_content"
        android:background="@color/colorAccent"
        android:elevation="4dp"
        android:minHeight="?attr/actionBarSize"
        android:theme="@style/ThemeOverlay.AppCompat.ActionBar"
        app:layout_constraintTop_toTopOf="parent" />

    <fragment
        android:id="@+id/top_fragment"
        android:name="androidx.navigation.fragment.NavHostFragment"
        android:layout_width="match_parent"
        android:layout_height="0dp"
        app:defaultNavHost="true"
        app:layout_constraintBottom_toBottomOf="parent"
        app:layout_constraintTop_toBottomOf="@id/toolbar"
        app:navGraph="@navigation/main_navigation" />


</androidx.constraintlayout.widget.ConstraintLayout>
3. Fragmentを作成する
アニメーションの始まりのFragmentとアニメーション終わりのFragmentを作成します。
今回は動画のように一覧画面から詳細画面にいきたいので、一覧画面と詳細画面を作成します。
その際、共通要素がないと遷移した際にかっこいいアニメーションにならないので、なるべく共通した要素を作りましょう。
一覧画面
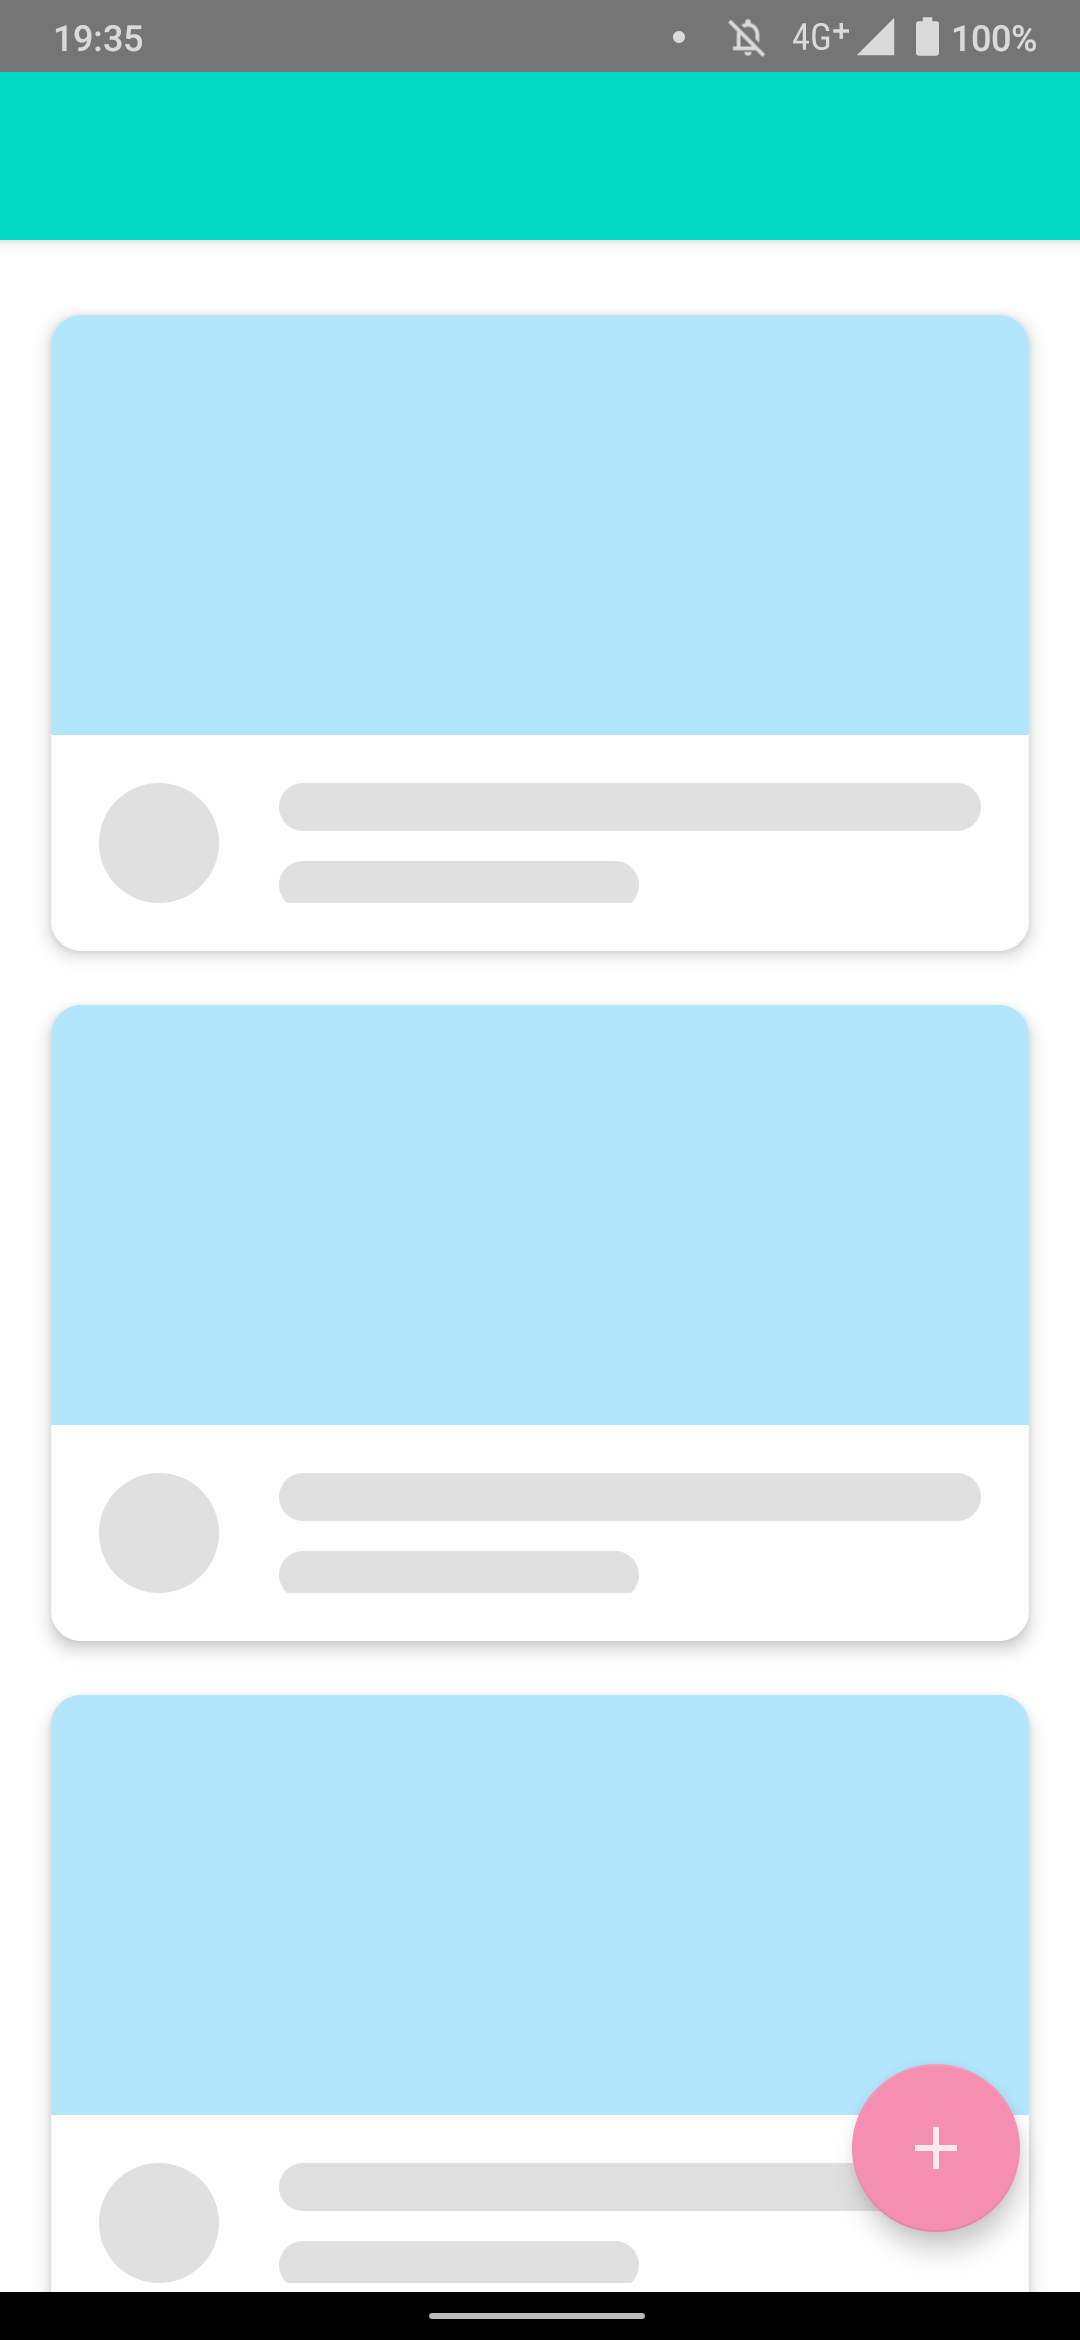
RecyclerViewのアイテムのxmlを載せておきます
<?xml version="1.0" encoding="utf-8"?>
<layout xmlns:android="http://schemas.android.com/apk/res/android"
    xmlns:app="http://schemas.android.com/apk/res-auto">

    <androidx.constraintlayout.widget.ConstraintLayout
        android:id="@+id/constraintLayout2"
        android:layout_width="match_parent"
        android:layout_height="wrap_content">

        <androidx.cardview.widget.CardView
            android:id="@+id/cardView"
            android:layout_width="match_parent"
            android:layout_height="wrap_content"
            app:cardCornerRadius="10dp"
            app:cardElevation="4dp"
            app:cardUseCompatPadding="true"
            app:layout_constraintTop_toTopOf="parent">

            <androidx.constraintlayout.widget.ConstraintLayout
                android:layout_width="match_parent"
                android:layout_height="match_parent">

                <FrameLayout
                    android:id="@+id/frameLayout"
                    android:layout_width="match_parent"
                    android:layout_height="140dp"
                    android:background="@color/cardview_color"
                    app:layout_constraintTop_toTopOf="parent" />

                <LinearLayout
                    android:layout_width="match_parent"
                    android:layout_height="wrap_content"
                    android:orientation="horizontal"
                    android:padding="16dp"
                    app:layout_constraintBottom_toBottomOf="parent"
                    app:layout_constraintTop_toBottomOf="@id/frameLayout">

                    <FrameLayout
                        android:layout_width="wrap_content"
                        android:layout_height="wrap_content"
                        android:layout_gravity="center_vertical"
                        android:background="@drawable/gray_circle" />

                    <LinearLayout
                        android:layout_width="match_parent"
                        android:layout_height="match_parent"
                        android:layout_marginStart="20dp"
                        android:orientation="vertical">

                        <FrameLayout
                            android:layout_width="match_parent"
                            android:layout_height="16dp"
                            android:background="@drawable/gray_80" />

                        <FrameLayout
                            android:layout_width="120dp"
                            android:layout_height="16dp"
                            android:layout_marginTop="10dp"
                            android:background="@drawable/gray_80" />

                    </LinearLayout>

                </LinearLayout>

            </androidx.constraintlayout.widget.ConstraintLayout>

        </androidx.cardview.widget.CardView>

    </androidx.constraintlayout.widget.ConstraintLayout>

</layout>
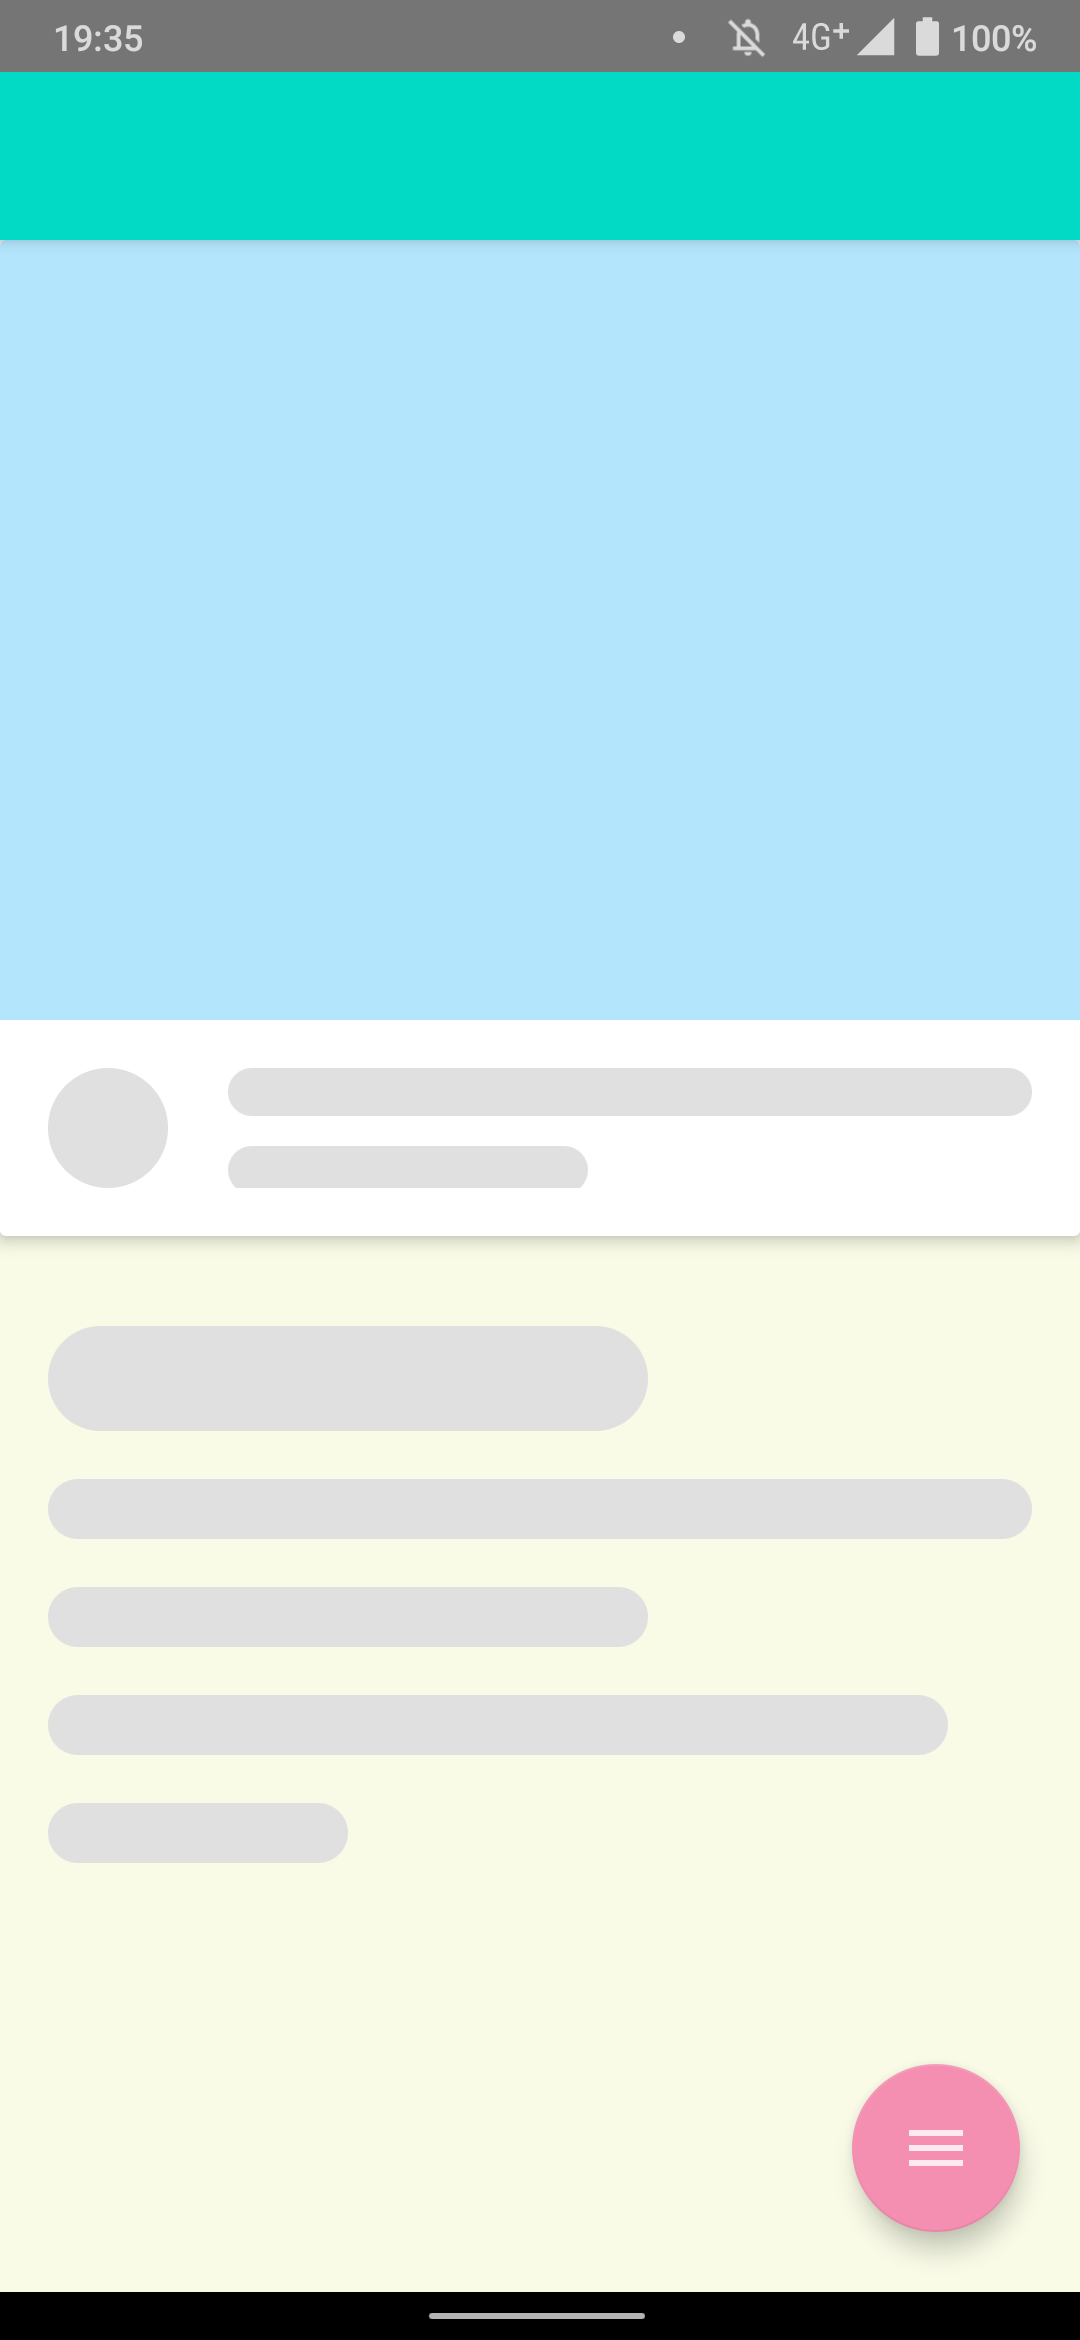
詳細画面
<?xml version="1.0" encoding="utf-8"?>
<layout xmlns:android="http://schemas.android.com/apk/res/android"
    xmlns:app="http://schemas.android.com/apk/res-auto">

    <data>
    </data>

    <androidx.constraintlayout.widget.ConstraintLayout
        android:id="@+id/constraintLayout3"
        android:layout_width="match_parent"
        android:layout_height="match_parent">

        <ScrollView
            android:id="@+id/scrollView"
            android:layout_width="match_parent"
            android:layout_height="match_parent"
            android:fillViewport="true">

            <LinearLayout
                android:layout_width="match_parent"
                android:layout_height="wrap_content"
                android:orientation="vertical">

                <androidx.cardview.widget.CardView
                    android:id="@+id/cardView"
                    android:layout_width="match_parent"
                    android:layout_height="wrap_content"
                    app:cardElevation="4dp">

                    <androidx.constraintlayout.widget.ConstraintLayout
                        android:layout_width="match_parent"
                        android:layout_height="match_parent">

                        <FrameLayout
                            android:id="@+id/frameLayout"
                            android:layout_width="match_parent"
                            android:layout_height="260dp"
                            android:background="@color/cardview_color"
                            app:layout_constraintTop_toTopOf="parent" />

                        <LinearLayout
                            android:layout_width="match_parent"
                            android:layout_height="wrap_content"
                            android:orientation="horizontal"
                            android:padding="16dp"
                            app:layout_constraintBottom_toBottomOf="parent"
                            app:layout_constraintTop_toBottomOf="@id/frameLayout">

                            <FrameLayout
                                android:layout_width="wrap_content"
                                android:layout_height="wrap_content"
                                android:layout_gravity="center_vertical"
                                android:background="@drawable/gray_circle" />

                            <LinearLayout
                                android:layout_width="match_parent"
                                android:layout_height="match_parent"
                                android:layout_marginStart="20dp"
                                android:orientation="vertical">

                                <FrameLayout
                                    android:layout_width="match_parent"
                                    android:layout_height="16dp"
                                    android:background="@drawable/gray_80" />

                                <FrameLayout
                                    android:layout_width="120dp"
                                    android:layout_height="16dp"
                                    android:layout_marginTop="10dp"
                                    android:background="@drawable/gray_80" />

                            </LinearLayout>

                        </LinearLayout>

                    </androidx.constraintlayout.widget.ConstraintLayout>

                </androidx.cardview.widget.CardView>

                <LinearLayout
                    android:layout_width="match_parent"
                    android:layout_height="match_parent"
                    android:background="#f9fbe7"
                    android:orientation="vertical"
                    android:paddingStart="16dp"
                    android:paddingTop="30dp"
                    android:paddingEnd="16dp"
                    android:paddingBottom="30dp">

                    <FrameLayout
                        android:layout_width="200dp"
                        android:layout_height="35dp"
                        android:background="@drawable/gray_80"
                        app:delayAnimation="@{100L}" />

                    <FrameLayout
                        android:layout_width="match_parent"
                        android:layout_height="20dp"
                        android:layout_marginTop="16dp"
                        android:background="@drawable/gray_80"
                        app:delayAnimation="@{200L}" />

                    <FrameLayout
                        android:layout_width="200dp"
                        android:layout_height="20dp"
                        android:layout_marginTop="16dp"
                        android:background="@drawable/gray_80"
                        app:delayAnimation="@{220L}" />

                    <FrameLayout
                        android:layout_width="300dp"
                        android:layout_height="20dp"
                        android:layout_marginTop="16dp"
                        android:background="@drawable/gray_80"
                        app:delayAnimation="@{240L}" />

                    <FrameLayout
                        android:layout_width="100dp"
                        android:layout_height="20dp"
                        android:layout_marginTop="16dp"
                        android:background="@drawable/gray_80"
                        app:delayAnimation="@{260L}" />

                </LinearLayout>

            </LinearLayout>
        </ScrollView>

    </androidx.constraintlayout.widget.ConstraintLayout>
</layout>
BindingAdapter
@BindingAdapter("delayAnimation")
fun View.animation(delayTime: Long) {
    visibility = View.INVISIBLE
    val slideInAnimation = TranslateAnimation(0F, 0F, 1000F, 0F)
    slideInAnimation.let {
        it.duration = 100
        it.fillAfter = true
    }

    postDelayed({
        startAnimation(slideInAnimation)
        visibility = View.VISIBLE
    }, delayTime)
}
4. Fragmentの実装
読むのがめんどくさい方はonBindViewHolderの中をご覧ください
一覧画面
package com.example.motionlayoutsample.view.fragment

import android.os.Bundle
import android.view.LayoutInflater
import android.view.View
import android.view.ViewGroup
import androidx.fragment.app.Fragment
import androidx.navigation.findNavController
import androidx.navigation.fragment.FragmentNavigator
import androidx.navigation.fragment.findNavController
import androidx.recyclerview.widget.LinearLayoutManager
import androidx.recyclerview.widget.RecyclerView
import com.example.motionlayoutsample.databinding.FragmentExample2Binding
import com.example.motionlayoutsample.databinding.ItemExample2Binding
import com.google.android.material.floatingactionbutton.FloatingActionButton

class Example2Fragment : Fragment() {

    override fun onCreateView(
        inflater: LayoutInflater,
        container: ViewGroup?,
        savedInstanceState: Bundle?
    ): View? = FragmentExample2Binding.inflate(inflater, container, false).let {
        it.recyclerView.apply {
            adapter = ListAdapter()
            layoutManager = LinearLayoutManager(context)
        }
        it.root
    }

    override fun onViewCreated(view: View, savedInstanceState: Bundle?) {
        super.onViewCreated(view, savedInstanceState)

        postponeEnterTransition()

        view.viewTreeObserver.addOnPreDrawListener {
            startPostponedEnterTransition()
            true
        }
    }

    inner class ListAdapter : RecyclerView.Adapter<ListItemViewHolder>() {
        override fun onCreateViewHolder(parent: ViewGroup, viewType: Int): ListItemViewHolder = ListItemViewHolder(
            ItemExample2Binding.inflate(LayoutInflater.from(context), parent, false)
        )

        override fun onBindViewHolder(holder: ListItemViewHolder, position: Int) {
            holder.binding.also {
                // transitionNameをxml側で設定してしまうと全て同じアイテムということになってしまったのでpositionをtransitionNameにしましょう
                it.cardView.transitionName = position.toString()
                it.cardView.setOnClickListener {  v ->
                    Example2FragmentDirections.actionExample2FragmentToExample2DetailFragment(it.cardView.transitionName).let { direction ->
                        mapOf<View, String>(it.cardView to it.cardView.transitionName).let {
                            it.forEach { sharedElement ->
                                FragmentNavigator.Extras.Builder().apply {
                                    addSharedElement(sharedElement.key, sharedElement.value)
                                }.build().also { sharedExtras ->
                                    v.findNavController().navigate(direction, sharedExtras)
                                }
                            }
                        }
                    }
                }
            }
        }

        override fun getItemCount(): Int = 10
    }

    inner class ListItemViewHolder(val binding: ItemExample2Binding): RecyclerView.ViewHolder(binding.root)
}
詳細画面
package com.example.motionlayoutsample.view.fragment

import android.os.Bundle
import android.transition.TransitionInflater
import android.util.Log
import android.view.LayoutInflater
import android.view.View
import android.view.ViewGroup
import android.widget.Button
import androidx.appcompat.widget.ButtonBarLayout
import androidx.core.content.res.ResourcesCompat
import androidx.fragment.app.Fragment
import androidx.fragment.app.viewModels
import androidx.lifecycle.Observer
import androidx.navigation.fragment.navArgs
import com.example.motionlayoutsample.R
import com.example.motionlayoutsample.databinding.FragmentExample2DetailBinding
import com.example.motionlayoutsample.view.extension.popUpButton
import com.example.motionlayoutsample.view.extension.shrinkingButton
import com.example.motionlayoutsample.viewmodel.Example2DetailViewModel
import com.google.android.material.floatingactionbutton.FloatingActionButton
import kotlinx.android.synthetic.main.fragment_practice.*

class Example2DetailFragment : Fragment() {

    private val args: Example2DetailFragmentArgs by navArgs()

    override fun onCreate(savedInstanceState: Bundle?) {
        super.onCreate(savedInstanceState)
        sharedElementEnterTransition = TransitionInflater.from(context).inflateTransition(android.R.transition.move)
        sharedElementReturnTransition = TransitionInflater.from(context).inflateTransition(android.R.transition.move)
    }

    override fun onCreateView(
        inflater: LayoutInflater,
        container: ViewGroup?,
        savedInstanceState: Bundle?
    ): View? = FragmentExample2DetailBinding.inflate(inflater, container, false).let {
        it.cardView.transitionName = args.transitionName
        it.lifecycleOwner = viewLifecycleOwner
        it.root
    }
}
5. 説明
めんどくさい方は上記コピペでそれなりのことできます。
共通要素にtransitionNameを設定する
it.cardView.transitionName = position.toString()
まずはSharedElementTransitionとして扱うViewにTransitionNameを設定します。
単体のViewだったら決め打ちでTransitionNameをつけていいんですが、今回はRecyclerViewでアイテムを使い回しているので同じ名前は使用できません。
なのでpositonをtransitionNameとしてつけています。
ViewをSharedElementTransitionに登録する
FragmentNavigator.Extras.Builder().apply {
    addSharedElement(sharedElement.key, sharedElement.value)
}
遷移先のFragmentでSharedElementTransitionを登録する
override fun onCreate(savedInstanceState: Bundle?) {
        super.onCreate(savedInstanceState)
        sharedElementEnterTransition = TransitionInflater.from(context).inflateTransition(android.R.transition.move)
        sharedElementReturnTransition = TransitionInflater.from(context).inflateTransition(android.R.transition.move)
    }
まとめ
今回は途切れない画面遷移としてSharedElementTransitionを紹介しました。
次回はMotionLayoutあたりかな?