前回の記事 の続きです。
前回ではサーバー側にCloudflaredを導入しました。
今回はクライアント側の設定を行います。
環境
Windows 11
その他のOSである場合は適宜読み替えてください。
Cloudflare WARPの導入
Cloudflare WARPを使って最寄りのCloudflare Edgeに接続し、Cloudflare経由で自宅サーバーのネットワークにアクセスできるようにします。
まずは以下からCloudflare WARPクライアントを導入します。
1.1.1.1 — The free app that makes your Internet faster.
Cloudflare Zero Trustの設定
ここ からCloudflare Zero Trustダッシュボードにアクセスします。
My Team > Devicesから諸々の設定を行います。
Settings > Network > Firewall のProxyをEnableにします。
Cloudflare WARPの設定
証明書のインストールを行います。
以下から証明書をダウンロードしてインストールしてください。
Install the Cloudflare certificate - Cloudflare Zero Trust docs
タスクバーのWARPクライアントをクリックし、設定を開きます。
環境設定 > アカウントからCloudflare Zero Trustの初期設定時に設定したチーム名を入力してCloudflare Zero Trustにログインします。
これでWARPクライアントの設定は完了です。
スプリットトンネルの設定
Cloudflare WARPでは初期設定で192.168.x.xなどのプライベートIPアドレスへの通信は除外されるようになっています。
今回はCloudflare経由で通信を行いたいのでこの除外の設定を削除する必要があります。
Cloudflare Zero Trustダッシュボード を開きます。
Settings > Network > Firewall > Split Tunnels > Manage で(1)で設定したIP/CIDRを削除します。
これで設定は完了です。
動作確認
スマートフォンのテザリングなどで自宅のネットワークとは別の環境を作ってWARPクライアントのトグルをオンにします。
ルーターのIPアドレスなど適当なIPアドレスを叩いてみましょう。
表示されれば成功です。
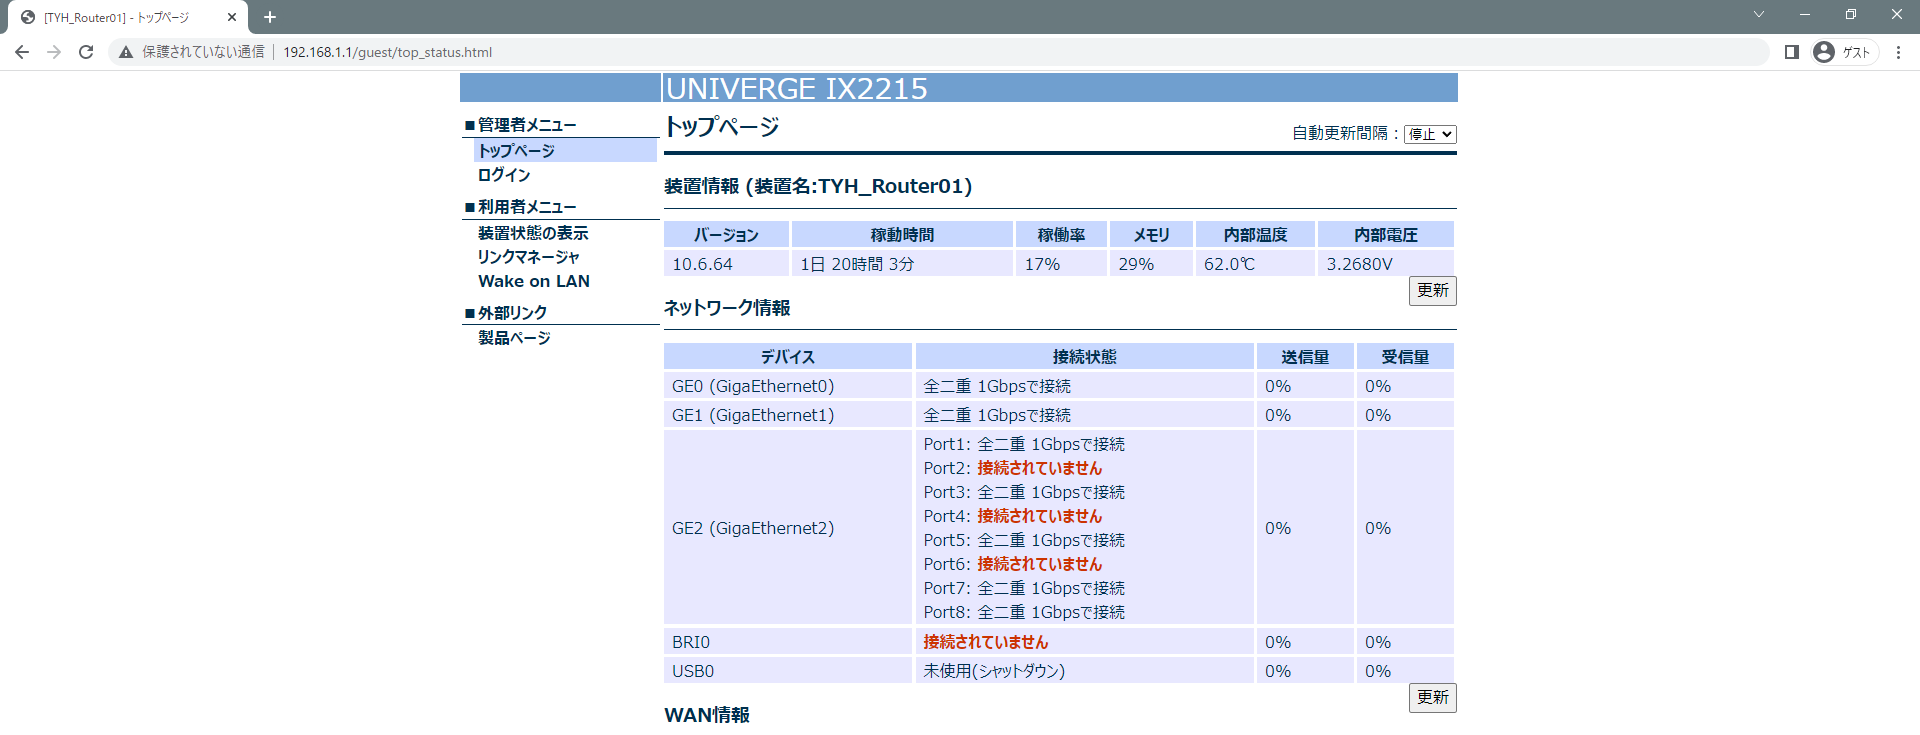
↓ 外出先から自宅のルーターの設定画面を開けた
もちろん外出先でProxmoxの管理画面も表示できます。
