はじめに
ほぼ趣味で監視のOSSは色々と触りましたが最近はprometheusばかり触っています。
最初のハードルは高めですが慣れれば良い感じです。
そんなprometheusで連携するGrafanaをとりあえず動かしてみるか。そんな人向けにとりあえず構築メモ。
Grafanaはyumでインストールすれば終わりなのでついでにnginxで443/tcpのSSL接続も用意しています。
あとGrafanaは匿名アクセスも許可して、ログイン情報やセッション切れなど共有に面倒なものを取り除きます。
Prometheusは複数のOSSを組み合わせて動かすので必要に応じて次のソフトウェアも必要です。
このメモはprometheus単体のとりあえずインストールする内容です。
・Promehetus ※監視
インストール:とりあえず構築 CentOS7 de Prometheus v2.28.1
・Cortex or Thanos ※監視データ長期保存@勉強中
・Grafana ※可視化
インストール:とりあえず構築 CentOS7 de Grafana(+nginx proxy)
・alertmanager ※通知
・exporter
- node_exporter ※エージェント監視(パフォーマンス)
- snmp_exporter ※SNMP監視
- blackbox_exporter ※死活監視(ICMP・DNS・http)
- vmware_exporter ※vSphere監視
(上記をよく使う。他は必要に応じて勉強中)
前提
・Intel CPU 64bit
・CentOS 7.9
・Grafana 8.0.6 *yumで最新をインストールします。
・nginx 1.20.1 *yumで最新をインストールします。
・SSL証明書は自己証明書
Grafana インストール
vi /etc/yum.repos.d/grafana.repo
[grafana]
name=grafana
baseurl=https://packages.grafana.com/oss/rpm
repo_gpgcheck=1
enabled=1
gpgcheck=1
gpgkey=https://packages.grafana.com/gpg.key
sslverify=1
sslcacert=/etc/pki/tls/certs/ca-bundle.crt
yum install grafana -y
systemctl start grafana-server.service
systemctl status grafana-server.service
systemctl enable grafana-server.service
・アクセス確認
ブラウザで http://[ip address]:3000/ にアクセスできればOKです。
初期ユーザは admin/admin です。
Nginx インストール(443/tcp SSLアクセス用、80/tcp アクセス用)
rpm -ivh http://nginx.org/packages/centos/7/noarch/RPMS/nginx-release-centos-7-0.el7.ngx.noarch.rpm
yum install nginx -y
・SSL設定
mkdir -p /etc/nginx/cert
cd /etc/nginx/cert
openssl genrsa 2048 > localhost.key
openssl md5 * > rand.dat
openssl req -new -sha256 -key localhost.key -out localhost.csr
Country Name (2 letter code) [XX]:JP
State or Province Name (full name) []:Tokyo
Locality Name (eg, city) [Default City]:none
Organization Name (eg, company) [Default Company Ltd]:none
Organizational Unit Name (eg, section) []:none
Common Name (eg, your name or your server's hostname) []:localhost.local
Email Address []:

Please enter the following 'extra' attributes
to be sent with your certificate request
A challenge password []:
An optional company name []:
openssl x509 -days 3650 -sha256 -in localhost.csr -out localhost.crt -req -signkey localhost.key
・証明書確認
openssl x509 -in localhost.crt -noout -text
・nginx設定
vi /etc/nginx/conf.d/default.conf
ssl_protocols TLSv1.2;
server {
  listen 443 ssl;
  server_name localhost;
  ssl_certificate      /etc/nginx/cert/localhost.crt;
  ssl_certificate_key  /etc/nginx/cert/localhost.key;
  proxy_buffering off;
  proxy_request_buffering off;
  client_max_body_size 1000m;
  location / {
    proxy_pass http://localhost:3000/;
  }
}
server {
  listen 80;
  server_name localhost;
#    return 301 https://$host$request_uri; ※http >> https リダイレクトしたい場合
  proxy_buffering off;
  proxy_request_buffering off;
  client_max_body_size 1000m;
  location / {
    proxy_pass http://localhost:3000/;
  }
}
systemctl start nginx.service
systemctl status nginx.service
systemctl enable nginx.service
Grafana 匿名アクセス
vi /etc/grafana/grafana.ini
~~~略
#################################### Anonymous Auth ######################
[auth.anonymous]
# enable anonymous access
;enabled = false
enabled = true ※追記

# specify organization name that should be used for unauthenticated users
;org_name = Main Org.
org_name = [organization name]  ※追記。*注

# specify role for unauthenticated users
;org_role = Viewer ※匿名アクセスはviewer権限

# mask the Grafana version number for unauthenticated users
;hide_version = false
~~~略
*注 org名は匿名アクセスを許可する組織です。組織に属するユーザが作成したダッシュボードを共有できます。おすすめは管理者やダッシュボード作成ユーザが属する組織とは別の組織を指定した方がいいと思います。作成中のダッシュボードを見られることがないので必要最低限のダッシュボードを匿名ユーザに見せることができます。
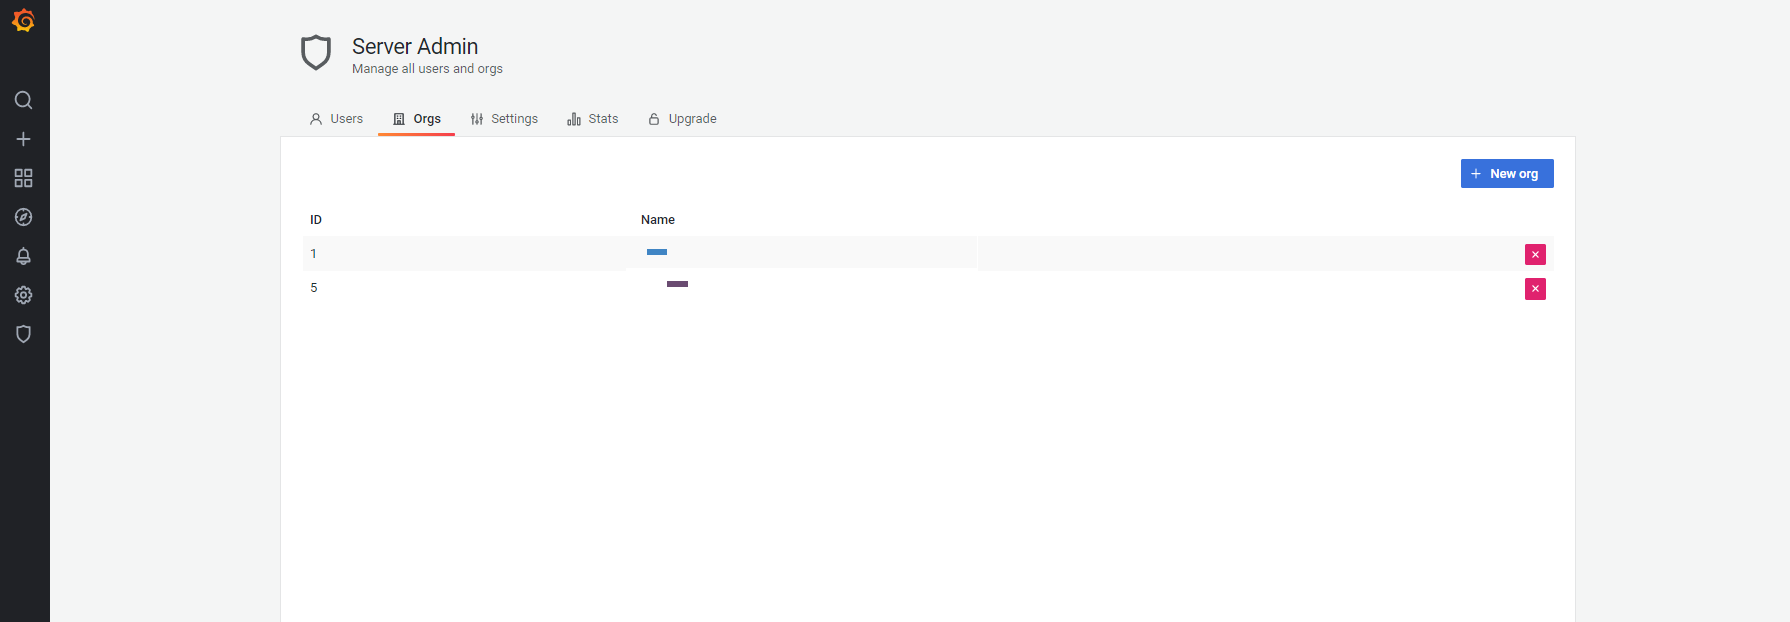
*orgはgrafanaの管理画面で作成できます。作成できるのはadminユーザ(初期ユーザ)のみです。

・grafana.ini変更後はサービスリスタートをして反映
systemctl restart grafana-server.service
PrometheusとGrafanaの連携設定
データソースを追加すればOKです。データソースもGrafanaの組織ごとに作成が必要なので注意ください。
作成方法自体はGrafanaの管理画面でポチポチすれば問題なし。(画面を見れば分かると思うので省略)