はじめに
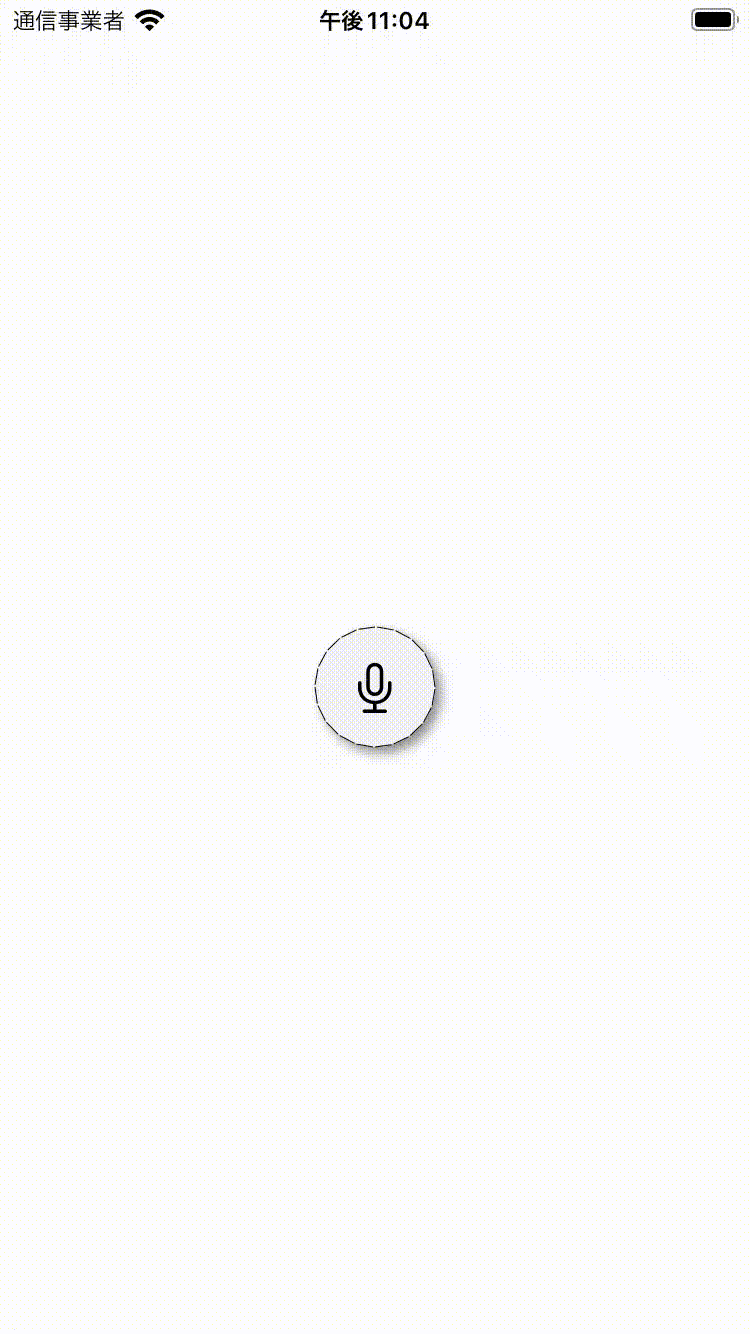
マイクアイコンをタップして音声を入力するとき、入力中であることをユーザーに知らせる必要があると思います。その際に、マイクボタンの周りにオーディオスペクトラムのようなものが描画されているとカッコ良いのではということで作ってみました(下図参照)。
マイクボタンの周りに放射状に広がるオーディオスペクトラムが描画されています。
開発環境
- macOS Monterey 12.5.1
- Xcode 13.4.1
- Swift 5
- iOS 16 and later
GitHub
実装部分
実際に利用する場合は、CircleSpectrumをButtonの下に配置します。
valueの値の変化に応じて、スペクトラムの描画がアップデートされる仕組みです。
ContentView.swift
struct ContentView: View {
    @State var value: CGFloat = 0
    private let kButtonWidth: CGFloat = 60

    var body: some View {
        ZStack {
            Button {
                print("tap")
                Timer.scheduledTimer(withTimeInterval: 0.2, repeats: true) { _ in
                    self.value = CGFloat.random(in: 0.5...1)
                }
            } label: {
                Image(systemName: "mic")
                    .foregroundColor(.black)
                    .font(.system(size: 24))
                    .frame(width: kButtonWidth, height: kButtonWidth, alignment: .center)
            }
            .background(Color(UIColor.systemGroupedBackground))
            .cornerRadius(kButtonWidth*0.5)
            .shadow(color: .gray, radius: 3, x: 3, y: 3)

            // Buttonの下に配置
            CircleSpectrum(
                value: value,
                maxAmplitude: 60,
                widthOfButton: kButtonWidth)
            .stroke(lineWidth: 0.5)
        }
    }
}
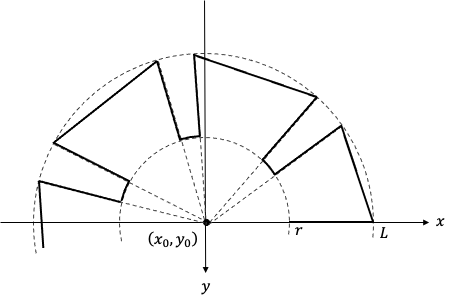
CircleSpectrumの実装部分です。実装イメージとしては、下図の黒線部分をUIBezierPathで描画しています。
struct CircleSpectrum: Shape {
    @State var value: CGFloat

    public var maxAmplitude: CGFloat
    public var widthOfButton: CGFloat

    private let range = 360
    private let bin = 20
    private let stepTheta: CGFloat = 2.0

    func createSpectrumPath(rect: CGRect) -> Path {
        let path = UIBezierPath()
        let amplitude:CGFloat = maxAmplitude * value
        let thetaBlock = CGFloat(range / bin)

        let x0 = rect.midX
        let y0 = rect.midY

        var degree:CGFloat = 0.0

        for index in 1...bin {
            let degree0 = degree
            degree = CGFloat(index) * thetaBlock
            let degree1 = degree - stepTheta
            let theta0 = degree0 * CGFloat.pi / 180
            let theta1 = degree1 * CGFloat.pi / 180

            let random = CGFloat.random(in: 0.1...1.0)
            let L:CGFloat = amplitude * random
            let radius = widthOfButton * 0.5

            let p_0 = CGPoint(x: x0 + radius * cos(theta0),
                              y: y0 - radius * sin(theta0))
            let p_1 = CGPoint(x: x0 + (radius + L) * cos(theta0),
                              y: y0 - (radius + L) * sin(theta0))
            let p_2 = CGPoint(x: x0 + (radius + L) * cos(theta1),
                              y: y0 - (radius + L) * sin(theta1))
            let p_3 = CGPoint(x: x0 + radius * cos(theta1),
                              y: y0 - radius * sin(theta1))
            path.move(to: p_0)
            path.addLine(to: p_1)
            path.addLine(to: p_2)
            path.addLine(to: p_3)
        }
        return Path(path.cgPath)
    }

    func path(in rect: CGRect) -> Path {
        return createSpectrumPath(rect: rect)
    }
}