記事の目的
Dockerイメージビルドして、Container Registryに登録するまでは複数ステップがあって、毎回各ステップ別で実施するとめんどくさい。
それを解決するため、Cloudbuildを使って複数ステップをまとめてビルドを行います。
Cloudbuildを使わない場合、GKEにデプロイする手順
- Dockerイメージのビルド
- GCP Container RegistryにDockerイメージを登録(複数操作実施)
- Container RegistryからアプリケーションをGKEにデプロイ
この記事では、Cloudbuildを使って最初の2つの手順をまとめて1回で実施できる。
- Cloudbuildでイメージ作成とContainer Registryに登録(まとめて1回実施)
- Container RegistryからアプリケーションをGKEにデプロイ
1. サンプルアプリケーション準備
※以前記事のwebアプリケーションを再利用してCloudbuildを入れます。
GKE上にwebアプリケーションを構築する方法
フォルダ構成
cloudbuild
├── README.md
├── cloudbuild.simplewebapp.yaml
├── go.mod
├── go.sum
├── simplewebapp.Dockerfile
├── simplewebapp.deployment.yaml
└── webapp
    ├── handler
    │   └── simplewebapp_handler.go
    └── simplewebapp.go
2. Cloudbuildでイメージ作成とContainer Registryに登録
cloudbuild.simplewebapp.yaml
options:
  env:
  - GO111MODULE=on
  volumes:
  - name: go-modules
    path: /go

steps:
# go test
- name: golang:1.12
  dir: .
  args: ['go', 'test', './...']

# go build
- name: golang:1.12
  dir: .
  args: ['go', 'build', '-o', 'simplewebapp', 'webapp/simplewebapp.go']
  env: ["CGO_ENABLED=0"]

# docker build
- name: 'gcr.io/cloud-builders/docker'
  dir: .
  args: [
         'build',
         '-t', '${_GCR_REGION}/${_GCR_PROJECT}/${_GCR_IMAGE_NAME}:${_GCR_TAG}',
         '-f', 'simplewebapp.Dockerfile',
         '--cache-from', '${_GCR_REGION}/${_GCR_PROJECT}/${_GCR_IMAGE_NAME}:${_GCR_TAG}',
         '.'
        ]

# push image to Container Registry
- name: 'gcr.io/cloud-builders/docker'
  args: ["push", '${_GCR_REGION}/${_GCR_PROJECT}/${_GCR_IMAGE_NAME}']

substitutions:
  # # GCR region name to push image
  _GCR_REGION: asia.gcr.io
  # # Project ID
  _GCR_PROJECT: ds-project
  # # Image name
  _GCR_IMAGE_NAME: ds-cloudbuild-test
  # # Image tag
  _GCR_TAG: latest
simplewebapp.Dockerfile
FROM alpine:latest
WORKDIR /app
COPY ./simplewebapp /app

EXPOSE 80
ENTRYPOINT ["./simplewebapp"]
Cloudbuild実施
cd path_to_app_folder

gcloud builds submit --config cloudbuild.simplewebapp.yaml

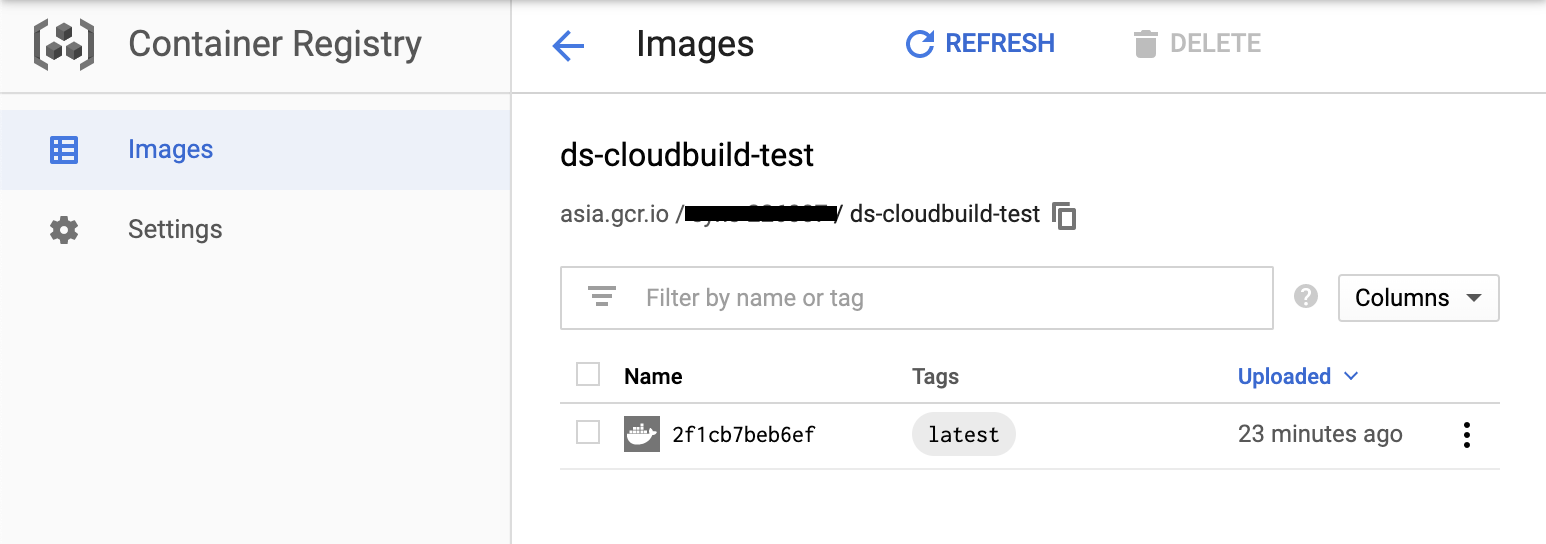
実施後、Container Registry上の作成イメージを確認
3. Container RegistryからアプリケーションをGKEにデプロイ
デプロイメント定義ファイルを準備する。
simplewebapp.deployment.yaml
apiVersion: v1
kind: Service
metadata:
  name: simple-webapp-service
spec:
  ports:
  - port: 80
    targetPort: 80
    protocol: TCP
    name: http
  selector:
    app: simple-webapp
  type: LoadBalancer
---
apiVersion: extensions/v1beta1
kind: Deployment
metadata:
  name: simple-webapp
spec:
  replicas: 2
  template:
    metadata:
      labels:
        app: simple-webapp
    spec:
      containers:
      - name: simple-webapp
        image: asia.gcr.io/ds-project/ds-cloudbuild-test:latest
        ports:
          - containerPort: 80
このデプロイメント定義ファイルは、1つのLoad
Balancing作成、ポート80で公開する。webアプリケーションは後ろの2つのContainersで稼働とする。
# k8sコントロールツールをインストール

gcloud components install kubectl
kubectl version

# GKEのクラスタにアクセスするため、credentialsを設定
gcloud container clusters get-credentials --zone asia-northeast1-b ds-gke-small-cluster

# GKEにアプリケーションを設定する
kubectl apply -f simplewebapp.deployment.yaml
デプロイ後、結果確認
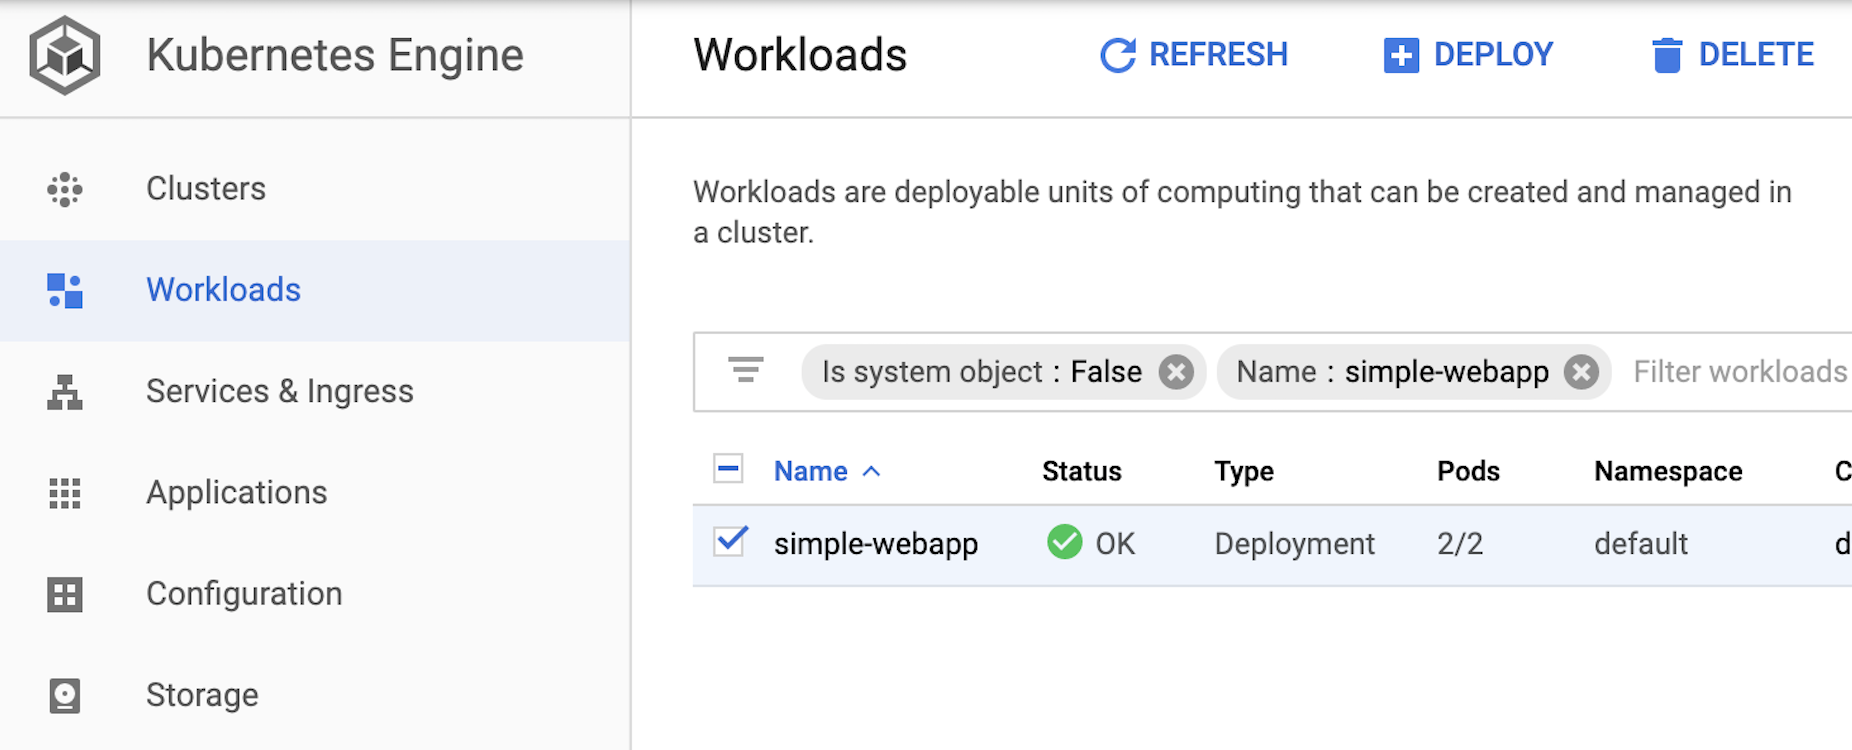

外部からwebアプリケーションへのアクセス確認
curl http://34.85.10.96/
> Hello, World!
本記事で利用したソースコードはこちら [https://github.com/dssolutioninc/dss_gke/tree/master/cloudbuild](https://github.com/dssolutioninc/dss_gke/tree/master/cloudbuild)
最後まで読んで頂き、どうも有難う御座います! DSS 橋本