RailsでテストケースをGoogleSpreadSheetで作成しTunipで実行する
あらすじ
プロジェクトで、Rails Engineを使って大規模な開発を行っているのだが
規模だけにテストが間に合わないと慌てはじめた今日このごろ。もうエンジニア関わらずいい機会なので
Rspecでfuture書こうぜって言ったら、流石に無理っすよと言われシュンとしてたら、神が舞い降りた。
Google Spread Sheetにテストケースを記載するだけで
Futureを出力してくれて、かつその結果をGoogle Spread Sheetに更新してくれる
gemを開発メンバが作ってくれた。
環境
自分の手元では以下のような環境下で試しています。
- ruby 2.3.0(RVM)
- rails 4.2.7.1
rvm ruby-2.3.0 do rvm gemset create test
% ruby -v
ruby 2.3.0p0 (2015-12-25 revision 53290) [x86_64-darwin15]
% rails -v
Rails 4.2.7.1
テスト用アプリケーション作成
今回はテスト用のアプリケーションを作成し、turnip_helperを用いてテストが動くところまでを確認してみたいと思います。
Scaffoldを使ってMemberモデルに対してCRUD出来る事を確認するE2Eまでをゴールとします。
rails アプリケーション作成
% cd 好きな場所
% rails _4.2.7.1_ new myapp
% cd myapp
% rails generate scaffold member name:string age:integer
% bundle install --path vendor/bundle --jobs=4
rake stats結果
% rake stats
+----------------------+-------+-------+---------+---------+-----+-------+
| Name                 | Lines |   LOC | Classes | Methods | M/C | LOC/M |
+----------------------+-------+-------+---------+---------+-----+-------+
| Controllers          |    79 |    53 |       2 |       9 |   4 |     3 |
| Helpers              |     4 |     4 |       0 |       0 |   0 |     0 |
| Models               |     2 |     2 |       1 |       0 |   0 |     0 |
| Mailers              |     0 |     0 |       0 |       0 |   0 |     0 |
| Javascripts          |    19 |     0 |       0 |       0 |   0 |     0 |
| Libraries            |     0 |     0 |       0 |       0 |   0 |     0 |
| Controller tests     |    49 |    39 |       1 |       0 |   0 |     0 |
| Helper tests         |     0 |     0 |       0 |       0 |   0 |     0 |
| Model tests          |     7 |     3 |       1 |       0 |   0 |     0 |
| Mailer tests         |     0 |     0 |       0 |       0 |   0 |     0 |
| Integration tests    |     0 |     0 |       0 |       0 |   0 |     0 |
+----------------------+-------+-------+---------+---------+-----+-------+
| Total                |   160 |   101 |       5 |       9 |   1 |     9 |
+----------------------+-------+-------+---------+---------+-----+-------+
  Code LOC: 59     Test LOC: 42     Code to Test Ratio: 1:0.7
rake db:create & db:migrate実施
% rake db:create
% rake db:migrate
= 20161031071434 CreateMembers: migrating ====================================
-- create_table(:members)
   -> 0.0010s
== 20161031071434 CreateMembers: migrated (0.0010s) ===========================
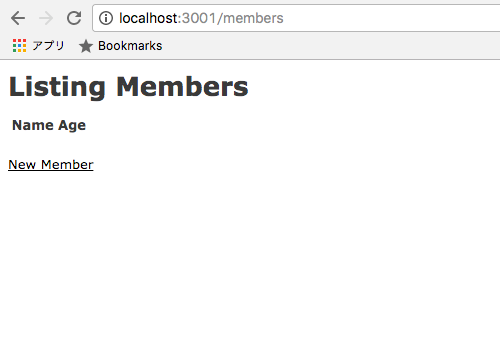
起動確認
% rails s -p 3001
ブラウザでアクセスしてみましょう。
http://localhost:3001/members
必要なGemをインストール
# Use Capistrano for deployment
# gem 'capistrano-rails', group: :development

group :development, :test do
  # Call 'byebug' anywhere in the code to stop execution and get a debugger console
  gem 'byebug', platform: :mri
end

group :development do
  # Access an IRB console on exception pages or by using <%= console %> anywhere in the code.
↓ byebug以下に
↓ turnip_support, factory_girl, factory_girl_rails
↓ google_drive, turnip, capybara, capybara-screenshot, poltergeist, rspec-rails
↓ を追加
group :development, :test do
  # Call 'byebug' anywhere in the code to stop execution and get a debugger console
  gem 'byebug', platform: :mri
  gem 'turnip_support', git: 'https://github.com/ThuBM/turnip_support'
  gem 'factory_girl'
  gem 'factory_girl_rails'
  gem 'google_drive'
  gem 'turnip'
  gem 'capybara'
  gem 'capybara-screenshot'
  gem 'poltergeist'
  gem 'rspec-rails'
end

group :development do
  # Access an IRB console on exception pages or by using <%= console %> anywhere in the code.
  gem 'web-console'
% bundle install
% bundle exec rake turnip_support init

Running via Spring preloader in process 11707
      create  .rspec
      create  spec
      create  spec/spec_helper.rb
      create  spec/rails_helper.rb
% mkdir ./spec/factories
% touch ./spec/features/members.rb
% vi ./spec/features/members.rb
以下の内容を記載してください。
FactoryGirl.define do
  factory :member do
    name "test_name"
    age 10
  end
end
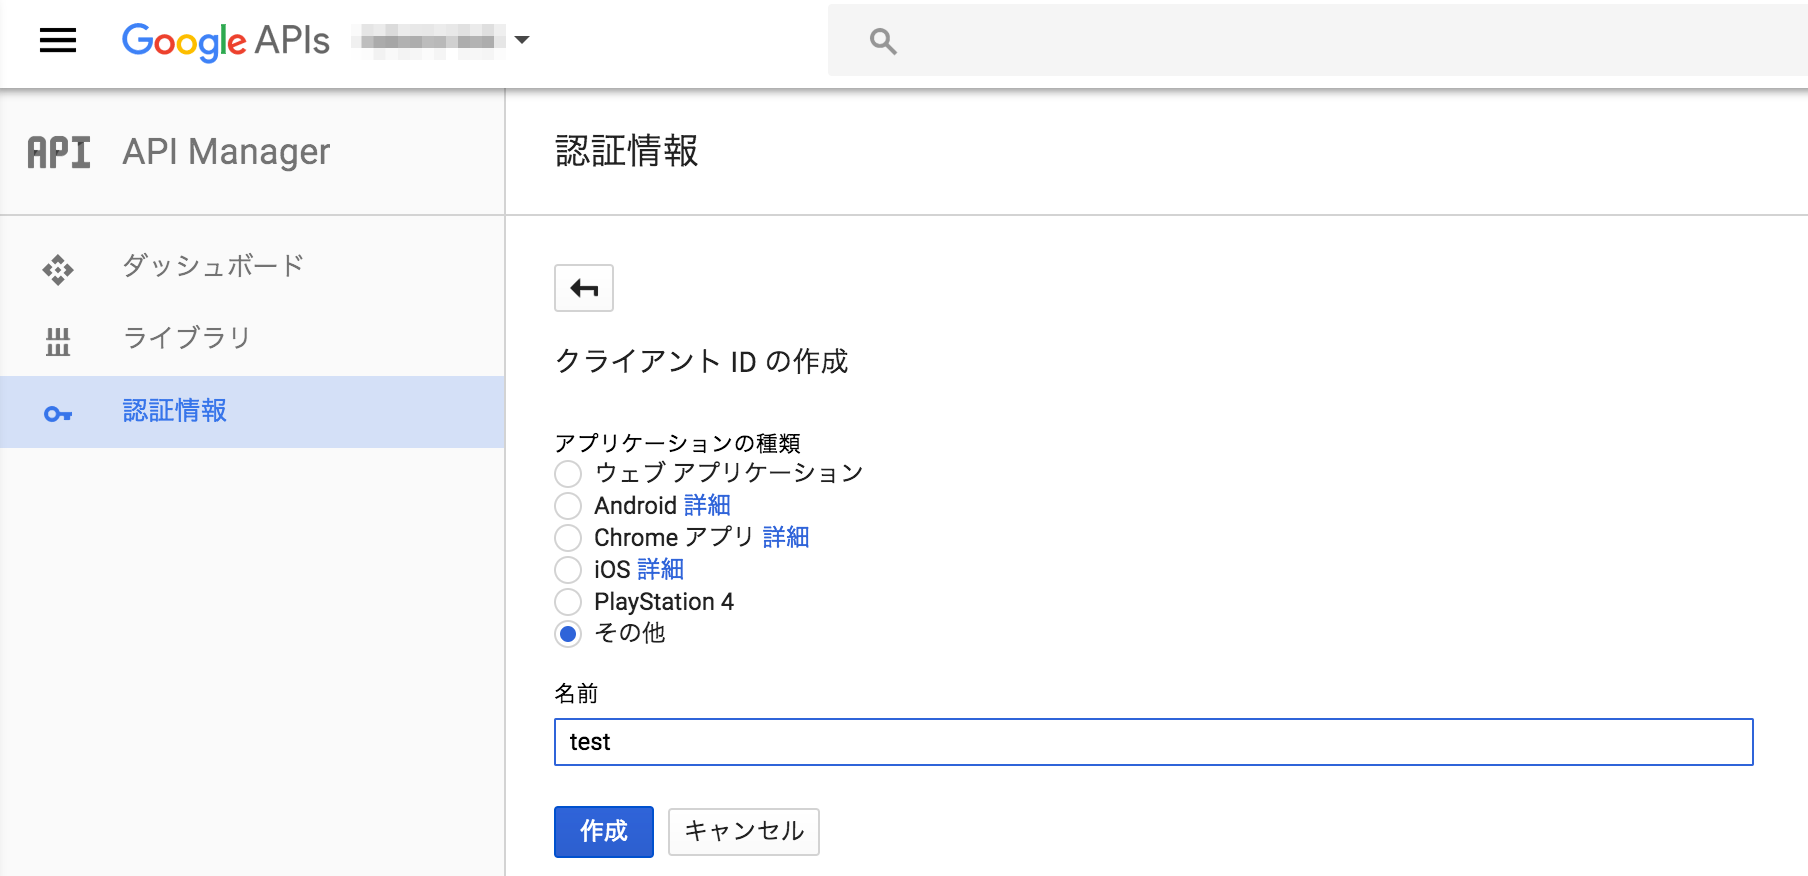
Google APIs OAuth認証情報発行
Google Spread Sheetにアクセスさせるために
Google API用の認証許可しましょう。
OAuthクライアントID発行

その他を選択
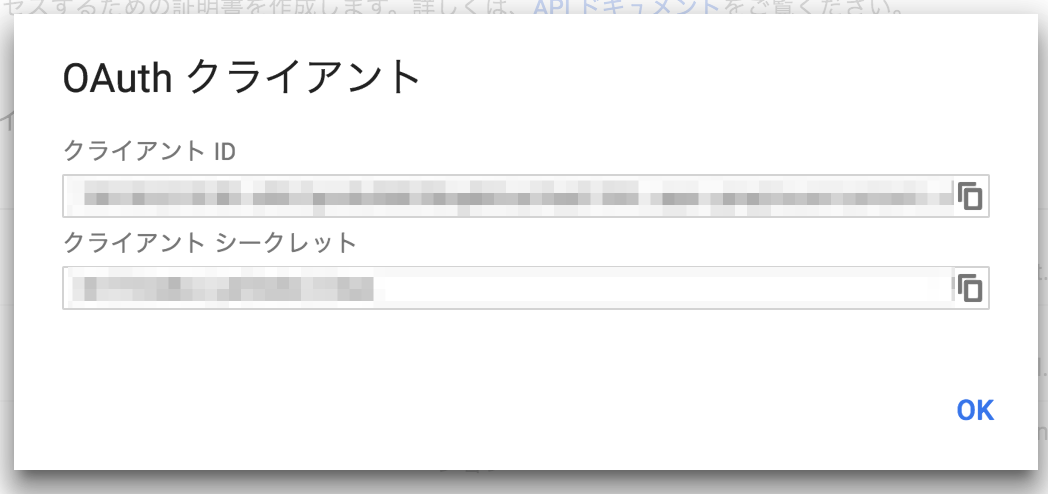
クライアント情報はそっと閉じる
クライアント情報をダウンロード
赤い矢印のある部分からダウンロードボタンを押下してダウンロードしましょう。
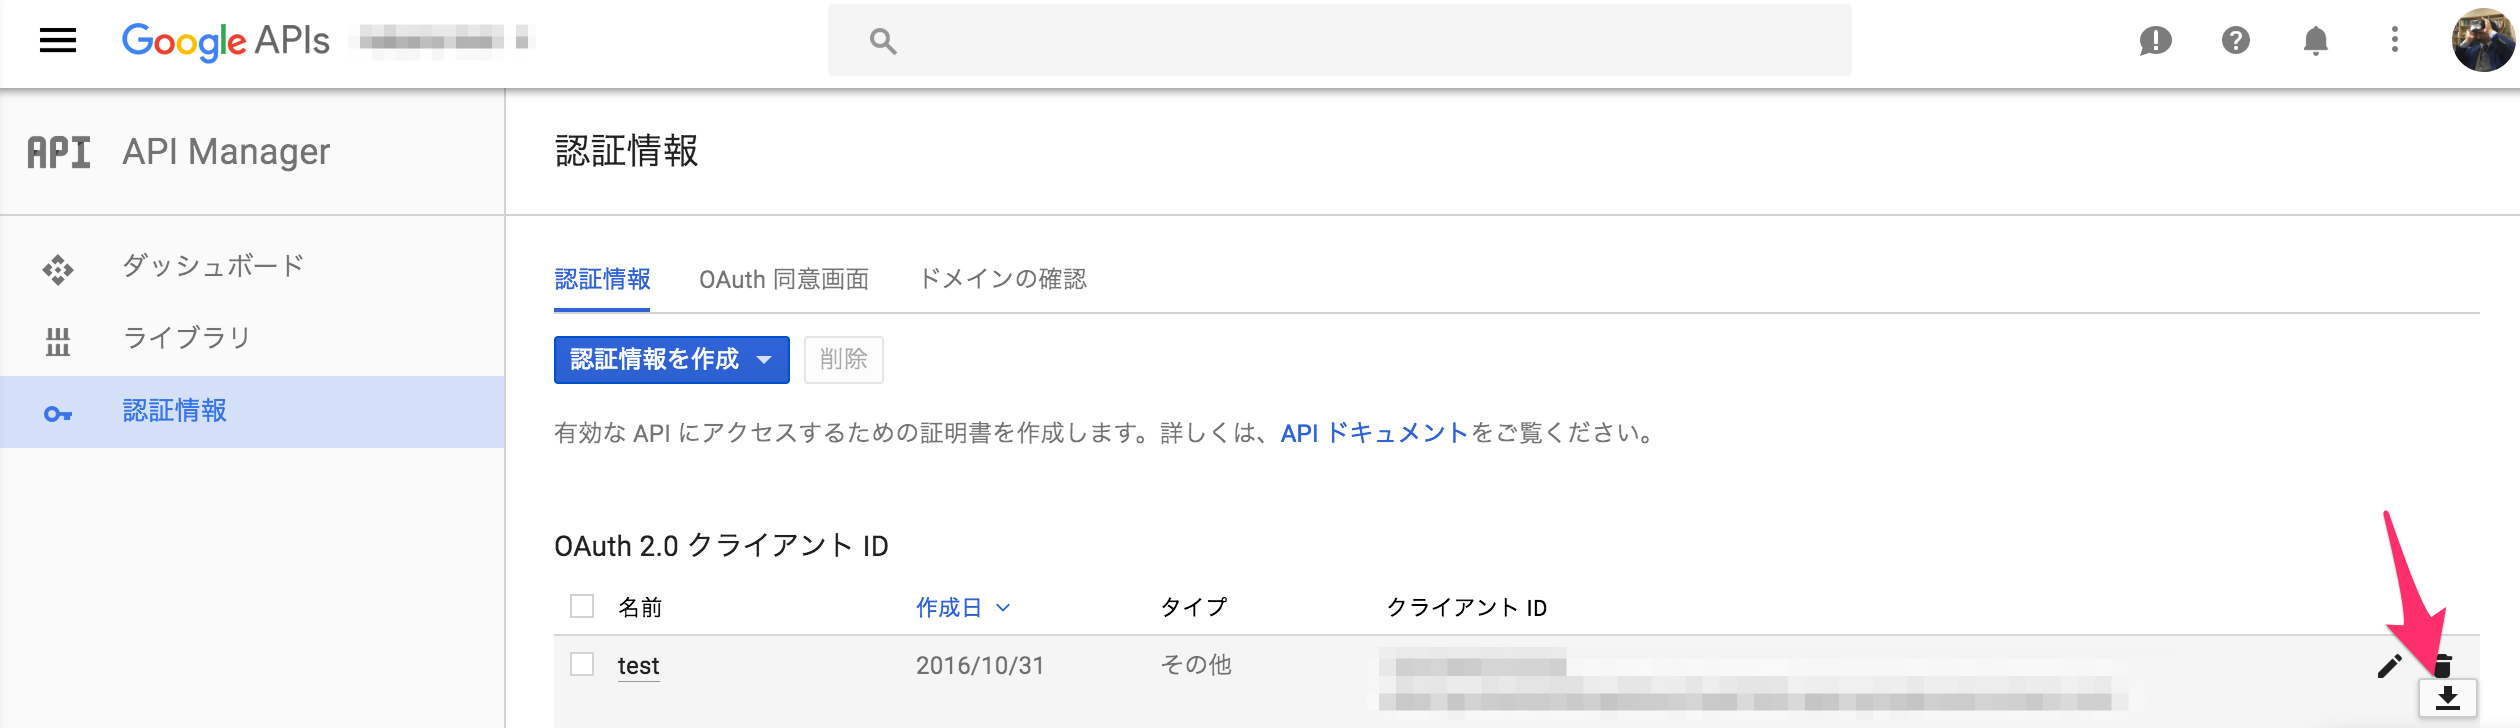
ダウンロードすると以下のようなファイル規則でダウンロードされます。
「client_secret_xxxxxxxxxx-xxxxxxxxxxxxxxx.apps.googleusercontent.com.json」
クライアント情報をファイル配置
% cd 好きな場所/myapp
% mv ~/Downloads/client_secret_xxxxxxxxxx-xxxxxxxxxxxxxxx.apps.googleusercontent.com.json ./spec/configs/config.json
テストケース作成
ここでは一旦GoogleSpreadSheetのサンプルを置いておくので、コピーしてください。
GoogleSpreadsheetsのサンプル ※必ずコピーして使ってください
※後で細かい設定ルールは更新しようと思っています
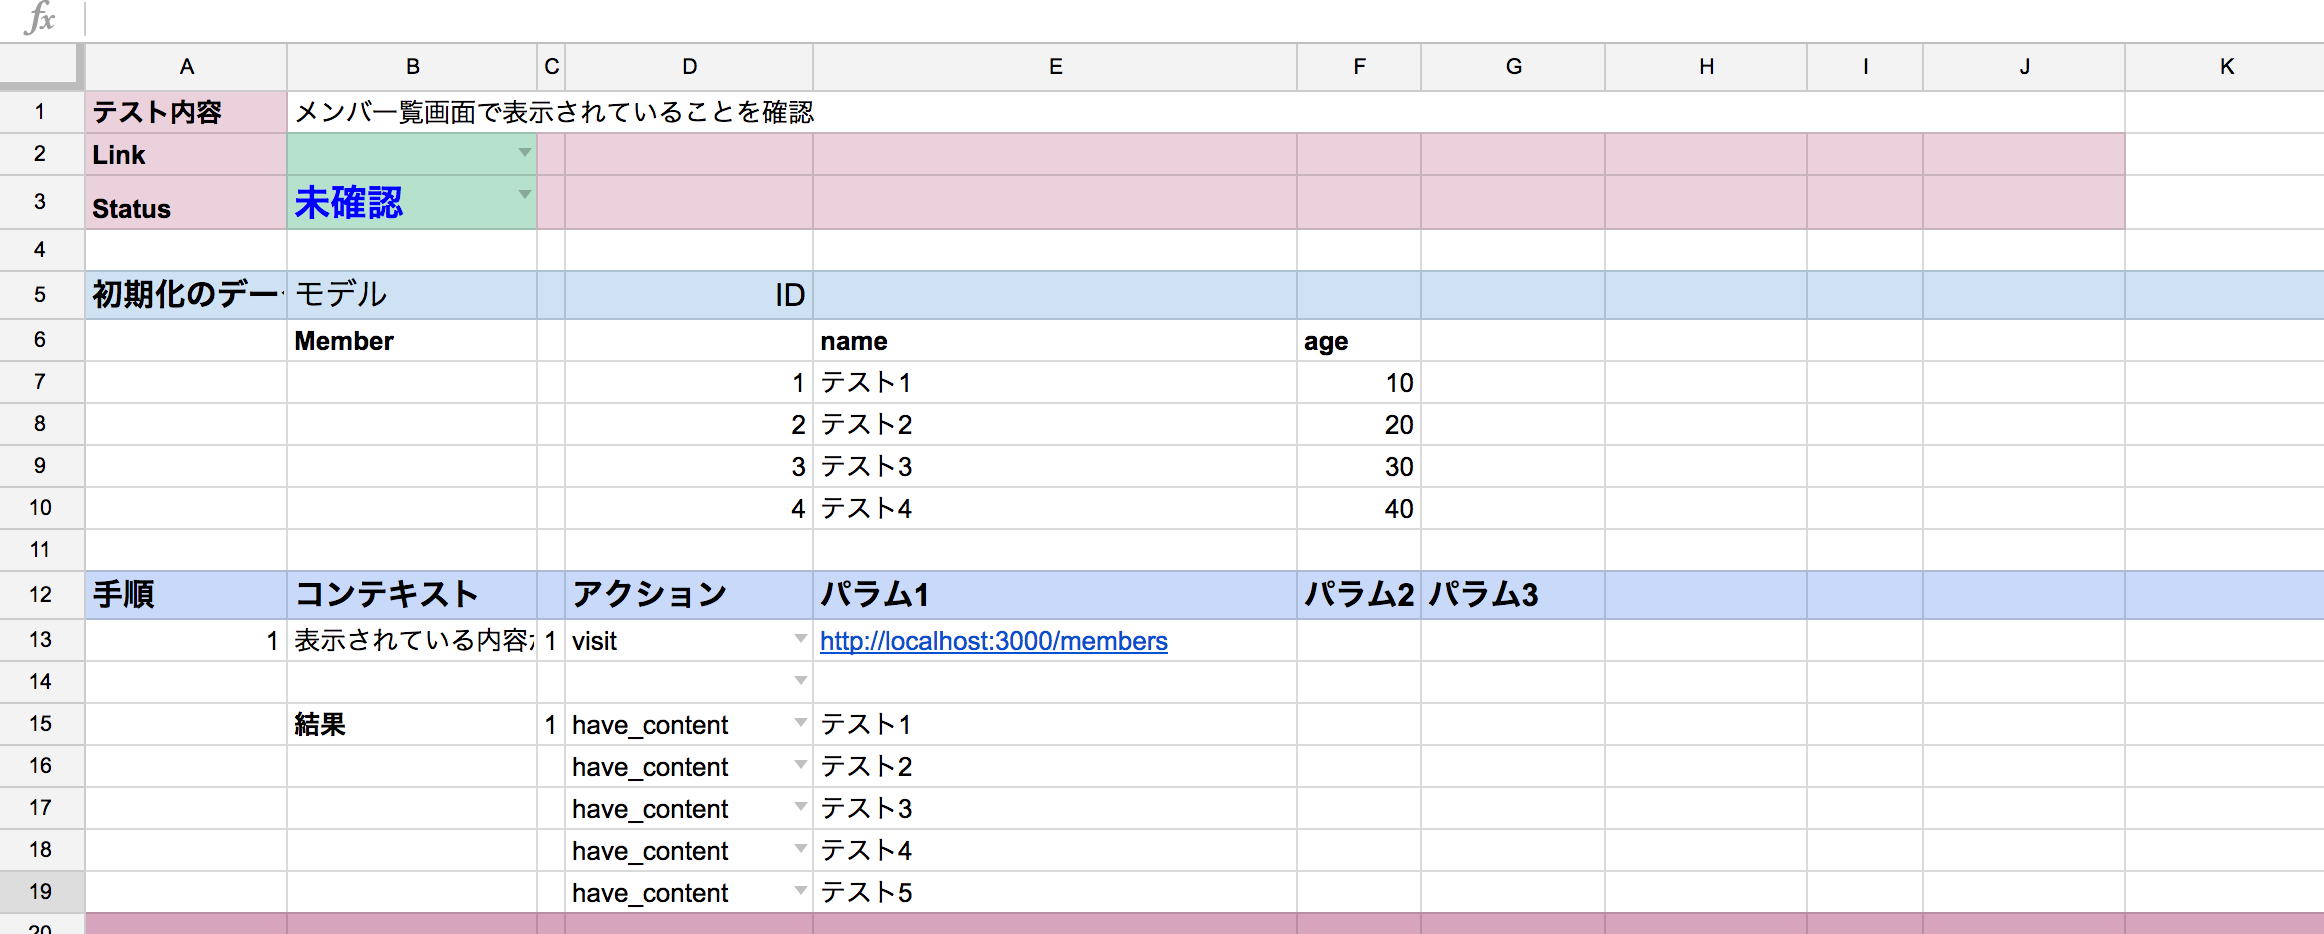
スプレッドシートの内容説明
| 番号 | 範囲 | 説明 |
|---|---|---|
| 1 | B5:F9 | Model情報とテストデータを記載。今回は4件のデータを作成。 |
| 2 | A12:J20 | テスト内容を記載。アクション1(C12:E12)はURLへアクセスし、C15:E19はアクション1に対して該当するテキストが表示されているかを確認する。 |
- B5:B Model情報
- A12:J20 テスト内容
設定ファイル作成
% mkdir ./spec/configs
% touch ./spec/configs/scenario_001.yml
spreadsheet_key: YOUR_SPREADSHEET_KEY               # required
config_file: YOUR_CONFIG_FILE                       # required
worksheet_order_number: SPECIFICED_WORKSHEET_NUMBER # required
model_name_col: B                                   # optional
obj_id_col: D                                       # optional
obj_attr_start_col: E                               # optional
action_name_col: D                                  # optional
action_params_start_col: E                          # optional
expect_method_name_col: D                           # optional
expect_params_start_col: E                          # optional
result_col: I                                       # optional
image_col: J                                        # optional
result_message:                                     # optional
  ok: "good"                                        # optional
  ng: "not good"                                    # optional
例)以下のようなURLの場合は「YOUR_SPREADSHEET_KEY」は「123456789」
https://docs.google.com/spreadsheets/d/123456789/edit
例)以下のようにファイルを配置した場合は「YOUR_CONFIG_FILE」は「config.json」
好きな場所/myapp/spec/configs/config.json
例)一個のシートしかない場合は「SPECIFICED_WORKSHEET_NUMBER」は「0」
テスト出力
% bundle exec rake turnip_support [feature_name] [yml_config_file]
例)
% bundle exec rake turnip_support scenario_001 scenario_001.yml
コマンドラインに表示されるURLをブラウザで開く
1. Open this page:
https://accounts.google.com/o/oauth2/auth?access_type=offline&client_id=xxxxx
使用許可

「許可」を押下してください。
アクセス用トークンの取得

画面遷移した後のページに乱数が表示されるのでコピーを行い
コマンドラインに表示されている
「2. Enter the authorization code shown in the page」
の後に貼り付けてEnterを押下してください。
2. Enter the authorization code shown in the page:xxxxxxxxxxxxxxxxxxx
上手く行くと以下のようなメッセージが表示されテストが記述されているfeatureファイルが出力されます。
Completed reading feature informations and saved to @feature_data!
Completed reading test data and saved to @test_data!
Completed reading procedure informations and saved to @procedures_data!
Complete writing code to 好きな場所/myapp/spec/features/scenario_001.feature

Generate code is completed!
テスト実行
実際に実行時の状況をGIFにしてみたので、見てみてください
% bundle exec rspec spec/features/scenario_001.feature
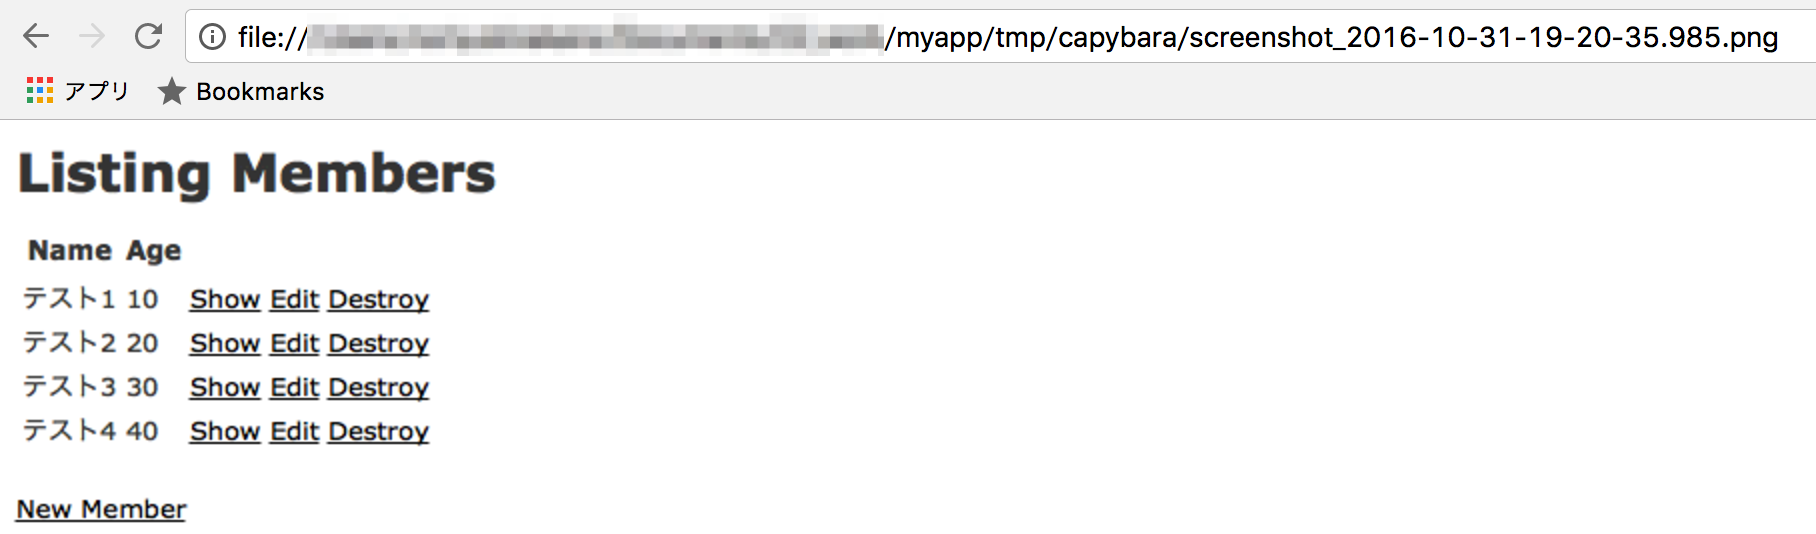
失敗したケースはスクリーンショットが保存される
今回のテストケースでは、わざと「テスト5」というテストデータに含まれないものを
画面に表示されることというシナリオを入れていたので失敗します。
「I20」らへんに画像のURLが表示されるので、ブラウザに貼り付けると失敗時のスクリーンショットが見えます。
編集後記
E2Eのテストを書くというのは、意外と工数を使うのでこういう便利なツールがあると
シナリオだけでも色々なメンバーで議論しながら作れるので効率的にテストを進められます。
1人ずつでシナリオを書くよりも、1つのスプレッドシートにまとまってテストケースが記述されているとレビューしながら進められるので、ぜひ使ってみてください。
最近Wantedlyのアカウントも作ってみました。気軽につながちゃってください。