はじめに
Next.js の環境構築をしようとするときに、「なんだかんだ毎回調べてるし、まとめておけば後で楽なんじゃ!」とひらめいたので、備忘録もかねて書き始めます。
Next.jsのインストール
これだけで自動インストールしてくれます。めっちゃ楽です!
npx create-next-app@latest <Project Name>
いろいろ選ぶところありますが、僕はこんな感じです。
(そろそろ AppRooterを使ってみたいを、一年間繰り返してますw)
✔ Would you like to use TypeScript? … Yes
✔ Would you like to use ESLint? … Yes
✔ Would you like to use Tailwind CSS? … Yes
✔ Would you like your code inside a `src/` directory? … Yes
✔ Would you like to use App Router? (recommended) … No
✔ Would you like to use Turbopack for `next dev`? … Yes
✔ Would you like to customize the import alias (`@/*` by default)? … No
(とりあえず) 開発サーバに火を灯してみる!
作成されたディレクトリで、開発サーバーを起動してみる。
npm run dev
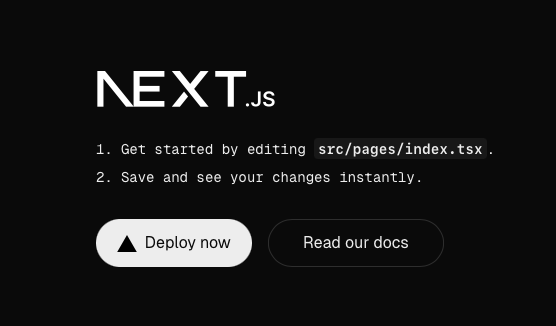
以下のURLに接続すると...。
http://localhost:3000
いろいろな必要なライブラリを入れていく。
ここら辺はご自身で取捨選択しちゃってください!
- headless-ui (UIライブラリ)
npm install @headlessui/react
- heroicons (便利なアイコンライブラリ)
npm install @heroicons/react
- next-themes (ダークモード対応)
npm install next-themes
さいごに
ご覧いただきありがとうございました!
もしお気づきの点があれば、ぜひコメントで教えていただければ幸いです!
